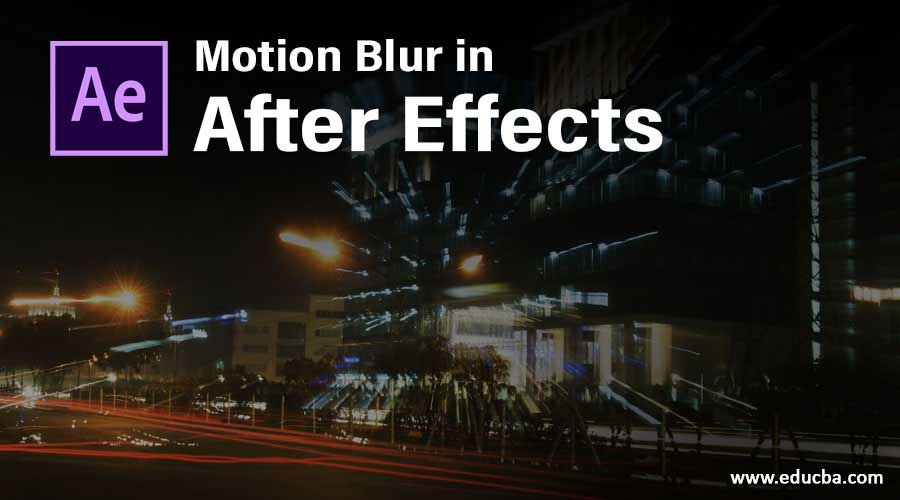
Introduction to Motion Blur in After Effects
After-effects are software produced and serviced by Adobe systems for Motion Graphic; post-production works for Film making, Television and all other digital visual effects that after-effects can create. Now we are going to discuss one of the most importation attributions in after effects which is motion blur which plays a key role in adding motion look and feel to the moving objects in the frame. This technique is used in logos, title making and promotional video making for highlighting the brand name and its logo with motion. We shall see more technical attribution of Motion blur in detail below.
Applying Motion Blur in After Effects
Motion blur attribution adds movement to objects based on the layer for which we apply the effects. This effect is used for narration, title making, and many more can be done using this feature. We are going to see the complete creation of the Motion effect to files using After effects. Based on the screen or frame size, the clarity of the motion of the object increased and decreased. There are a few standard screen sizes to be maintained based on the project we are working on. We are going to take the regular default size of After effects as its demo. Below are a few demonstrations of applying motion blur of before and after for easy understanding.
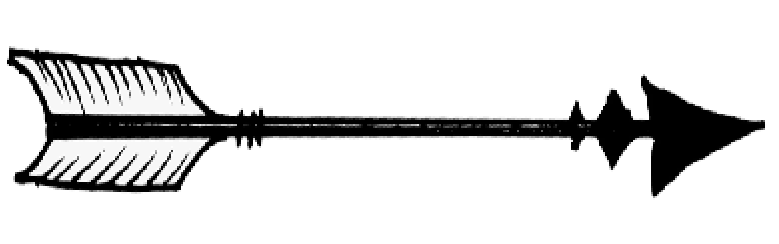
- Layer without Motion Effect
- Layer with Motion Effect
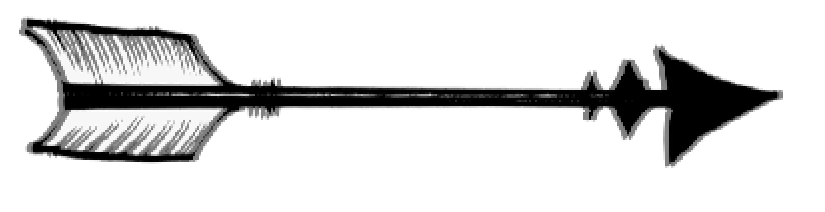
By comparing both the images, we can identify that the motion effect applied layer is more dynamic in its feels like an arrow moving, whereas in the 1st image, the arrow is appearing clearly in one place. In the 2nd image, the arrow shares its pixel, which adds motion to the frame; let’s see the step-by-step process.
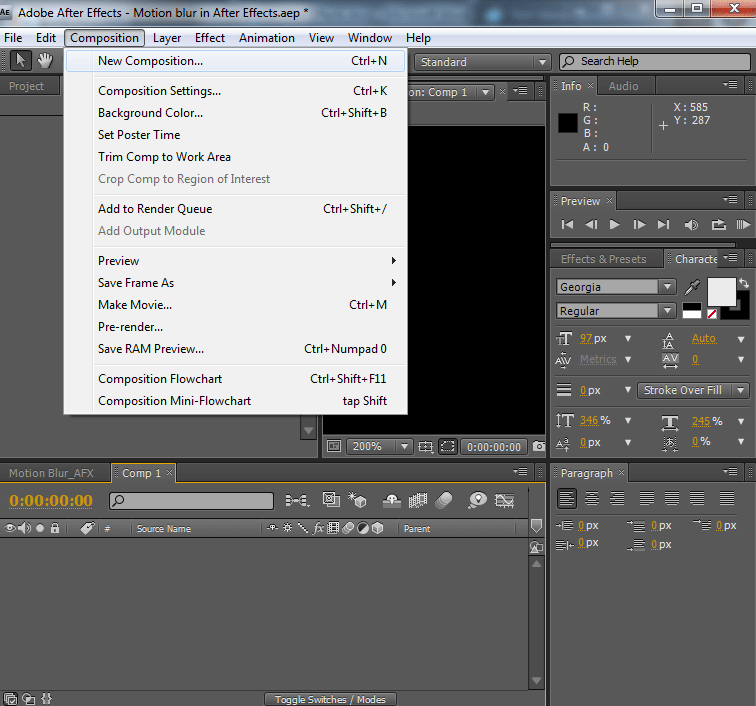
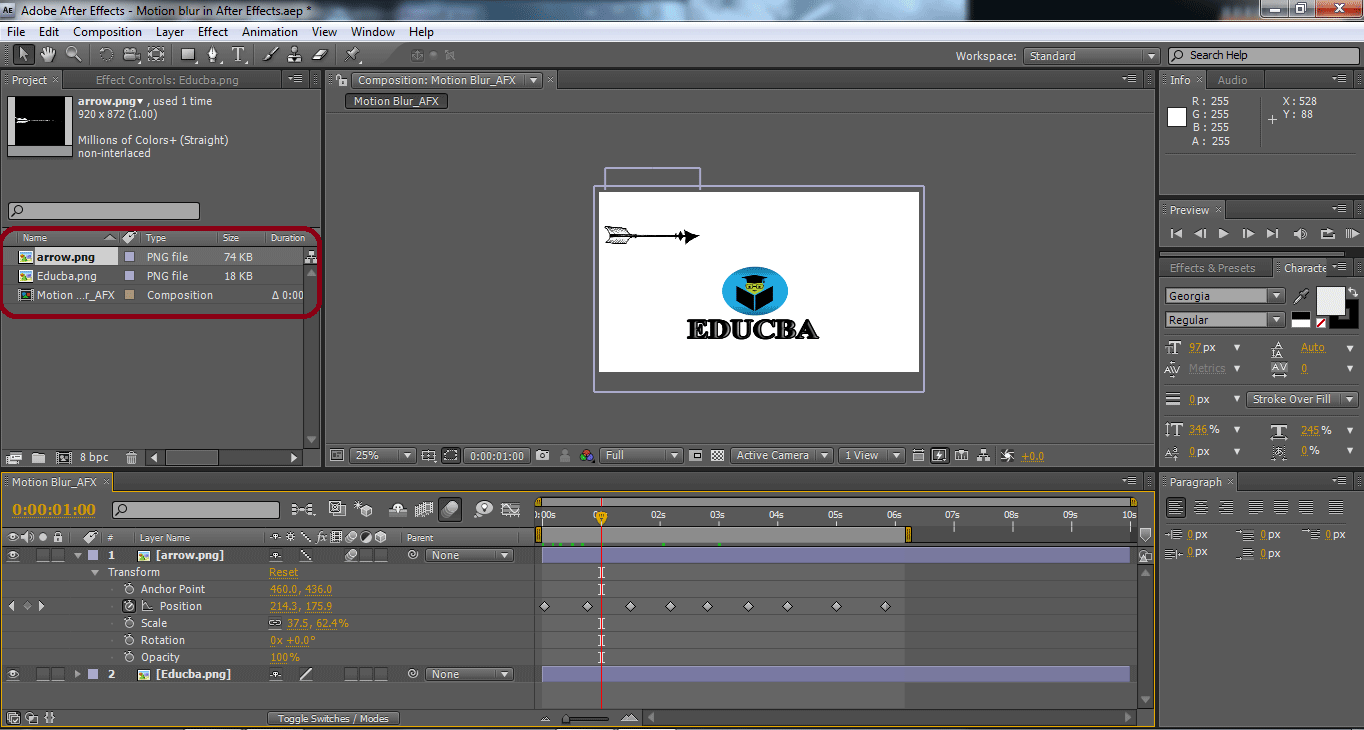
Step 1: Create New Composition or Projects based on requirements and make all the pre-requisites ready for animation, such as Project Window, Layer Window, Keyframes, and others are opened by default; if not, go to Windows in the menu bar and enable them as required. The workspace or screen size can be configured as required.
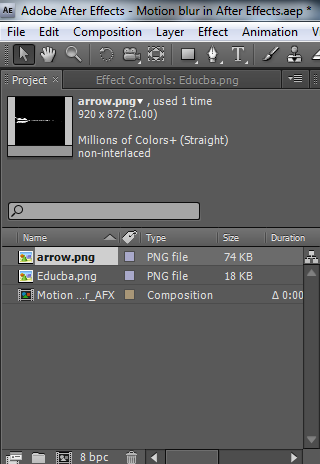
Step 2: Load layers that are needed of any format such as images, videos, and more. For creating new footages today in our footage, we are going to add motion to the arrow layer (arrow.png) as if it’s moving from one side to the other. Load the layers as required into the Project pane, which must be in the footage and arrange them correctly in order to appear one on the other.
Step 3: Open layer pane and open the dropdown of Transform properties of the arrow layer and click position (stopwatch icon button); start keyframing, which must move the layer from one place to another in whichever direction we need to.
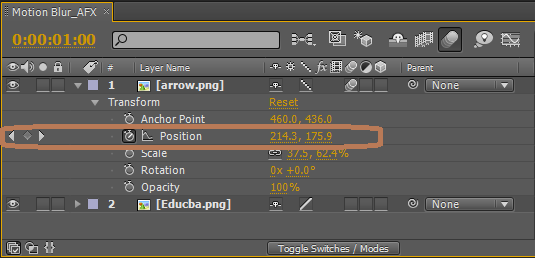
A track with timing will be created and placed on the screen. While positioning and setting motion placement parallelly, we need to take care of both placement and Timing on-screen, which appears as required.
Step 4: After giving Multiple motions to the object, we can see few Squares on the screen and few Diamond shapes in the animation pane. Each diamond and square indicates the motion of the object inflow. We can delete any of them by selecting them, and to review the motion track, click the space bar or 0 key from the keyboard to check the direction of the object.
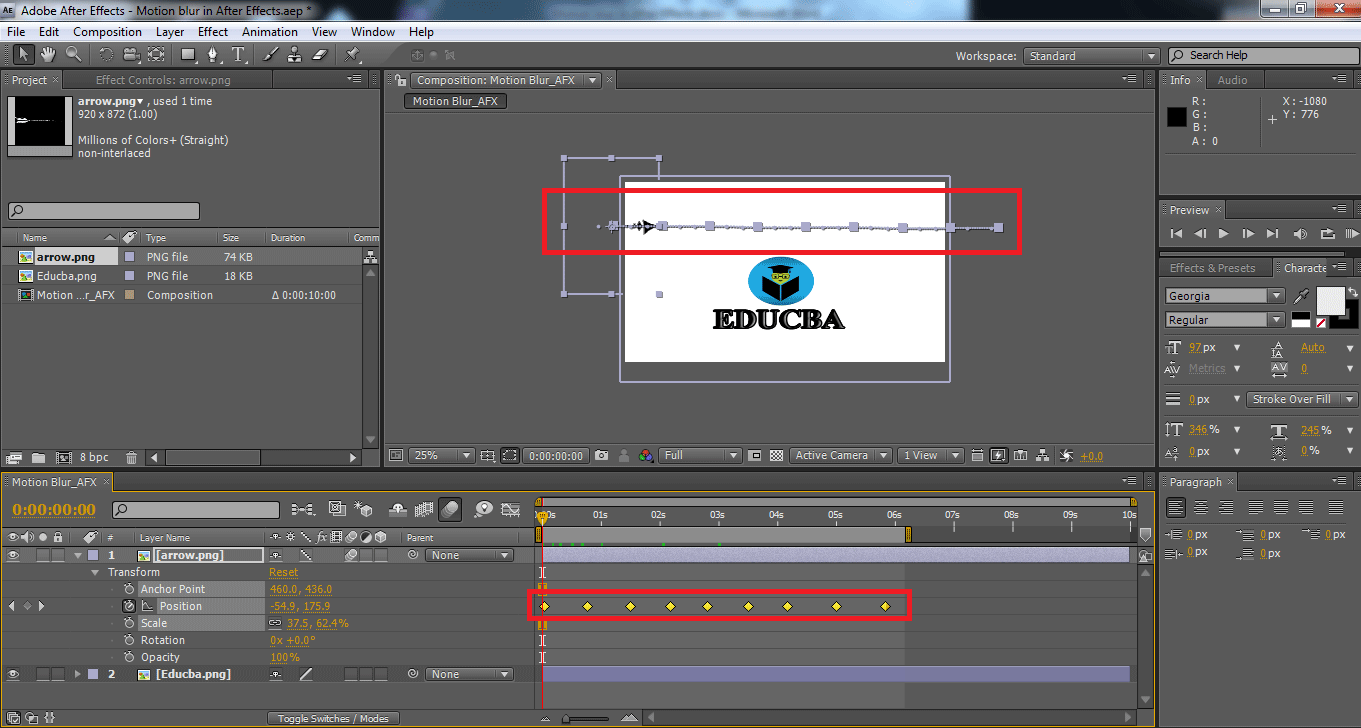
Step 5: Now, we are going to add motion to the Layer, which must move. To add motion effects enable both the motion options to apply motion effect to the layer. Upon enabling motion effect, the objects set slightly pixel rated at borders to give motion look and feel to it. The vertices between two stop points (Square Boxes on-screen) describes the time duration of object motion. If they are too close to each other, the object moves fast; if they are away, the object moves slow.
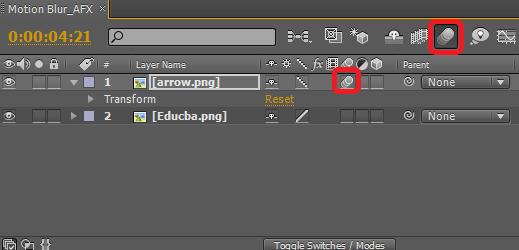
- To Effected Layers: In the layer pane menu bar (TOP), we have a motion option, a radio button; upon activating this motion visibility, the list of layers has motion enabled while shown on screen in Motion.
- Individual Layer: The layers to which we have created keying and track to flow. That specific layer receives a motion option, as shown below. This option is used only to the layer for which we have added keyframes for the motion to become dynamic.
Step 6: Review the footage and make changes, if any. Based on our system configuration, rendering timing will be taken to save and export to any other file formats. The Keyframes and track of motion can be removed or modified at any point in time while working. To select multiple keyframes, used the Shift + Drag mouse arrow. To delete a single keyframe, use the mouse cursor, select the keyframe, and press the delete key on the keyboard. This needs more practice, and learners must work on multiple similar concepts to get familiar with key and practice.
The completed project looks like this and using the File save as and export options, we can share and save the file in different formats. In this project, we have given motion to arrow to move from left to right using keyframing and enabling motion buttons for layer and layer pane. Keyframing helps maintain the object’s motion uniformly and regularly without committing fastness and slowness because of parodic intervals of motions. The Transform Properties of positioning helps in creating the movement of motion from one place to another in a smooth manner. Multiple layer motions can be created by having continued on the aspects.
Conclusion
This trick helps in a simple way of approaching and archiving motion graphics to the screen as imagined and bringing concepts to reality. This is smoother and easy for users to achieve motion using after effects. The film, television, YouTube studios, photographers and animator can use this and create smarter ways of approach.
Recommended Articles
This is a guide to Motion Blur in After Effects. Here we discuss the Introduction and examples to apply motion blur in after effects with its various steps. You may also look at the following articles to learn more –
