![]()
Introduction to Logo Animation in After Effects
Adobe After Effects software has been developed and maintained by Adobe Systems. It was originally developed in January 1993 by David Herbstman, David Simons, Daniel Wilk, David M. Cotter, and Russell Belfe at the company of Science and Art; after that, it was hired by Adobe in 1994. Adobe After Effect software is used for Visual effects, Motion Graphics, Compositing, and different types of Animation in our project. Logo animation is the basic part of Adobe After Effects software. Logo animation gives a moving appearance to your logo and connects it to the real world, and we can make changes many times until we get the best result of our model in our project. If we do not want to use Adobe After Effects, AI logo maker is a useful tool for creating logos easily.
Animating our Logo in Adobe After Effects
Here you will learn how to animate your logo in any project in a step-by-step manner.
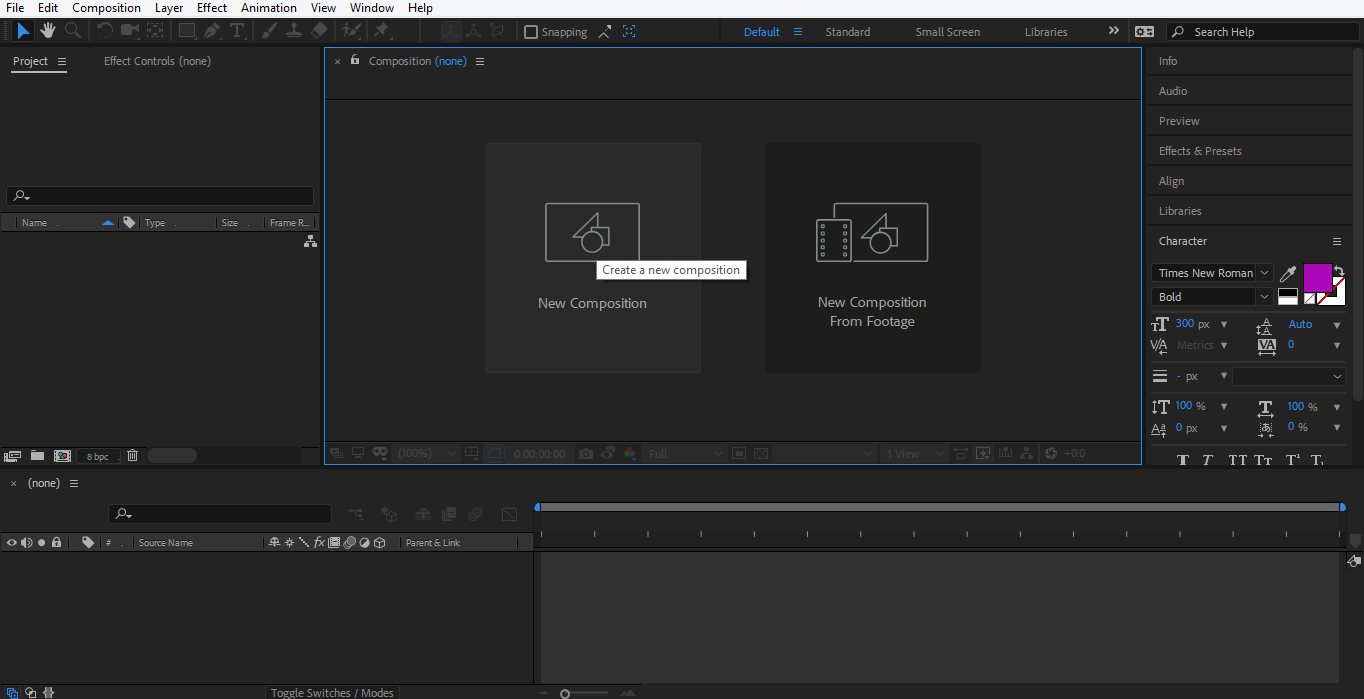
Step 1: First of all, we set composition settings in this step. For this setting, a dialog box of composition setting will open when you click on the new composition option of the start screen of the software.
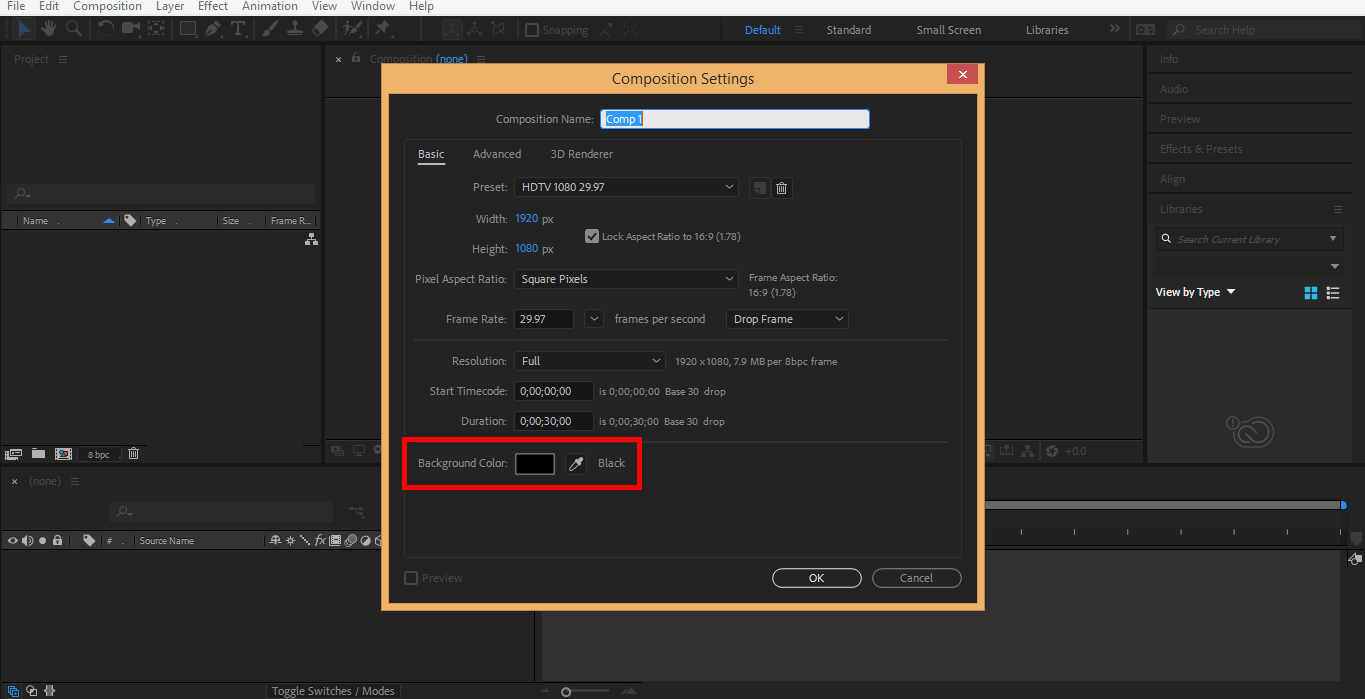
Step 2: A dialog box of composition settings will open. We will not change the width and height of the background layer; from here, you can change it according to you. We will change the color of this layer by clicking on the background color tab of this dialog box. I will choose a gray color from here because it suits my logo design. You can choose as you like to click ok on the ok tab button of this dialog box.
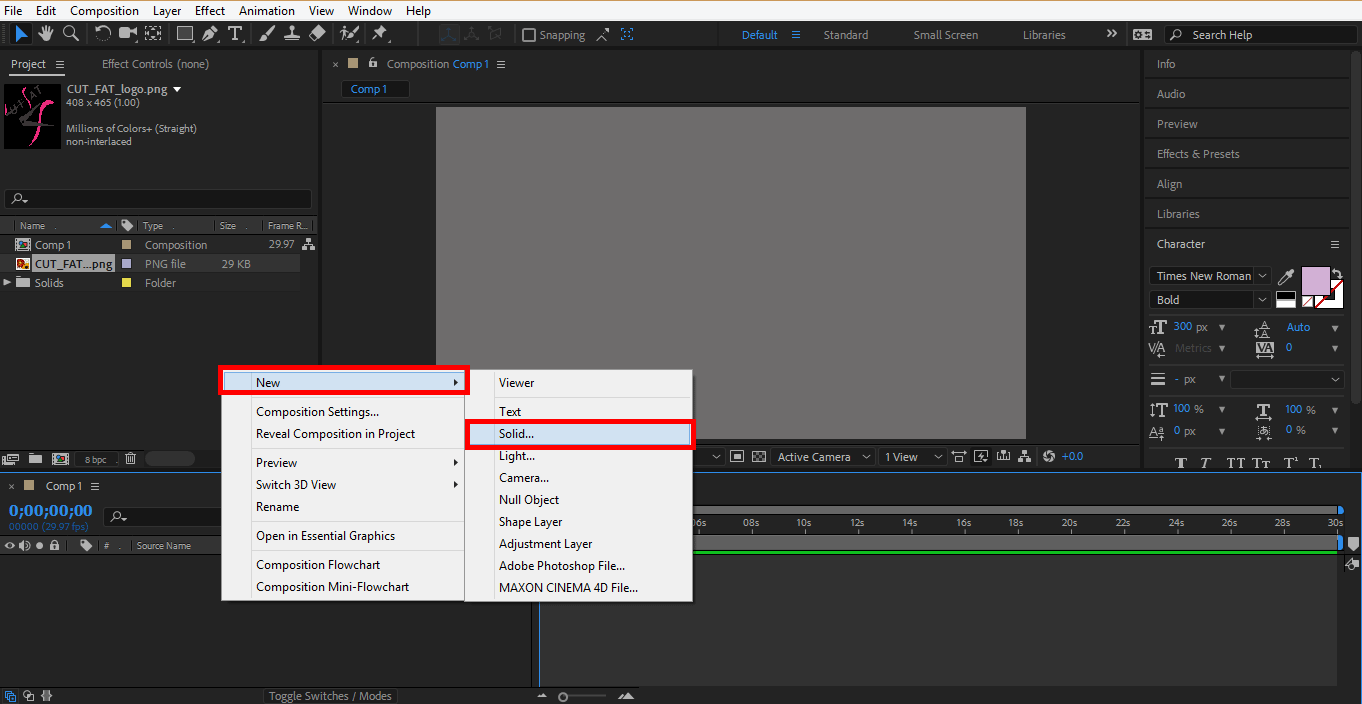
Step 3: Now, I will make a solid layer by right-clicking on the mouse in this section. A drop-down dialog box will be open, go to a new click on the solid tab or press Ctrl + Y on the keyboard.
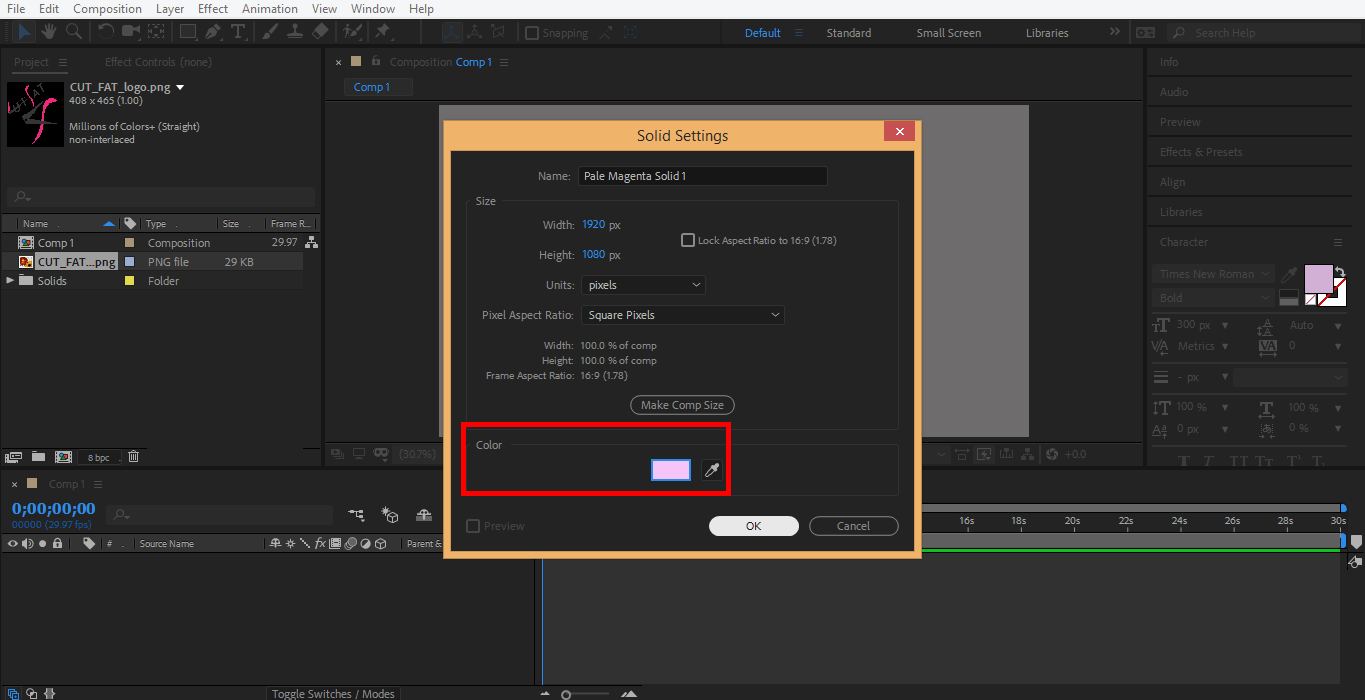
Step 4: A dialog box will open. Now I will choose the color according to my logo and click Ok on this dialogue box’s ok tab.
Step 5: Now, right-click on this section from the mouse to import your logo here. Go to the import option click on the file option.
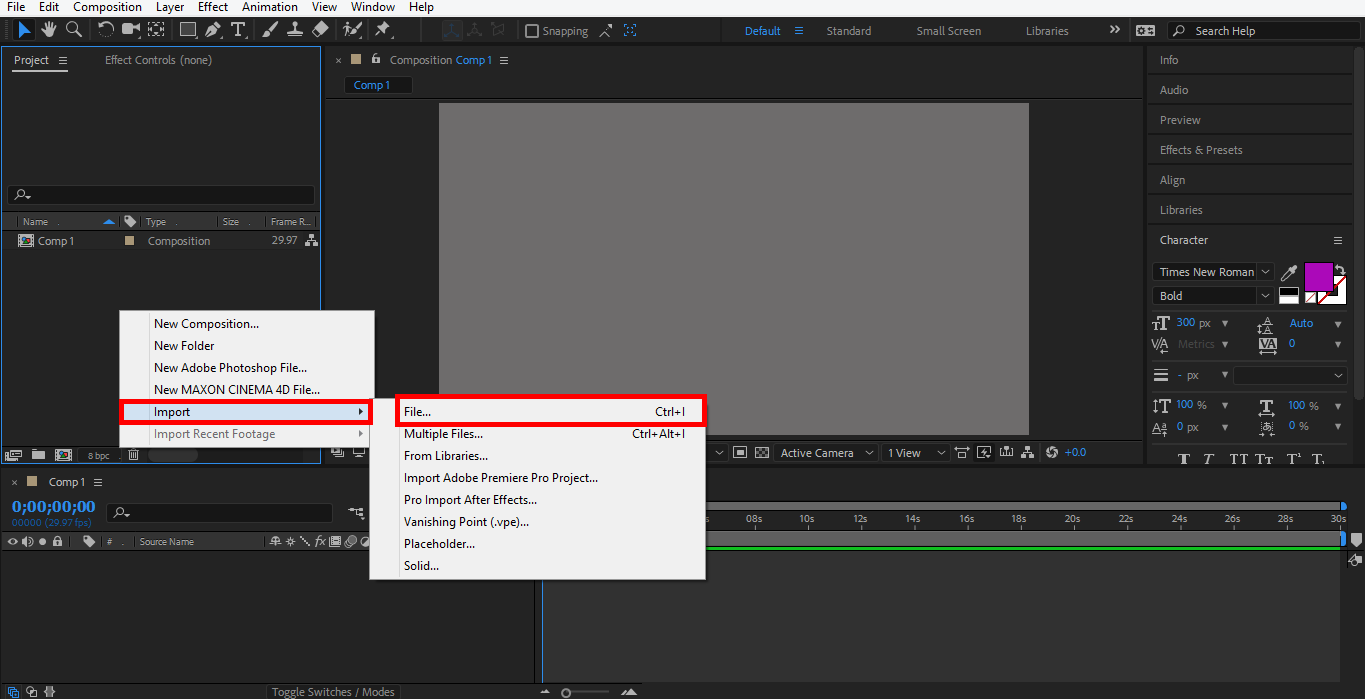
Step 6: A dialog box of import file will open, choose your logo from where you saved it; you can download any logo from the internet for your learning. I am using the png file of the logo here.
![]()
You can see the imported logo in this section of the work area of adobe after Effects software.
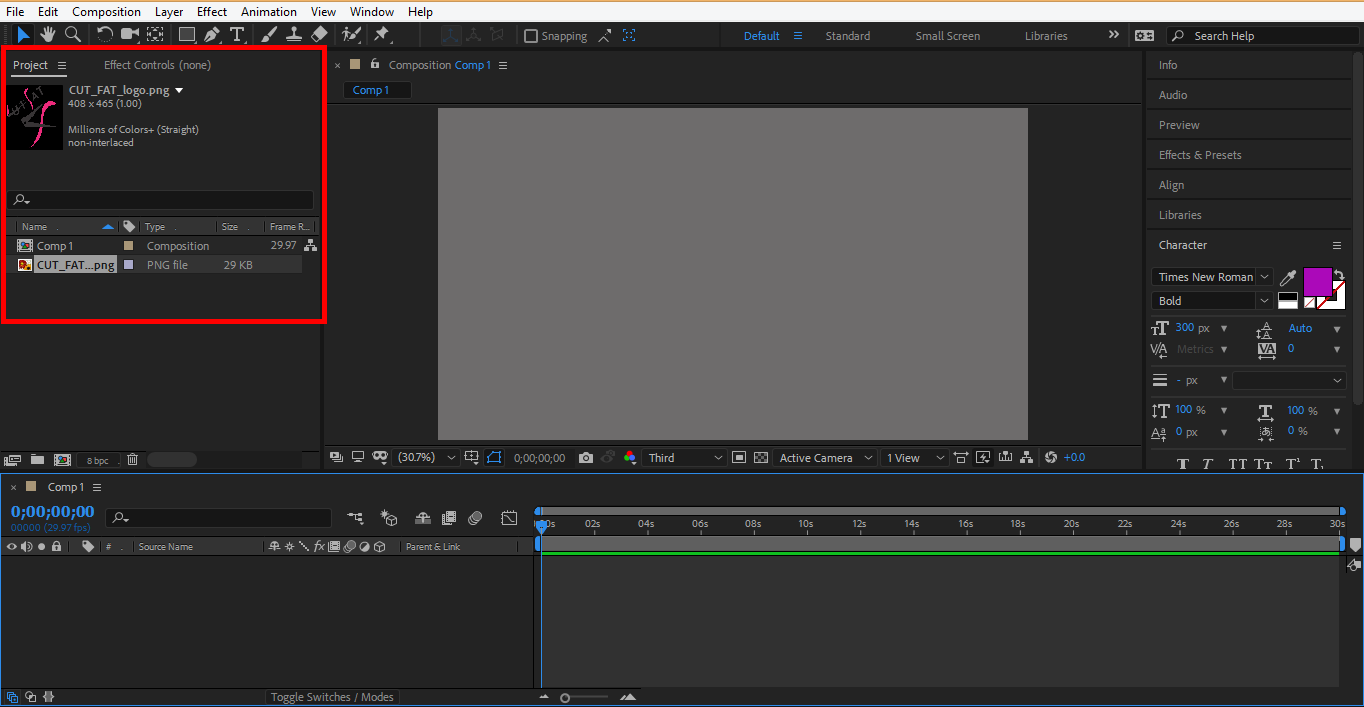
Step 7: Now click on the logo, drag it to the composition area, and leave it here by releasing the click.
![]()
Step 8: You can set the size of your logo according to you by clicking and holding the small square box around the logo and dragging it to resize.
![]()
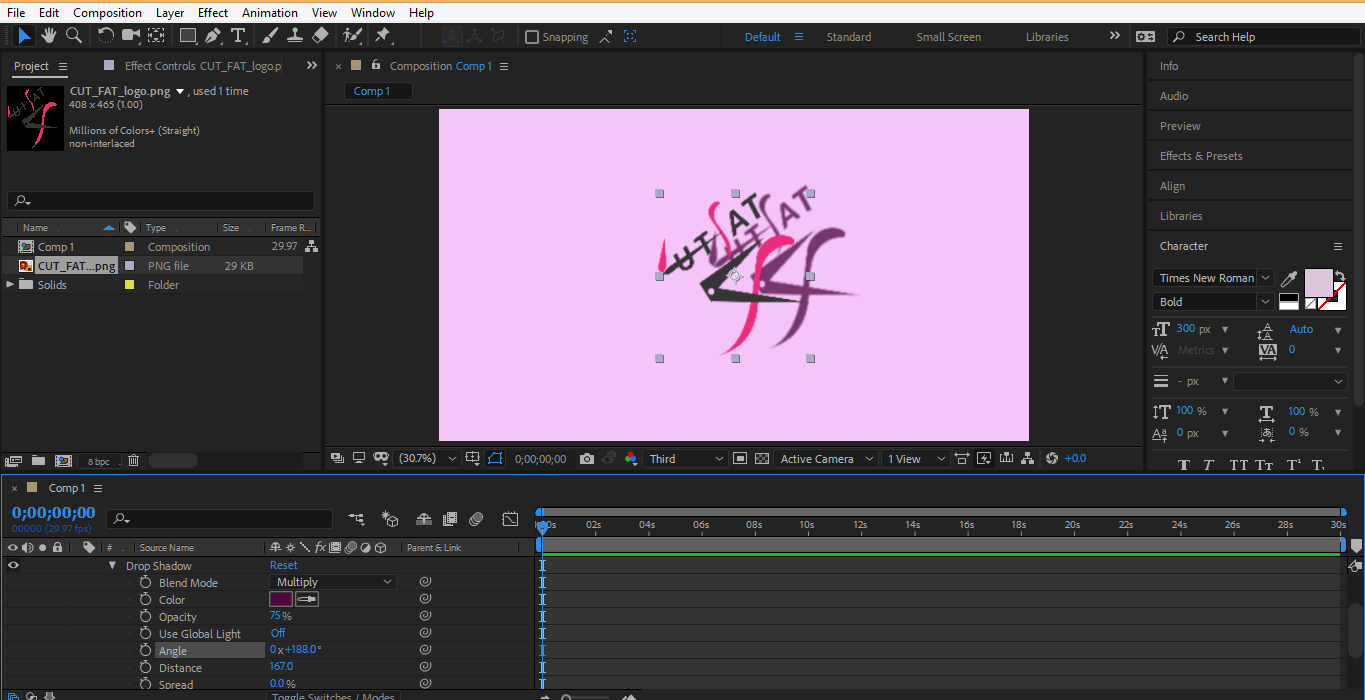
Step 9: Now, we will give some effect to our logo. For applying effect right click on the logo layer with the mouse button, go to layer style, choose any one of the styles from here and see the effect of all styles on your logo one by one for your better learning.
![]()
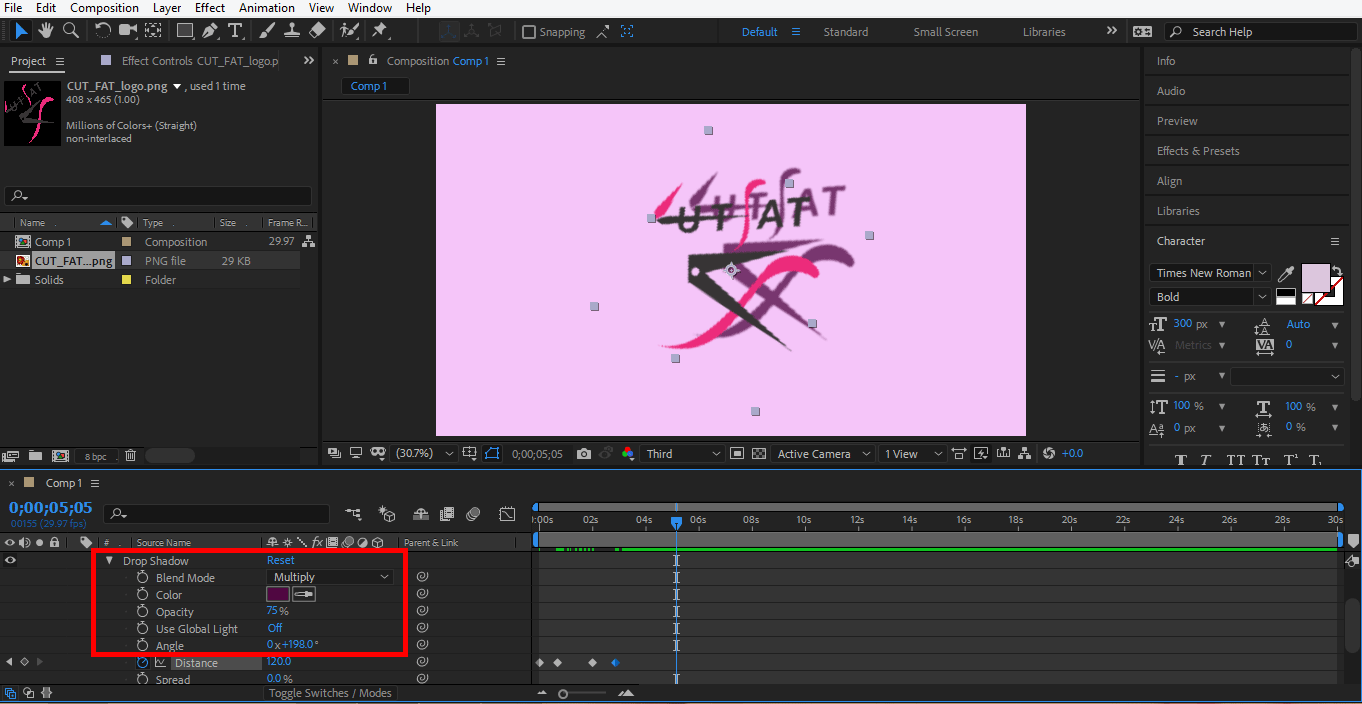
Step 10: I will choose the Drop Shadow option here. Now you can set the parameter of drop shadow from here. You can change the color of shadow, angle of shadow, the distance of the shadow from the logo.
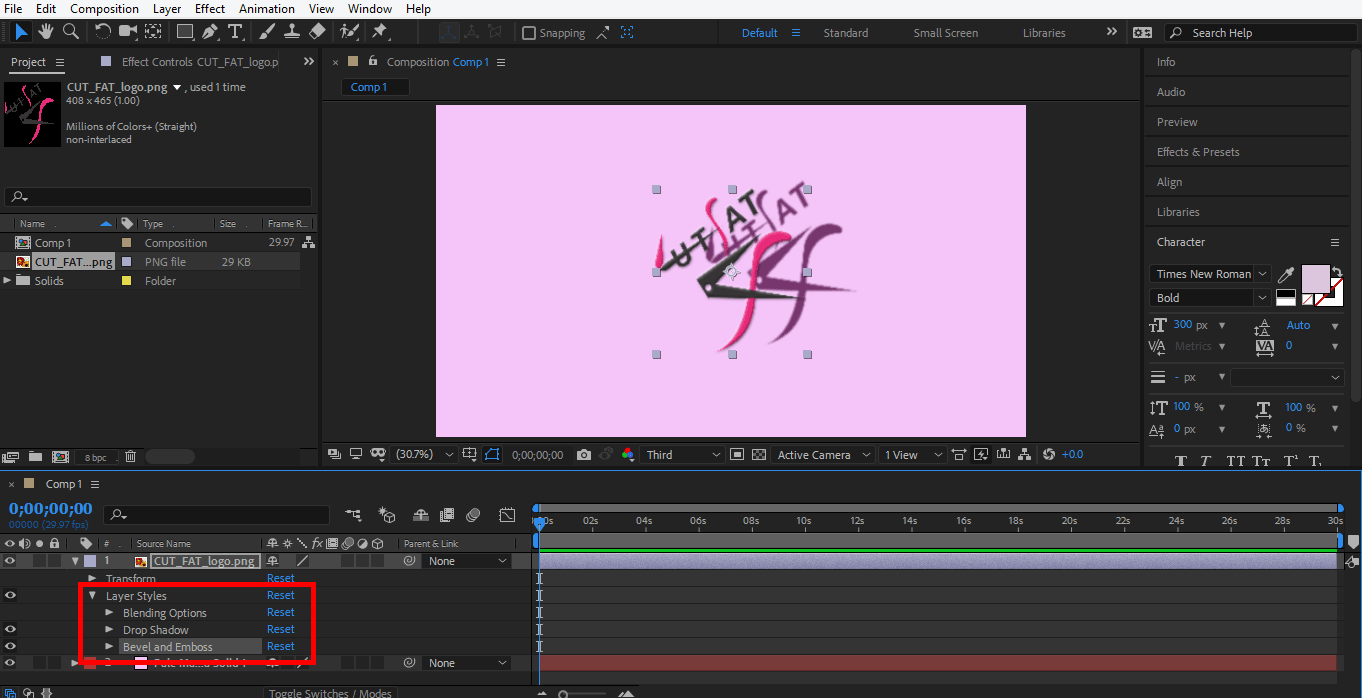
Step 11: You can delete any style at any time. Click on the layer of that style and press the delete button on the keyboard to delete that style layer.
Step 12: Now, we will animate our logo, click on the logo layer and click on the Transform arrow key.
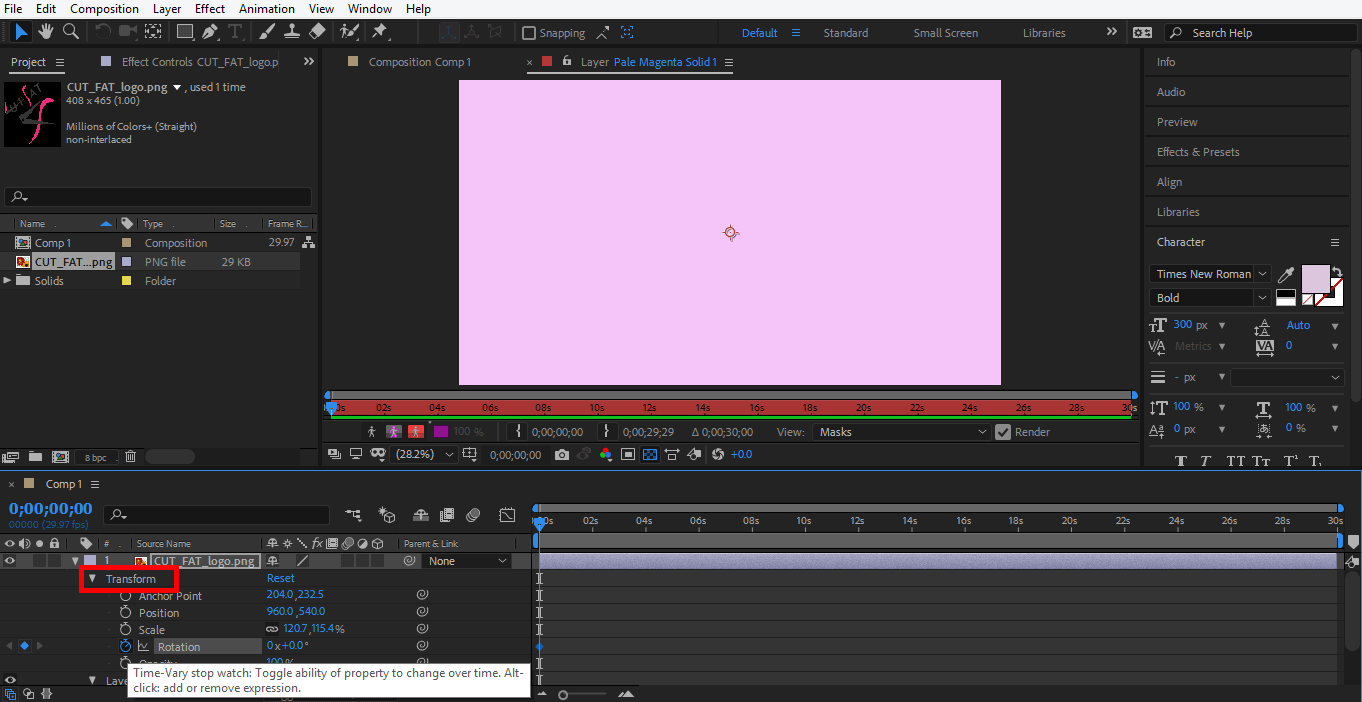
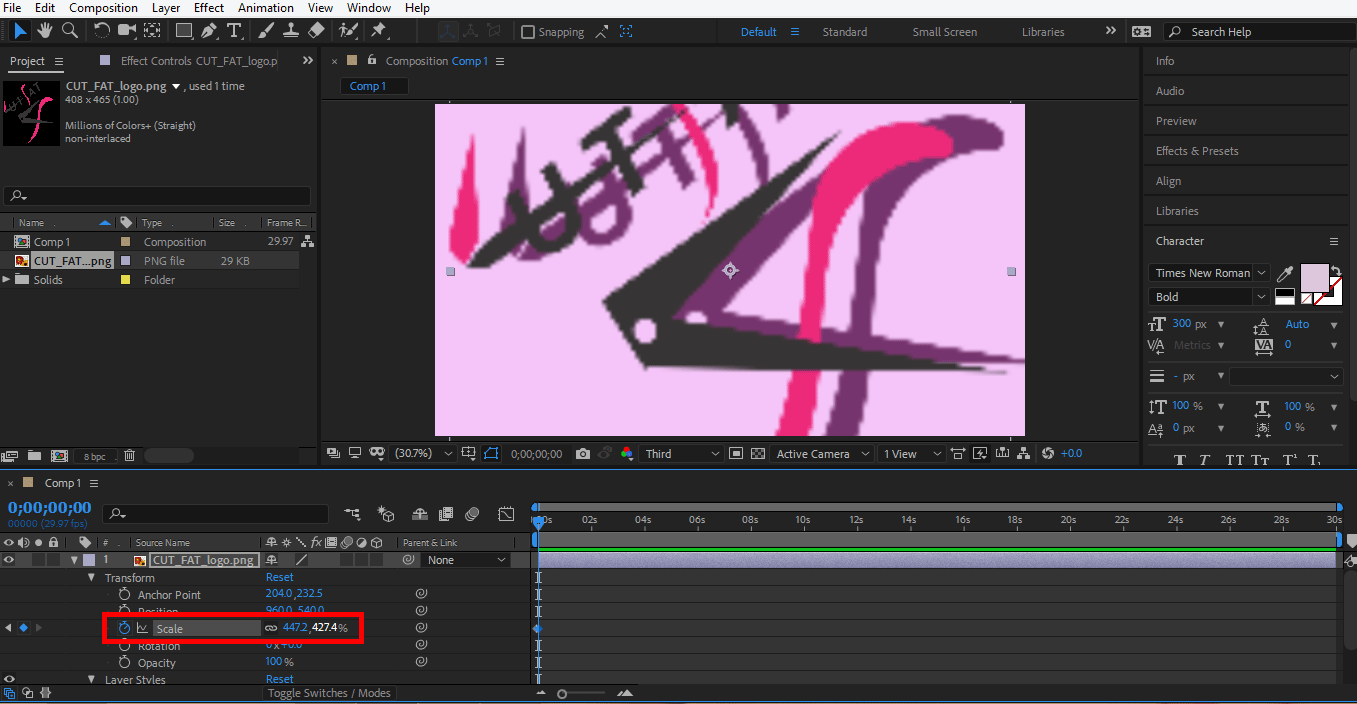
Step 13: First of all, we will set an animation in the scale option of the logo then click on the clock-like icon of the scale layer.

Step 14: A keyframe for scale animation is generated here.

Step 15: Set initial data for scale by changing the data from here.
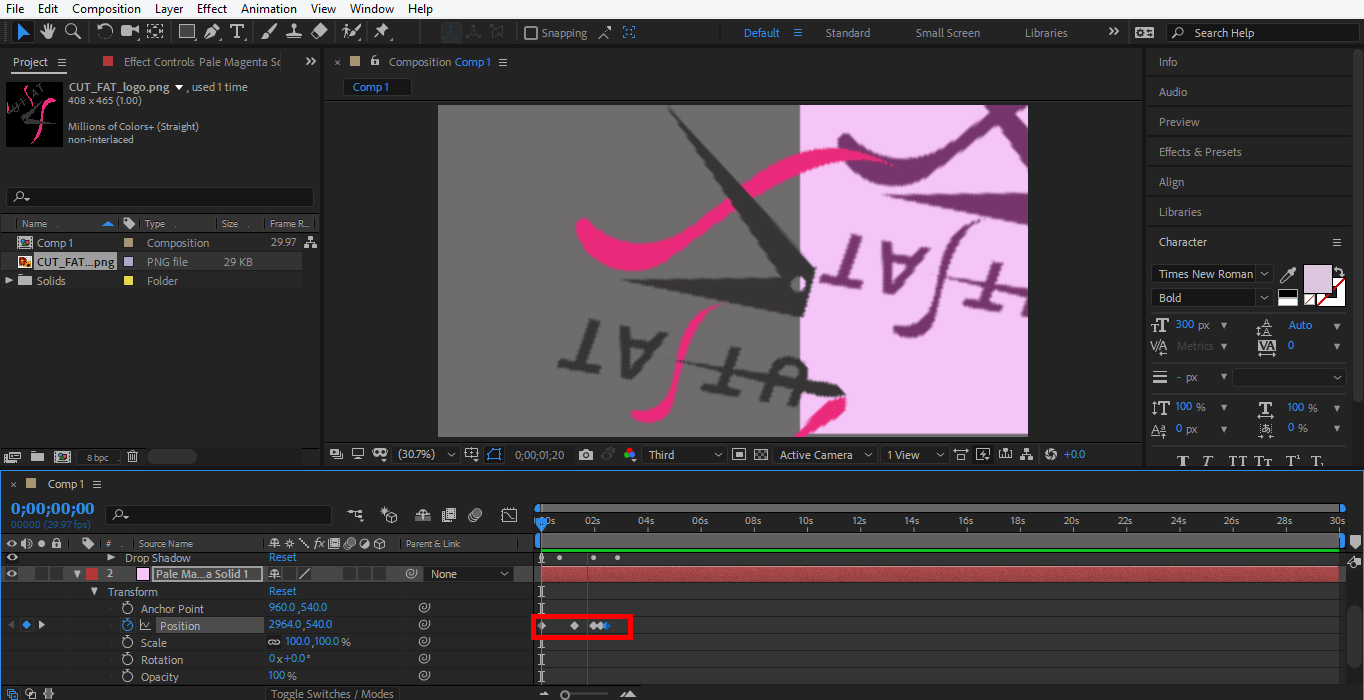
Step 16: Now, set the time by dragging the keyframe by holding the mouse’s left-click button.
![]()
Step 17: Click on this tab to generate a new key. You can delete any key if you do not want that key, select that key by click on that key and press this generate key icon to delete that key.

Step 18: Now again, set the scale parameter and the time frame for this key.

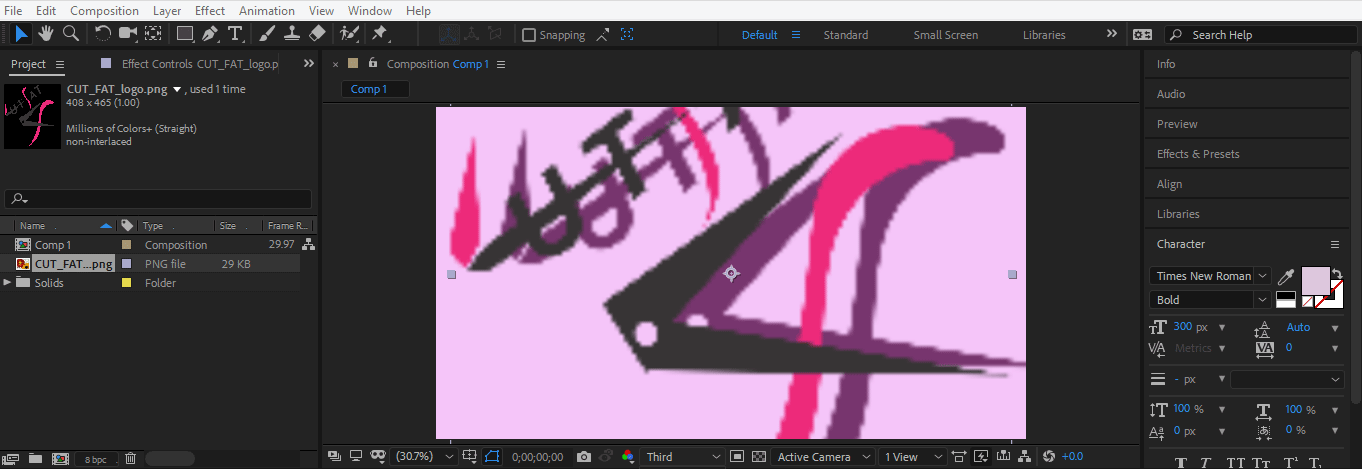
Step 19: Now, you can see the effect of this animation. For seeing a preview, drag the keyframe at the start point.

Step 20: Click on the Third option from here. We are choosing the third option from here so that the render of this animation can be done very easily.

Step 21: And press the spacebar on the keyboard to play the animation.
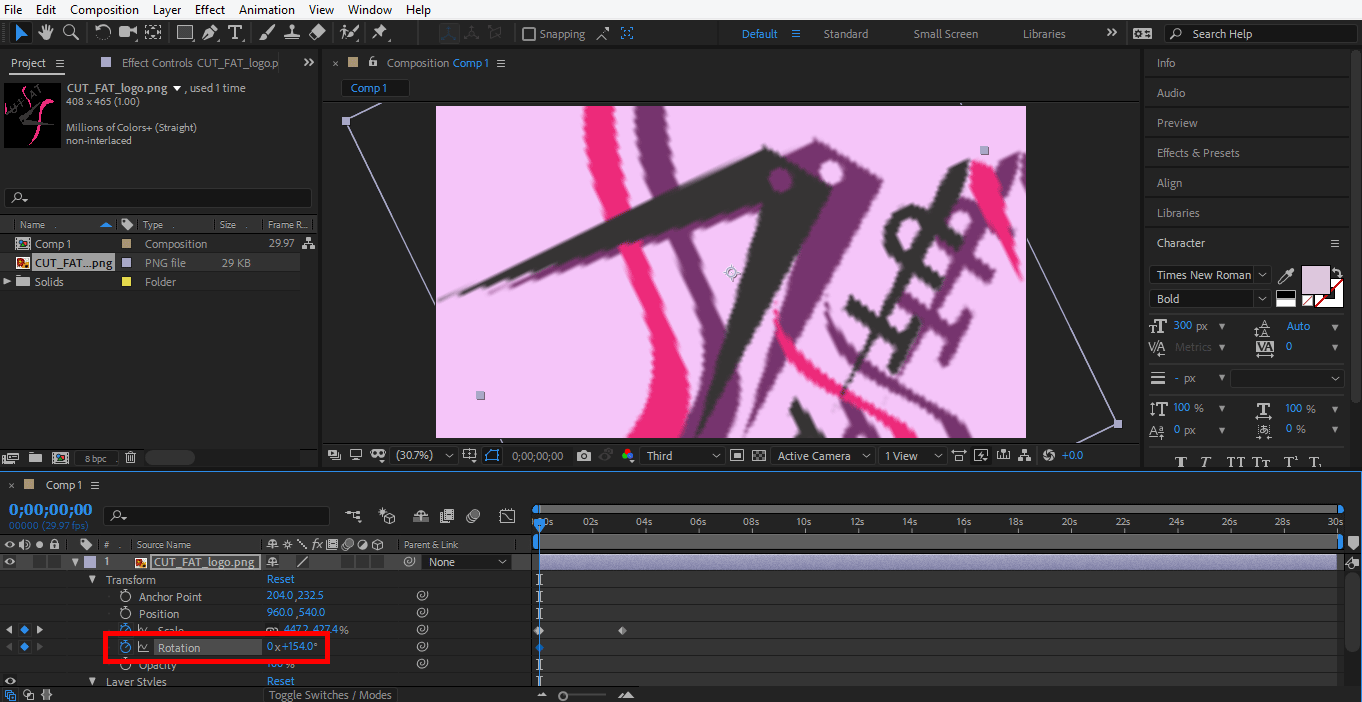
Step 22: Now, I will do the same setting in the logo layer’s rotation option to give rotation animation to my logo. You have to follow the same steps as I did in scale animation.
Step 23: Now, I will do some animation in the layer styles. For setting animation here, click on the layer style layer choose the style in which you want to make changes. Now give animation by following the same steps as I did in the previous.
Step 24: Now, I will set an animation in a solid layer. For setting animation here, click on the solid layer, click on the transform option of this layer and set the parameter which you want to animate by following the same steps of the animation setting as we did in previous.

Step 25: Now, drag the keyframe at the start point and press the space bar from the keyboard to see the animation.
Step 26: This is the final animation of our logo.
![]()
Here I gave you a simple animation tutorial for logo animation for your better understanding. You can animate your logo as you want by using different types of transformations in the logo and make it more realistic.
Conclusion
In this way, you can easily animate your logo for any purpose. After having command of the animation of the logo, you will become more and more able to give your project an effective and interesting view for the viewer. Animation of the logo in your project attracts the viewer and gives them a sense of your project in the real world.
Recommended Articles
This is a guide to Logo Animation in After Effects. Here we discuss the steps for creating our own logo animation in after effects. You can also go through our other related articles to learn more –
