Introduction to Motion Graphics
Motion graphics is a complex and unique art form that takes a lot of dedication and skill to master. Motion graphics in After effect means a part of graphics designing in which we animate different properties of any object with the help of some features of this software for giving motion in that property of that object. Here in this article, we will discuss Motion Graphics and its important parameters, which helps in the creation of any motion graphics for any project in Adobe After Effect software. We will understand motion graphics in After Effect with an example.
How to Create Motion Graphics in After Effect?
Here we will take 2d shapes of this software for our understanding of motion graphics. Once you have an idea of graphics motion on simple 2d shapes, you can easily make motion graphics of any image, logos, or text of any particular project work. So let us start our learning in a very simple and easy manner.
First of all, let us have a look at the User interface of this software so that when we use any particular term for any particular section of this software, you can easily understand that.
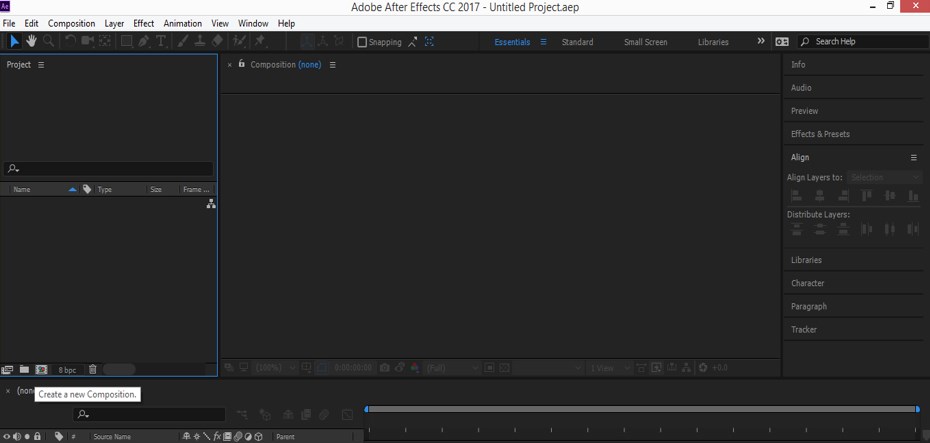
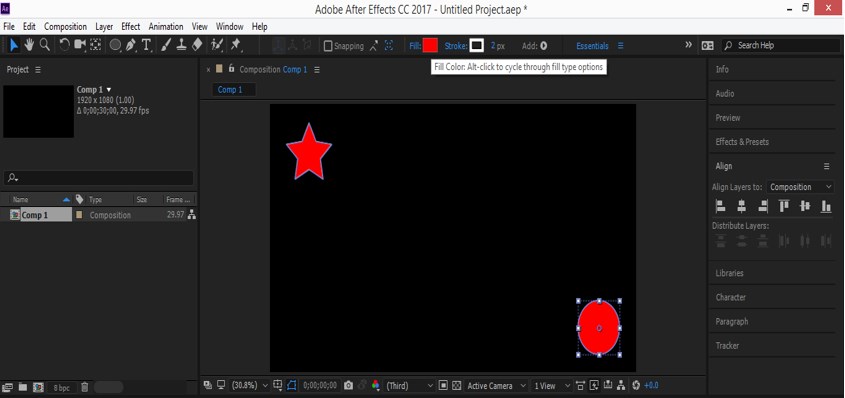
Step 1: This is the User Interface of After Effect software. In the working screen, we have Menu Bar at the top of the working area for making a different adjustment to this software; just below the Menu Bar, we have some tools such as 2d shape tool, pen tool, brush tool, etc.; at the left side of the working area we have Project section which shows current project, just opposite project section at the right side we have some other setting parameters such as Align, Effect & Presets, Preview, etc.; at the bottom of the working area, there is Timeline for animating properties of the object.

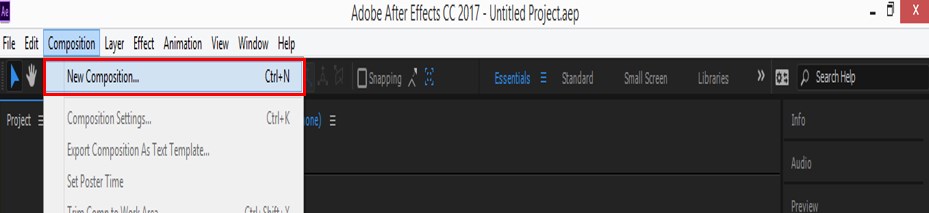
Step 2: Now make ‘New Composition’. For making new compositions go to the Composition menu of the Menu Bar of this software. A drop-down list will be open; click on the ‘New Composition’ option of this software.
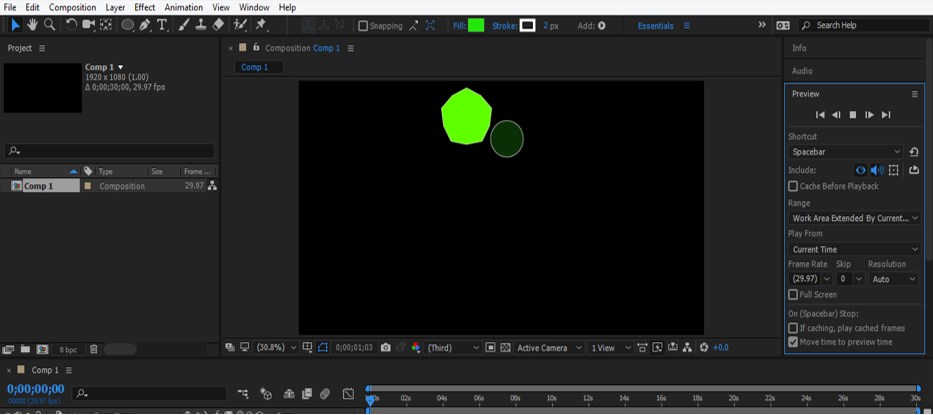
Step 3: Or you can go to the bottom of the Project section and click on the ‘Create a new Composition’ icon.
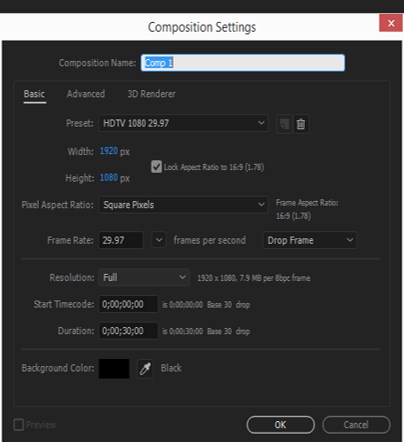
Step 4: A Composition Setting box will be open. Make the setting of a composition according to you and click on the Ok button of this box.
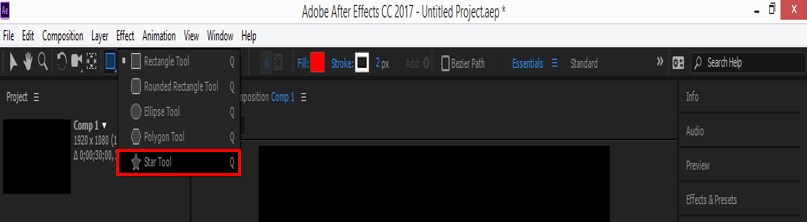
Step 5: Now go to the tool panel, which is at the top of the working area, and take the star tool from here.
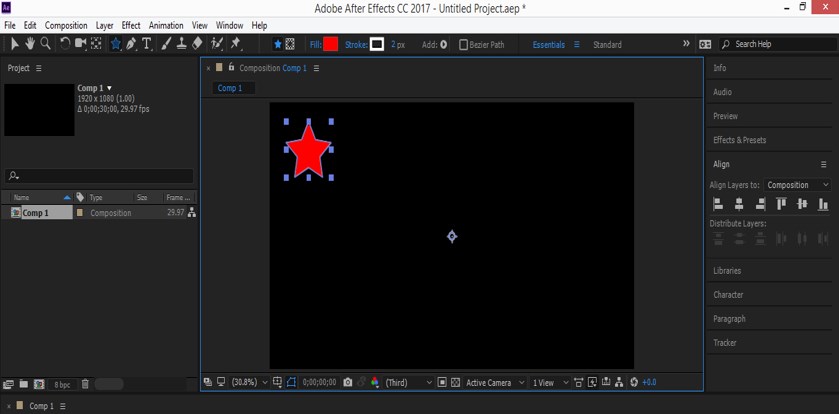
Step 6: Now, draw a star with the help of a star tool with your desired shape at any place in the composition area.
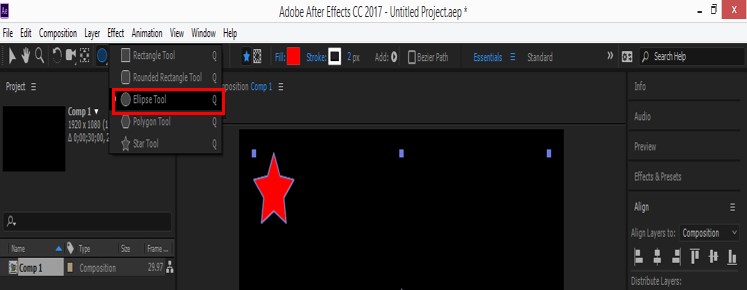
Step 7: Now, take the Ellipse tool from the tool panel of this software.
Step 8: Now, draw a circle with the help of the ellipse tool at this position.
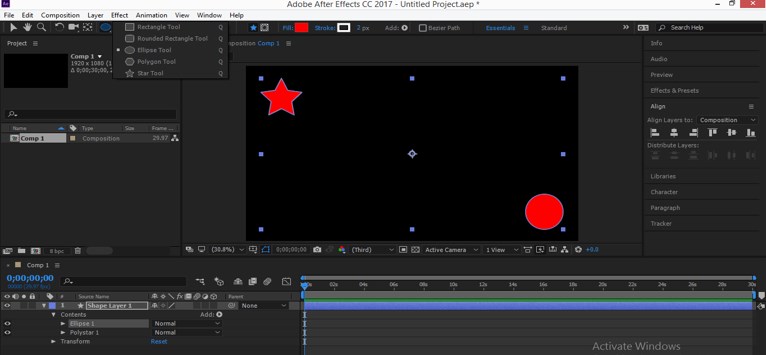
Step 9: Now, I will change the color of this circle. For changing the color, click on the ‘Fill’ box of this shape which is at the top of the working area.
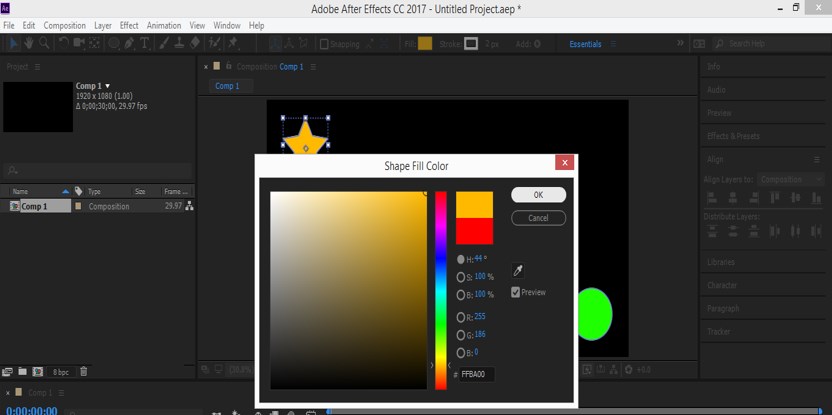
Step 10: Choose your desired color from the ‘Shape Fill Color’ box.

Step 11: Now select Star shape and change its color according to you. For changing color, click on the Fill option of this shape and choose your desired color from this box.
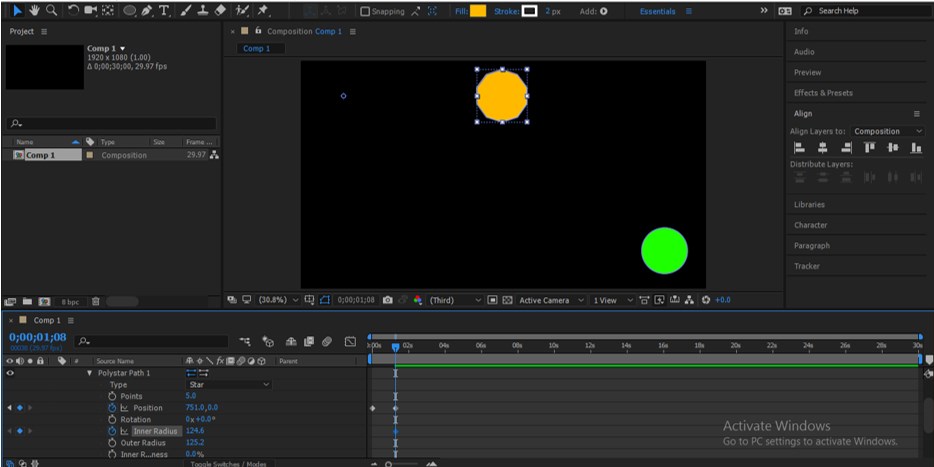
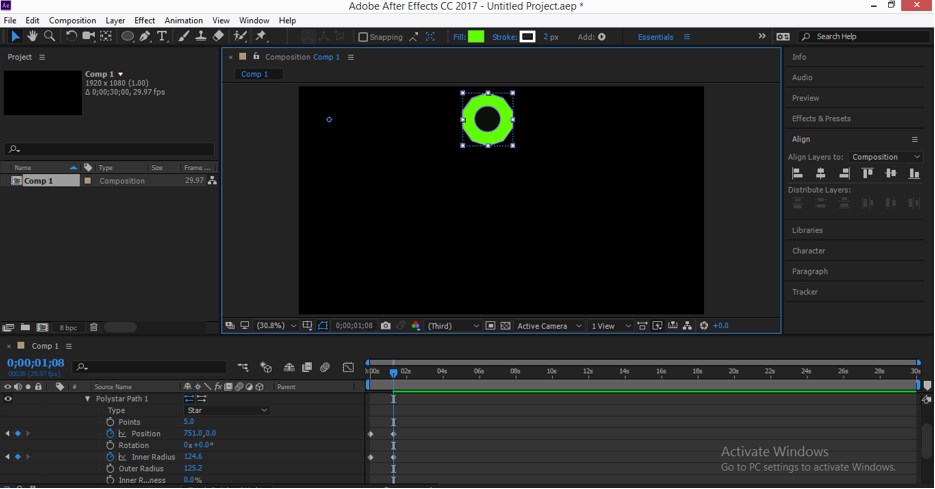
Step 12: Now go to the layer section and select the Polystar1 layer by click on it. When you click on the small arrow button of the Polystar1 layer, the drop-down property list will be open.
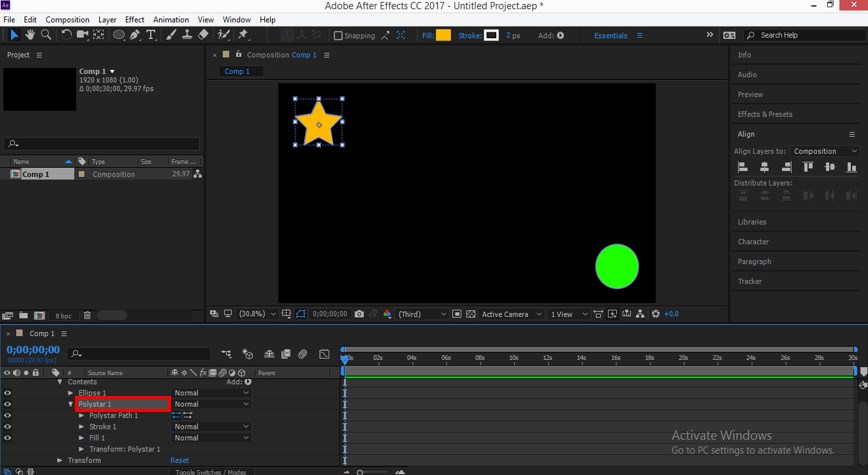
Step 13: Now click on the small arrow button of the Polystar Path 1 property. Properties of the Path of polystar will be open. We will animate some of them for motion graphics purposes.
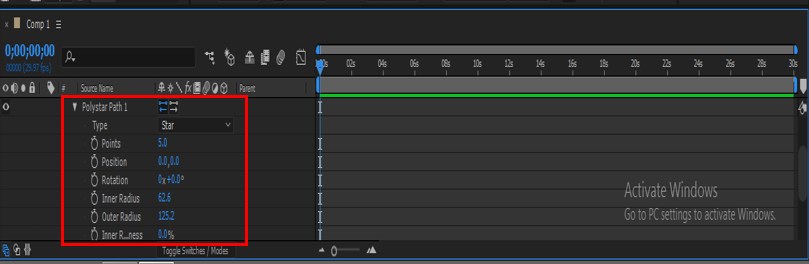
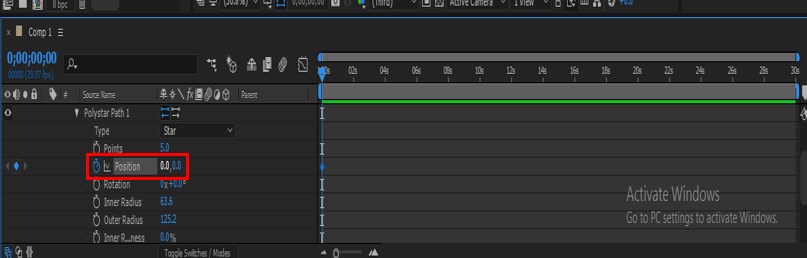
Step 14: Now click on the small clock icon of the Position property. A key will be added to the keyframe section.
Step 15: Now take the keyframe header at about 2 sec. in the frame section and click on the key icon for adding a new key at this time, which is at the left corner of the Position property.
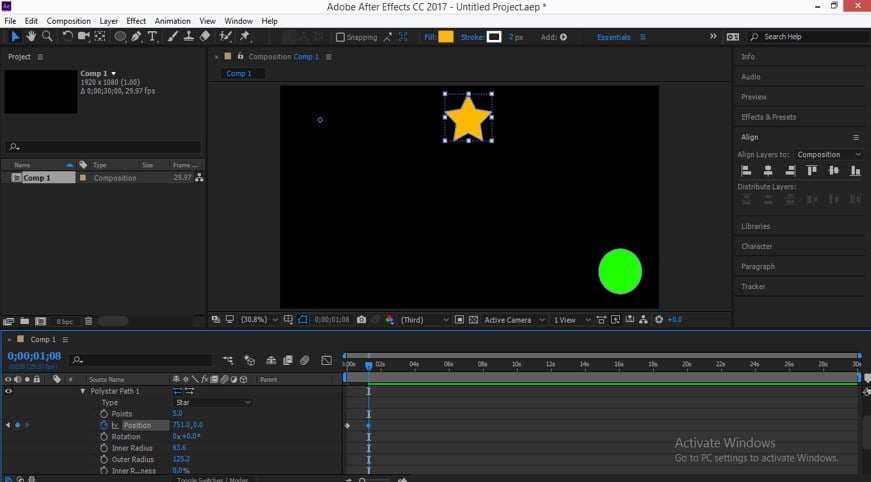
Step 16: Now move the poly shape at the center position by changing the value of Position Property.
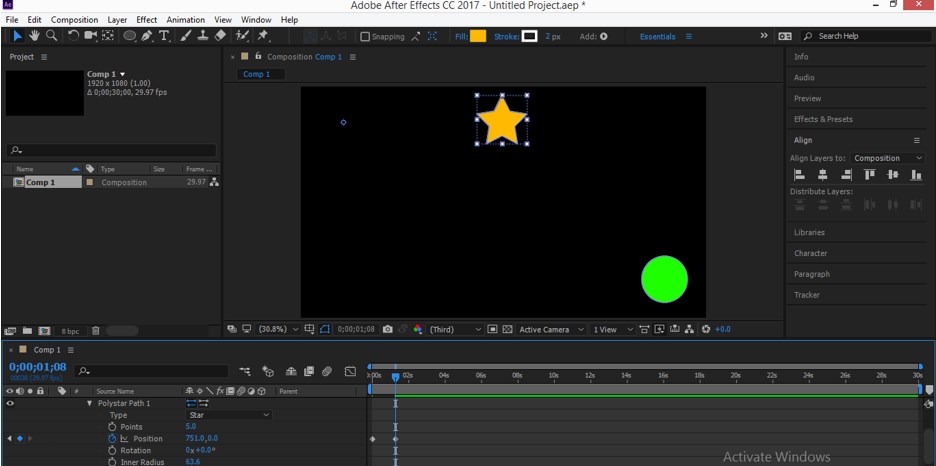
Step 17: Now, place the keyframe head at starting position, and for animating the next property, we will click on a small clock icon of the Inner radius property and leave the inner radius as it is.
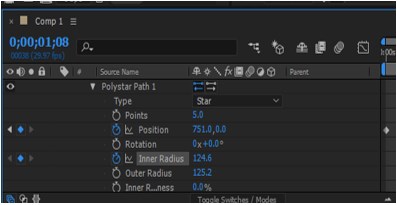
Step 18: Now, place the keyframe head at the same time as we did in the Position property. Now click on the key of the Inner radius property for adding a new key and increase the inner radius value.
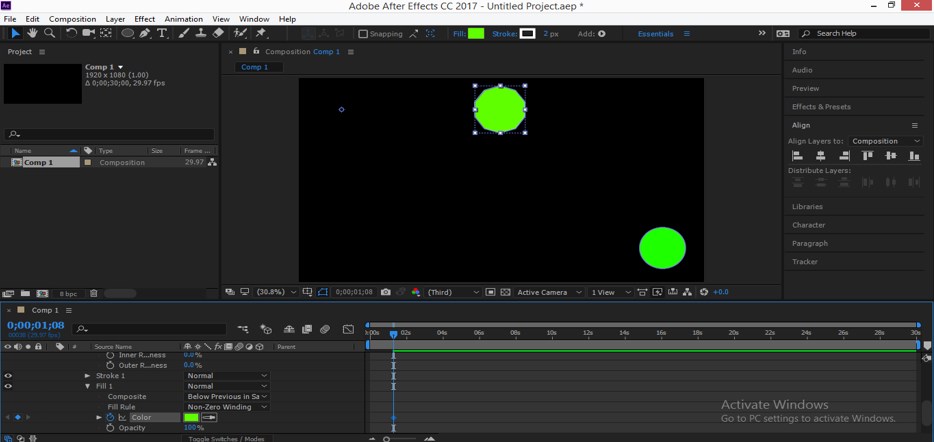
Step 19: Now click on the small arrow icon of Fill property for a list of Fill option and click on the clock icon of Color property of Fill for adding key. Now click on the color box and choose your desired color from that box.
Step 20: Now, place the keyframe head at the starting point and click on the small arrow icon of the Ellipse layer.

Step 21: Now, don’t change the position of the circle.
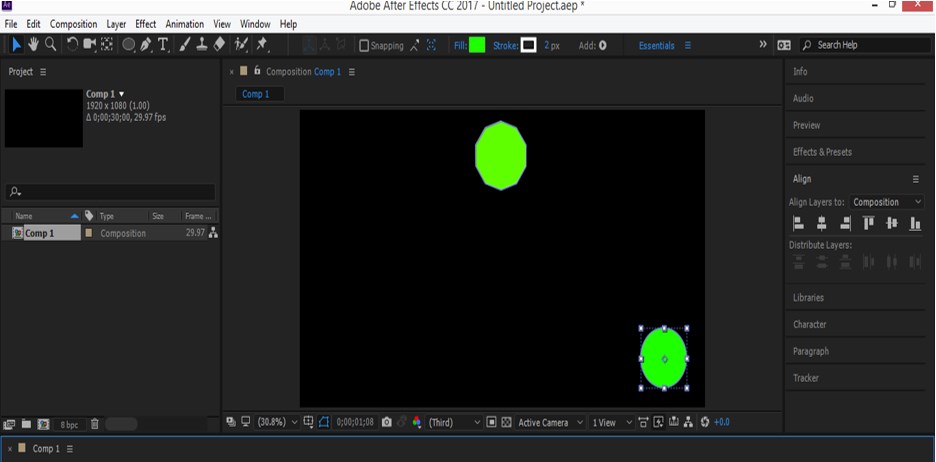
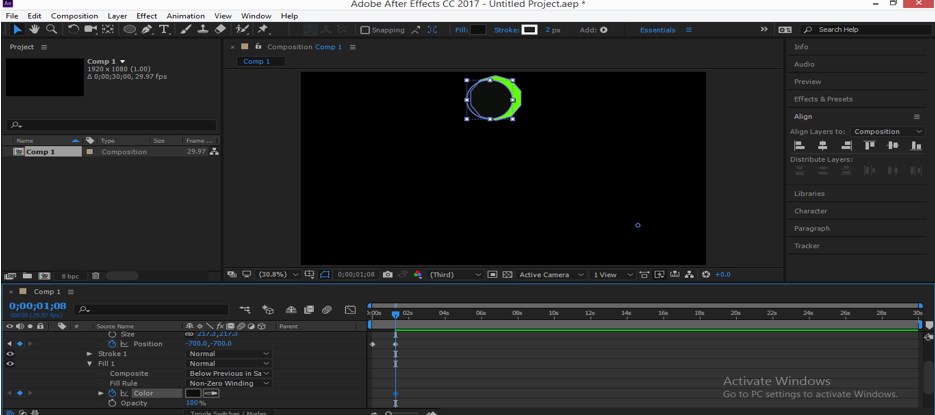
Step 22: Now, place the keyframe head at the same time as we place it before and change the value of the position of this circle. I will take the -700, -700 as x y direction value so that it will cover other shapes.
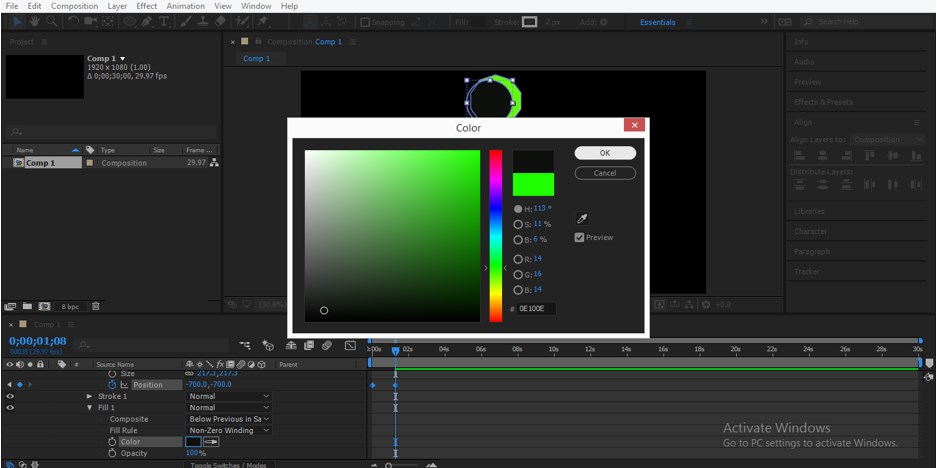
Step 23: Now, I will change the color of this circle at this position. For a change, the color opens the Fill option of this shape and then clicks on the Fill option’s colour box. A color box will be open to choosing your desired color from here. I will choose a black color from here.
Step 24: Add key to this property also.
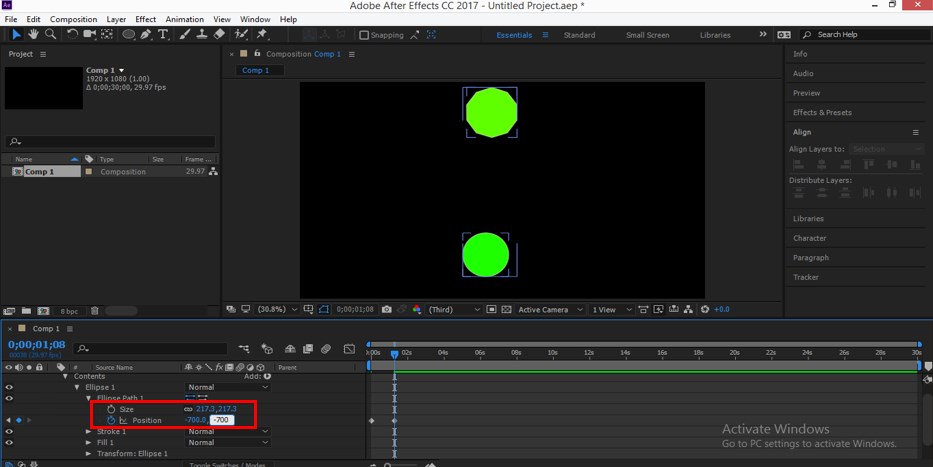
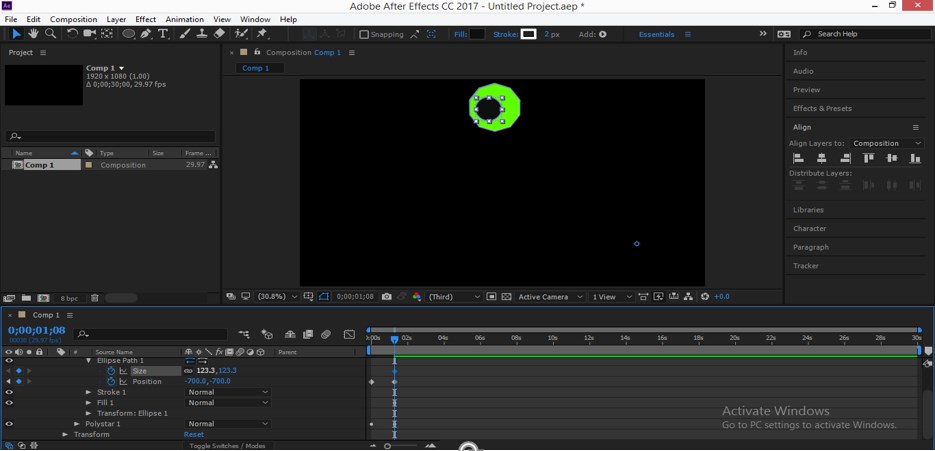
Step 25: Now, I will also animate the size of this shape by the same method as we did in previous steps. I will decrease the size of this shape by decrease the value of the size option.
Step 26: Now adjust the position of both shapes so that they can cover each other like this.
Step 27: Now, when you play the animation, it will look like this.
- In this way, you can make motion graphics of any object in Adobe After Effect software.
Conclusion
After going through the example of motion graphics in this article, you can easily understand ‘What is Motion Graphics’ and ‘How can you make motion graphics of any object in Adobe After Effect software? You can get expertise in motion graphics by practicing it with different types of themes.
Recommended Articles
This is a guide to Motion Graphics in After Effects. Here we discuss the Introduction and how to create Motion Graphics in After Effects in a step-by-step manner. You can also go through our other related articles to learn more –
