Overview of Rendering in Maya
- In this article, we will see an outline on Rendering in Maya. Maya Software is the most popular animation software developed by Autodesk. It helps a professional who works in the field of animation films, video games, TV programs, visual effects, etc., to create 3D models and animations. Complex animation can be easily produced with this software. Rendering images made with this software looks like a real-time image. Architectures use Maya software to create detailed shape plans and interior components.
- The development of this software was started in 1998 when Alias Wavefront had released its first version. After that, Maya was acquired by Autodesk in 2005 and rename it as “Autodesk Maya”. When it was initially released, it was used to create graphics for the film industry and won academy awards for their work in Rango and Hugo. It is also known for its video films Call of Duty and Halo. With the help of Maya Embedded Language (MEL) and Python Scripting, users can take advantage of Maya open architecture by programming complicated and repetitive tasks.
- Basic tools of this software are transforming tool, move tool, rotate tool. Scale tool, Insert Edge Loop tool, Crease tool, sculpting tool, Quad Draw, create a polygon, soft modification tool, show controller tool, etc. Here our concern area is to tell about how to create any rendering using Maya Software. We can create objects, scenes and render those using Maya Software.
Rendering Objects Using Maya Software
Maya provides a good modeling system called NURBS (Non-Uniform Rational B-Splines). This system is not about creating objects together. It creates objects from curves and surfaces rather than fixed polygons. To do the rendering of any object, we need to add color, material, texture, and lightning to any object. To do that, follow the below steps.
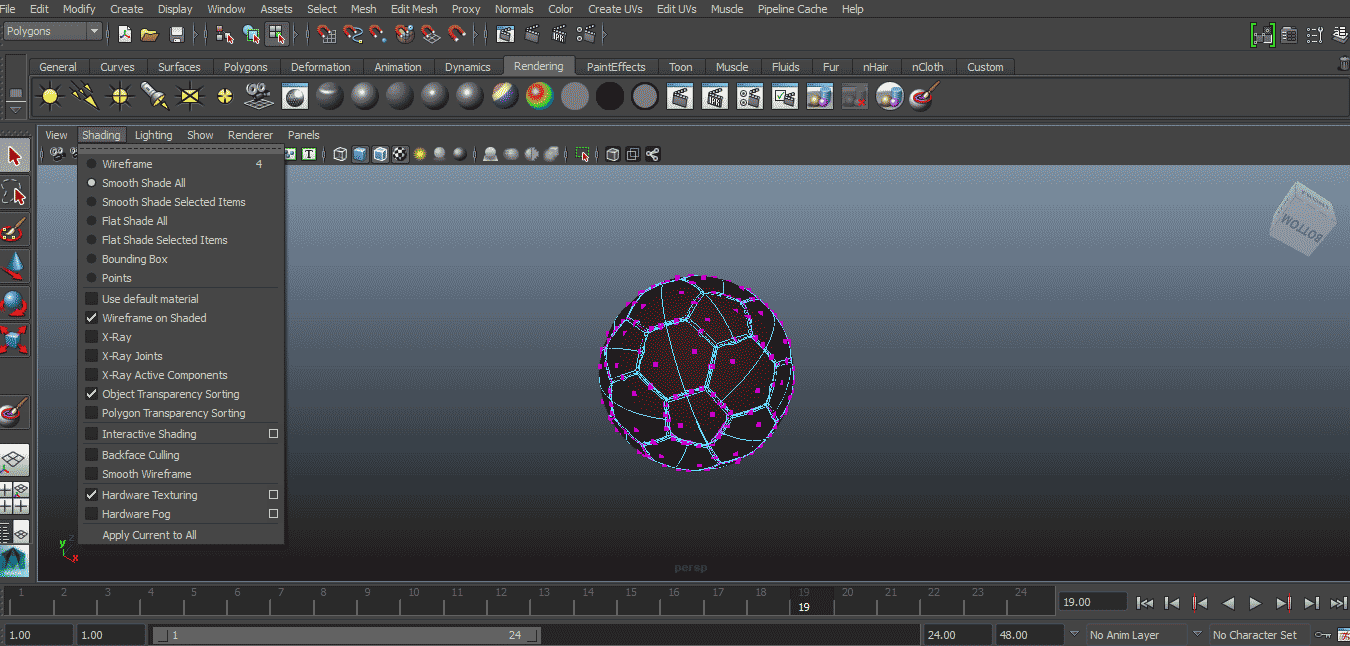
Step 1: To do that first, import or design the object in Maya. After importing that modal, keep “shading all” and “wireframe on shaded” tick marked.
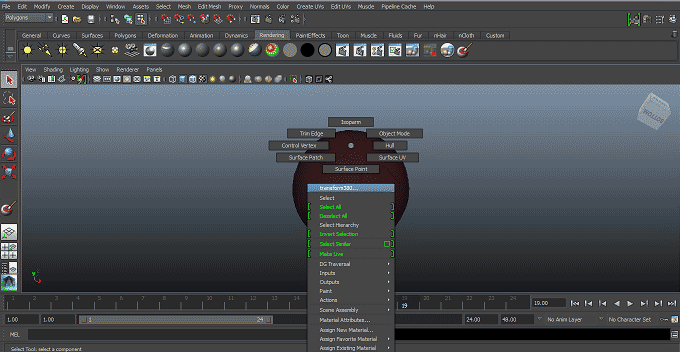
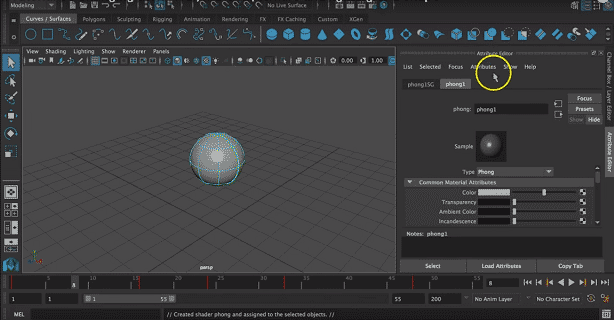
Step 2: Now, we have to add material on an object; to do so, right-click on an object a pop will appear to click on Assign New Material from the pop-up menu.
Step 3: Now select suitable material from the pop-up. Here we have selected Phong from the list.
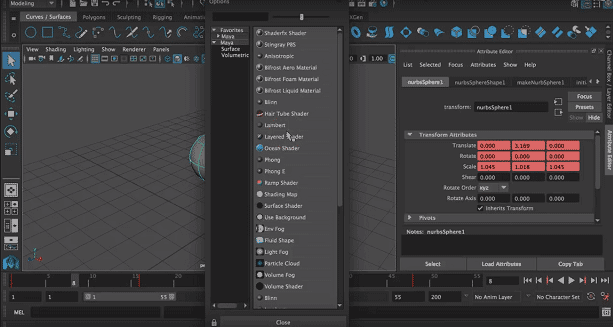
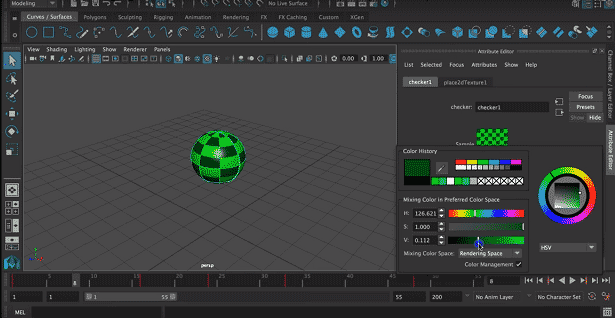
Step 4: Attribute list will appear. Select suitable attributes from the list like color, transparency, etc.
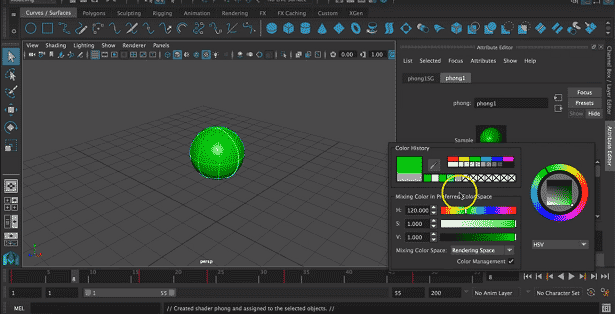
We will select the color as required. We can drag on the color list to change it according to our will.
Step 5: Now, we can add texture to the object by clicking on the right side of the color box.
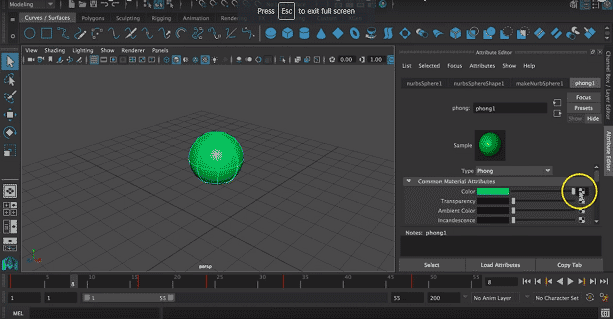
A pop will appear to select a suitable texture from the appeared window.
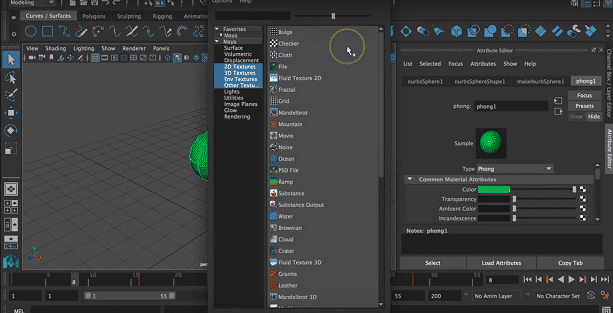
Step 6: Here, we had selected a checker as the texture for the object.
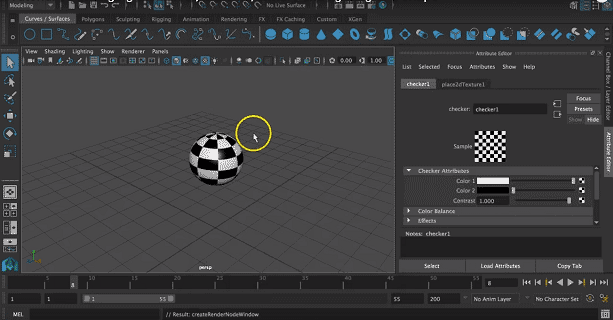
We can also change 2 colors of the texture by clicking on the color and selecting a suitable color.
Step 7: We can also select suitable shading and lighting for the object from the toolbar appearing on the menu bar.
![]()
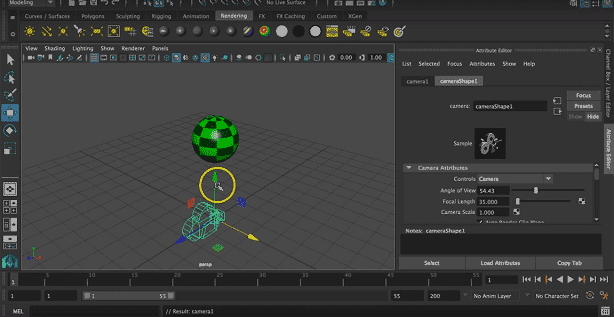
Step 8: The next step is to add a camera to the object to illuminate it to get a good quality rendered view. To do that click on create > camera > camera.
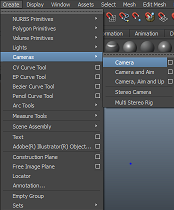
Step 9: This will automatically allow opening the camera on your screen.
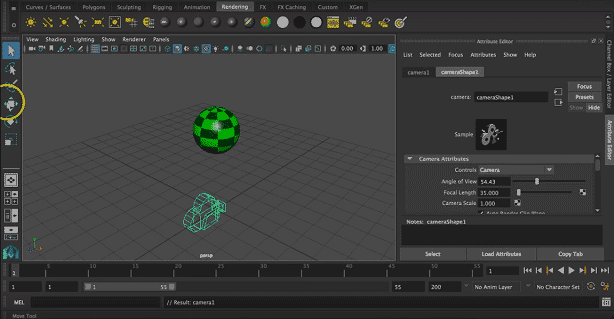
Step 10: Now, we can select the suitable location of the camera by translating it into 3 axes that are x, y, and z-axis.
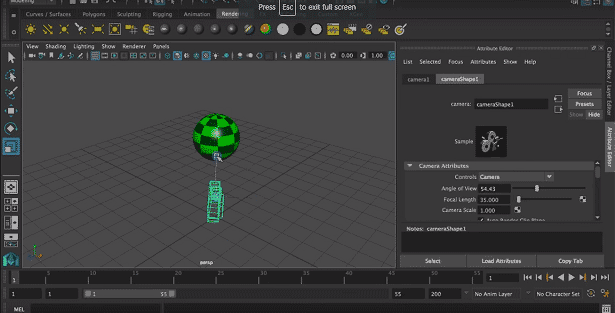
Step 11: We can also rotate it about 3 axes according to object location.
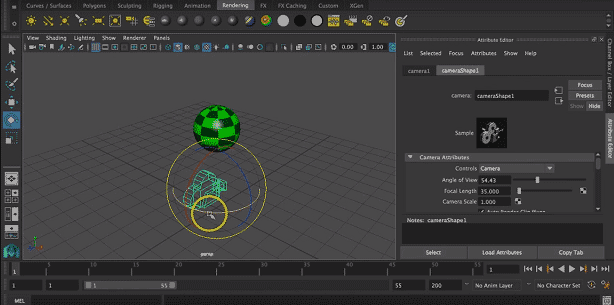
We can also resize the camera for a suitable render.
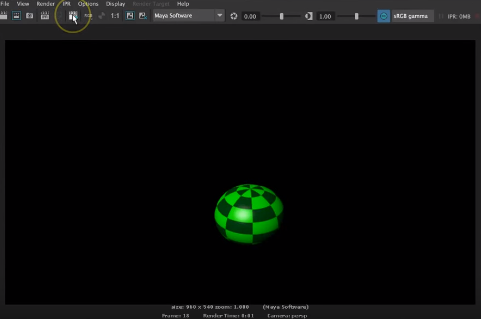
Step 12: Now, we will render the view for that click on Open Render View icon appearing on the top of the screen.
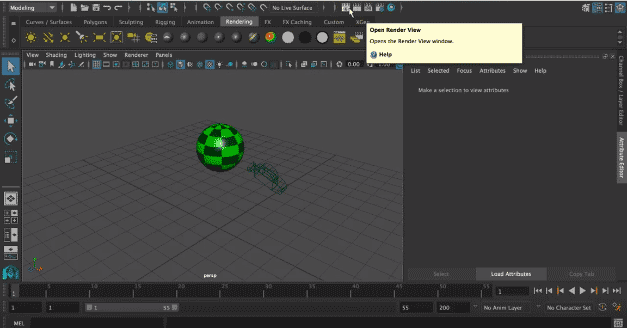
Render window with an object will appear on your screen.
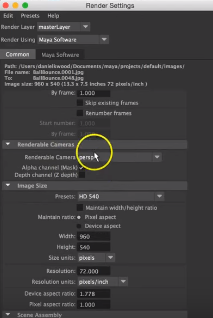
Step 13: Now, we will change the render settings according to our requirements. For that, click on the Display Render Settings icon appearing in the rendering window.
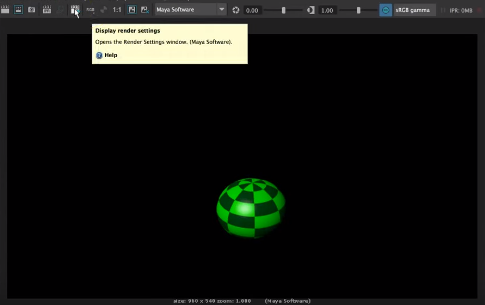
Step 14: A rendering pop up window will appear on the screen to change the rendering settings.
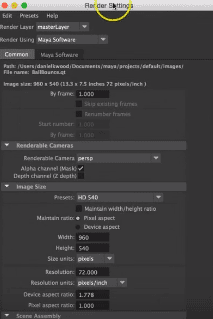
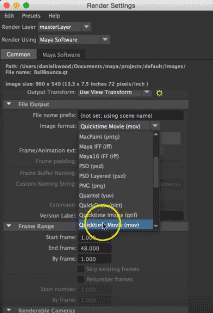
The file is saved at the correct location, image format accordingly as jpeg or any other image format from the appeared format.
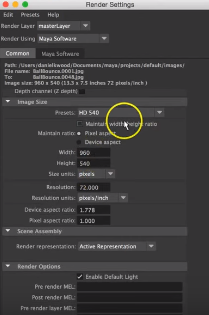
Step 15: We can also change how the camera will be focused on an object. For that, we can change its views like the front, top, side and perspective view. We can also change the size of the rendered image in terms of pixels.
We can also change the image quality that we need with this software. Since the rendering tool takes a lot of time, RAM and memory make one rendered image and select suitable image quality from the appeared window.
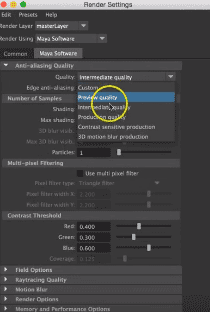
Step 16: Now, we will go to Maya software appearing next to Common settings. We can change quality as custom, preview quality, intermediate quality, production quality, custom sensitive quality, and 3D motion blur production according to user requirement.
Step 17: Now, change the process to rendering. By doing this, all the rendered tools will appear on your window.

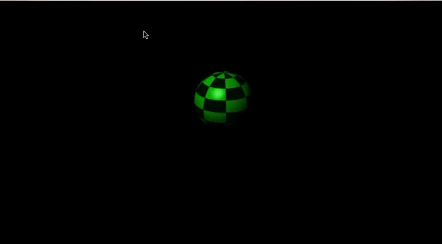
Step 18: The final step is to click on the render button to start and complete the task with the above settings.

A final rendered image can be check from the saved location of the image.
Conclusion
Above, it has been explained how we can create basic rendering using Maya software. We can also create full animation using rendering images by controlling frame speed. The outside environment of an object also plays a major role, so select suitable brightness and contrast of the environment to create any rendered image.
Recommended Articles
This is a guide to Rendering in Maya. Here we also discuss the Introduction along with steps to render any object using the Maya software. You may also go through our other related articles to learn more –
