
Introduction to Effects in Illustrator
Adobe Illustrator is used by plenty of creators, designers, VFX artists, etc. to create vector-based graphics such as emoji, logo, webpage and so on using various effects in Illustrator such as Paper Cut Effect, Water Reflection Effect, and Line Art Effect and there are countless effects on the software for refining user experience in their visual standards, all these help to design things straight from the user-developed concepts to the digital medium for use in magazine, logos, brochure, and websites.
How to Apply Effects in Illustrator?
As all the software tools have smart working processes and shortcuts for making the effects, we shall see them once after the other in detail.
1. Paper Cut Effect
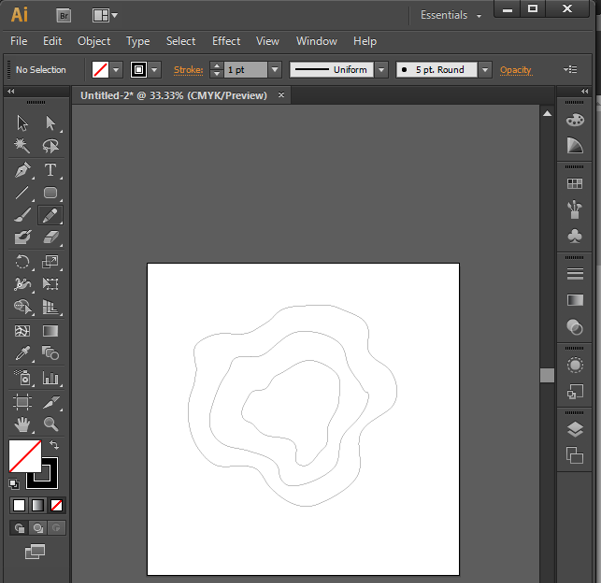
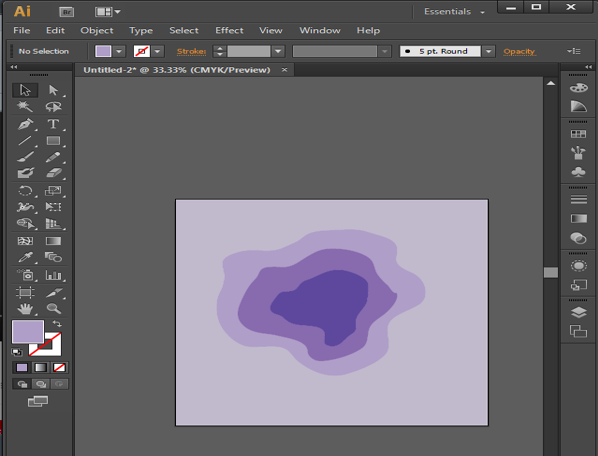
Step 1: Open Adobe Illustrator and open a new file. Select Pen tool Shortcut on the keyboard is the letter “P”. Start drawing the outer most shape as needed and close the loop. Repeat the same inside the drawn structure twice, as shown in the below image.
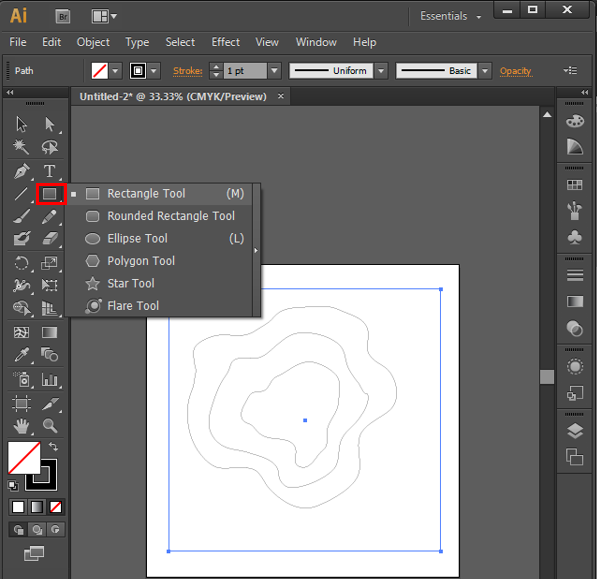
Step 2: Create the rectangular outer or squared outer for the complete image; we can also use the complete artboard or file size to better visualise the effect. “M” is the hotkey, or select the shapes from the toolbar on the left pane of the application.
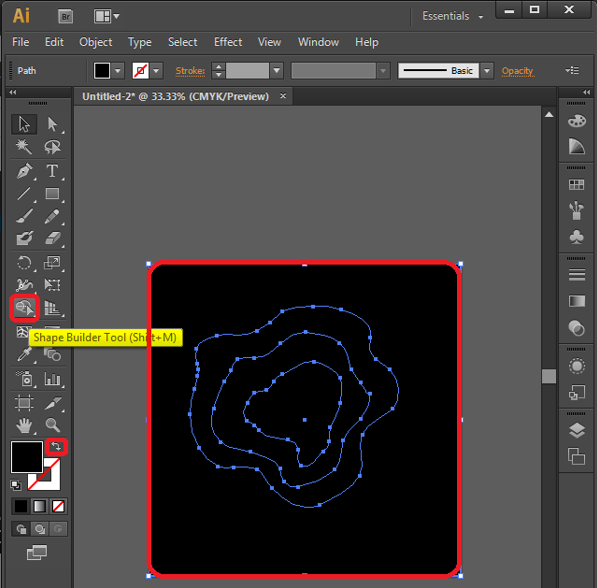
Step 3: Flip the color panel control so that we can see the selected area clearly for further process of the effect. Select shape building tool “Shift + M” for selections of the exact area.
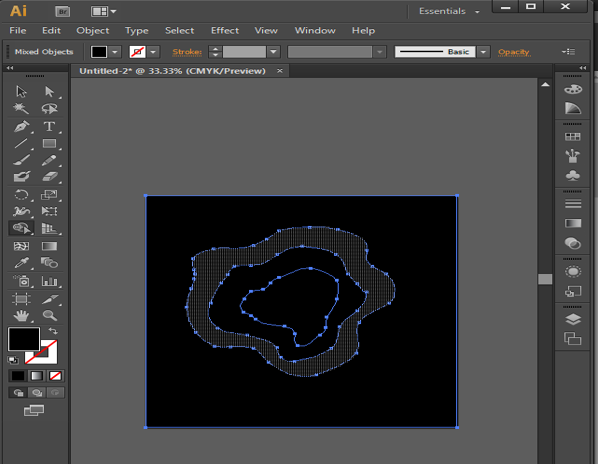
After selecting the tool, select any portion of the artboard; we can see that the specific area is selected exactly, eliminating others as shown below.
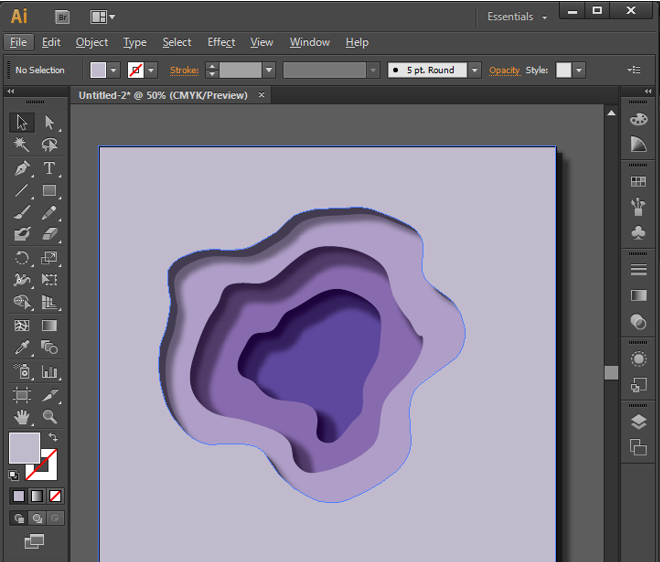
Step 4: Now select the colors to be filled inside the portions designed as regularly observed, and best practice is to select the same color with differing RGB value as going deeper as selected in the image to give a more realistic visual.
We can also go with multiple different values of colors as required.
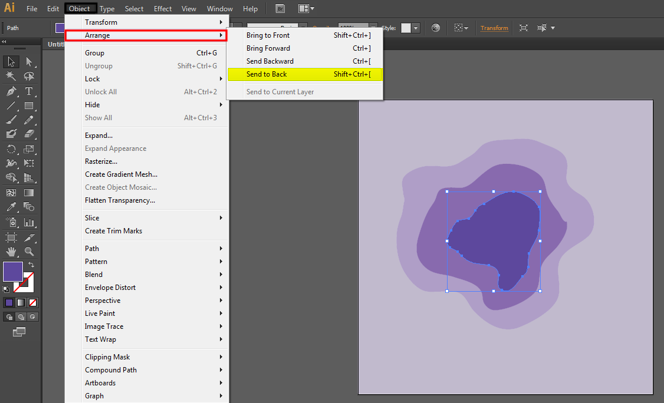
Step 5: This is a few settings to get the deep paper cut effect by placing the portions of art in different arrangements. Select the innermost layer, go to Objects from the Menu bar, go to Arrange, and select Send to back.
Objects -> Arrange -> Send to back
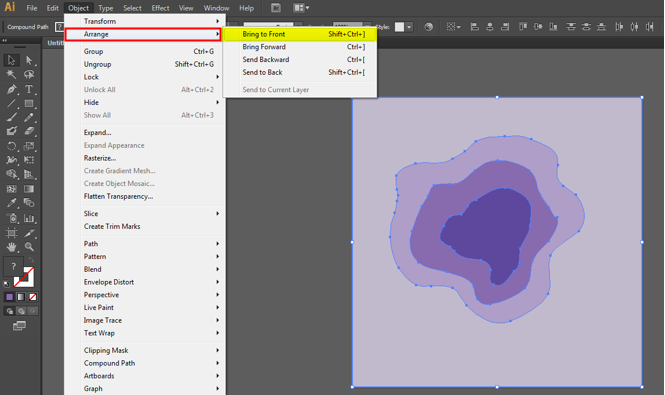
Step 6: Select one of the remaining components after the other and set their arrangement to bring to the front individually.
Select the object -> Arrange -> Bring to Front
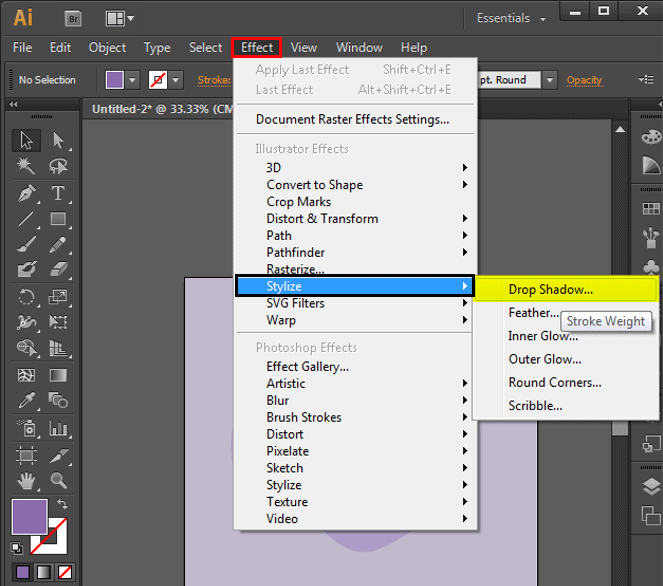
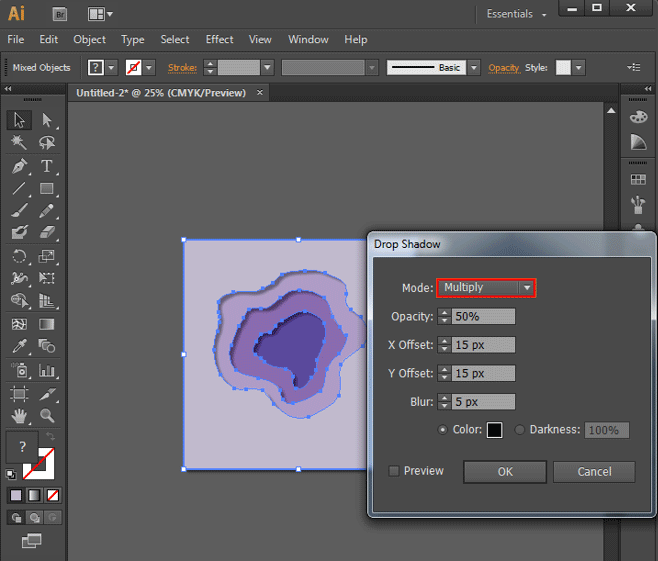
Step 7: The main move which brings life to work is to add shadow to the components. Select all 3 components of the design and click on Effects, go to Styling and select Drop Shadow. The drop shadow details window opens.
Effects -> Styling -> Drop Shadow
Step 8: Configure the Drop Shadow details as given below, which are standard; we can even change the values if need based on the look, feel, and requirement.
Step 9: Make the artboard to the center of the application or screen and check if any more repetitions or changes are required. If everything is fine, we can export the file to image formats and save it.
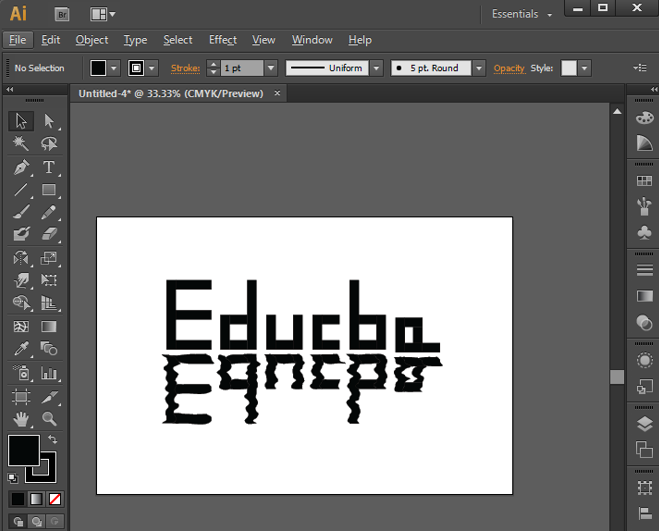
2. Water Reflection Effect
Step 1: Open the new artboard with a rectangular shape and create the objects that must be reflected; we can use different shapes and objects to reflect. Create text using shapes, pen, brush, and other tools.

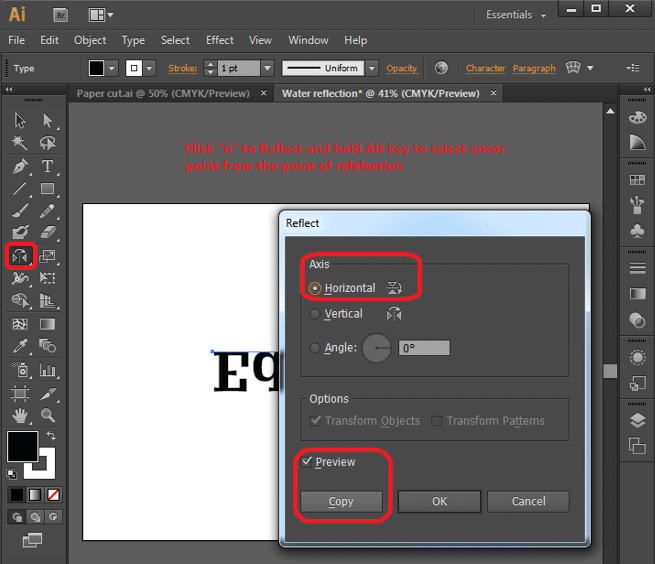
Step 2: Select the design created and click “O” from the keyboard to enable reflection, hold the Alt key and select the anchor point to reflect the object in the respective direction. Double click on the reflection tool shown below to open the windows to configure the values. As water reflection is observed naturally on the bottom side, select Horizontal from the window and click on copy to create a reflection copy.
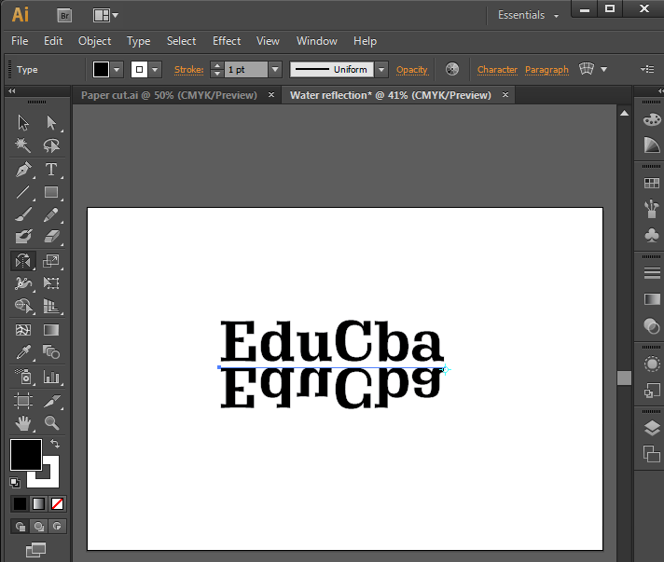
Step 3: The reflection copy sets are created; select the reflection copy and click the down arrow button to create the gap between original and reflected objects.
Step 4: Select all and press Ctrl + G to group everything on a single file. Press Shift + F7 or windows -> Align to open Align options.
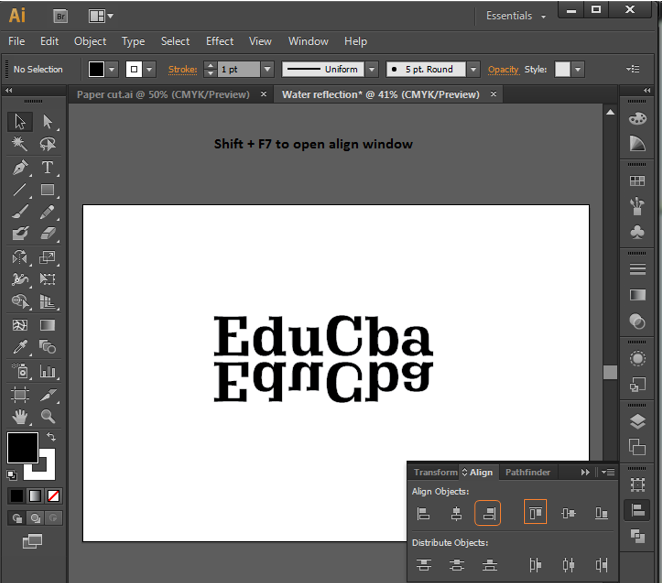
Click align to Artboard, which aligns the content to horizontal Align Center and Vertical Align center to get the component frame exactly to the center of the frame.
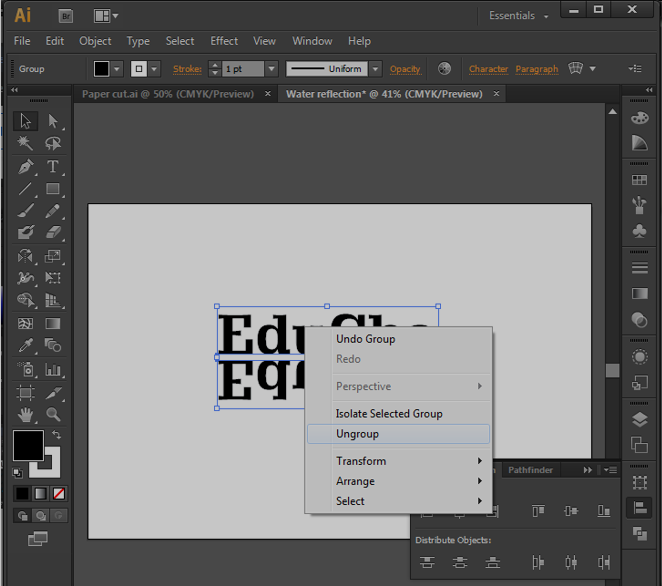
Step 5: Select the selection tool and drag and select all the components and right-click and select ungroup options. This separates the objects for selection.
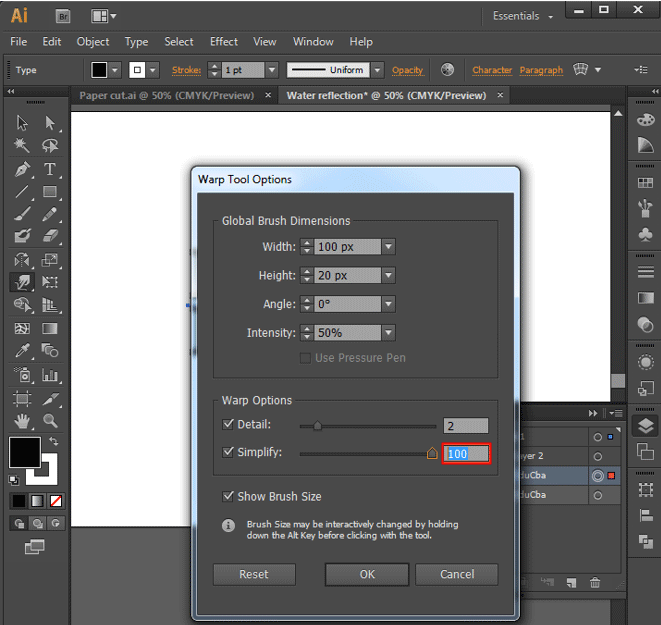
Step 6: Double click on the warp tool from the toolbar. Wrap configuration window opens and configures the setting of the wrap as given values to create a diagonal warp tool.
Step 7: Select the object which must be created as waves and move the warp tool along them to create a waves effect as shown in the image. Repeat this for every object.
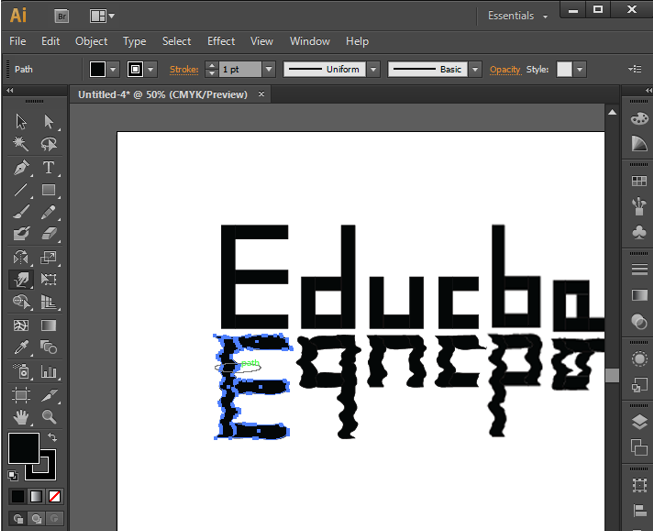
Step 8: After completing the warp moves on the design, we can add and delete few more anchor points if required for detailing and shaping at curves and repeat the warp tool move to get the shape. In the end, we get them out as shown below or even better based on the practice. By this, we can add a water reflection effect to the design content.
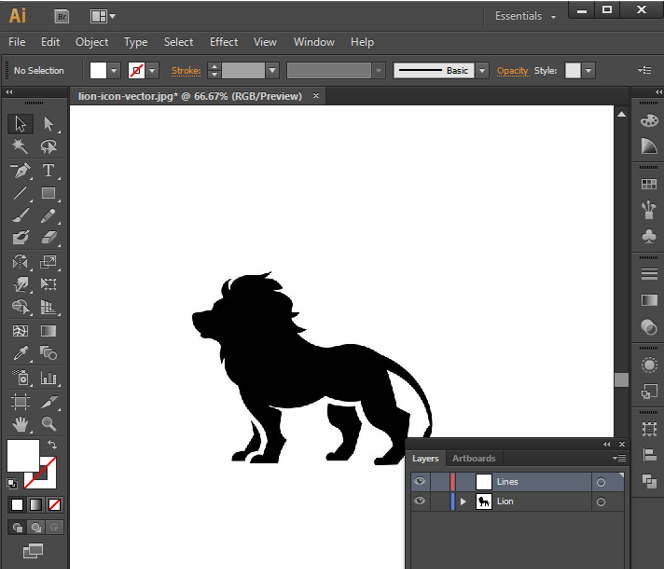
3. Line Art Effect
This is the other most simple and easy effect.
Step 1: Import or create the shape, which must be created into lines and create a new layer with the name of lines.
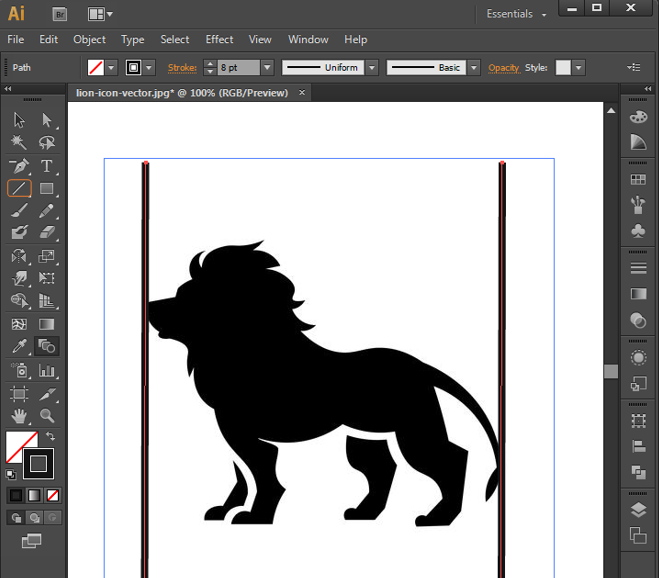
Step 2: Select lines from the toolbar and draw 2 lines with stroke and configurations as required. Place both at the start and end of the design, as shown below.
Step 3: Select the blend tool and select both lines and click enter to fill the gap with lines in between.
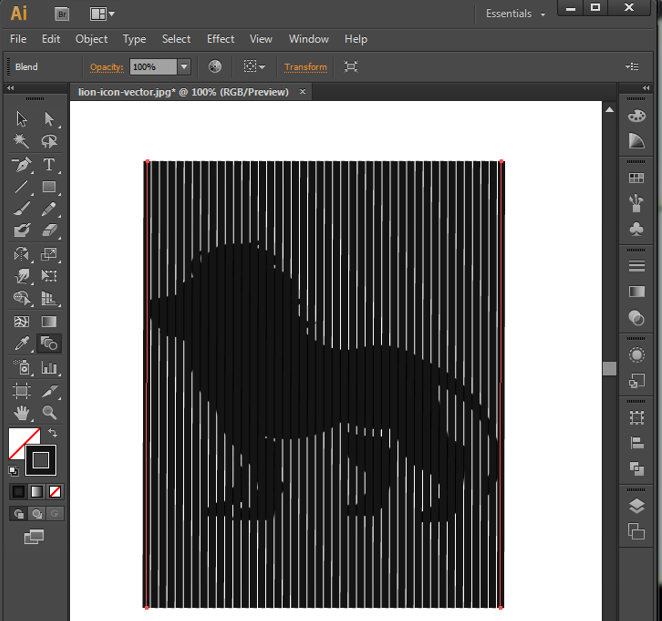
Step 4: Double click on Blend Tool to open the Blend window options, configure the option to maintain gaping uniformly.

Step 5: Select the lines layer and go to Objects from the menu bar and select expand.
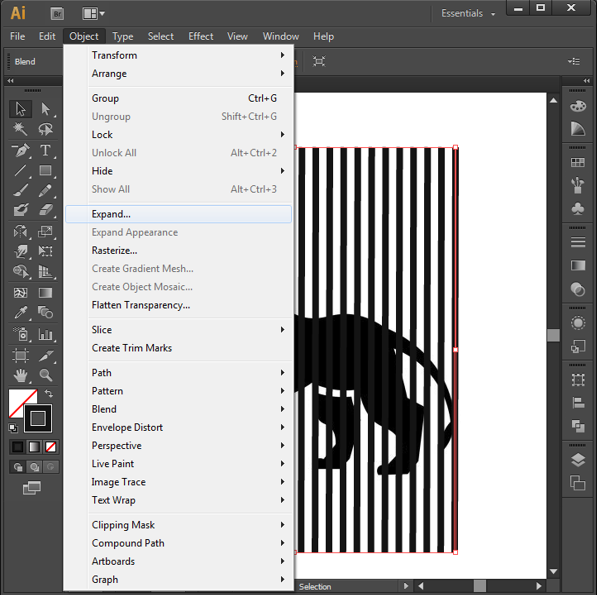
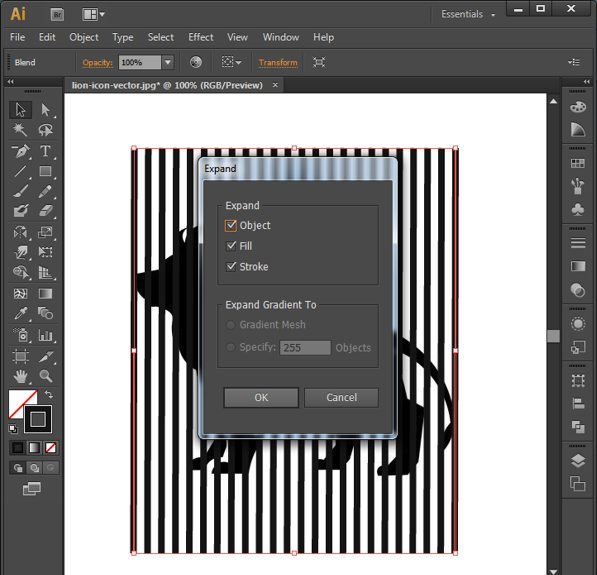
Step 6: Expand window opens, configure the window options and click Ok.
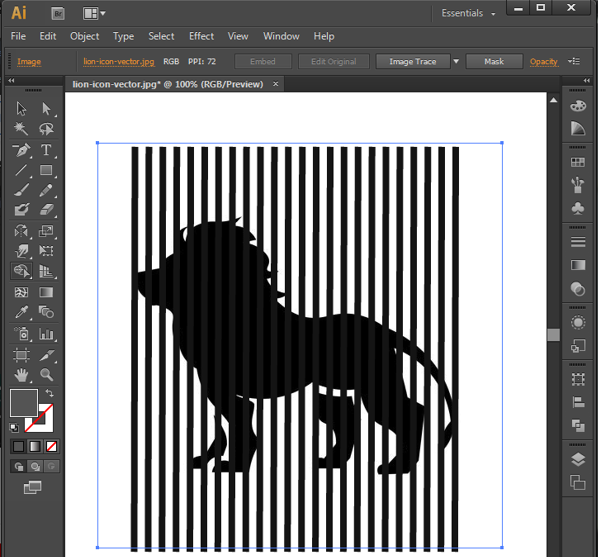
Step 7: The lines and objects both must be in different layers sharing the same area.
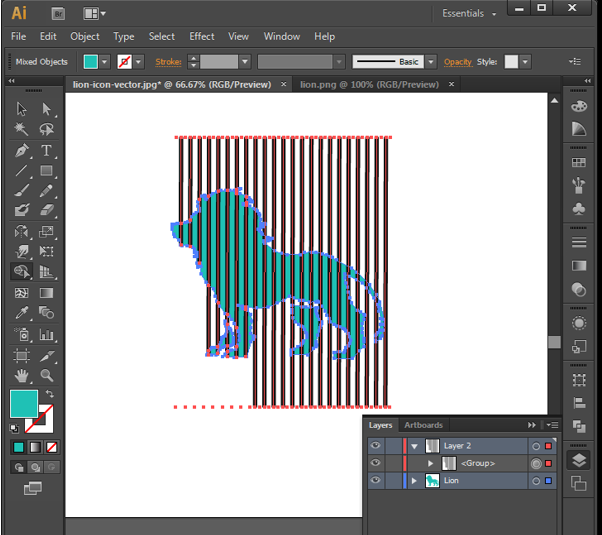
Step 8: Click the object layer (lion) and select the lines layer and select the Sharp builder tool hold Shift + Alt, and drag the corner onto the lines that are not on the object (lion) deleted automatically.
Step 9: Now remove the object layer; now we can see a line remaining in the object’s shape, which is used as a reference. This is how we get lines art effect from Illustrator.

Conclusion
We have seen how to create a few interesting effects through Illustrator. This is the tool designed for quick artworks, effects, and interesting things for graphic designers of various roles such as VFX, web designing, arts, paper editors, Magazine makers, logo makers, brochure makers, and many more. The tool needs to be understood and get enough practiced by beginners to be habituated with the interface. This tool is used in many studios providing opportunities to art students to get in a job. Illustrator is the top smooth vector-based creating tool for objects; many upcoming icons and emoji are developed through this tool.
Recommended Articles
This is a guide to Effects in Illustrator. Here we discuss how to create different Effects using layers and different options in Illustrator. You may also look at the following article to learn more –
