What are 3D Effects in Illustrator?
Adobe Illustrator is a vector graphics editor software developed and owned by Adobe Inc. It is used to make drawings, illustrations, artworks and 3D objects for various purposes. This software was initially released in the year 1987, and it was the version1. Illustrator is supported by both Windows and Mac operating systems. Illustrator is updated frequently, and the latest version was released in April 2019. Now illustrator is part of Adobe creative cloud. Adobe Illustrator is used by different professionals like web designers, architects, visual artists, etc. And it is very popular and common throughout the world. It is used to create animated characters, cartoons, logos, posters, graphs & charts, etc. Also, it allows users to upload an image and edit with the help of various tools available. Today we are going to discuss about the 3D effects or 3D tools available in the Adobe illustrator.
Types of 3D Effects in Illustrator
3D Effects in Illustrator is primarily divided into two processes,
- EXTRUDE
- REVOLVE
1. Extrude
Extrusion is a process of giving thickness to a 2D feature in the X-Y plane by developing through the Z-axis. Or it is the process of converting a 2D sketch to 3D by adding a certain height. It is the easiest and powerful way of making 3D objects. It is possible to extrude any complex shape or size using the Extrude tool in Illustrator. We can custom decide the length or thickness to be extruded.
To know more about the extrude tool, today, we will see an example of extruding an Adobe Illustrator text.
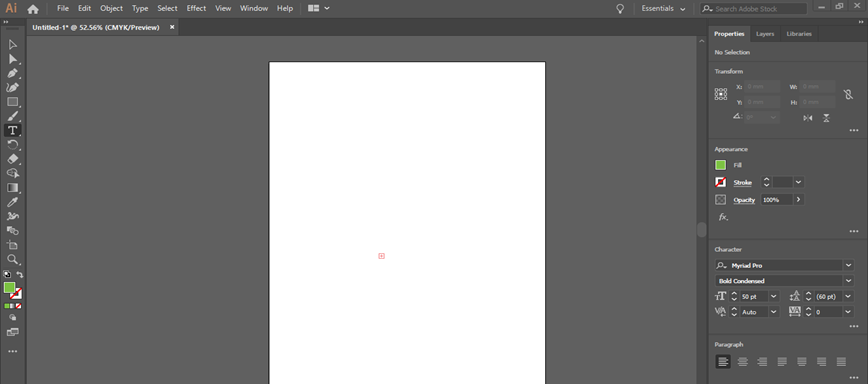
Step 1: Open Adobe Illustrator on your computer and start a new project. Select any of the page size available. A white blank page will be opened in your software as shown below,
Step 2: The next step is to add your text to be extruded. You can see a vertical toolbar at the left end of the illustrator. All the tools for various effects are given in that toolbox. See the below image showing toolbox.

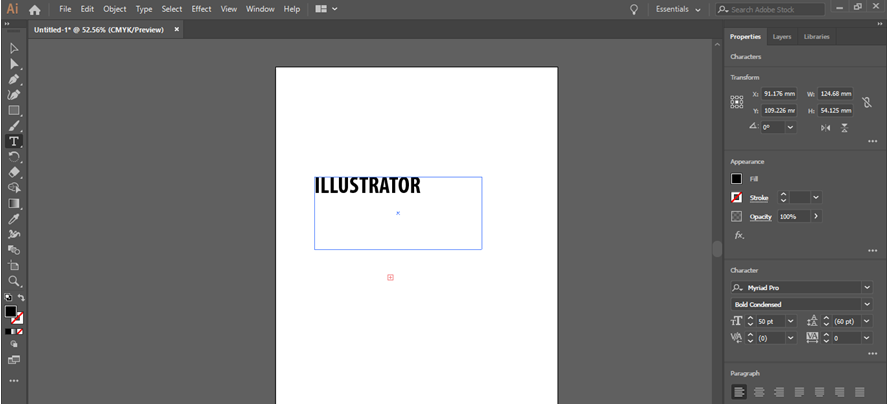
Step 3: Type tool (T) is used to add texts in an illustrator. Select type tool from the toolbar, click and drag a box on the artboard for writing your text. You can write anything as per your need. Here, for example, I used the word “ILLUSTRATOR” for extruding. See the image given below,
Step 4: Also, you can choose any font for the text as per your requirement. You can edit the size of the text from the character panel. From the window option, you will get the dialog box to change the size of the text. (Window>Type>Character)
Step 5: To extrude the text, you have to convert the text into shapes so that you can extrude the shape easily. For that, select your text using the selection tool (V), then go to Type> Create Outlines.
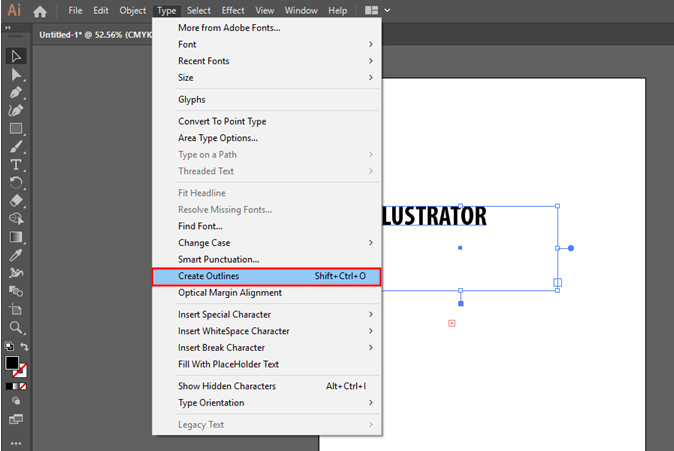
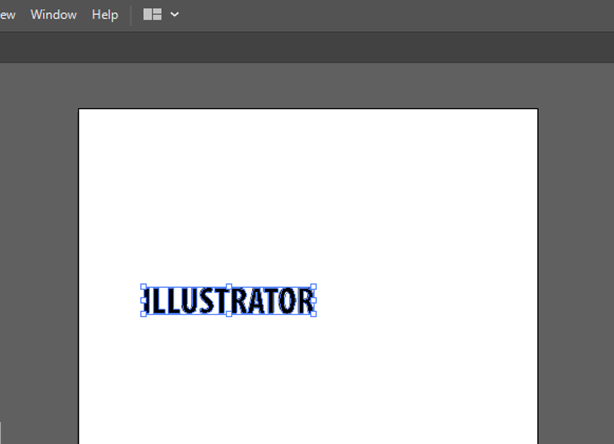
Step 6: Then, an outline will be created around your text. This shows your text is converted to shape. See the image attached below,
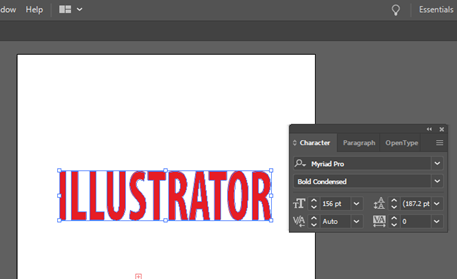
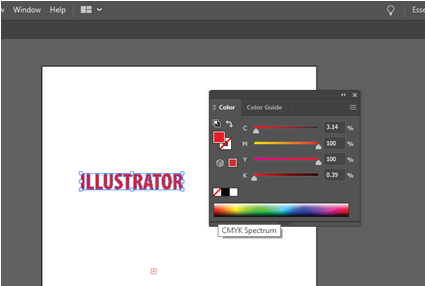
Step 7: Another effect you can add to your text is to give color. You can choose any color from the list and add it to your text. Open the color panel from a window and choose any color as shown below, (Window>Color)
Step 8: Before converting the text into 3D, make this into a group. So that the letters stay as one shape even after applying effects, group the text by choosing Object > Group.
Step 9: To apply the 3D effect, select your text and go to Effect>3D>Extrude and Bevel, which will open a dialog box. It contains various options to edit the extrusion, which includes extruding depth, position, perspective, Bevel, etc. In the dialog box, you can see a box to enter extrude depth. Type your required value for the depth as shown in the image below,
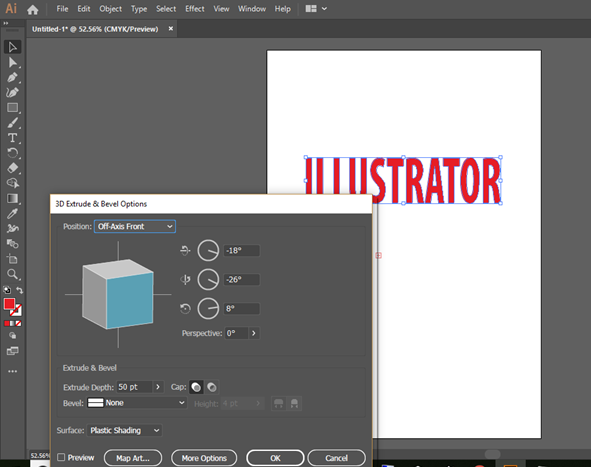
Step 10: In the 3D dialog box, you can see how your text will look after extrusion by clicking the preview button. See the image attached below,
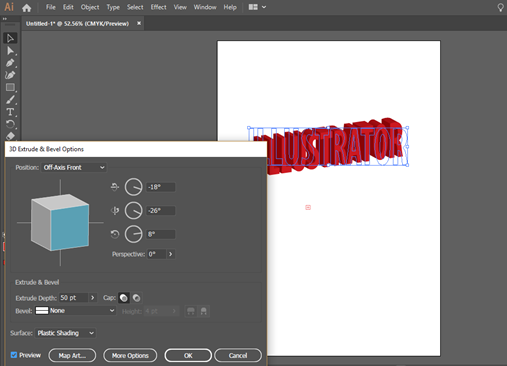
When you look at the extruded text, you can see that it is not within the perspective. To fix this, you can change the value of perspective from the extrude dialogue box.
2. Revolve
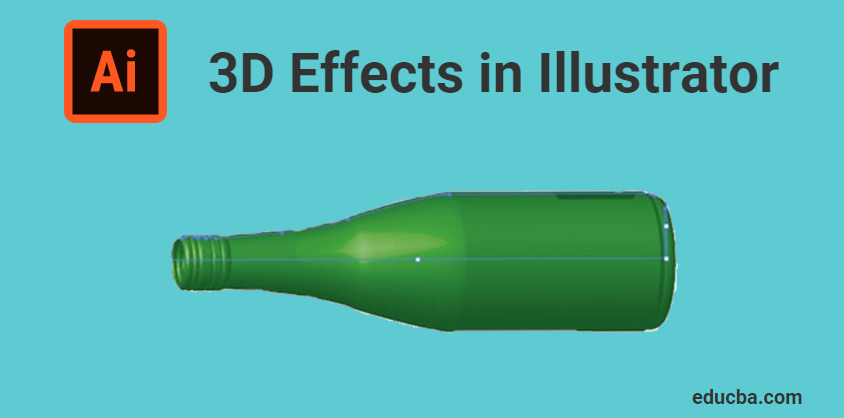
Revolution in design is the process of creating a 3D object by rotating a 2D sketch around an axis. Or it is the process of giving thickness to a 2D sketch by revolving the sketch around the center axis. Revolve tool is also as important as extruding. Mostly cylindrical and hollow objects are created by using revolve tool in illustrator.
Today we are going to learn how to use revolve tool by making a bottle.
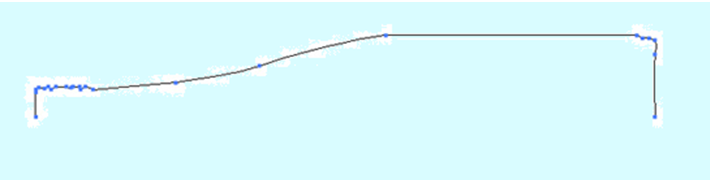
Step 1: Open Adobe Illustrator and select a new page for designing. The first step in this process is to draw a profile of the bottle to revolve. For that, you have to draw the half portion of the bottle using a pen tool. Select the pen tool and draw a half profile as shown below,
Step 2: After the first step, you have to determine the axis of rotation. And you have to select the plane and edge to be revolved. Select this using selection tool as given below,

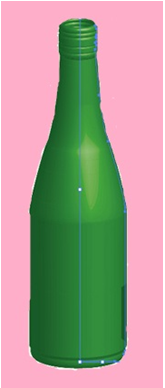
Step 3: After finishing the drawing, select the drawing and go to the revolve option from the effects menu. Effects>3D>Revolve. Then a dialogue box will be opened with various options for revolving the drawing. It is the 3D revolve options; using this; you can change various parameters of revolve. By clicking on the preview option, you can see the revolved bottle on the screen, as shown below.
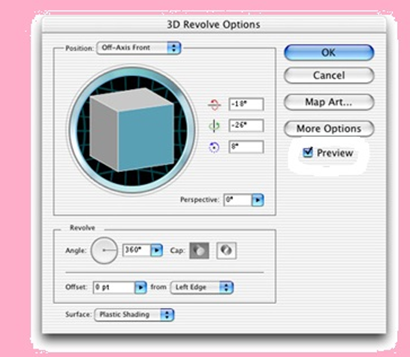
Step 4: Here, using these revolve options, you can fix the degrees to rotate, thickness, offset, etc. Also, by rotating the cube, you can see different views of your 3D object.
Conclusion
Adobe Illustrator is the most common vector graphics editor used by designers, media persons, illustrators, etc. We can use this software for creating digital graphics, 3D rendering, illustrations, typographies, etc. It is an easy and effective software which can learn very fast. Even beginners can also easily understand their method of working. Here we had discussed the basic 3D effects in illustrator. These are just a basic part of this software, and once you get in touch with the software, you will learn a lot more effects and tools. The possibilities of this software are endless, and Adobe provides that many tools and functions for its users.
Recommended Articles
This has been a guide to the 3D Effects in Illustrator. Here we discuss the concept and step by step explanation of how to use the 3D Effects in Illustrator. You can also go through our other suggested articles to learn more –
