Updated August 16, 2023
What is Track Changes in Excel
Track changes in Excel is the function that allows users to give authority and permission to other people with whom they want to share the file. With the help of Track Change, we can allow other people to review, change, or share ownership of the file we want.
It does not work in the worksheet, which consists of a table. To use track changes in such tables, we need to convert that table into Range by selecting the table from the Design menu tab. It is better to keep the file in a shared location to edit and save it multiple times in the same location.
Examples of Track Changes in Excel
The feature enables the user to track changes on the same sheet or list the changes on a separate sheet.
- Listing changes on the same sheet.
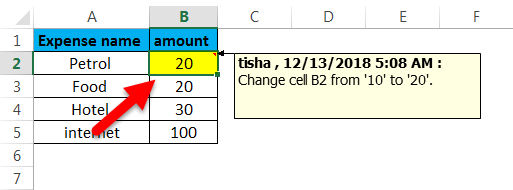
In this type of track changes in Excel, all the changes will get listed on the same sheet on which the changes have been made. The cell value has been changed from 10 to 20; hence, this change has been highlighted as a track change.

- Listing changes on a new sheet.
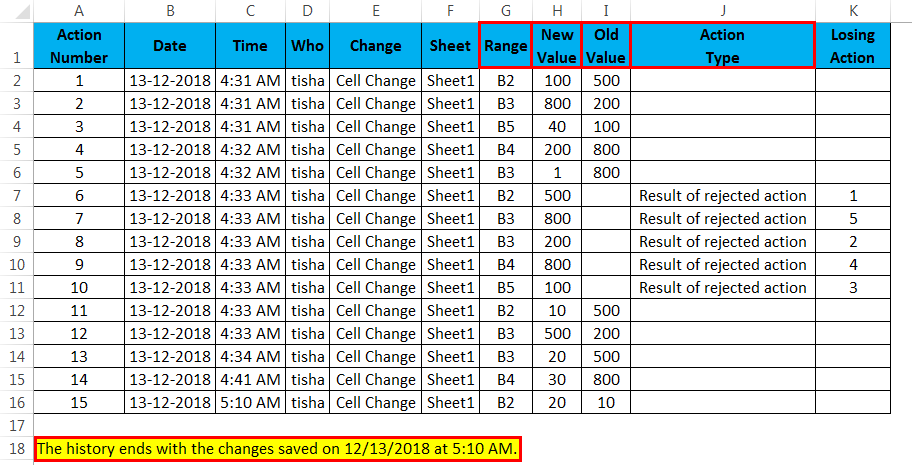
In this type of track change, all the changes made to the file will be listed in a new sheet. In this type of track change, all the changes are listed in one go, and this becomes easy to review the changes.

- Listing changes via the Approve/Reject Tab.
The changes made to the file can also be listed from the tab called “Approve/Reject changes”.
Explanation of Track Changes in Excel
Track change in Excel is the same as the audit log function mostly available in the software. As the name suggests, the Track Changes feature will let the user know what changes have been made since the Admin has saved the file.
Tracking Excel changes proves useful when working on a file you intend to share with someone or your team. Activate the tab to list the changes made to the file to prevent any serious impact on the formula-driven values in case someone has made changes that shouldn’t have been made. A track change feature can use on the whole sheet or some certain part of the worksheet.
This important and useful feature restricts the application of tracking changes. Sometimes we are just concerned about some specific part of the worksheet and do not want to review the changes made in other parts.
How to Use Track Changes in Excel?
Track change in Excel is as easy as saving the file because this feature does not require coding or formulas.
This feature can use only once you select it to be applicable.
Method #1 – Highlight changes on the sheet.
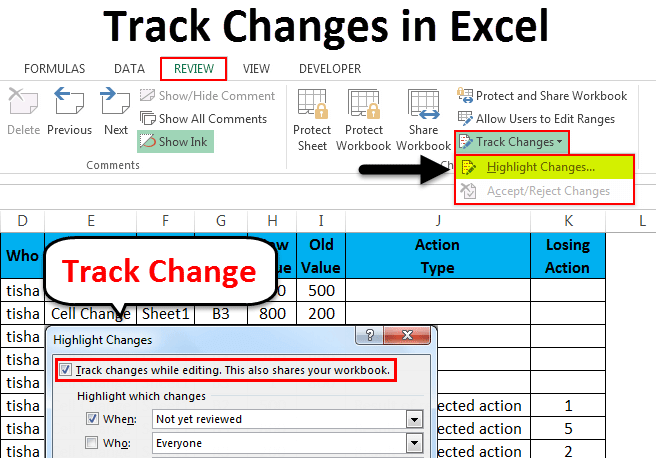
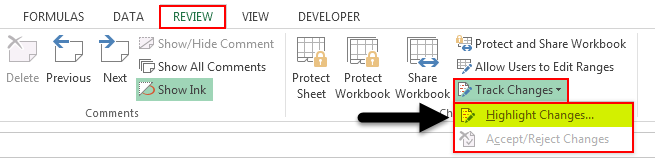
Step 1: First, go to the Review Tab of Excel. Under this review tab, go to “Track changes,” available under the “Changes” function. Now click on the Track Changes option.

Step 2: After clicking on the Track changes option, a dropdown will appear, then select the “Highlight changes” feature.

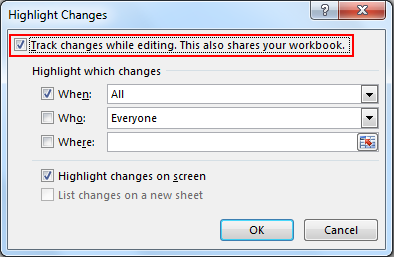
Step 3: Now select the option of “Track changes while editing…”.
Step 4: Now, we have to select the criterion for viewing the changes made in the file. This option will allow the user to filter the changes by date, not yet reviewed, etc.
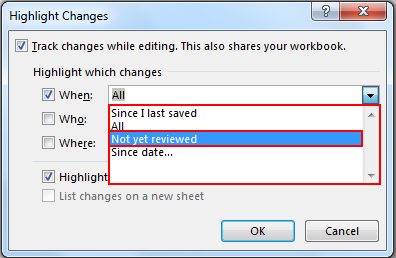
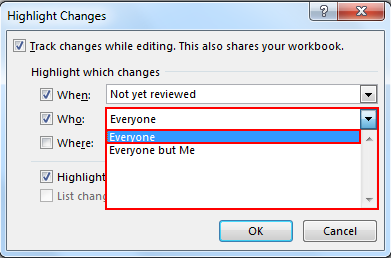
Step 5: If we only want to track changes that only a specific user makes, then we can use this option. This feature is important when we only want to track changes made by some specific person. This specific person can be the manager of the team.
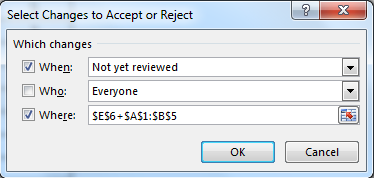
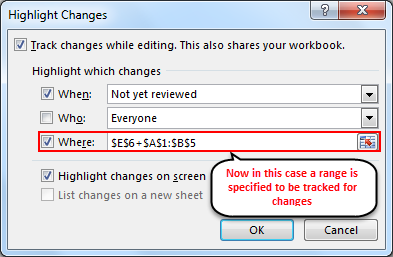
Step 6: Now, we have to choose to track the changes in the whole sheet or some part of the sheet.
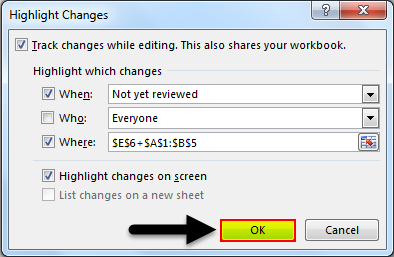
If we want the changes tracked in the sheet, simply uncheck the box.
Now click on “Ok”, and track changes will be applicable from now.
If any change is made to the file, this will be shown in Excel as below.
Method #2 – Creating a separate file of changes made to the file.
Step 1: Go to the REVIEW tab and click on Highlight Changes.
Step 2: Choose “list changes on a new sheet” from this option and click “OK”.

Step 3: A new sheet will be created to list all the changes made to the file.
Things to Remember
- When track changes are enabled, this makes the sheet “Shared”. This means that different users can make changes in the spreadsheet simultaneously.
Share workbook will not support all the features of Excel like:
- Conditional formatting.
- Data validations.
- Sorting.
- Filtering.
- Merging cells.
- A worksheet that has tables will not be able to work with the Track changes options as tables cannot be shared. In this case, to enable track changes, the tables must be first converted to the Range.
- Note that Excel will only track changes made to a cell value and not all changes. Some changes, like hiding a row, deleting the row, or changing the color of the cell, will not be tracked in Excel as this is not quantitative information.
- Excel will keep the history of changes for the past 30 days; this preference can be changed, but the default duration to keep changes is only for the past 30 days.
- If in case the changes are highlighted on a new sheet, then the sheet by the name of “History” will get auto-deleted once the file is saved.
- When a file is on Track changes, no sheet can be moved or copied into the file as this is a restricted feature.
Recommended Articles
This has been a guide to Track changes in Excel. Here we discuss the Track changes and how to use the Track changes in Excel, along with practical examples and a downloadable Excel template. You can also go through our other suggested articles –
