Introduction to Rendering in 3ds Max
3D Max is a professional 3D computer designing software, which is used in creating 3D animation, games, models, images, etc. and plays a major role in the work of Video Game developers, Film and TV Studios. Rendering is a very important part of 3D max modeling. In render, we see the natural effect of light, reflections, refection and some other major effects on our model by setting some parameters of the rendering option. Rendering gives a live visualization of any model after designing it and makes you understand how your model will work in an environment when it applies in the real world.
Before starting any work in 3D max, we will set the unit according to our requirement.
How to Set the Units in 3ds Max?
Following are the steps to set units in 3ds max:
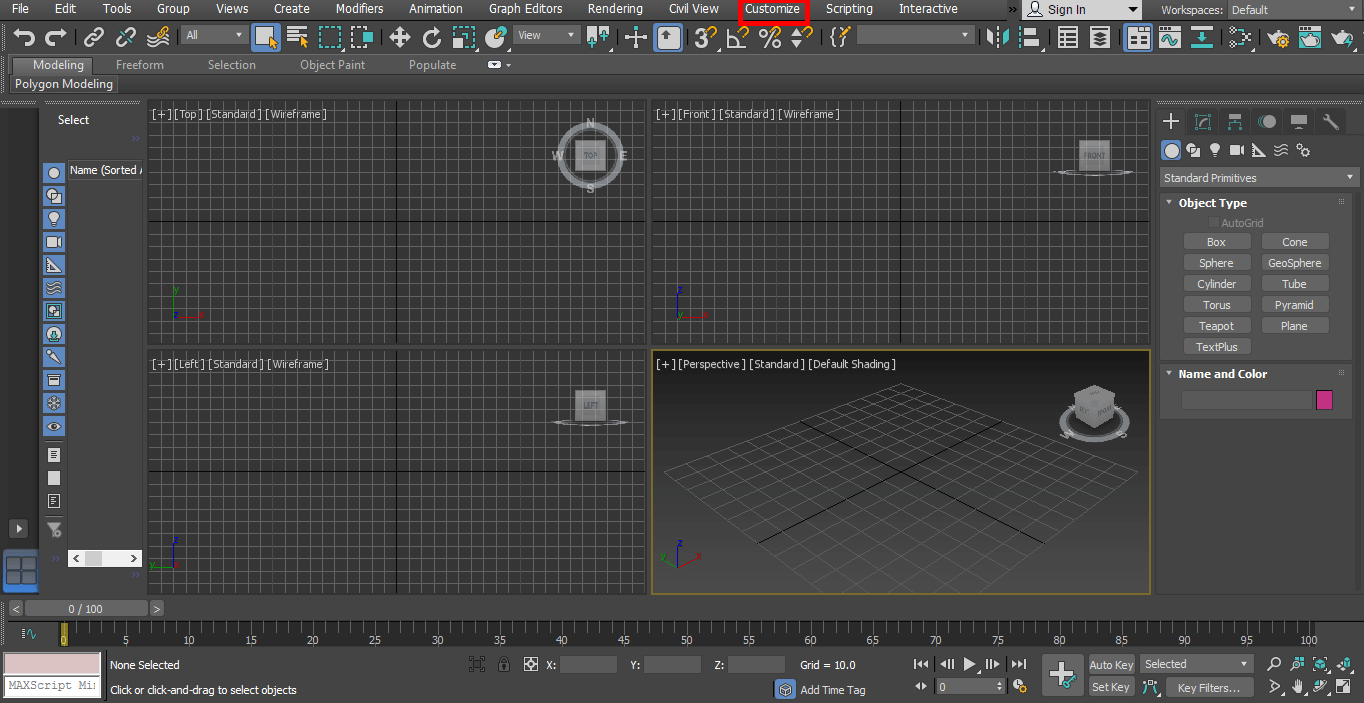
Step 1: First of all, we will set units according to our requirements. For setting units, Go to the customize button on the top corner.
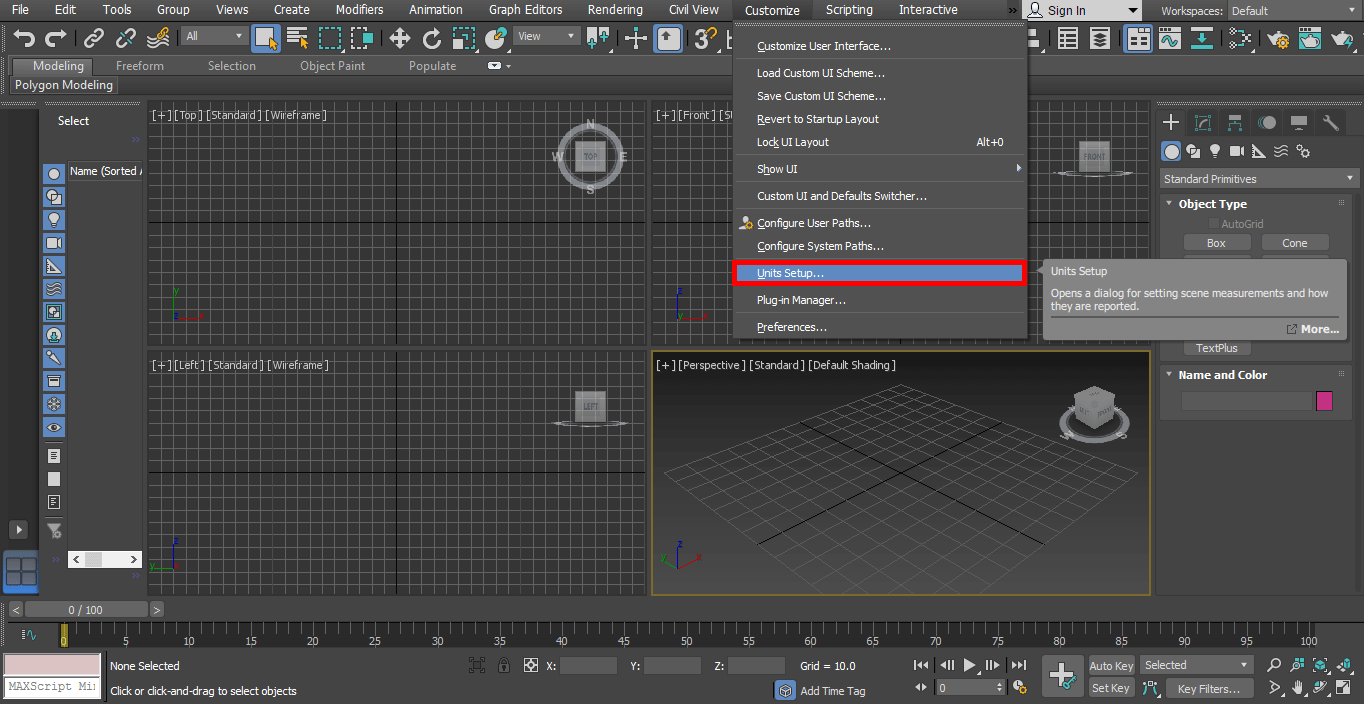
Step 2: And click on the Units Setup option.
Step 3: A dialog box will open; there are two options for setting the unit.
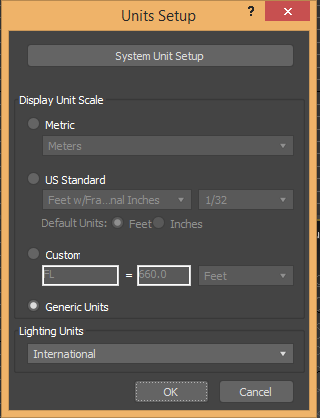
Step 4: Metric for setting unit in Meter, Centimeter, etc.
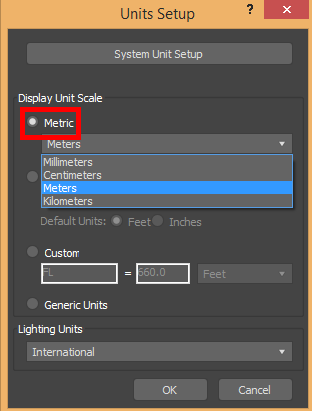
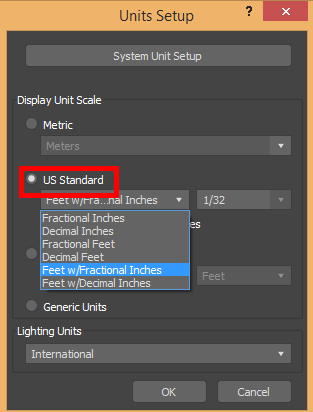
Step 5: And the other one is the US standard for setting units in Feet and Inches.
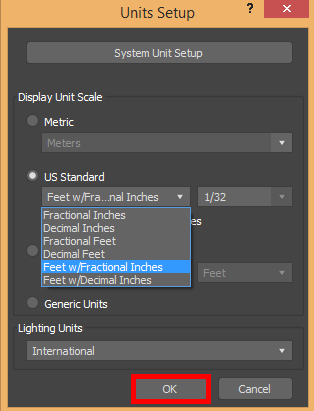
Step 6: We have a system unit step option here. We generally take its unit in inches because when we import any other model in or project, there will be no change in the imported model unit. Now press Ok to set the unit.
Rendering and Render Setup in 3D Max Software
Below are the steps showing the rendering setup option:
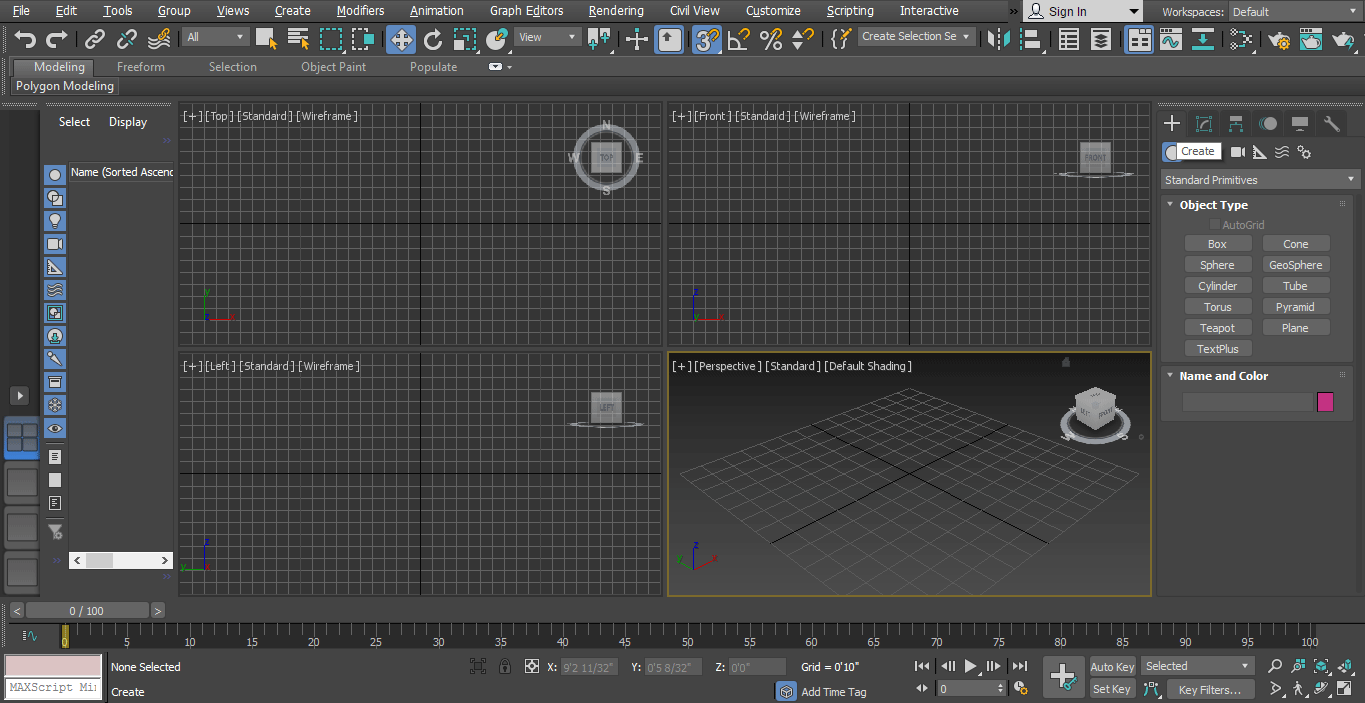
- We have four viewports here in our working area are Top view, Front view, Left view, and Perspective view. We can draw our object in any one of them at any time of our working, and that object will display in all viewport.
Now let’s start learning about rendering in a step by step manner.
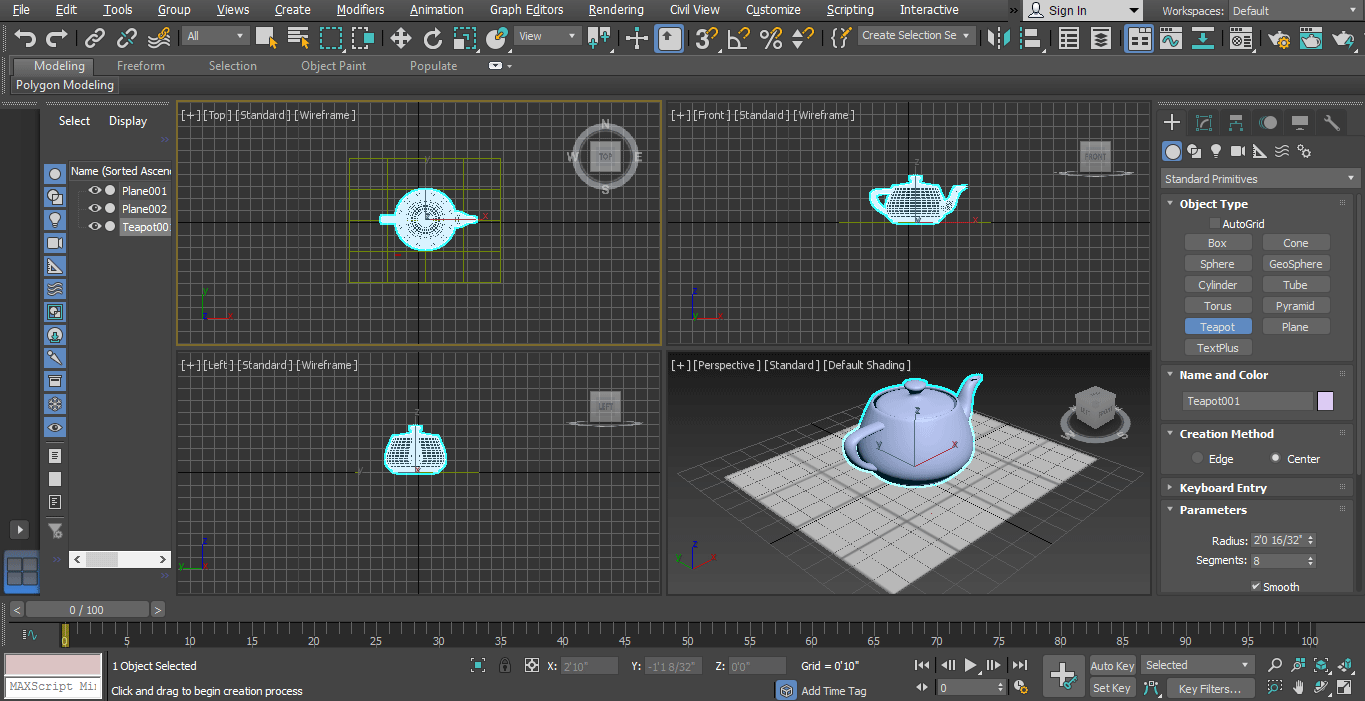
Step 1: First of all, we will draw a teapot shape from create option, you can draw any shape for your learning, and after drawing, we will see the rendering effect on it. We will draw a plane for making a reflective surface of the teapot and see the effect of the render on both plane and teapot.
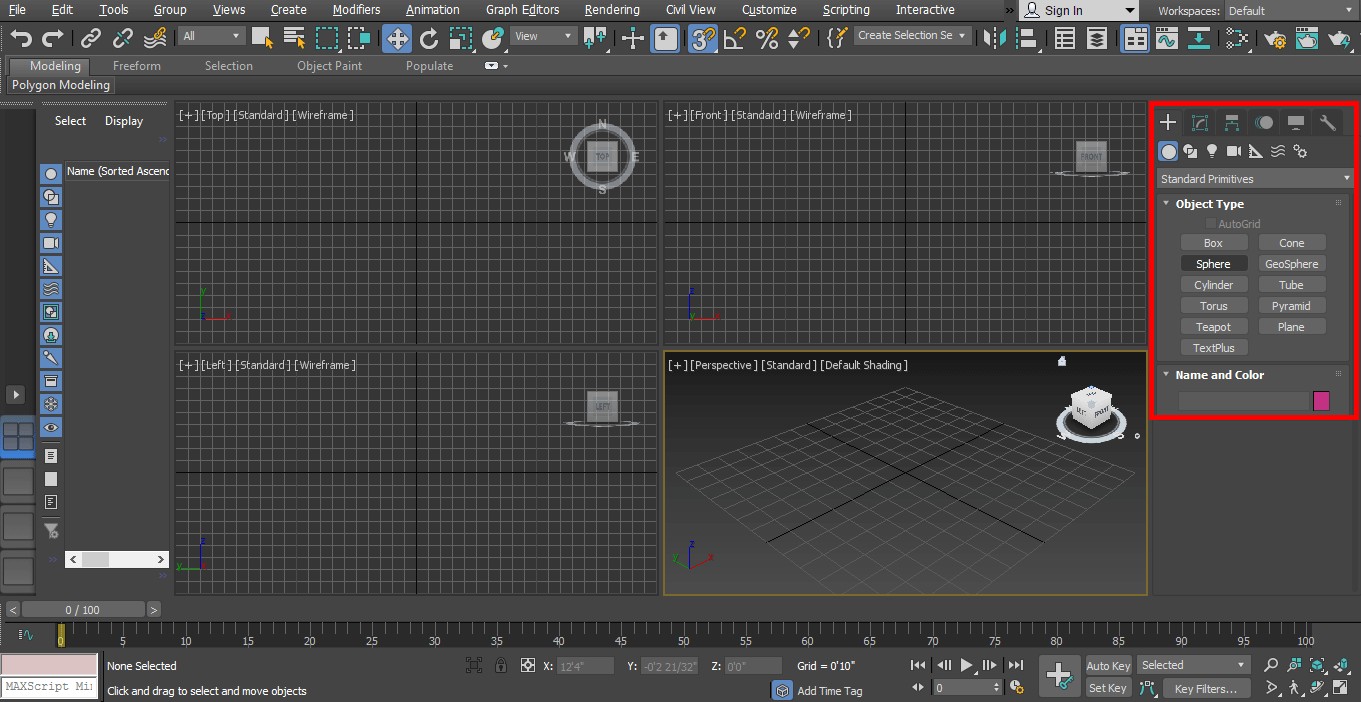
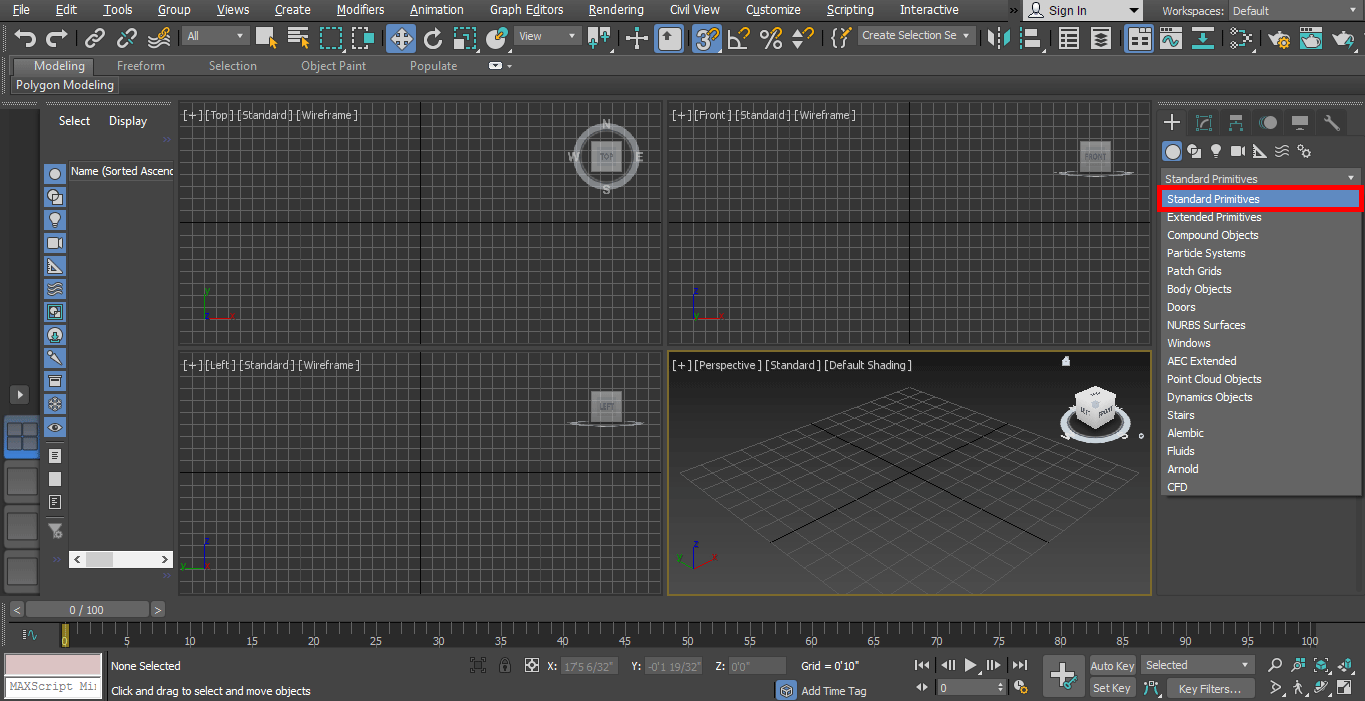
- For drawing plane go to common panel.

- Click on the Create Tab.
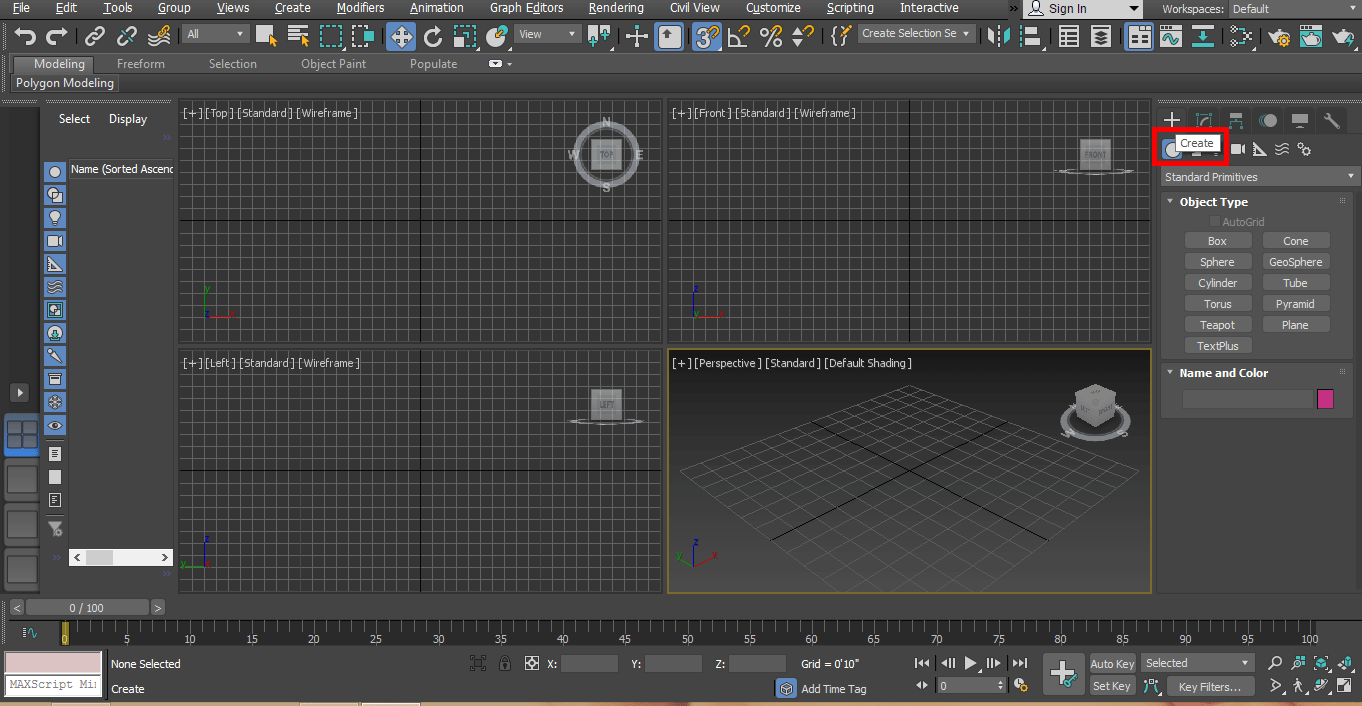
- Click on the Standard Primitive option of the common panel.

- Click on the plane tab.
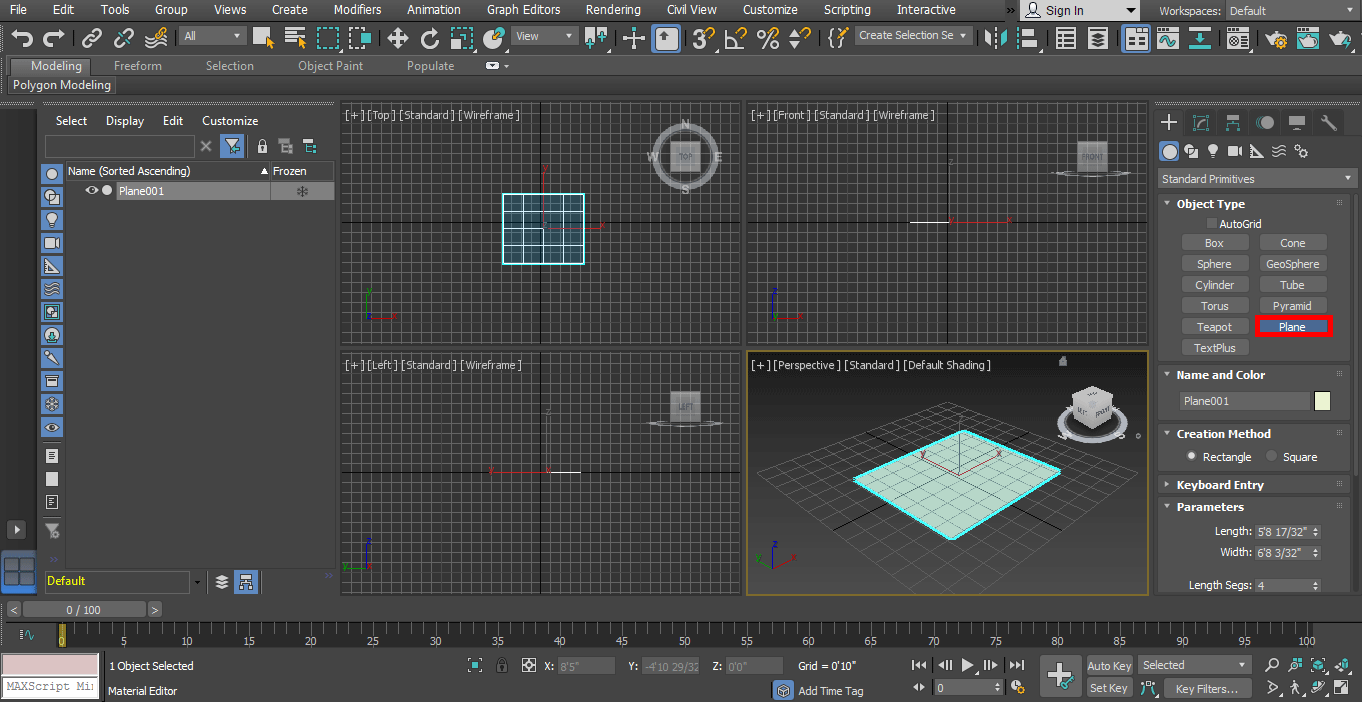
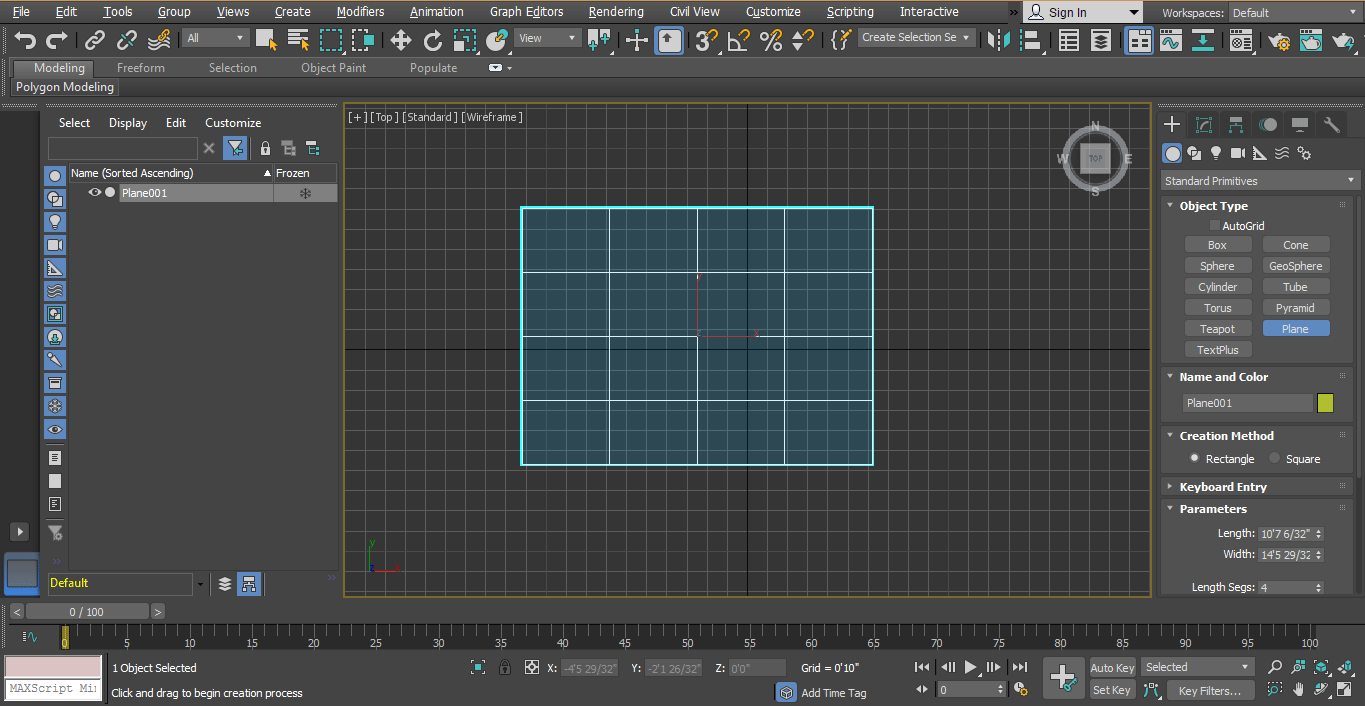
Step 2: I will take the top viewport as a full screen to draw planes (Alt + W). Click anywhere on the top plane and drag the mouse pointer to draw the plane.
Step 3: Now again, press the Alt +w button to see the normal view tab screens, and now I will work on perspective view and press Alt +W for fullscreen.

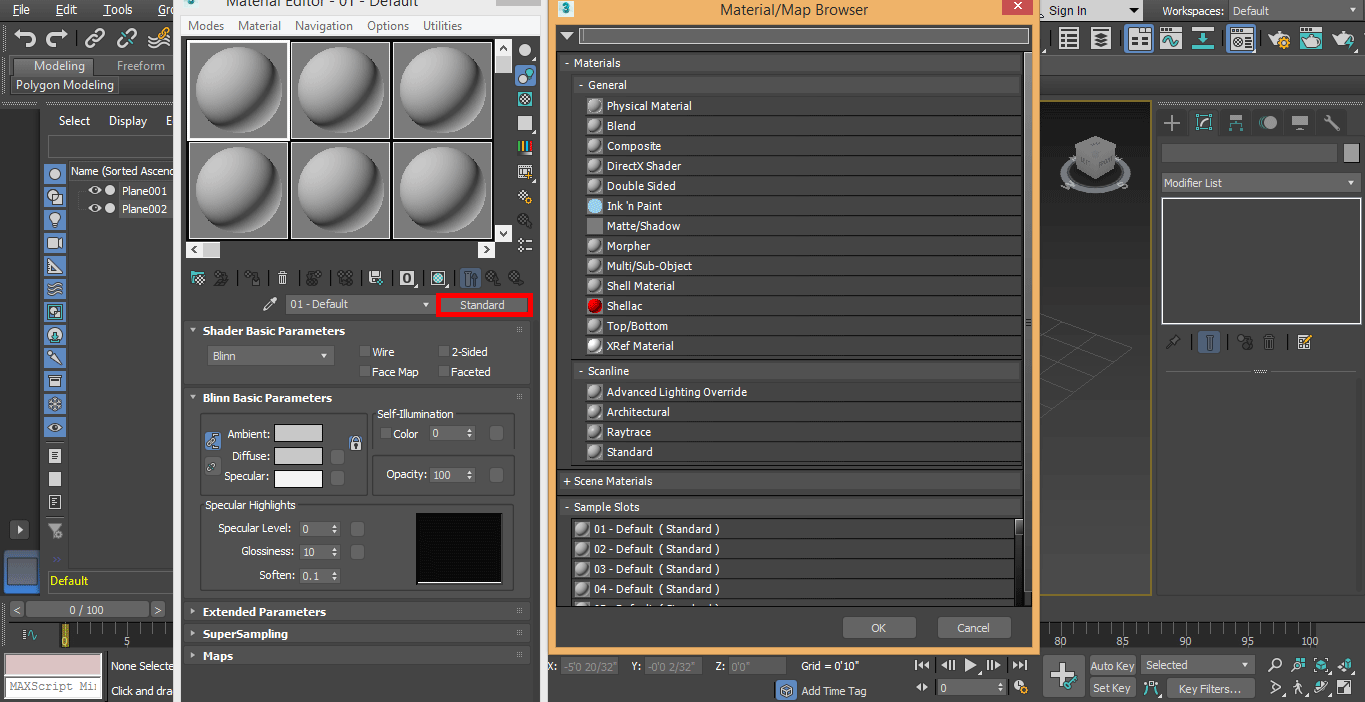
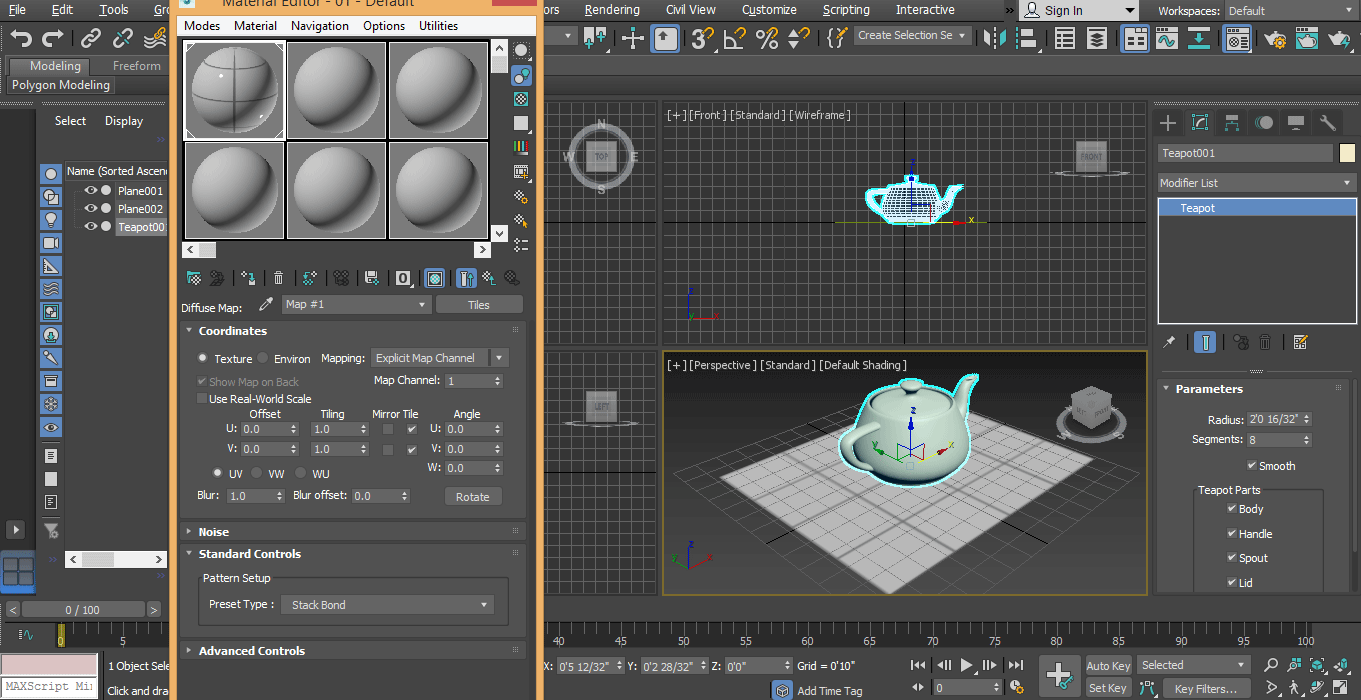
Step 4: Now, I will press M from the keyboard for material editing of the plane for better reflection.
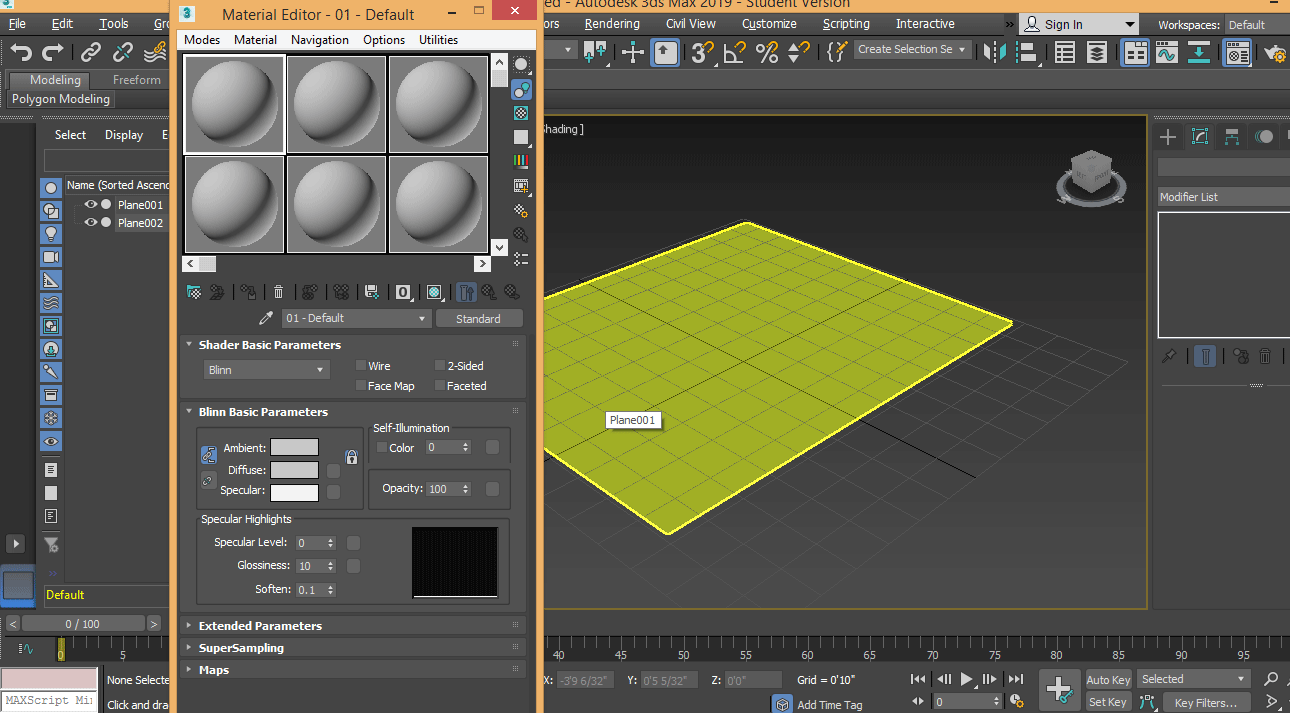
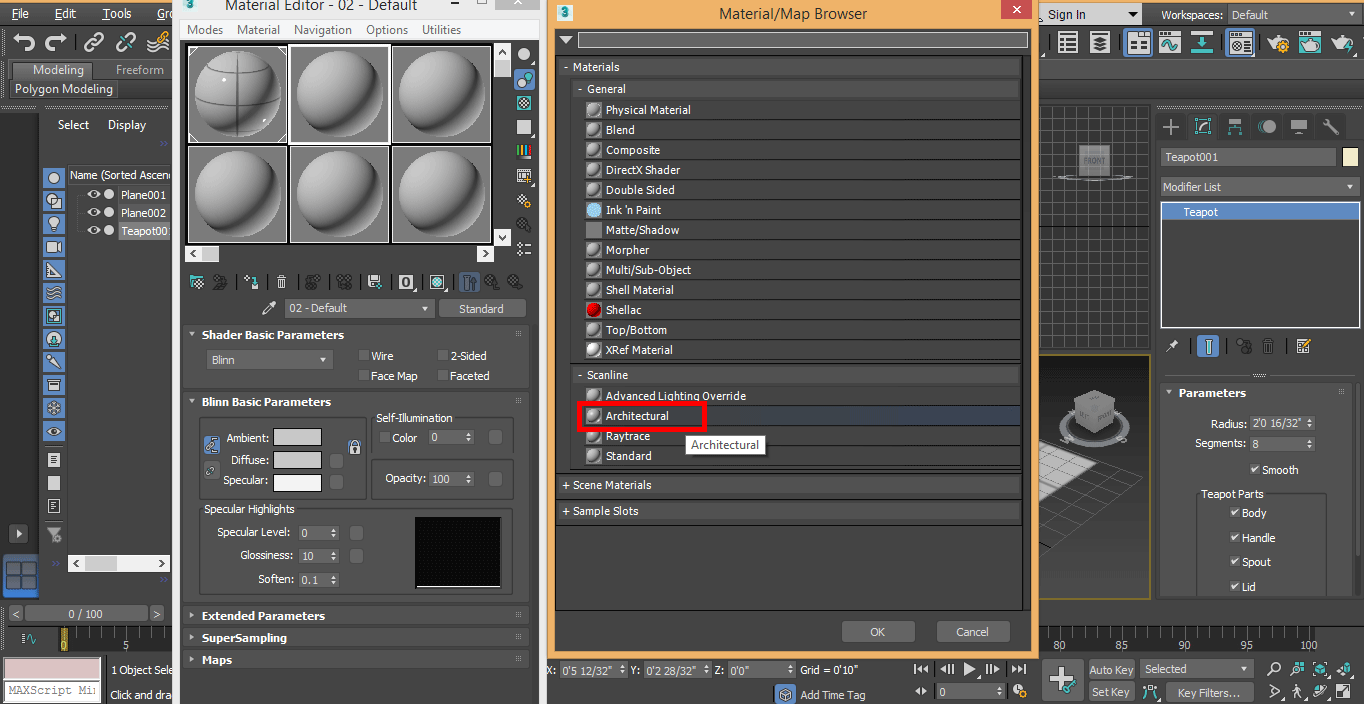
Step 5: Click on standard in the dialog box; a new dialog box will be openly named with Material/Map Browser.
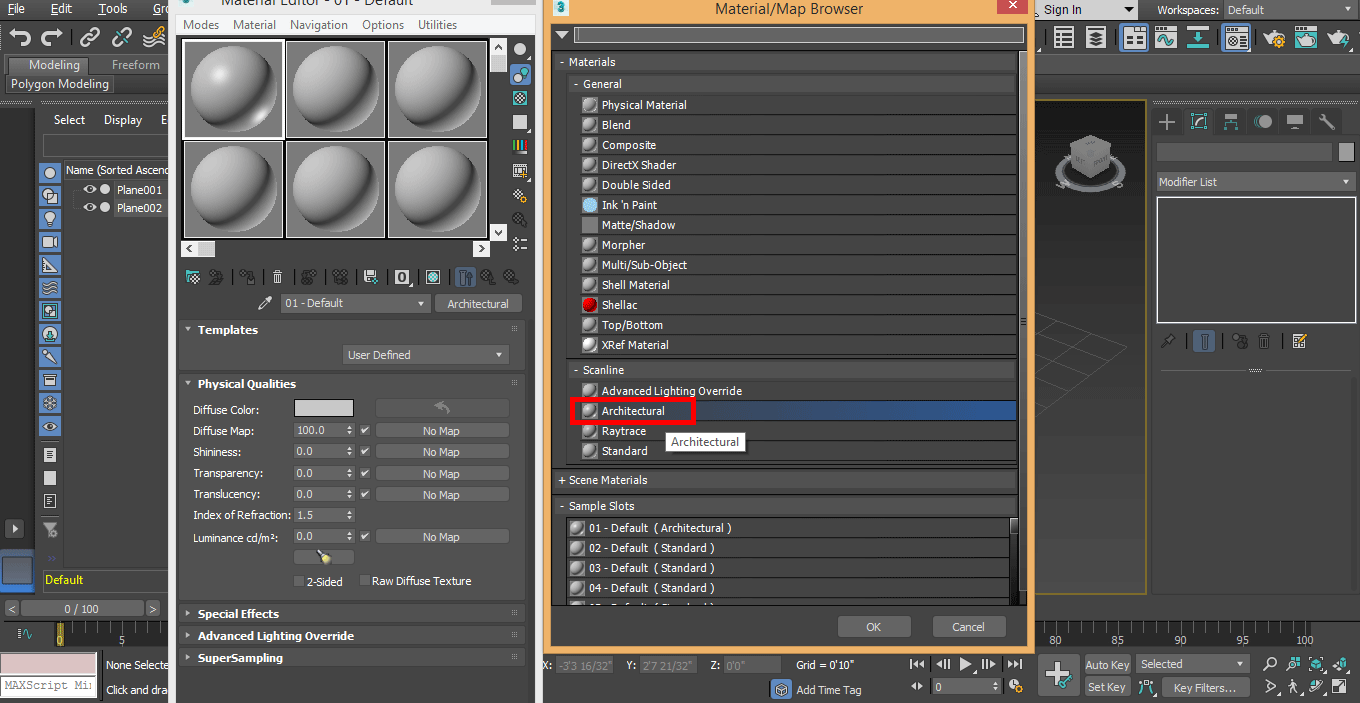
Step 6: Choose the Architectural option here to applying material and press Ok.
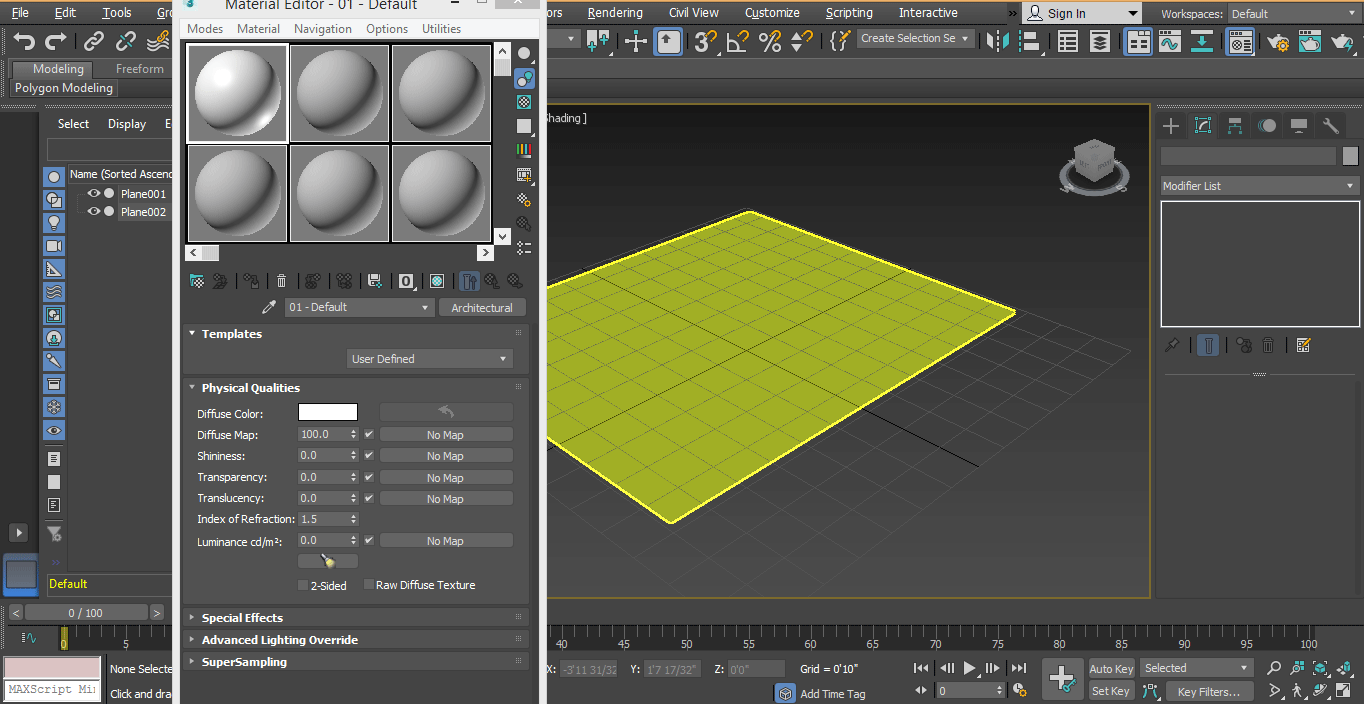
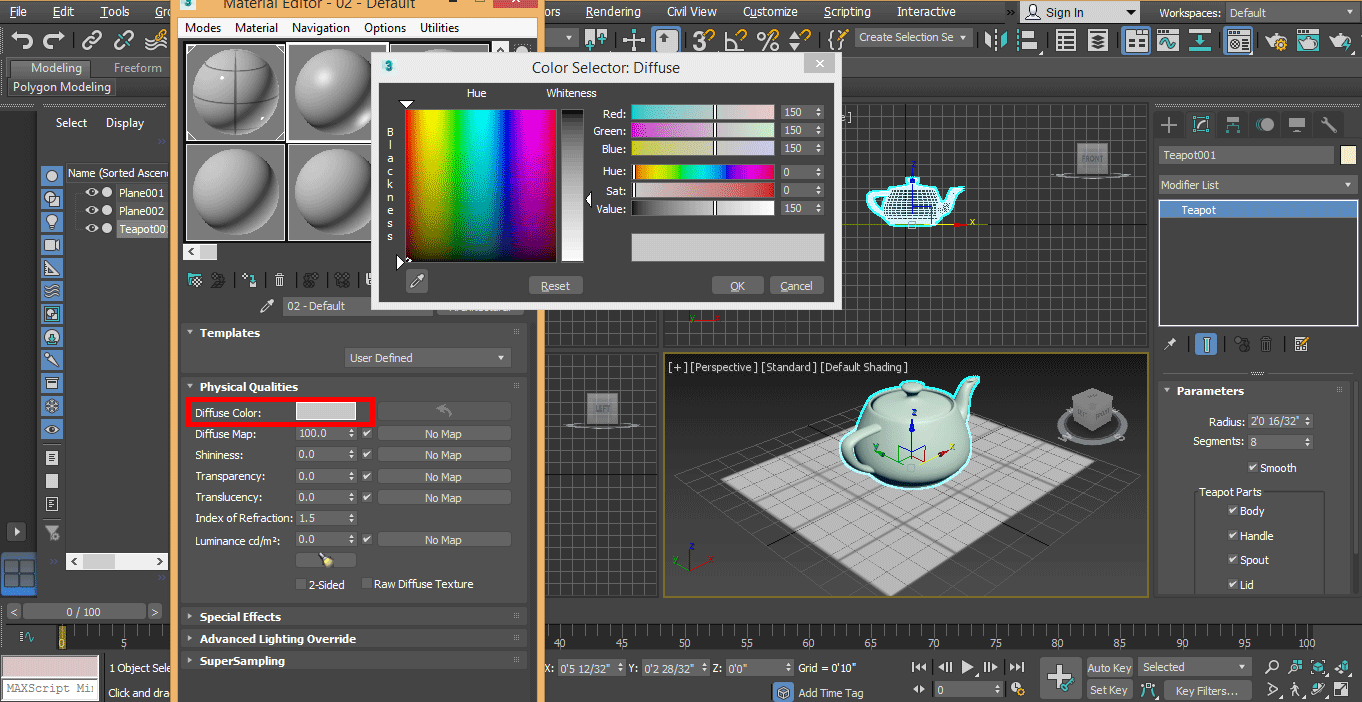
Step 7: Now, we will change the color of the plane from the Diffuse color option. Click on the diffuse color tab and set the color. I will take a white color.

Step 8: After selecting the color. Press Ok.
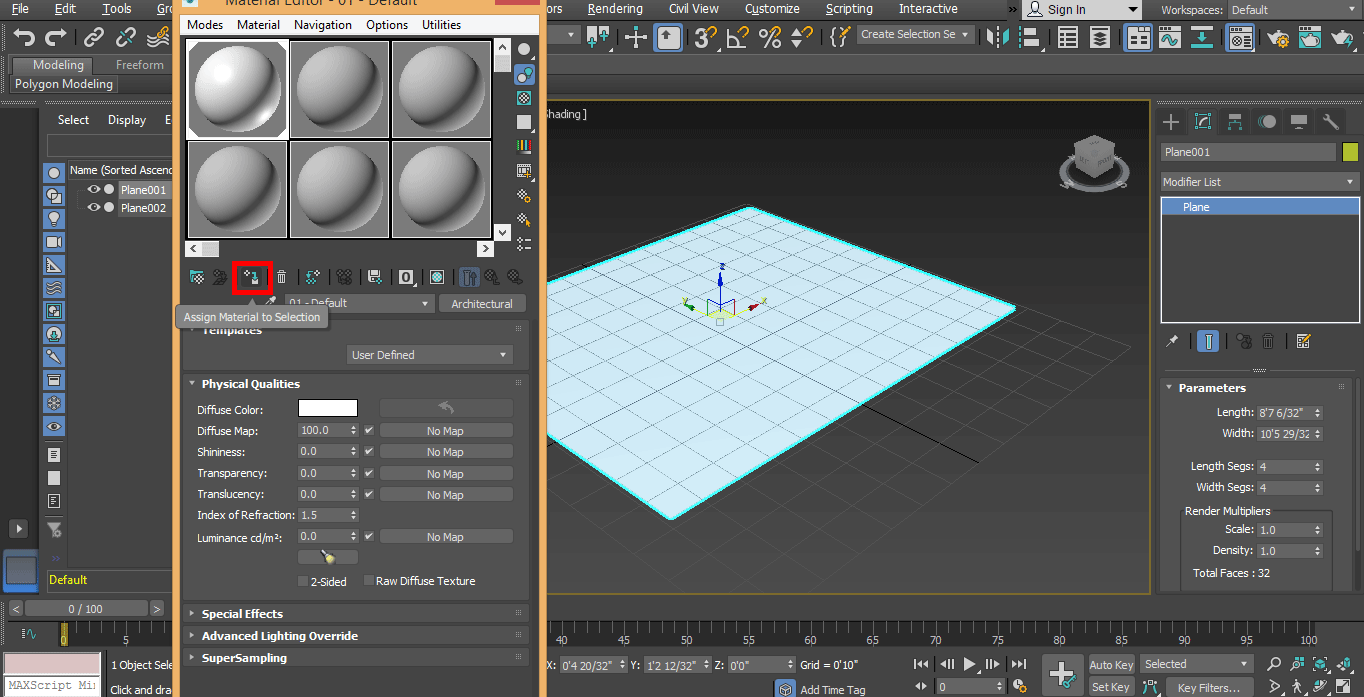
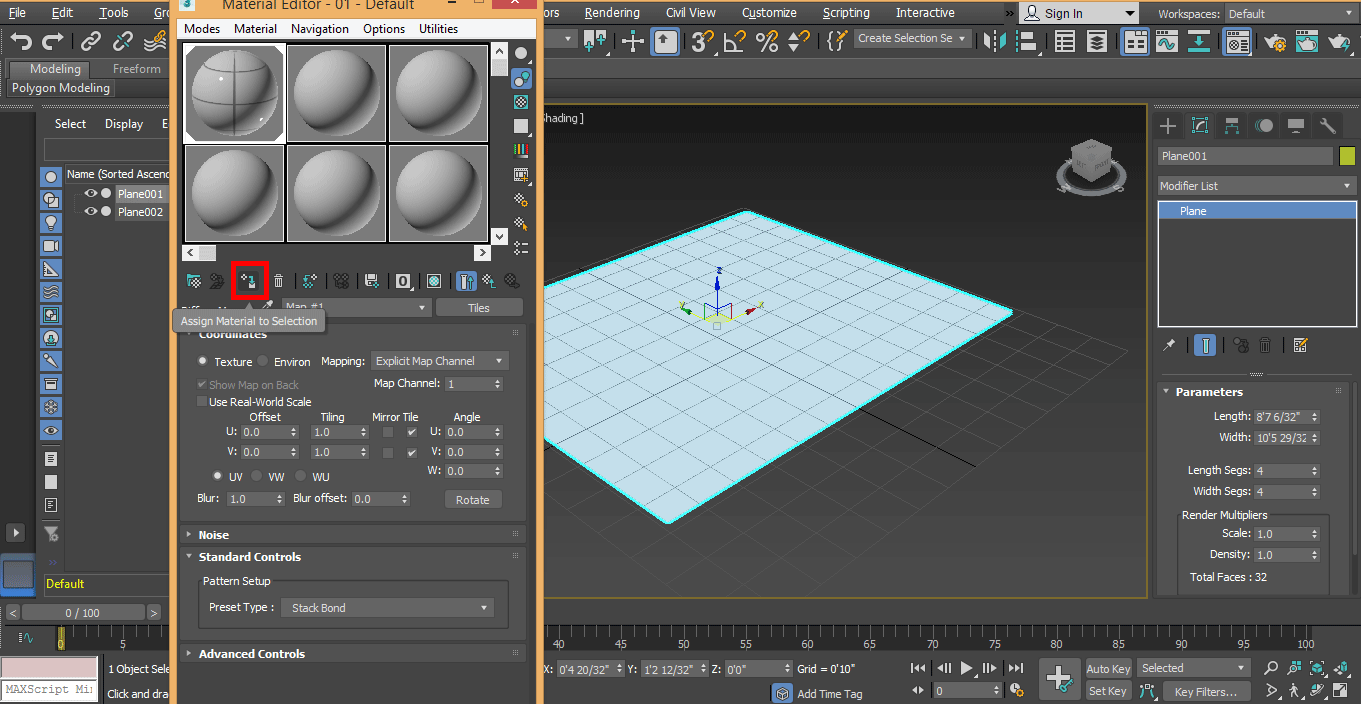
Step 9: Click on assign material to the selection option.
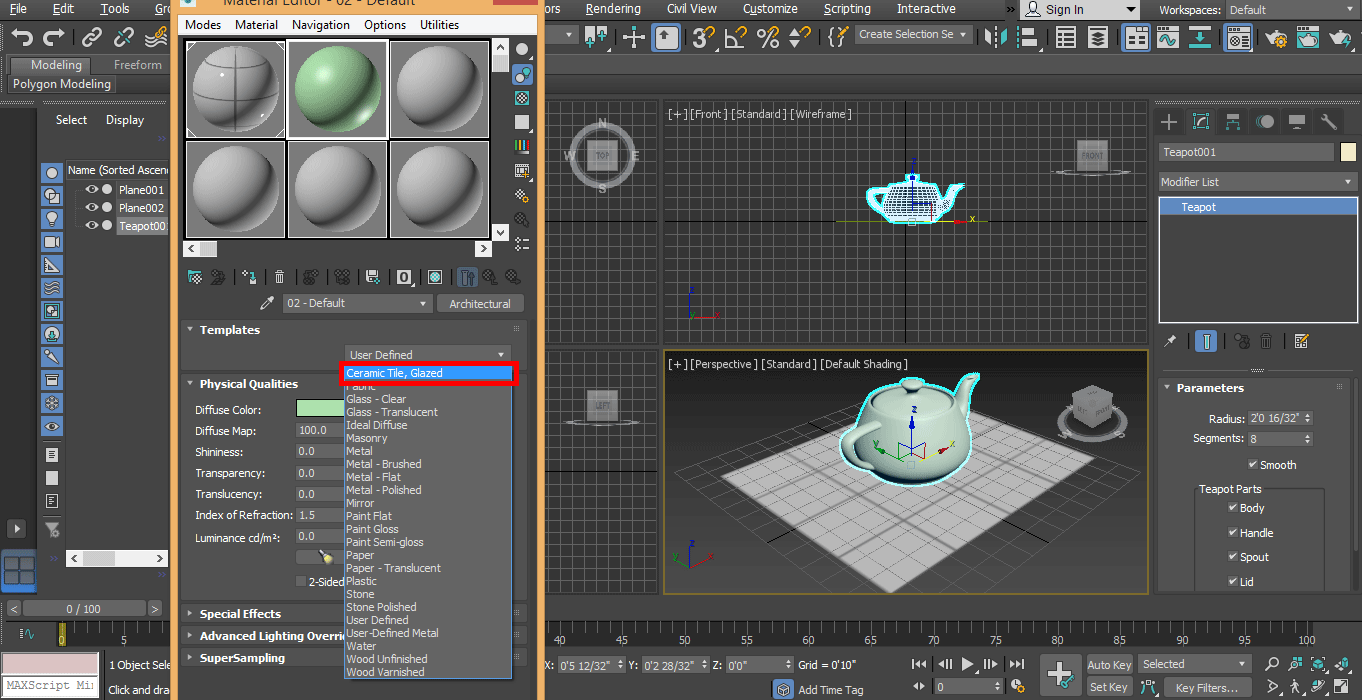
Step 10: Now go on the User define tab. Take Ceramic tile as a tile material.
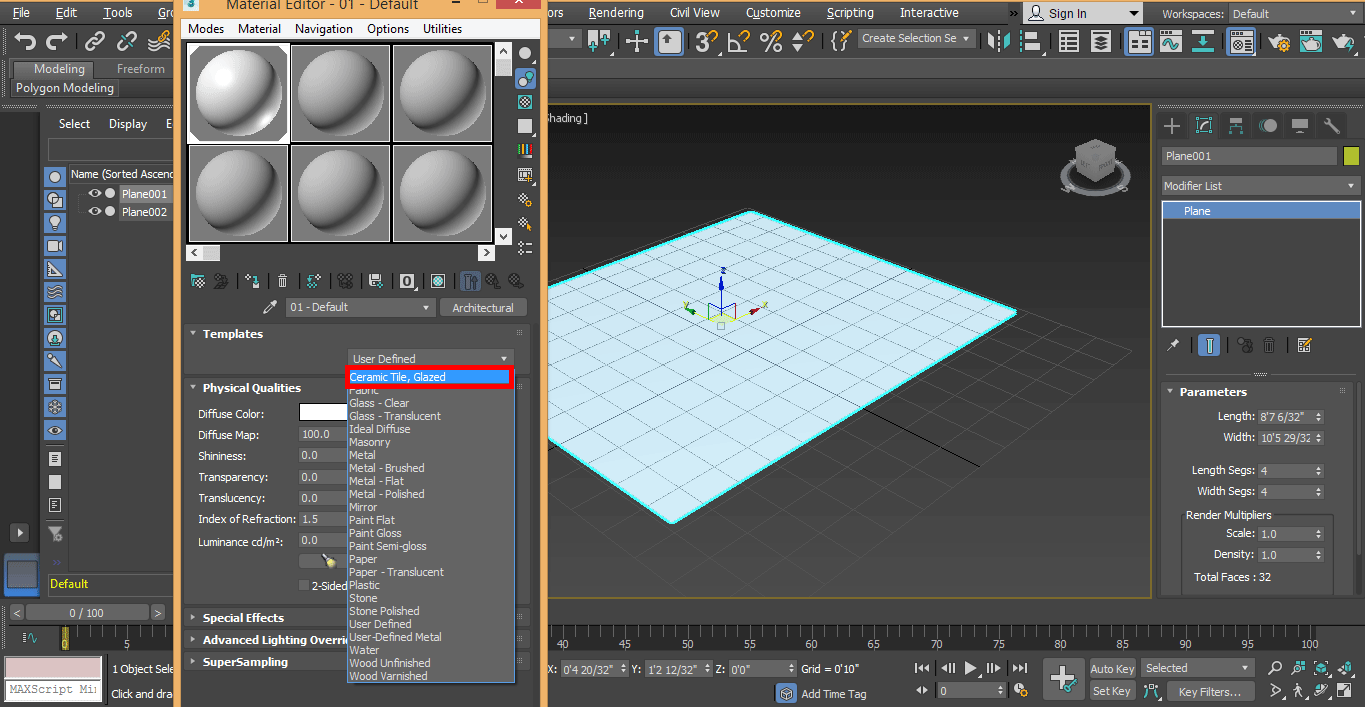
Step 11: Click on the assign material button again.

Step 12: Now, I will click on the No Map of Diffuse Map option tab and choose the tile option from an opened dialog box.
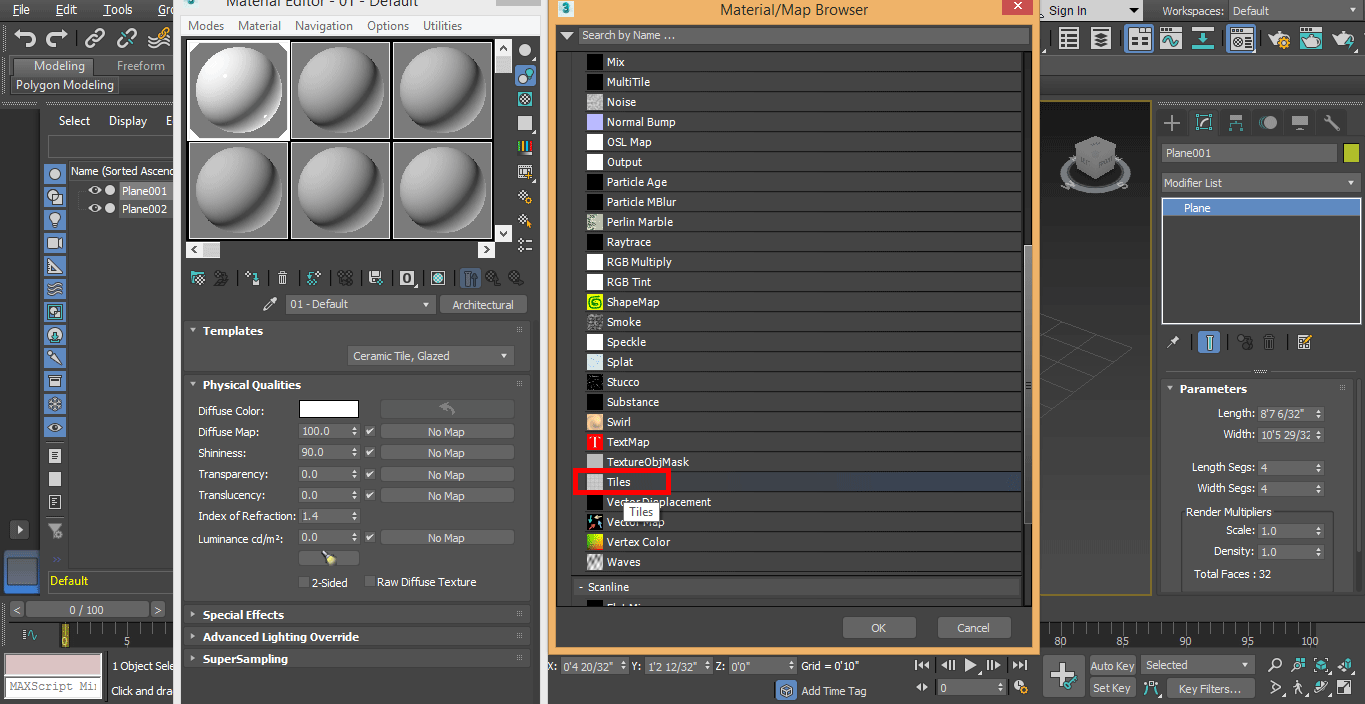
Step 13: Press ok, After selecting Tiles.

Step 14: Click on the assign material to the selection button again to apply the change.
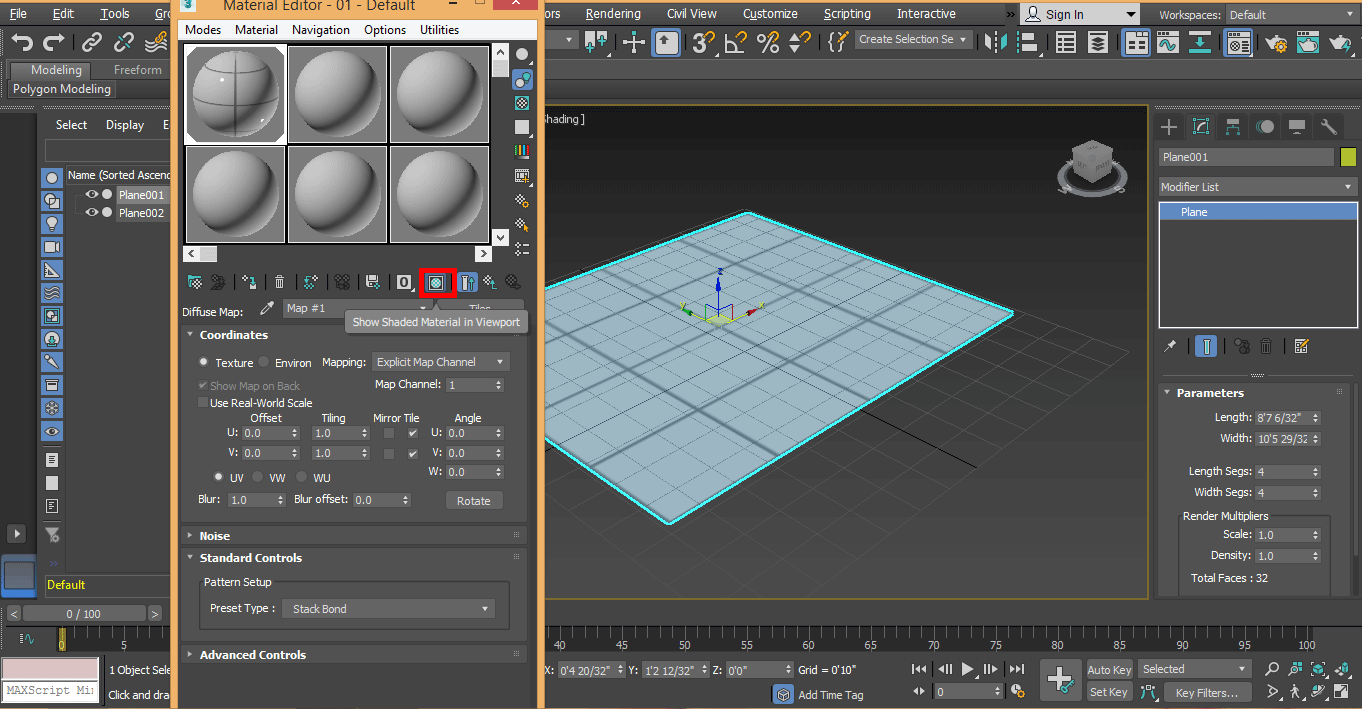
Step 15: And click on Show Shaded Material in Viewport to apply all change.
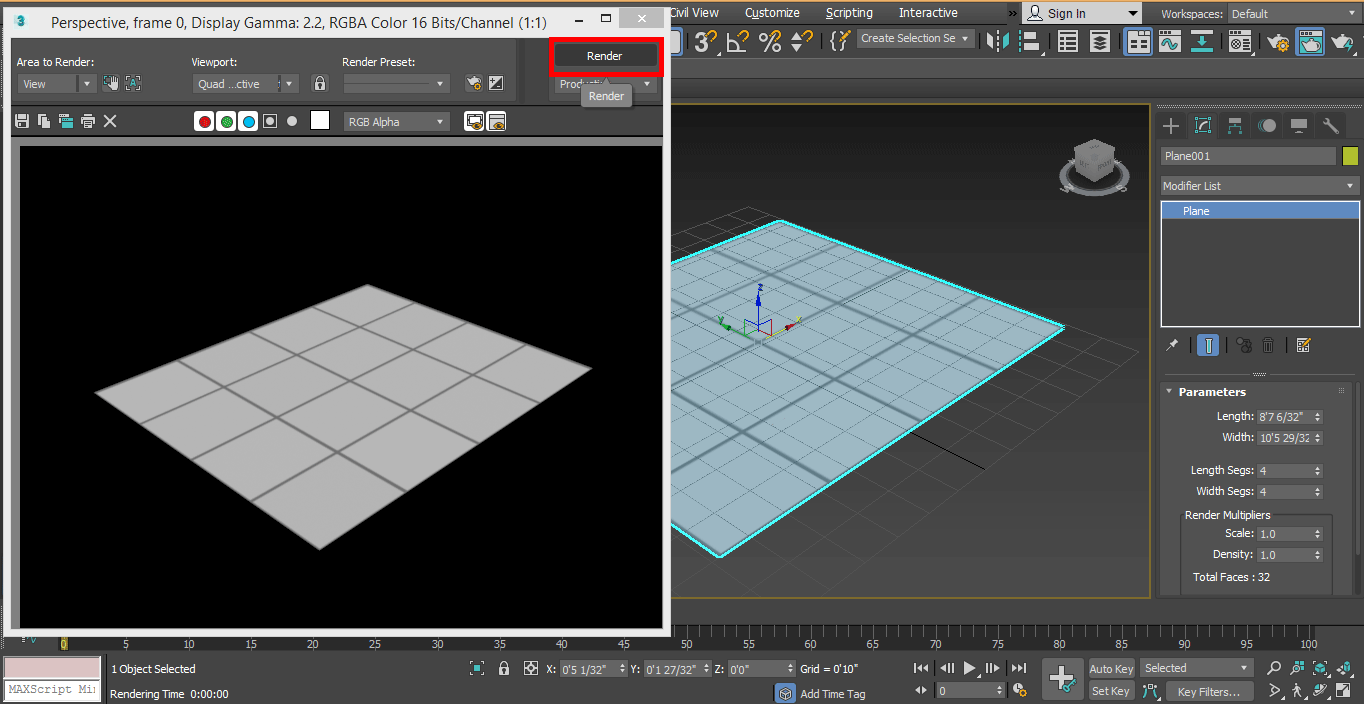
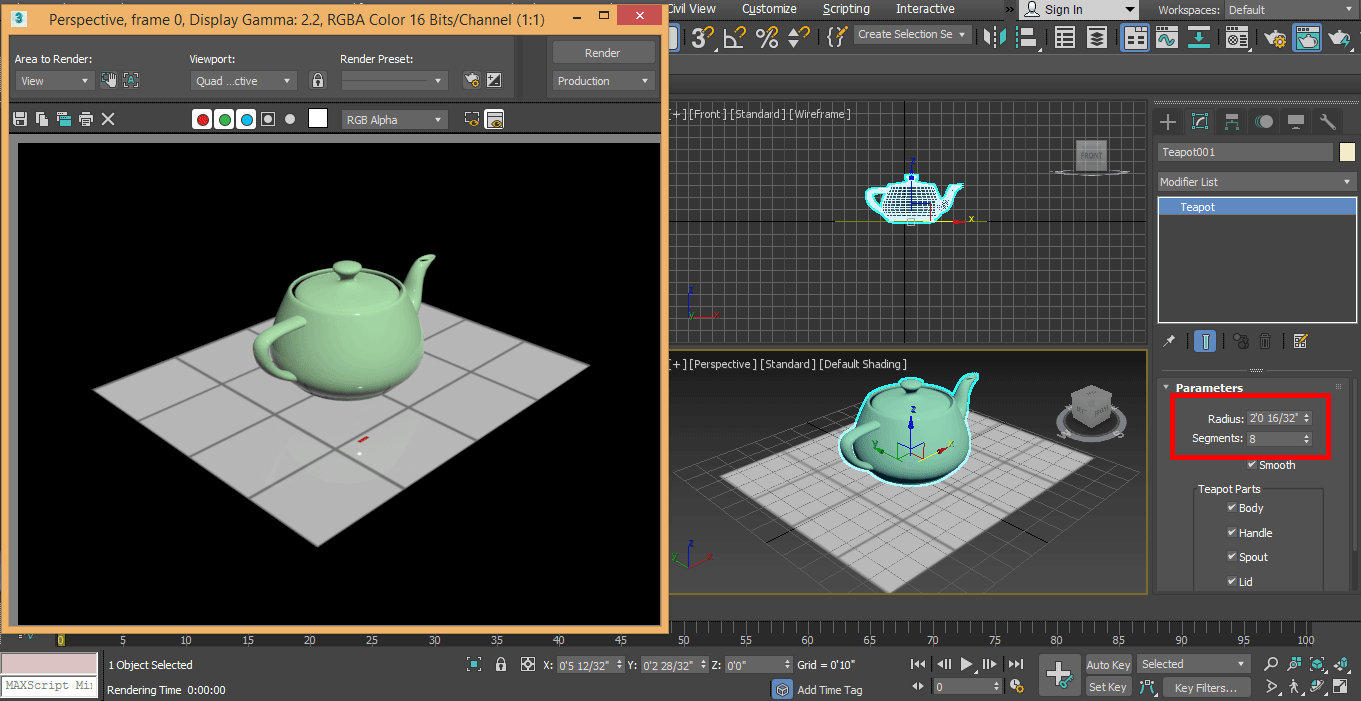
Step 16: Check the render effect on the plane by click on the render button present on the top right corner of the workspace.
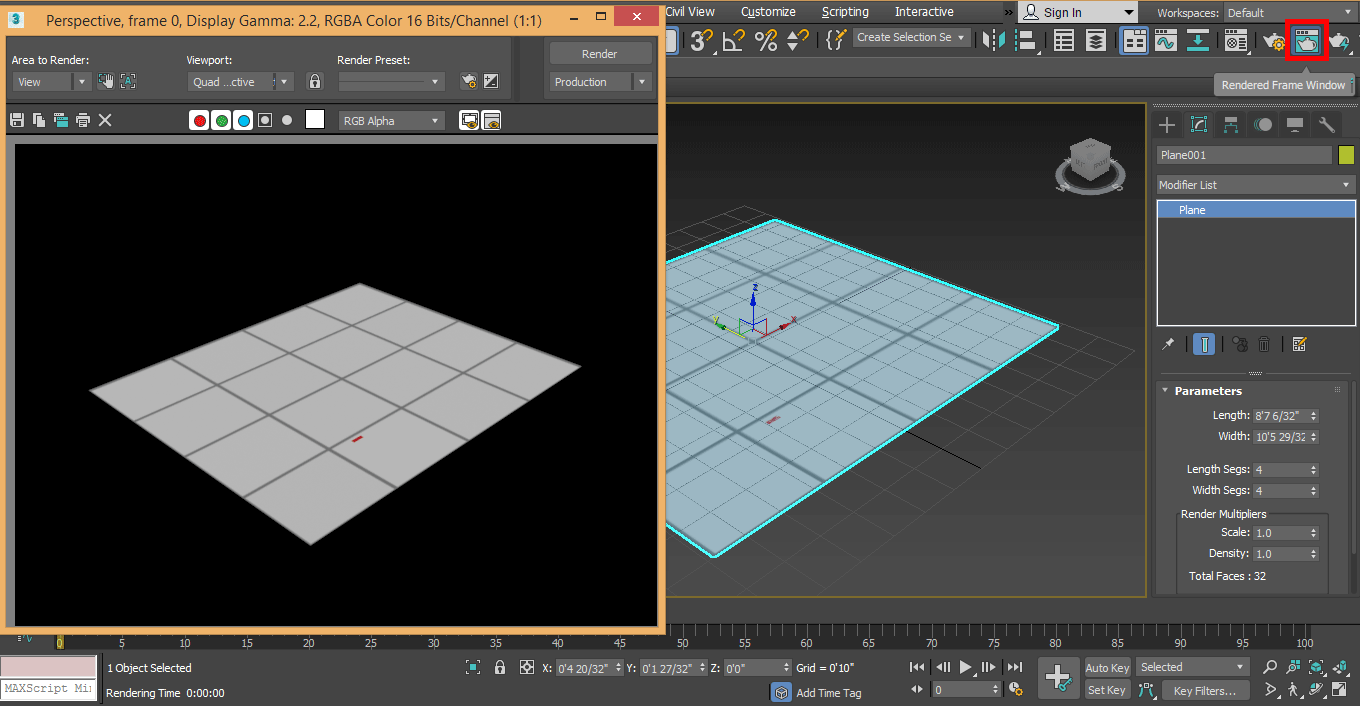
Step 17: Click on the render tab. It’s looking good.
Step 18: Close the render window. Now we will draw the teapot for the draw, the tea top. Go on the common panel.
- Click on the Create tab.

- Click on the standard primitive option of the common panel.
- Click on the Teapot tab.

Step 19: Come to the default screen mode. I will click on the top plane to draw a teapot you can draw in any plane according to you. Drag the mouse point and draw a teapot of your desired shape.
Step 20: Now, we will change the color of a teapot for better reflection- click on modify tab click on the color option, which is presented on the teapot parameter area on the common plane. Set the color according to you.
Step 21: We make some modification to the teapot for better rendering. Press the M form keyboard for opening the material editor box.
Step 22: Click on the Architectural option.
Step 23: Click on the Diffuse color option to set the color of Architectural material and set the color.
Step 24: Go on the User-defined tab and click on ceramic tiles to apply a ceramic look.
Step 25: To apply changes, click in assign material to selection option and show shaded material to viewport option one by one. Check to render effect by click on the render option on the top right corner.

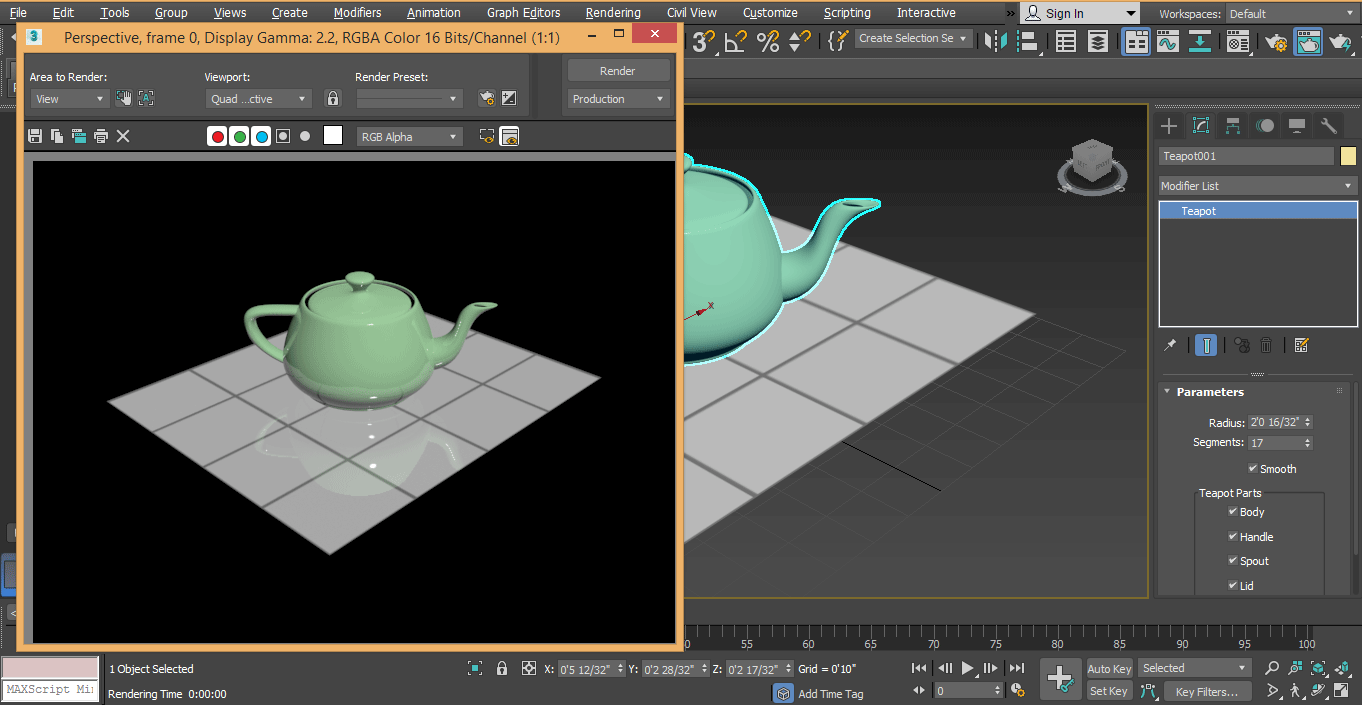
Step 26: Now, we will do some other settings for a more effective look. We will increase the segments of the teapot for better modeling.
Step 27: I will set index reflection 2.5 here for better reflection.
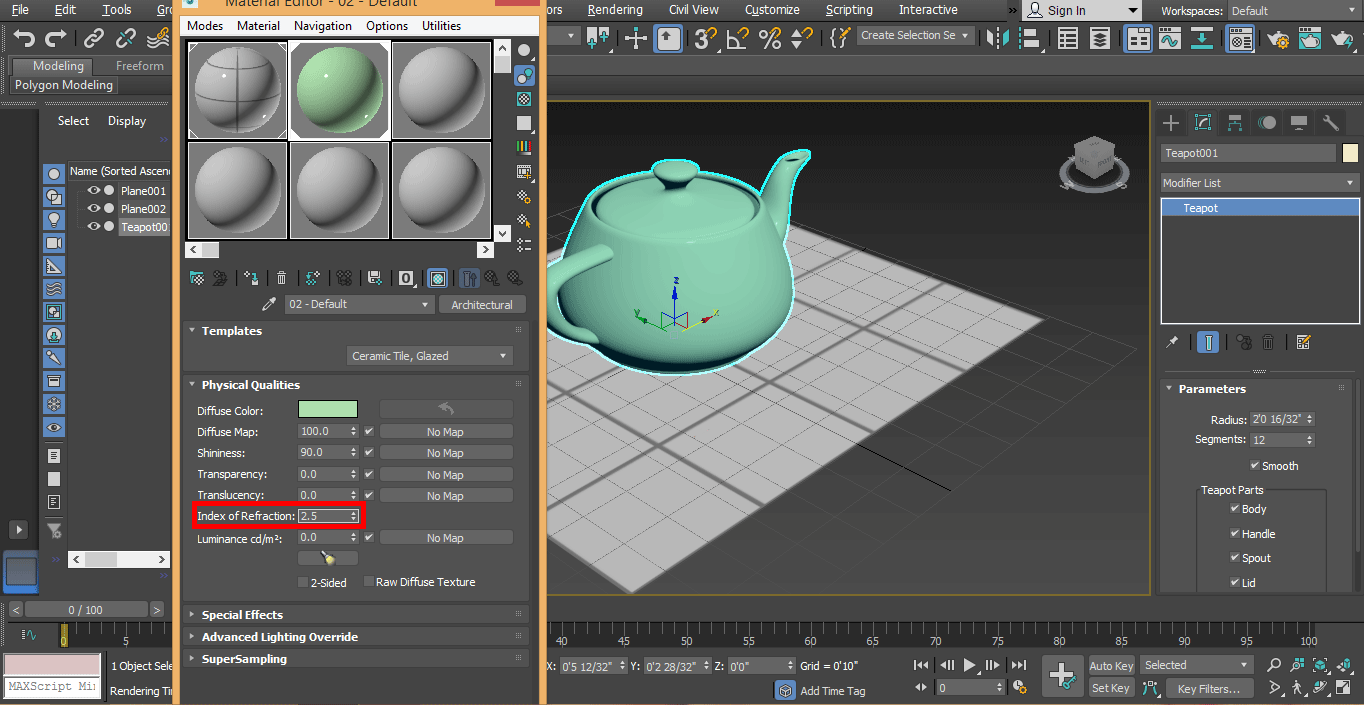
Step 28: Again, check the render effect by click on the render button. It looks better than the previous one.
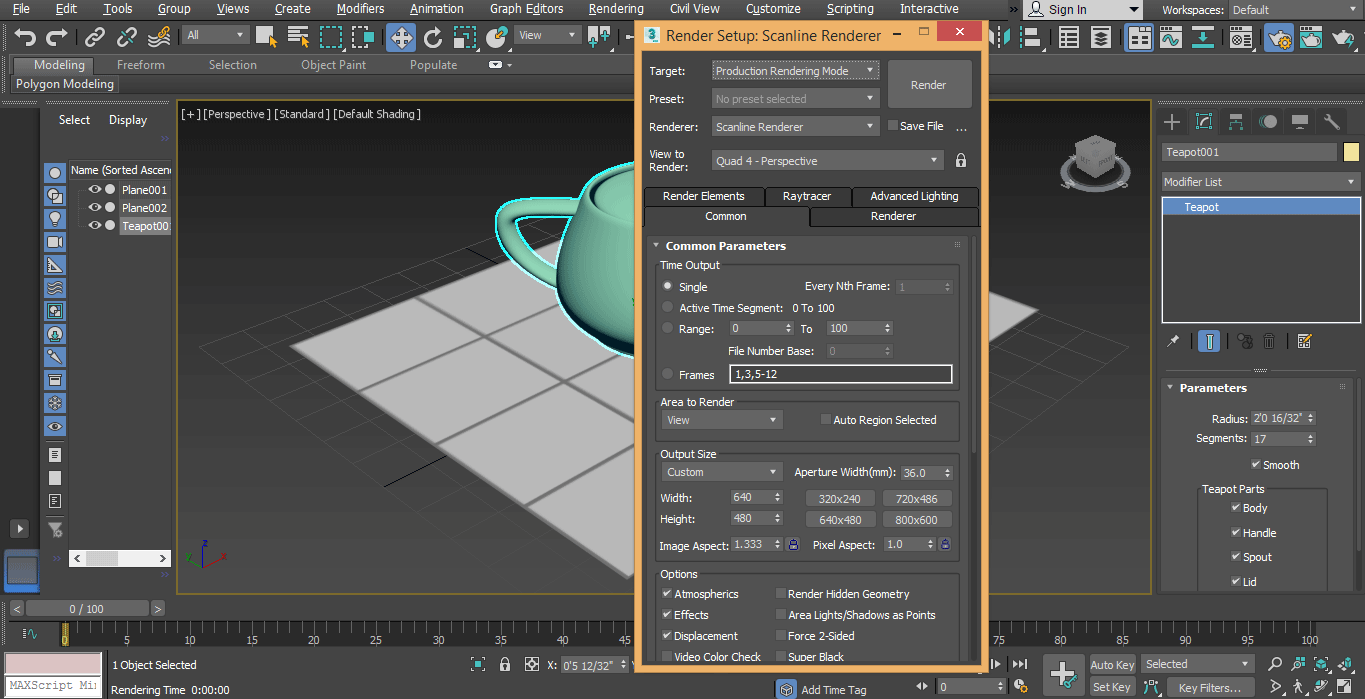
Step 29: Now, our object is ready for the perfect rendering option. We will do some render setting. Take the render setup option from the top of the workspace and click on it.

Step 30: A dialog box will open.
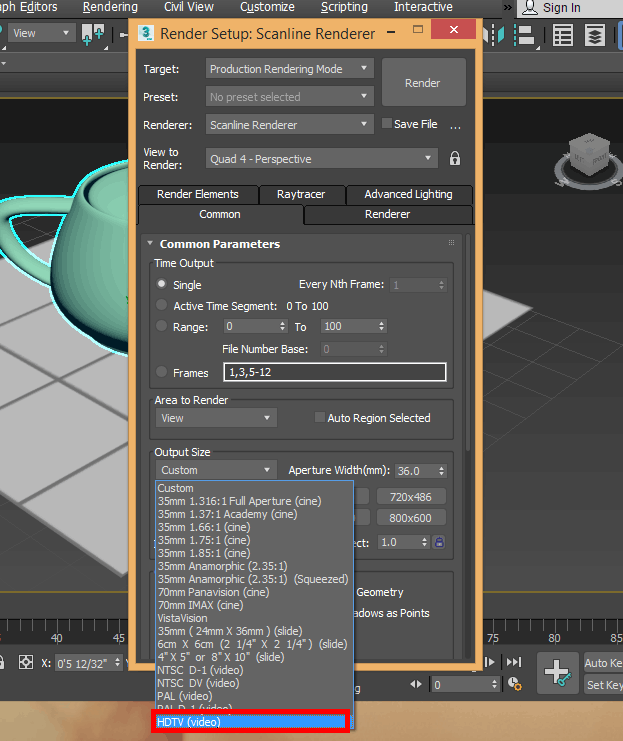
Step 31: Click on Custom and click on the HDTV (Video) option.
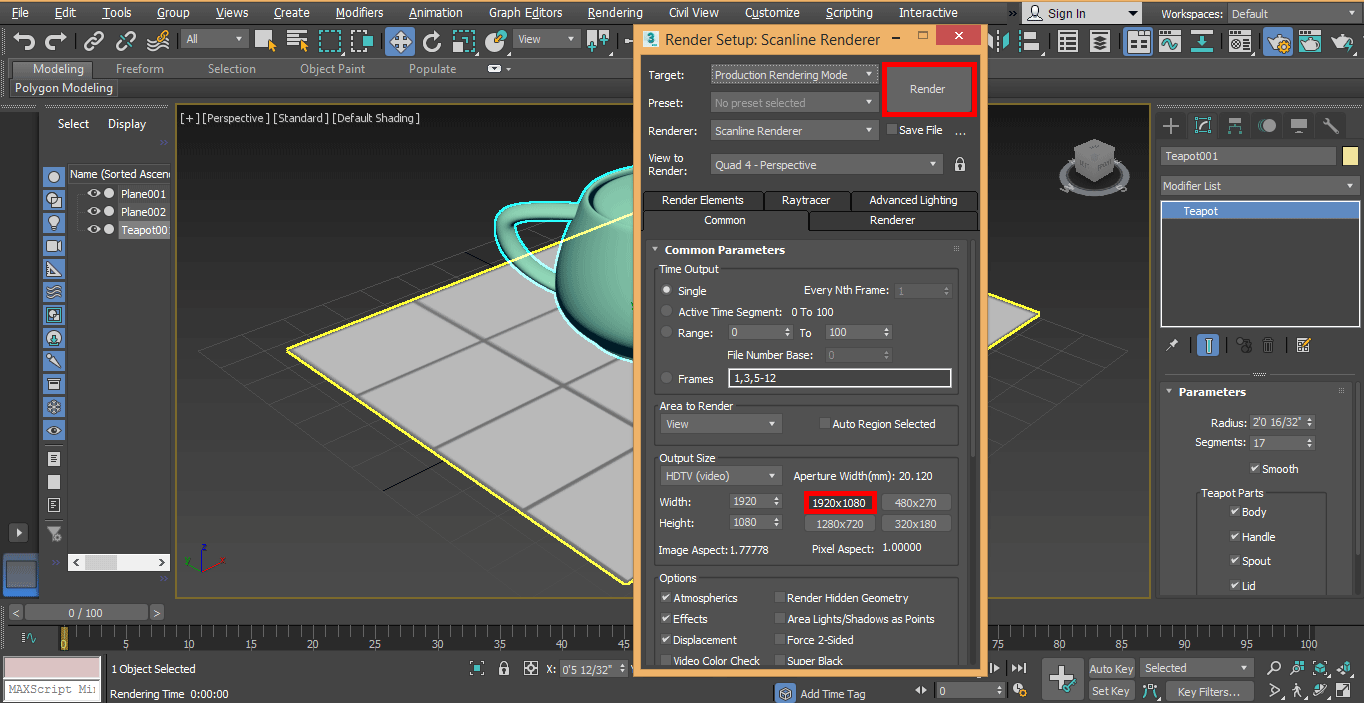
Step 32: And set high resolution here by clicking on the resolution tab parameter. I will take 1920 x 1080 for high resolution and click on the render button.
Step 33: Here is the final rendered object.

In this way, you can easily set the render setting for any object or for any project.
Conclusion
Here you have learned the basics of rendering in 3D max, and after this tutorial, you can easily set render for any 3D object and make your model very effective. After having knowledge about rendering, you will be able to give real-life effects in your model in a very simple way.
Recommended Articles
This is a guide to Rendering in 3ds Max. Here we discuss how to set units in 3ds max and steps for setting render in any objects in 3ds max. You can also go through our other related articles to learn more-
- Introduction to Rasterize in Illustrator
- What are the Plugins in 3ds Max?
- How to Install 3ds Max?
- Graphic Styles in Illustrator
- 3ds Max Alternatives
- Principles of Animation
- Animation in Flash
- 3ds Max Architecture
- Steps to Render Objects Using the Maya Software
- Guide to Reflection in Illustrator
- Create 3ds Max Interior Design
