Introduction to Rasterize in Illustrator
Rasterizing in Illustrator means losing its original data and converting it to something more specific in nature. Similarly, In Illustrator, objects and artworks are drawn in a vector format that can lose its originality when exporting to some other graphic software. Such as if we write a text in a particular font and that font is not available with the other user, then that text will not be visible to the user. So, in this case, we use Rasterize in Illustrator that changes the vector quality of the object to the raster or bitmap image without losing its original quality.
How to Rasterize Objects in Illustrator?
Illustrator has a Rasterize command in the object menu that gives you the ability to rasterize any object in Illustrator. The Rasterize command converts vector objects to bitmap images.
The following steps will tell you how to Rasterize in Illustrator.
Step 1: Start Adobe Illustrator Software.
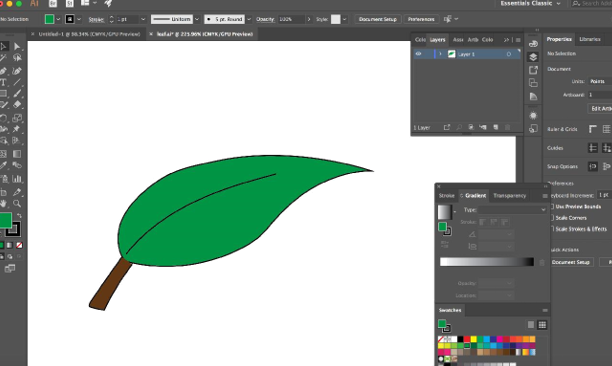
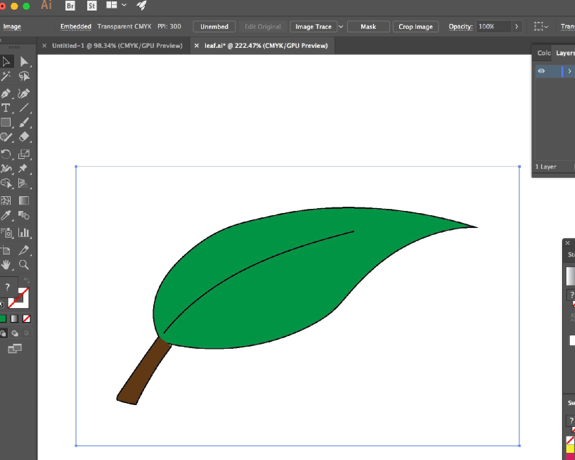
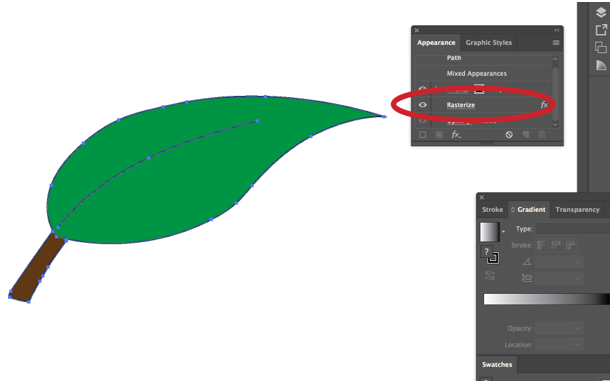
Step 2: Select an existing project; in our case, we are using an example of a Leaf. Select a document that already consists of vector images that you wish to Rasterize.
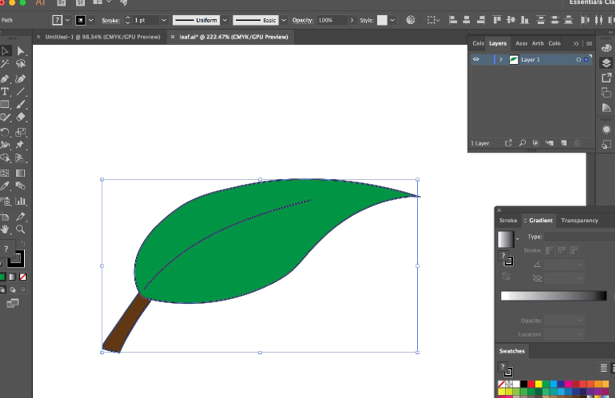
Step 3: Choose the object you wish to Rasterize with the help of the selection tool. The object will now have a slim blue colored frame with corners that tell that the object is now chosen and can be edited. If you wish to Rasterize multiple objects, hit the Control/Command(Windows/Mac) button as you click on objects that you wish to choose.
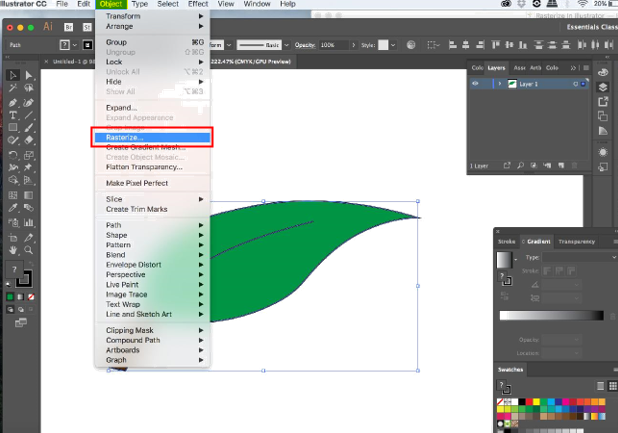
Step 4: You have to make a decision and select between whether you want to permanently Rasterize the object or if you wish to produce an emergence of a pixel-based picture. The latter can be defined as raster effects. We will use two different methods to achieve these alternatives. First, we will go through the Rasterize option present in the object menu.
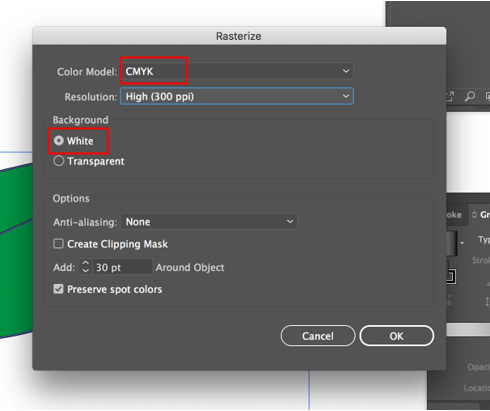
Step 5: Once you click on Rasterize, you will get a popup.
Choose the Color Model that you wish to utilize. You have three options – CMYK, Grayscale and Bitmap. You can select any depending on the image, display or printer preference. This has a dependency based on your display proclivity or printer. This defines the wavelengths of radiance that will be reflected. The default selection is CMYK. The Cyan, Magenta, Yellow, Black inks are commonly utilized in digital painting and art. If you want to print a report and you are not sure about the color model your printer favors, it is better to inspect before you Rasterize your document or images.
Step 6: The next step is to select the resolution. The resolution decides the number of pixels present per inch. There are five options to select from:
- Screen (72 PPI) which is best for posting your image online(Internet).
- Medium (150 PPI).
- High (300 PPI) which is best for printing purposes.
- Use Document Raster Effects Resolution.
- Other which is used for the user setting is an advanced level.
Step 7: Next comes the background. There are two alternatives white or transparent. Choose a background that is white if you want Illustrator to get the background filled for the object. Select transparent if you do not wish the background to have any vector images. Then comes the Anti-aliasing option, and by deselecting it, you can prevent the blurring of the object when it is Rasterized and retain the crisp lines of your object.
- There is one more option in the end where you can add or remove space around the object with the Add option.
- You can add the value manually or by utilizing the up and down arrows present.
- Click on OK to get your vector object Rasterized permanently.
Step 8: The rasterization of the object transforms it from a vector image into a pixel image. Make sure that your picture is of a high resolution, so you don’t fortuitously lose quality at a later stage. You can make vector images larger with the quality intact, whereas pixel images will splinter and become contorted if the original image was smaller as compared to the larger image.
Once you click on OK, you won’t see much of a difference, but your vector object is now converted into a pixel object.
Step 9: Select the object using the Selection tool.
Step 10: In the effect menu present in the menu bar, the Rasterize option is present under Illustrator effects, as shown below
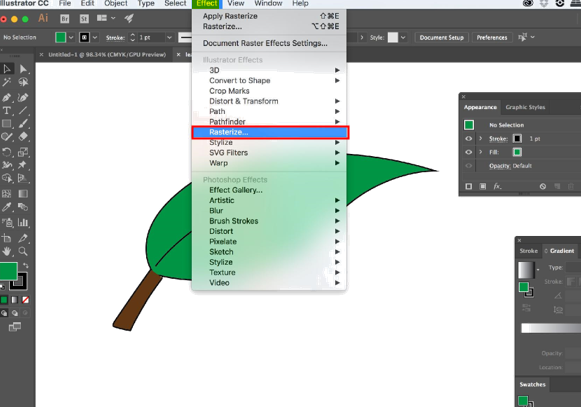
Step 11: Click on Rasterize, and you will get the same popup as in the object menu.
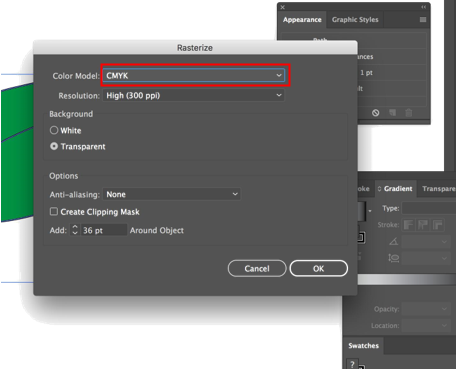
Step 12: Once you click on OK, your object will be Rasterized. In the Appearance panel, as shown below, you can alter or remove the effect. You can find the Rasterize option in this panel. By double-clicking on it, you can make changes to the rasterization settings compared to the previous Rasterize option under the object menu where the object is Rasterized permanently.
In this way, you can Rasterize an object in two ways depending on whether you want to Rasterize the object permanently or on a temporary basis.
Conclusion
Rasterized images can be considered as a box where the object region has been transformed into a bitmap. This is perhaps done to raster an image onto a surface that is 3-dimensional or lower the difficulty of a comprehensive illustration. If the object is Rasterized, you preserve it as pixels forever. You can’t consider it as an equation anymore, but a corsage of colored squares that reserves no memory of ever being a star, a circle, etc. This is why rasterizing can be considered as some sort of commitment. You need to ensure when you Rasterize any object; you revisit the original, alterable, vector object. If you wish to alter your object, it is good to keep it as lines. The reason is that once your object has been rasterized, it will be limited by the number of dots/pixels per square inch.
Recommended Articles
This is a guide to Rasterize In Illustrator. Here we discussed the Introduction and the Steps to Rasterize objects in illustrator. You can also go through our other related articles to learn more –
