
Introduction to 3ds Max Loft
3ds Max is a 3d modeling software used by different modeling professionals for their professional work and was developed by Autodesk. We have a different type of 3d modeling designing command in this software. The loft is one of those commands that helps us make a 3d shape of any particular object. It may be any bottle shape, cylindrical shape object, rectangular shape object, and many others. This article will understand the Loft command of 3ds max software and learn about how to handle its parameter for making 3d objects by this command. So let us start our learning by an example.
How to Use Loft command in 3ds Max?
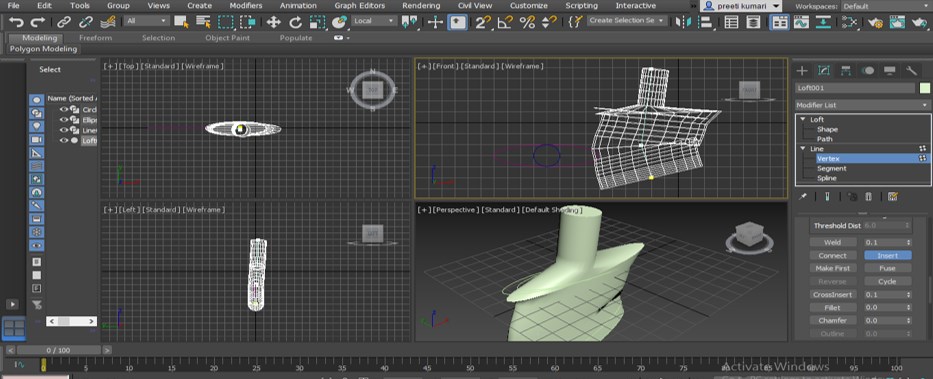
The loft is similar to another command of this software, but you can make any 3d object with this command. Here we will understand it by an example of 3d bottle model. Before starting our learning, let us have a quick look at the working screen of this software for our better understanding of this article.
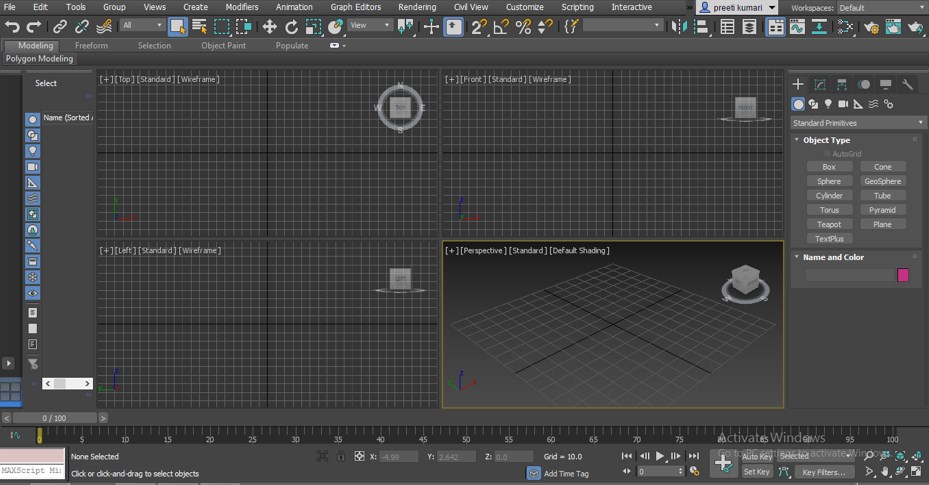
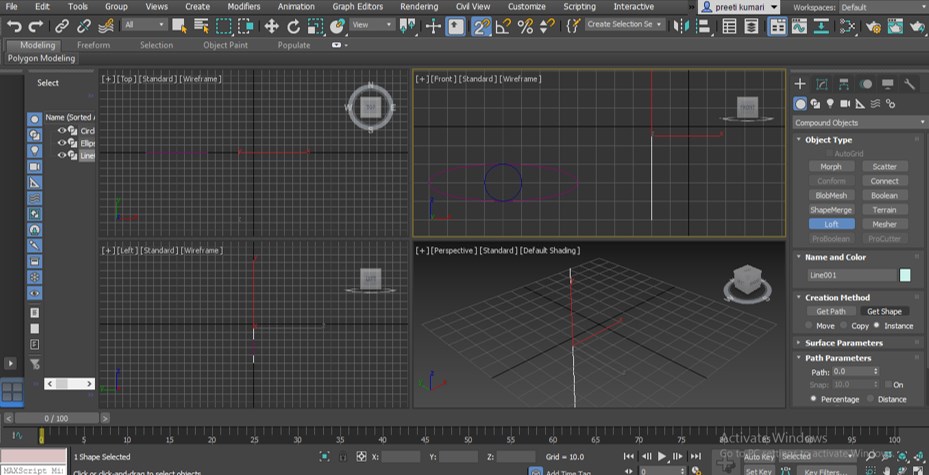
Step 1: At the top of 3ds max software, we have two main ribbons that are Menu bar and different command bar; below this, we have the main screen, which is a divide into four viewports that is Top viewport, Front viewport, Left viewport and Perspective viewport, next to this viewport we have Control panel at the right side of the working screen which have a different type of tools and command for making our work easy in this software, at the button end of the screen of this software we have timeline frame panel for animating any object in this software.
Step 2: Now go to the Control panel, which is on the left side of the working screen of this software and click on the Create tab of this panel.
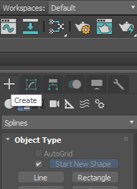
Step 3: Now click on the Shapes tab of the Create tab of this panel.

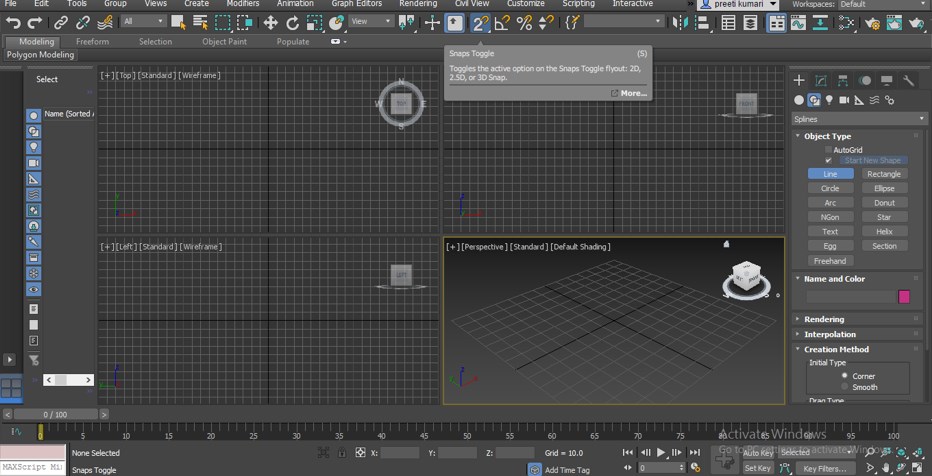
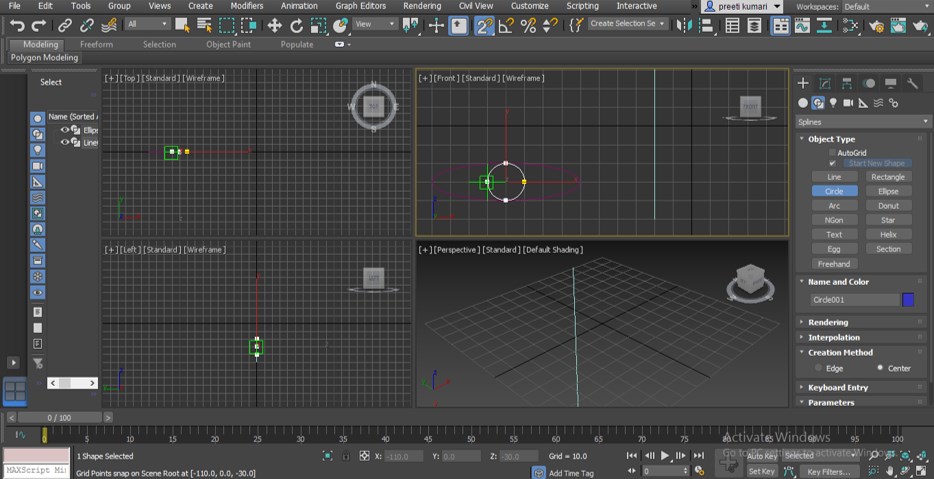
Step 4: Now make the 2d shape snap on by click on the icon of the 2d shape snap toggle tab, which is at the second top ribbon of this software for making a straight line, then click on the Line command tab in the Control panel section of this software.
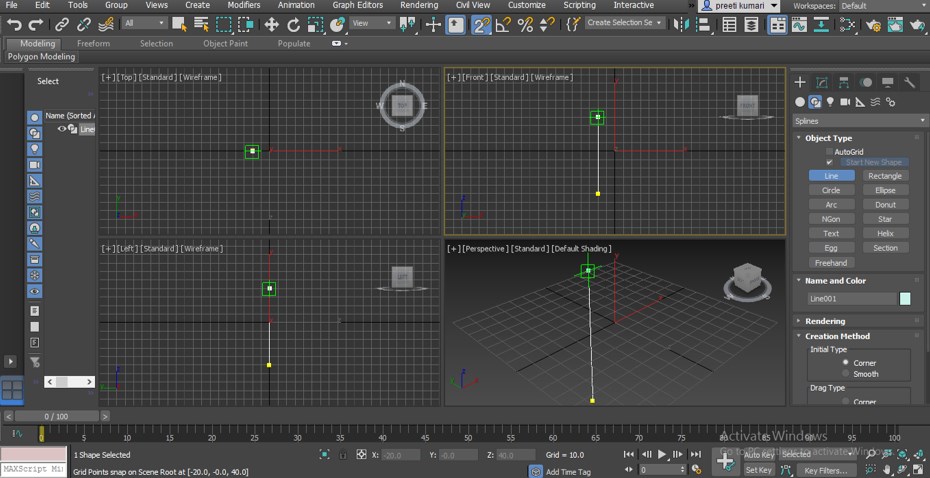
Step 5: Now, make a line of any dimension for our learning. You can make it in any viewport; I will make it in front of the viewport. Once you made the line, press the Esc button from the keyboard for leaving this line command.
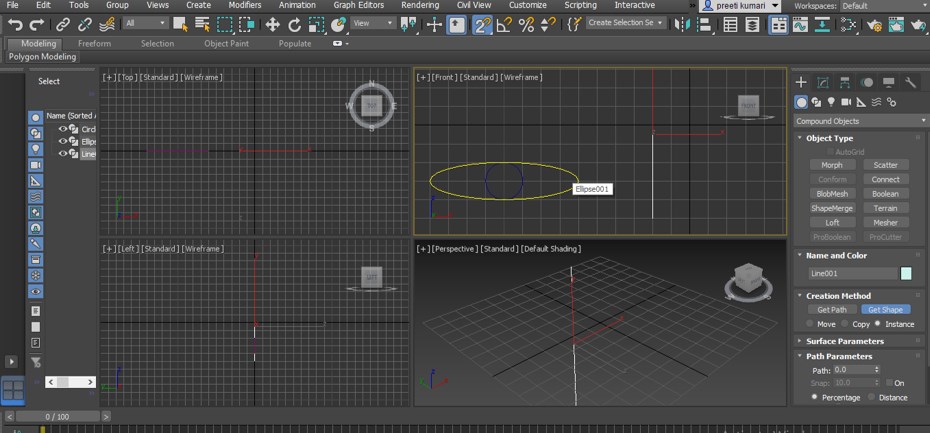
Step 6: Now click on the Ellipse command of the Shapes tab of the Control panel and draw an ellipse in the Front viewport of this software like this.

Step 7: Now, take the Circle command from the Shape tab of the Control panel of this software and draw a circle inside the ellipse like this.
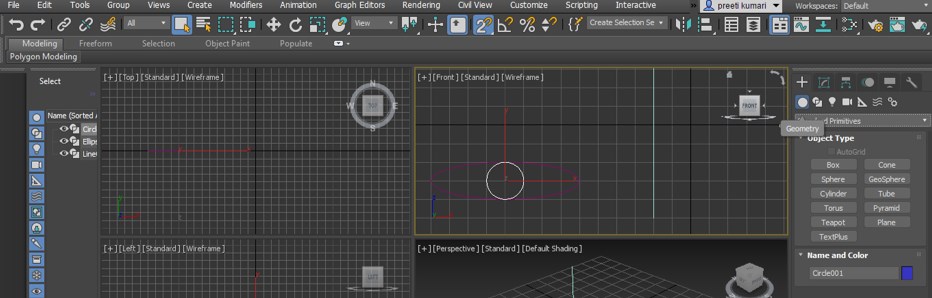
Step 8: Now click on the Geometry tab of the Create tab of the control panel.
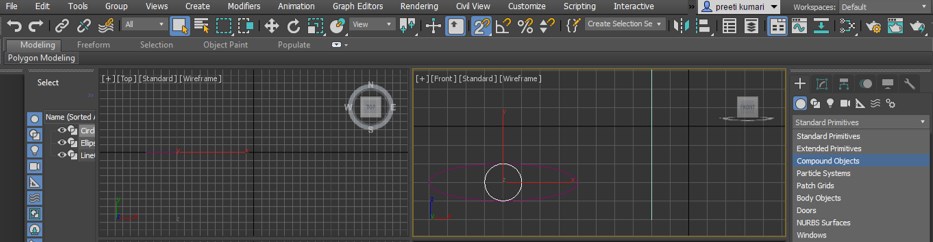
Step 9: Now click on the drop-down arrow button of the Standard Primitives option of the Geometry tab and select the Compound Objects option from the drop-down list by click on it.
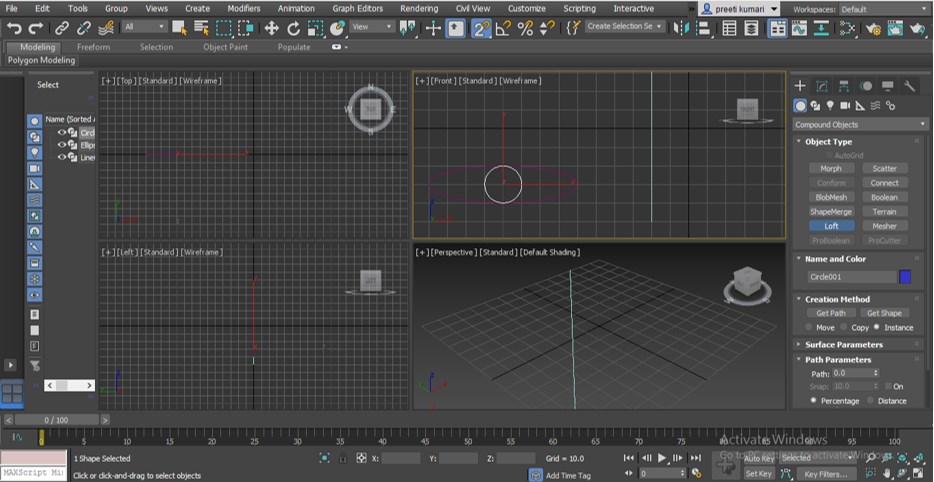
Step 10: Now click on the Loft command of the Compound objects option. Parameters of this loft command will be open below these command sections.
Step 11: Now select Line shape by click on it in the Front viewport section and click on the Get Shape tab of the parameters of Loft command.
Step 12: And make click on ellipse shape with a mouse button in the Front viewport section. Here ellipse works as a guide shape for Line shape.
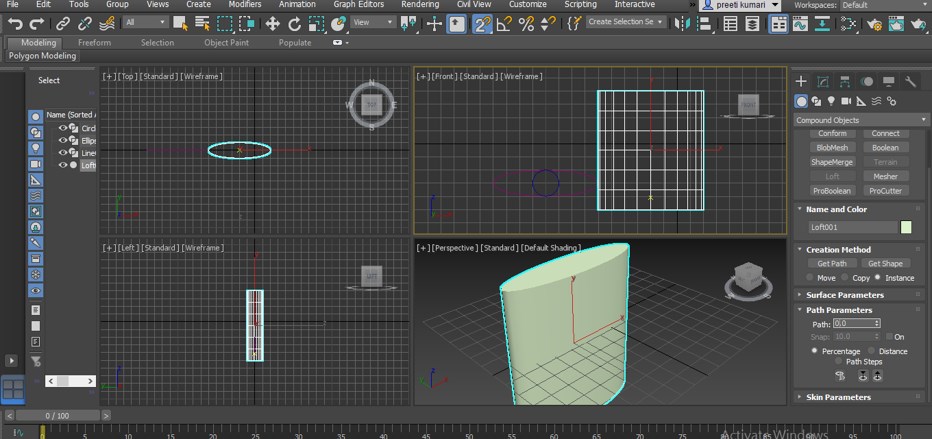
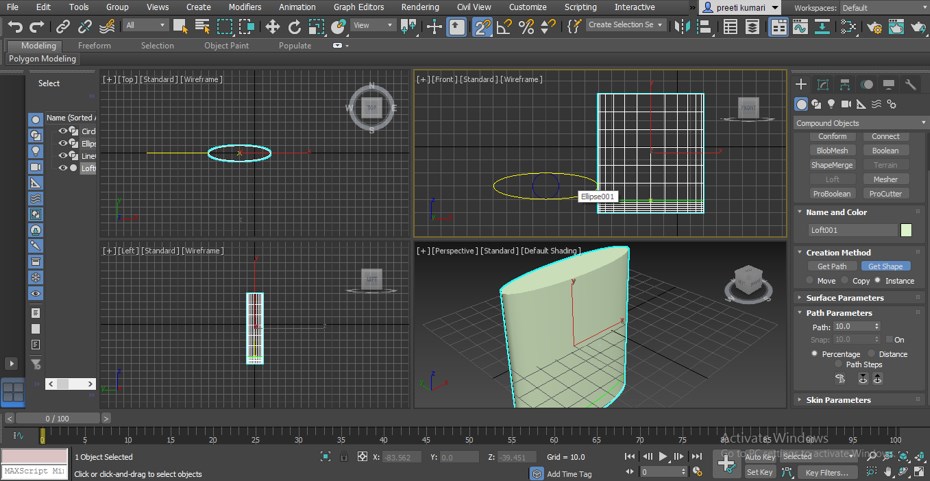
Step 13: Once you make click on the ellipse shape, a bottle like structure will be formed around the Line shape like this.
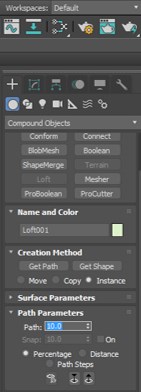
Step 14: Now, let us increase the value of the Path percentage of this 3d shape by 10 %.
Step 15: And then again click on the Get Shape tab of the parameter of loft command and make click on ellipse shape in the Front viewport section.
Step 16: Again, increase the value of the Path option by 40%, 60 %, 80 % one by one so that we can make a bottle like structure with this 3d shape.
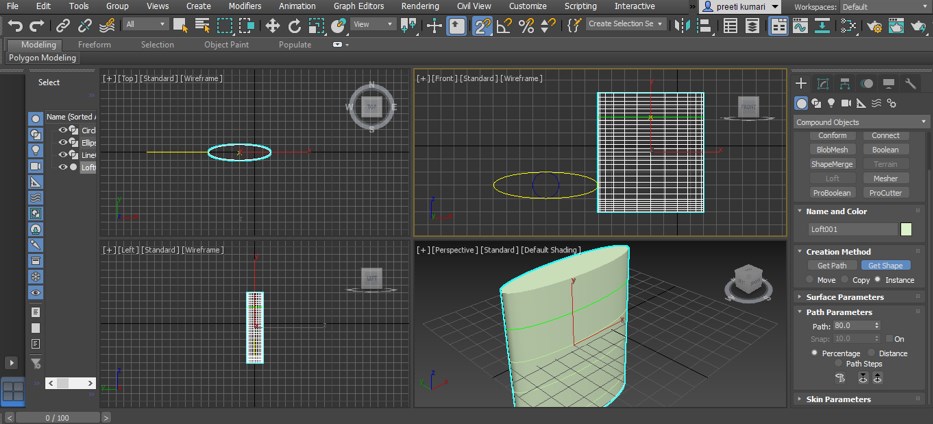
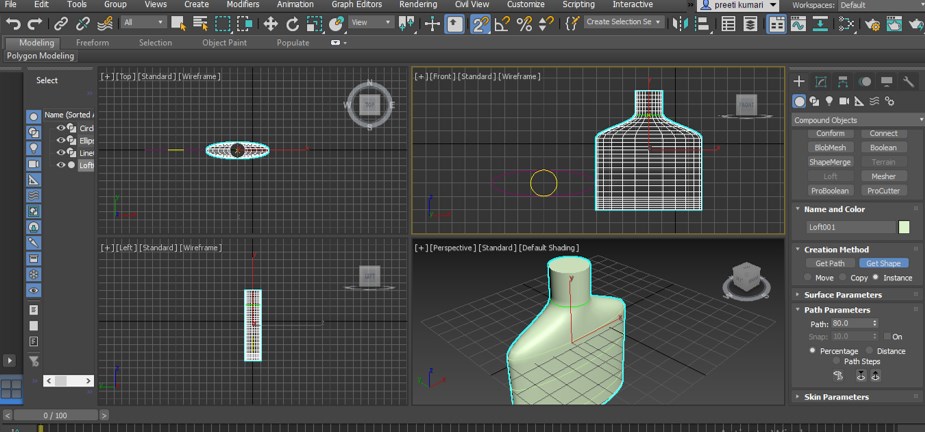
Step 17: Now make the Path value 80 % for circle shape also and click on Get shape tab of loft command, then click on the circle shape, which is inside the ellipse tool.
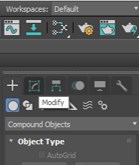
Step 18: You can make modifications in this 3d shape. For modification, click on the Modify tab of the control panel next to Create tab in the control panel.
Step 19: Now click on the small arrow icon of the Loft option in the modify tab.
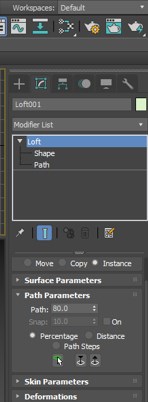
Step 20: Now click on the Shape option of this Loft modify option and then click on the move tab, which is at the top of the working screen. Now you can move the shape of this bottle from the vertex point in X Y and Z direction by moving the arrow of these three directions.

Step 21: You can add more vertex points to this shape. We have two vertex points in the current shape, which are at both ends of the line shape of this 3d shape. For adding more vertex point, click on the Path option of the Loft modify option.
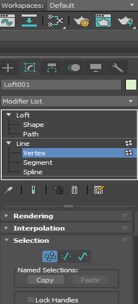
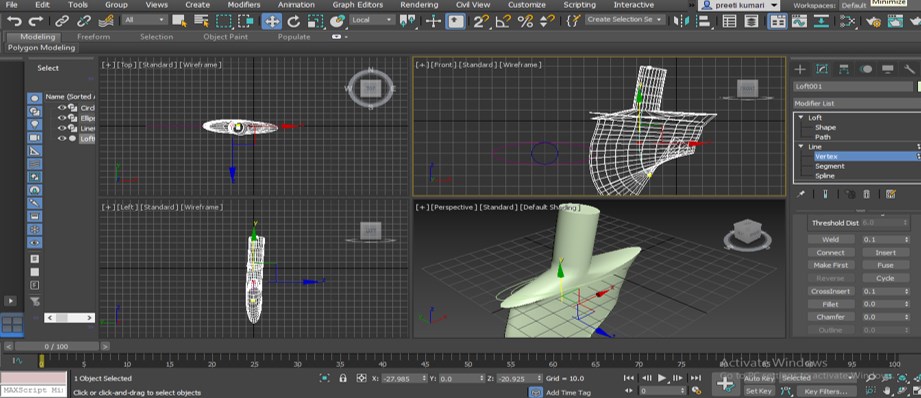
Step 22: Now click on the small arrow icon on the Line option of this Path option and click on the Vertex option. Now go to the parameter sections of this Vertex option and search for the Insert tab. Make click on this Insert tab.
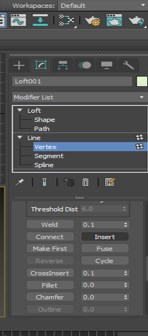
Step 23: And go to the Front viewport and click on where you want to add a vertex in this shape, then move this vertex according to you.
Step 24: You can smooth the fold made by this vertex on this bottle shape. Make right-click on this vertex; a drop-down list will be open; now make click on the Smooth option of this drop-down list.
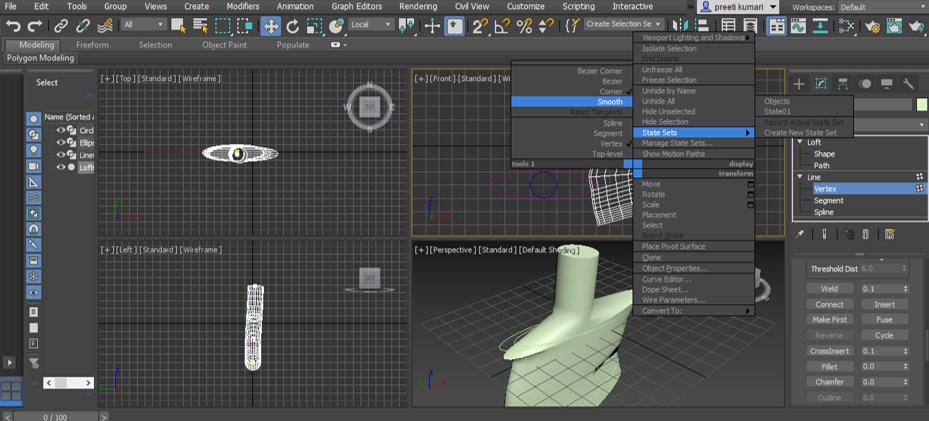
Step 25: Once you make click on this Smooth option, you will get this type of smooth shape at the vertex.
Conclusion
Now, after going through this article, you can understand what is Loft in 3ds Max software and ‘how you can handle the parameter of this command in this software. You can make many different types of 3d models by using this command very easily once you have a good command of this loft command of the 3ds max software.
Recommended Articles
This is a guide to 3ds Max Loft. Here we discuss the Introduction and easily use 3ds Max Loft in a step-by-step manner. You can also go through our other related articles to learn more –
