Updated September 16, 2023
What is Animation in Flash?
Animation in a flash is the artificial movement or motion of characters. This motion is created with the help of certain programs. One of the programs to create such motion is Adobe Flash. This program creates art in vector form. With vector form, you can easily scale objects without degrading image quality.
This program, when started, was used as a programming tool to make games, apps, and websites, but it also has the ability to make animation. One of the ways we can make animations using this software is by drawing 2D characters. It is basically making several parts of a character and then creates them into continuous images called symbols to make the animation process quite faster. In this way, we do not have to redraw characters again and again.
Creating Animation in Flash
To create an animation in a flash, follow the steps mentioned below.
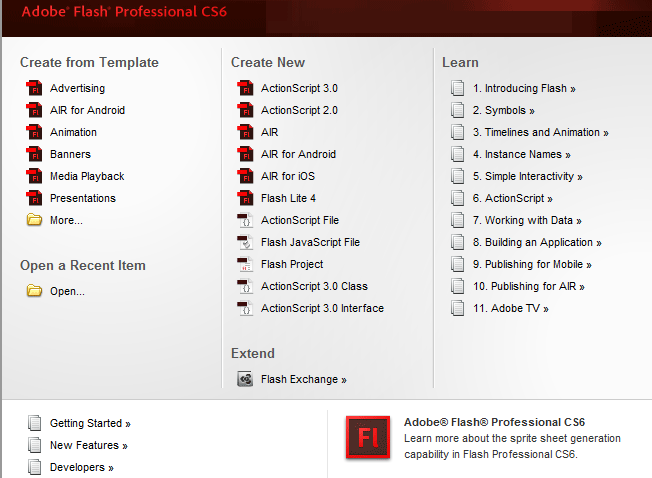
Step 1: Click on Flash Document under the Create New column of the Flash Start Page.
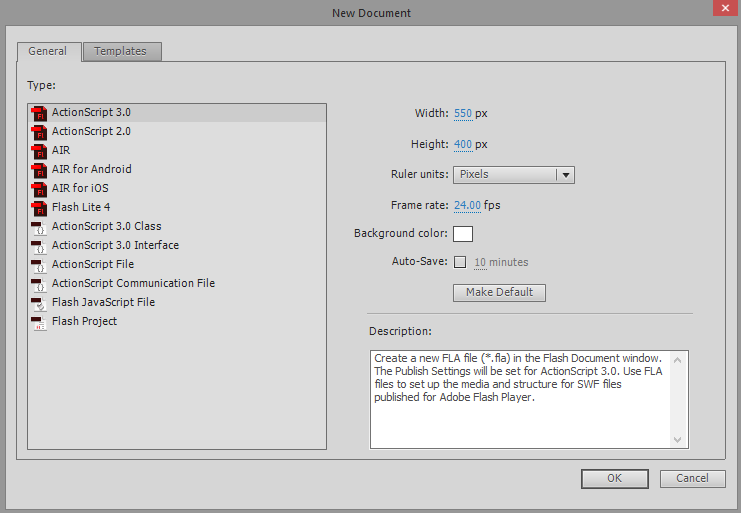
Step 2: If the start page is disabled, choose File > New. When the new document window appears, select Flash Project under the General Tab and then click OK.
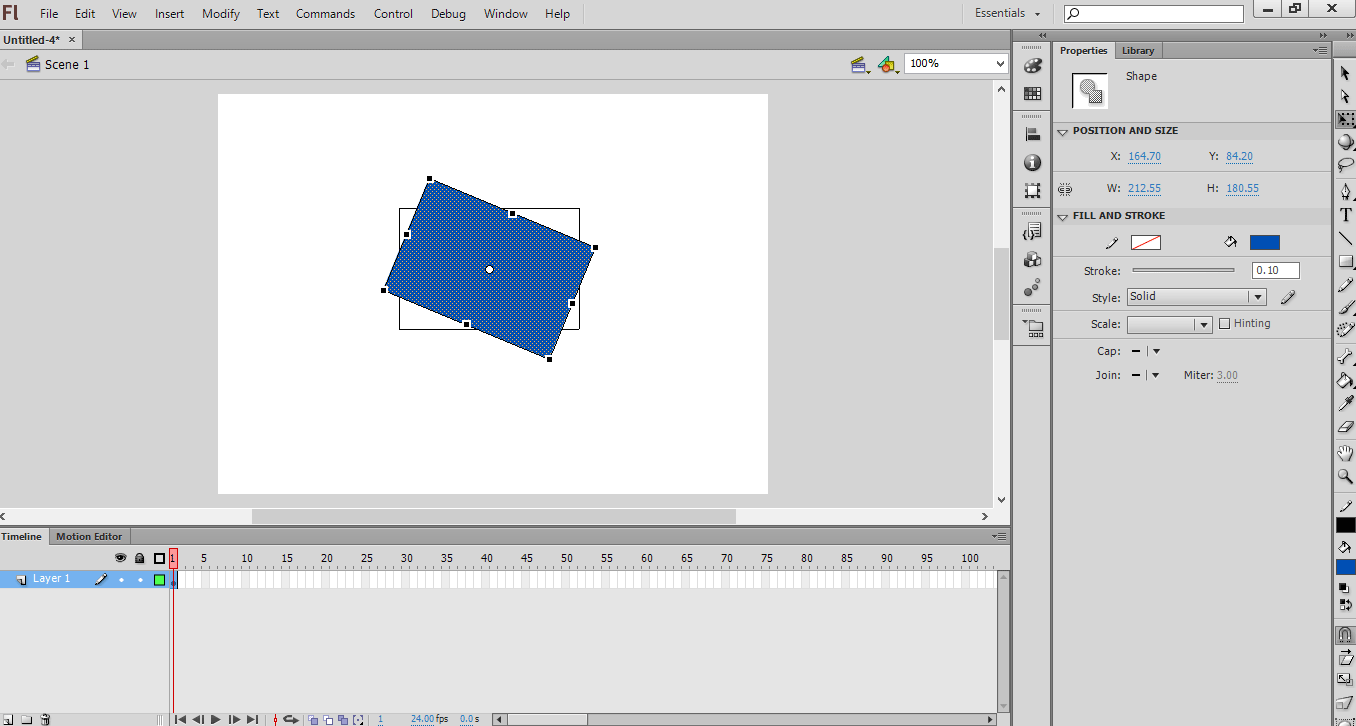
Step 3: Create your list of frames or images that have a small difference between them in animation. You can also create them in real-time in Adobe Flash. You can put already created images in Flash Program glossary to bring them directly into your project. If you want your images to scale, then save them in vector form rather than raster form.
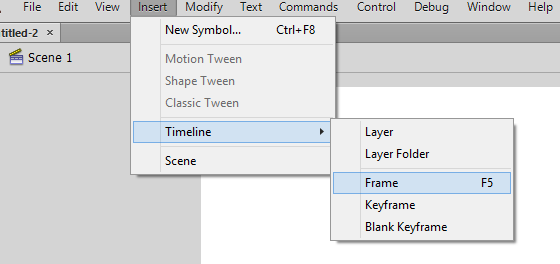
Step 4: After that, the next step is to design the new frame or image. For this, you need to click F5 or click on Insert command in toolbox > Timeline > Frame.
Step 5: As you click on Frame, your timeline will be automatically populated. Before creating any image or sketching, create the basic background for your project, name that layer as background, and lock that layer.
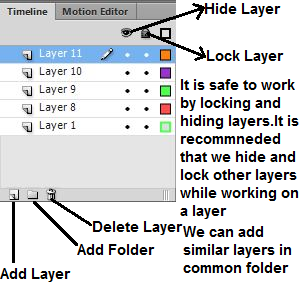
After the background layer is formed now, we will create the second layer. This is the layer from where your animations start. You can either import some images/frames or draw on your own by using Flash’s drawing tools. Your first layer will be your keyframe. These are the frames that have images and form the starting point of animation. Black dots denote these in the timeline. It is not necessary to have an image in each frame. The keyframe after 4-5 normal frames will produce good animation.
Step 6: You can create the symbol of your drawing created in Adobe by selecting the entire drawing, right-click on the selection and then select “ Convert to Symbol “. By doing this, you can use that drawing multiple times in your frame. You can have multiple instances of the same drawing to create your scene with ease.

Step 7: You can add some blank frames by clicking on the F5 key 4-5 times. This will add some blank frames after the first keyframe.
Step 8: After some blank frames are created, we need to create your second keyframe. This can be created by copy your existing keyframe and doing small modifications to it. We can also create a blank frame and insert a new image in it. In this way, we can use art from another program. To create a keyframe, click on F6. To insert a blank frame, right-click on the last frame in the timeline and select “Insert Blank Keyframe”. After we had created the second keyframe, we need to make small adjustments to the image to give the effect of motion. If we are using flash’s design tools for creating frames, we can use the transform tool to create motion. We need to make sure that all frames are arranged in the logical sense to form an animation.
Step 9: After we had created all major frames, we need to repeat these frames again in a logical manner to finish the animation. Try to make a small systematic change in your animation. This will provide realistic art to your animation work.
Point to Point Tweening in Flash
Adobe Flash provides a function called tweeting, with the help of which we can create the start and endpoint of an object. Flash will then move or transform the object according to the profile or path provided by the user. This function is useful for creating ‘morphing’ effects in which one object becomes another on completion of the animation. We can use only a single object in a frame to form an animation. To create tweening of multiple objects, we need to have multiple frames.
Create Tweening in Flash
To create tweening in a flash, follow the steps mentioned below.
Step 1: For tweening, we need to create an object for animation. But before adding any object, you need to add one layer as a background layer. Create the first layer as a background layer and lock it. Now create the second layer, and this is the layer from where you can start creating your animation. Now create an object using Flash’s animation tools. You can import an image as an object. But take care that you import that image in vector form. By vector image, you can easily scale it without degrading image quality.
Step 2: In order to tween, convert the object created as a symbol. This is the format in which Flash can manipulate any object. For this, right-click on your object and then select “Convert to Symbol”.
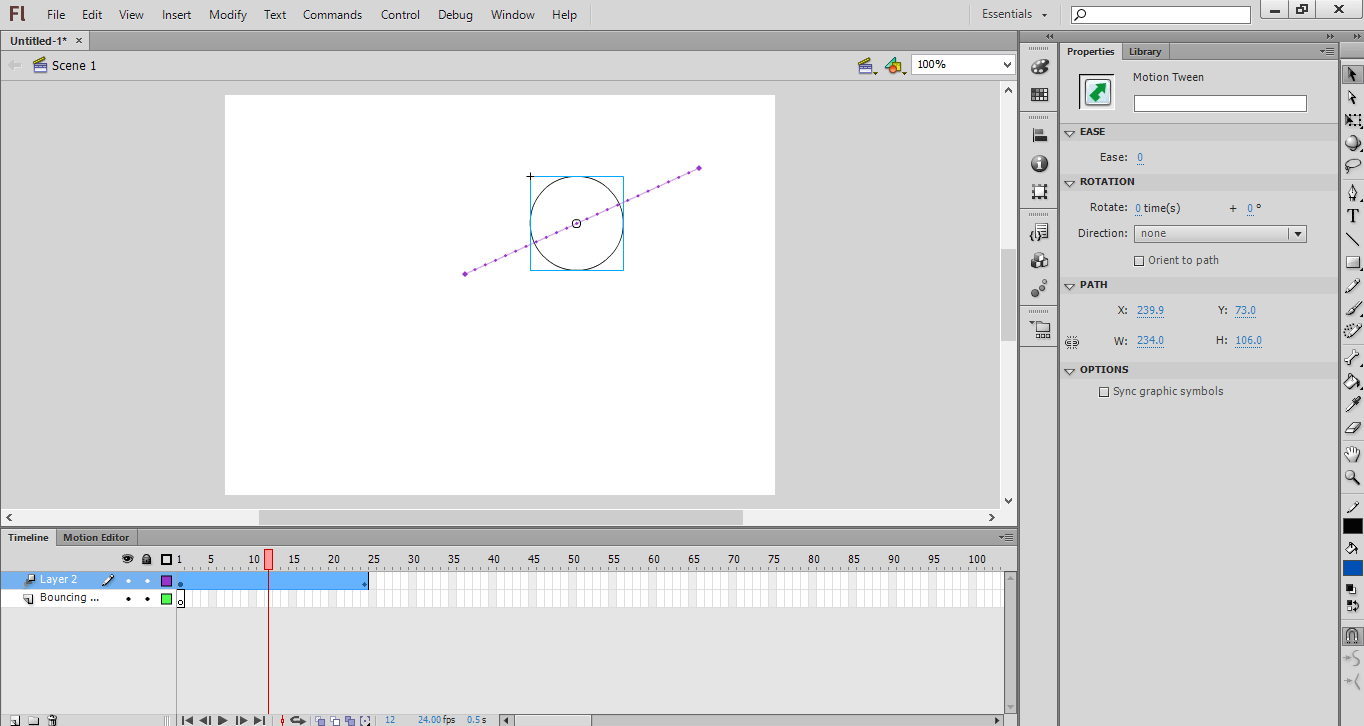
Step 3: For an object to move from one location to another, we need to right-click on the symbol and select “ Create Motion Tween “. By doing this, 24 frames will be added to the timeline. This is the default length of a tween. These 24 frames will take one second to complete.
Step 4: After creating the tween, we need to specify the path or trajectory line to move an object from one location to another. When we first create a trajectory, it will come as a straight line. The trajectory line will appear as a dotted line.
Step 5: To make the background layer move with frames, we need to select the background layer in the timeline and then click on the last frame where the motion will end up. After that, press the F5 key to insert the background frame up to the last frame.
Step 6: We can add a keyframe to the trajectory. By doing this, we can transform or make changes in the object. For this, select the frame you want to make a keyframe from the timeline. After that, drag the object to the position you want it in the keyframe. By doing this, the trajectory will be adjusted automatically, and the keyframe will appear as a diamond icon.
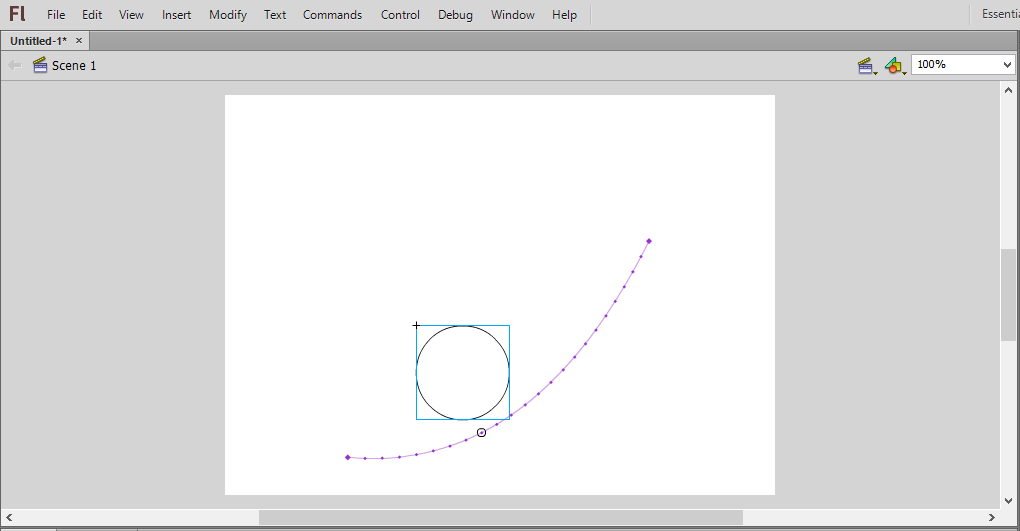
Step 7: We can also adjust the trajectory by clicking and dragging each of the frame position markers onto the path of a new location.
Step 8: After your trajectory and keyframe are made, you can transform your object to change its size, shape, color, and rotation during the entire animation. For this, select the frame in which you want the transformation to occur and then click Ctrl+F3 to open the Object’s properties panel. In this, you can change properties. You can also use the free transform tool to freely change the shape of an object.
Step 9: After that, you can test the motion by clicking Ctrl + Enter. If the animation is moving at a fast pace, you can lower the Frame per second or increase the tween span. For changing FPS, click outside the scene and then change FPS in the properties panel. These are the basic steps we need to follow in creating motion tween.
Adding Sound or Music to Animation
We can also add sound or music to your animation. To do this, follow the below steps,
Step 1: Flash supports AAC, MP3, WAV, and AU formats of music. We need to record music in these formats. MP3 is typically a perfectly acceptable sound format. It uses the lowest memory or bytes of your complete animation.
Step 2: The second task is to import that recorded music into your animation. For this, we need to add it to Flash’s Library. For this, click on File > Import > Import to Library. Browse sound files from your computer location. In this way, the sound file will be stored in Flash Library.
Step 3: We can add the sound files to your existing layer or add them into new layers. By providing new layers, we can control over fading in and out when to play and stop the music, and it is also easier to move sound around.
Step 4: After that, we can create a keyframe from where your music will start in your animation. For this, on the sound’s layer, select the frame from when you want to start the music. Press the F7 key to insert a blank keyframe. For example, if you want to include music playing for the entire duration of the animation, select the first frame of your animation.
Step 5: Now add sound to your animation from the already created library. For this, click on the properties frame. The sound section will appear. Then click on the “Name” menu and select the file from the Library.
Step 6: We can configure the sound to change the Effect, the Sync and the Repeat settings of each sound. By using Effect, we can fade in and out of music, add echo to music. Sync determines how the song will be played in your animation. Repeat settings help to play music again and again in your animation.
Step 7: After you have added music, save it in SWF file format. This is the format to play music.
Above are the basic steps that we need to follow in creating an animation in Flash. It entirely depends on the person’s creativity to design and adjust the motion of characters to form a wonderful animation.
Recommended Articles
This is a guide to Animation in Flash. Here we discuss the steps for creating animation in flash and tweening and how to add sound or music to animation. You may also look at the following articles to learn more-
