Updated September 13, 2023

Introduction to Mental Ray in 3ds Max
3D Max is a professional 3D computer designing software, which is used in creating 3D animation, games, models, images, etc. and plays a major role in the work of Video Game developers, Film and TV Studios. Mental Ray is the basic part of 3D max software. Mental Ray gives a different type of lighting effect on your object and connects it to the real world. With mental ray command, we can check our model working in the presence of lights of the real world, and we can make many types of changes until we get the best result of our model in our project.
Applying Mental Ray Effect to our Object
Mental ray gives a realistic view of our model. Here you will learn how to do mental ray setting in your project with me in step by step manner:
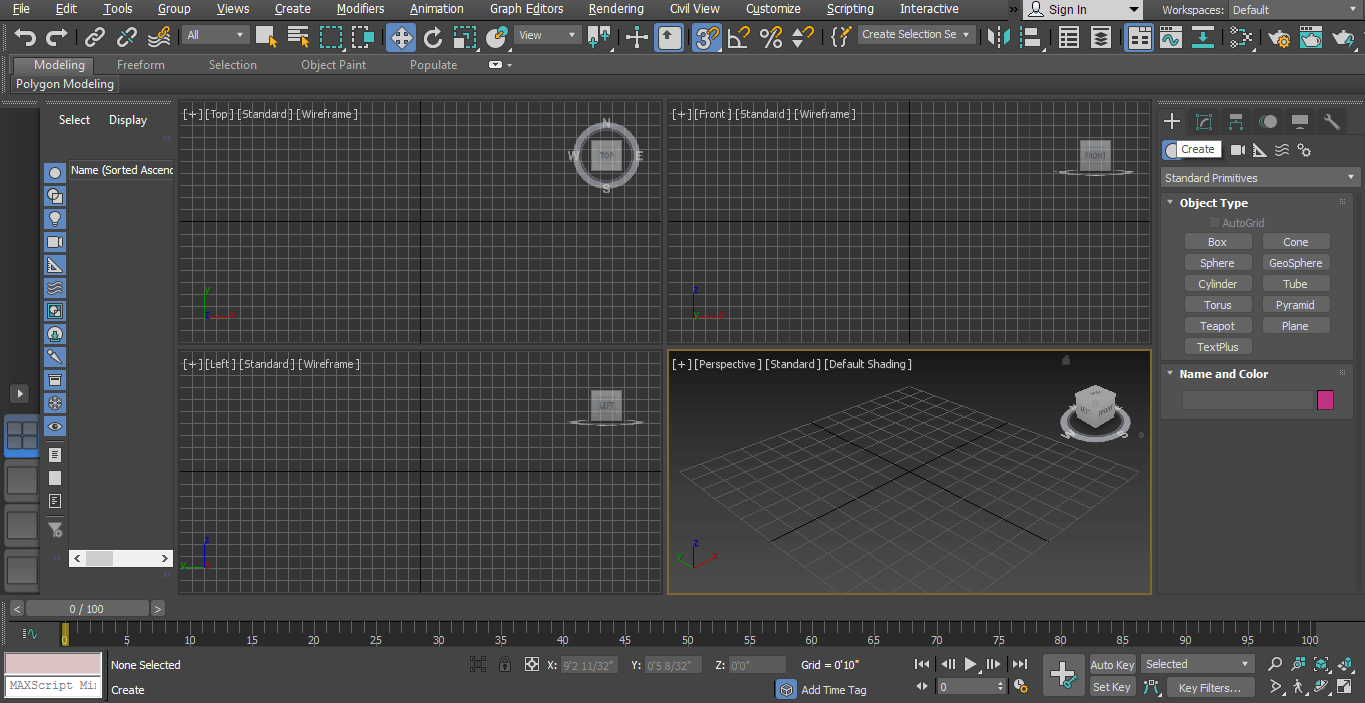
- There are four viewports working areas in 3D max software that are Top viewport, Front viewport, Left viewport, and the last one is Perspective viewport. We can choose any one of them for drawing our model at any time.
- Here we will take our pre-designed model of a room for making a mental ray effect on it.
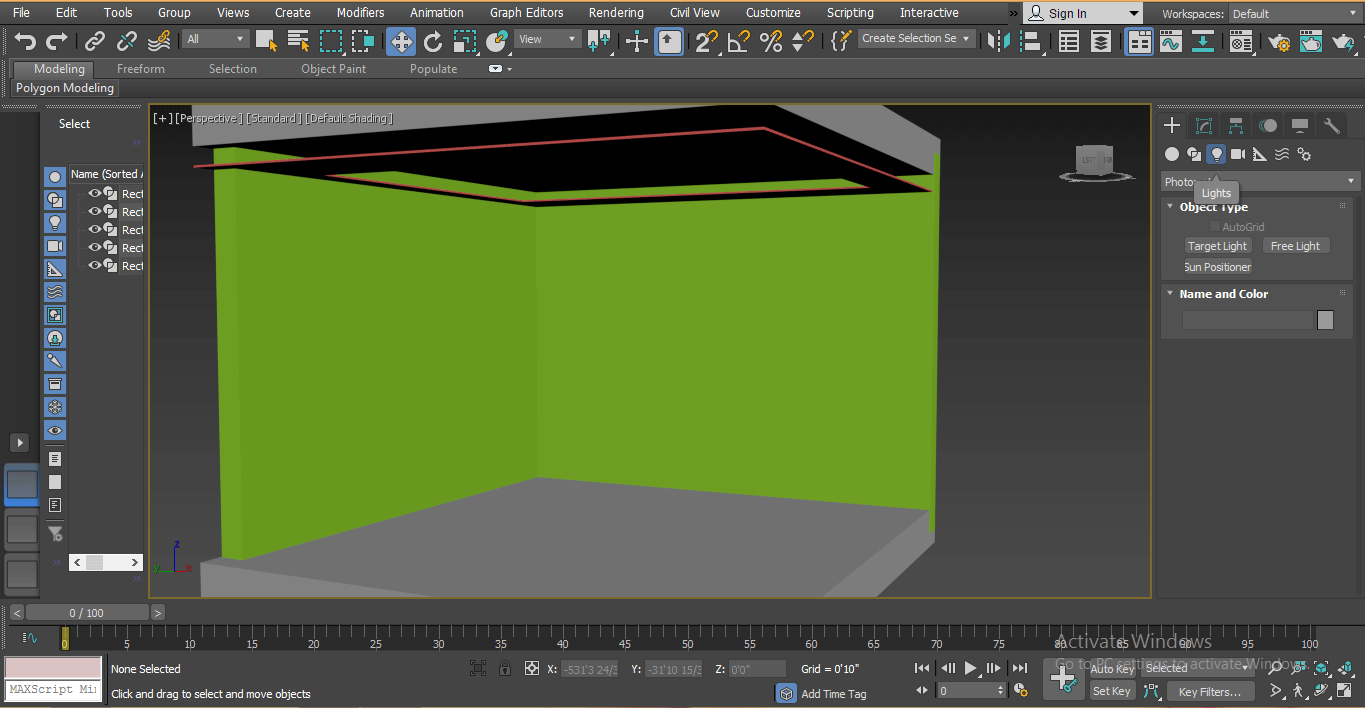
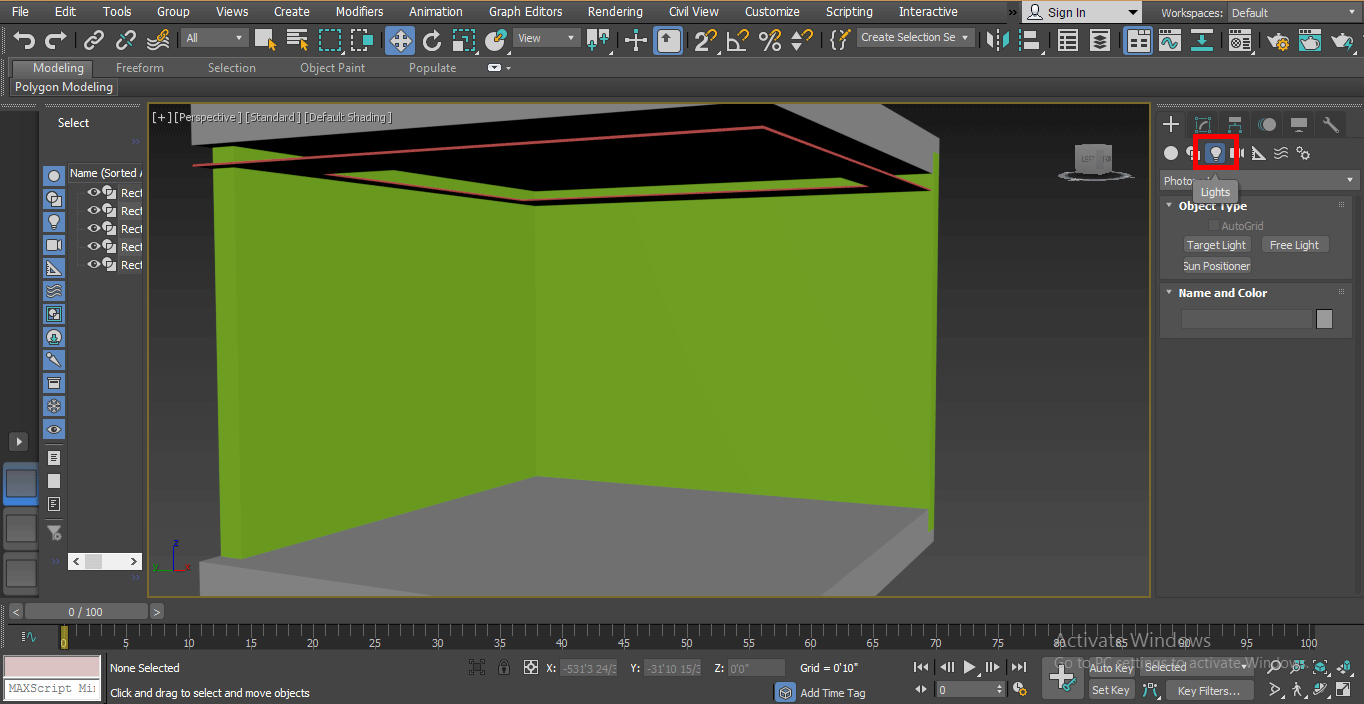
- We used different type of 3D shapes, rectangle and another designing command for making this model. You can take any model made by you for giving mental ray on your model. Let’s start mental ray steps in our tutorial. We have two types of light here that are Standard and Photometric. Here we learn all the parameters of free light.
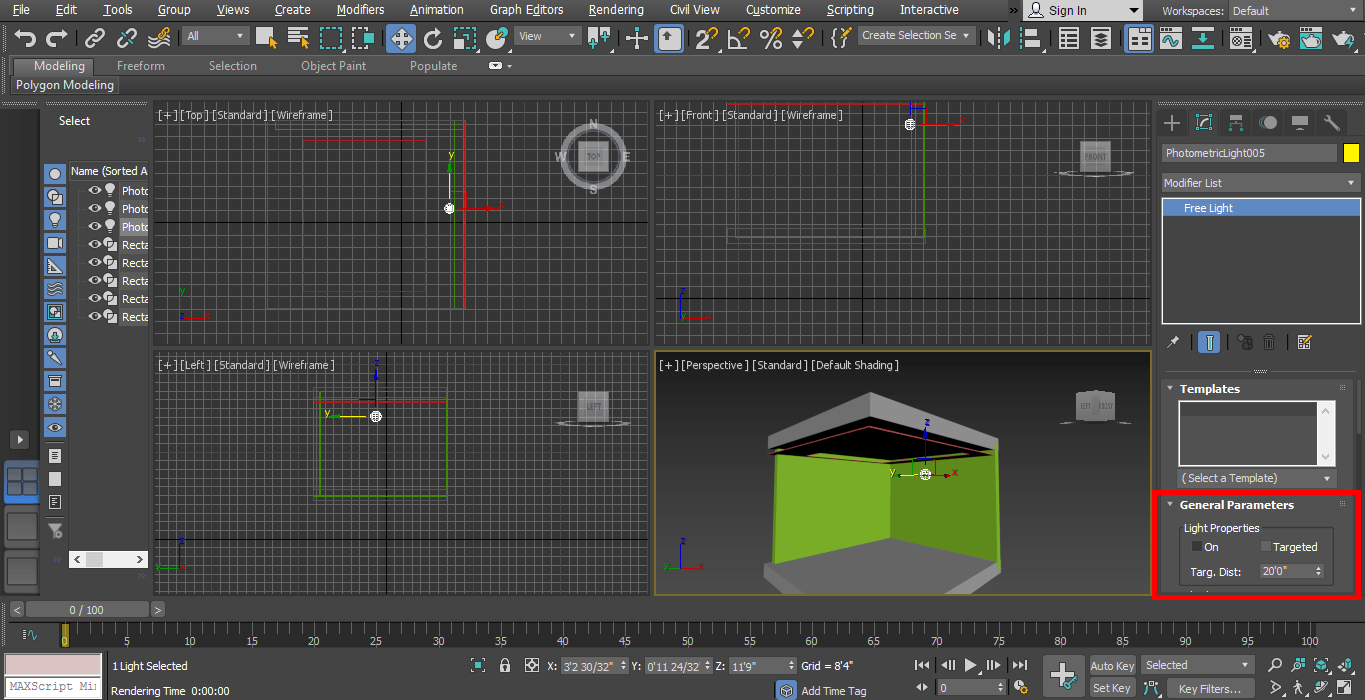
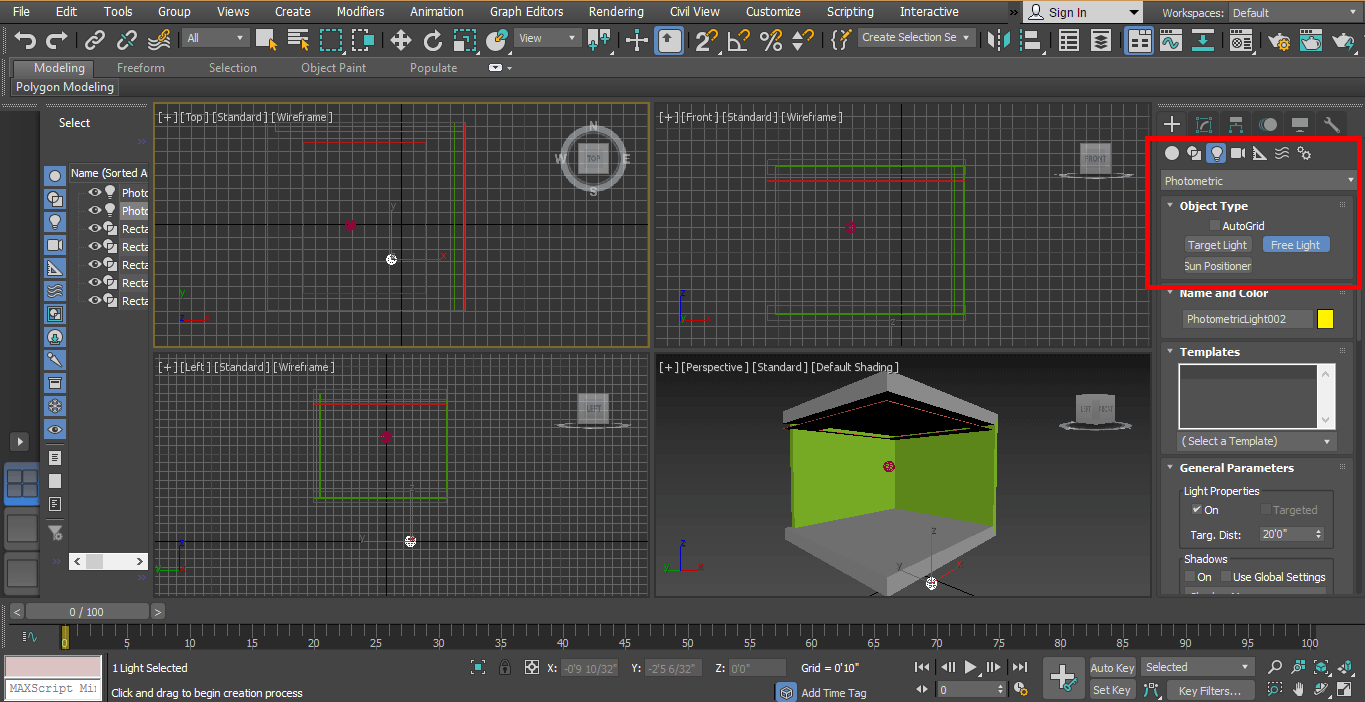
Step 1: First of all, we will take a free light command for free light. Go to the common panel, click on the light option tab, click on the Photometric option of the common panel.
Step 2: Click on the Free light tab of the common panel.

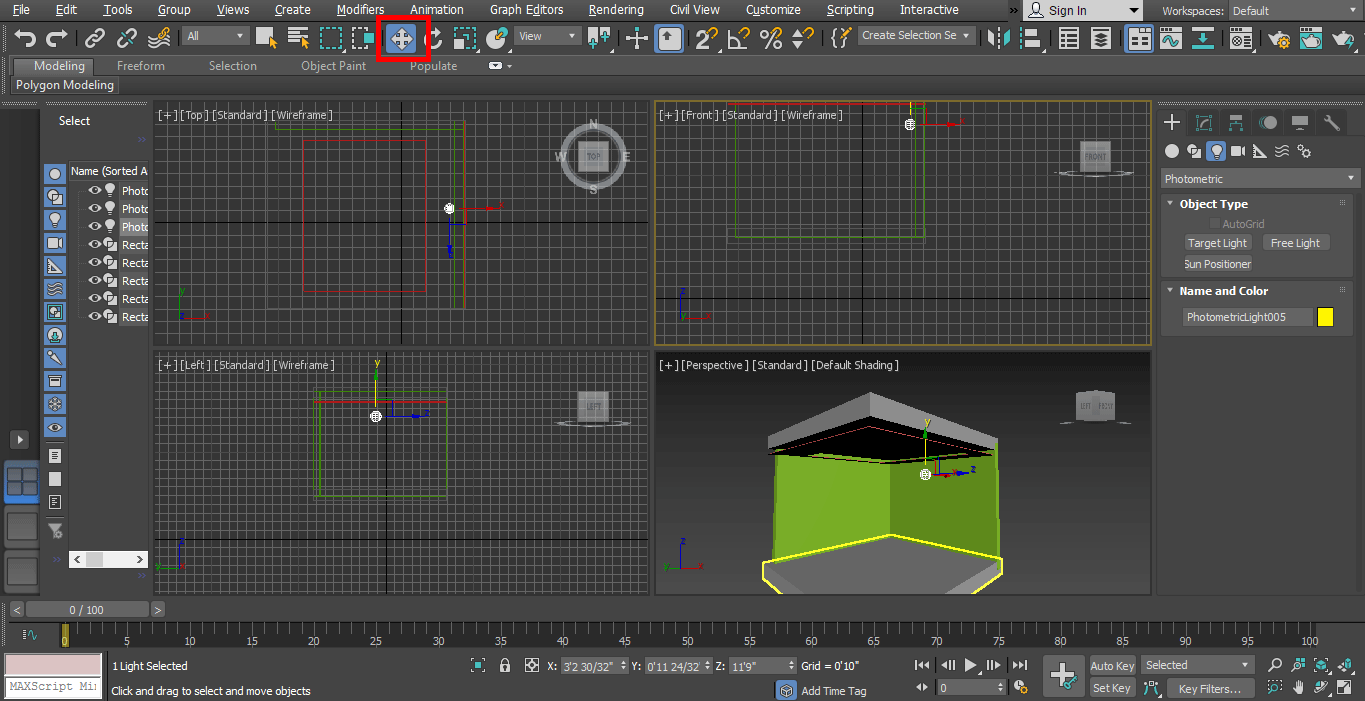
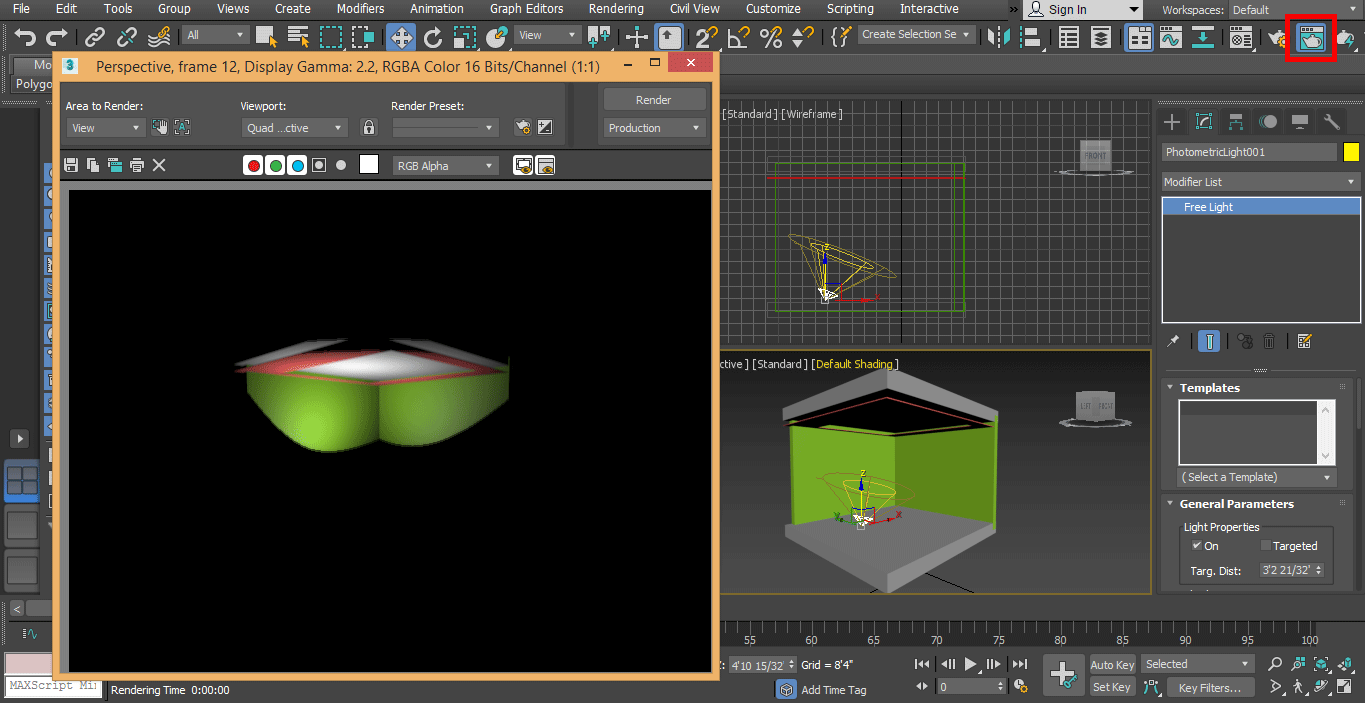
Step 3: Now, I will set the light as shown in the image; you can set it according to you. For moving the light, click on the move tab, which is present on the top left corner of the working window; move it at the perfect position so that we can see its effect properly.
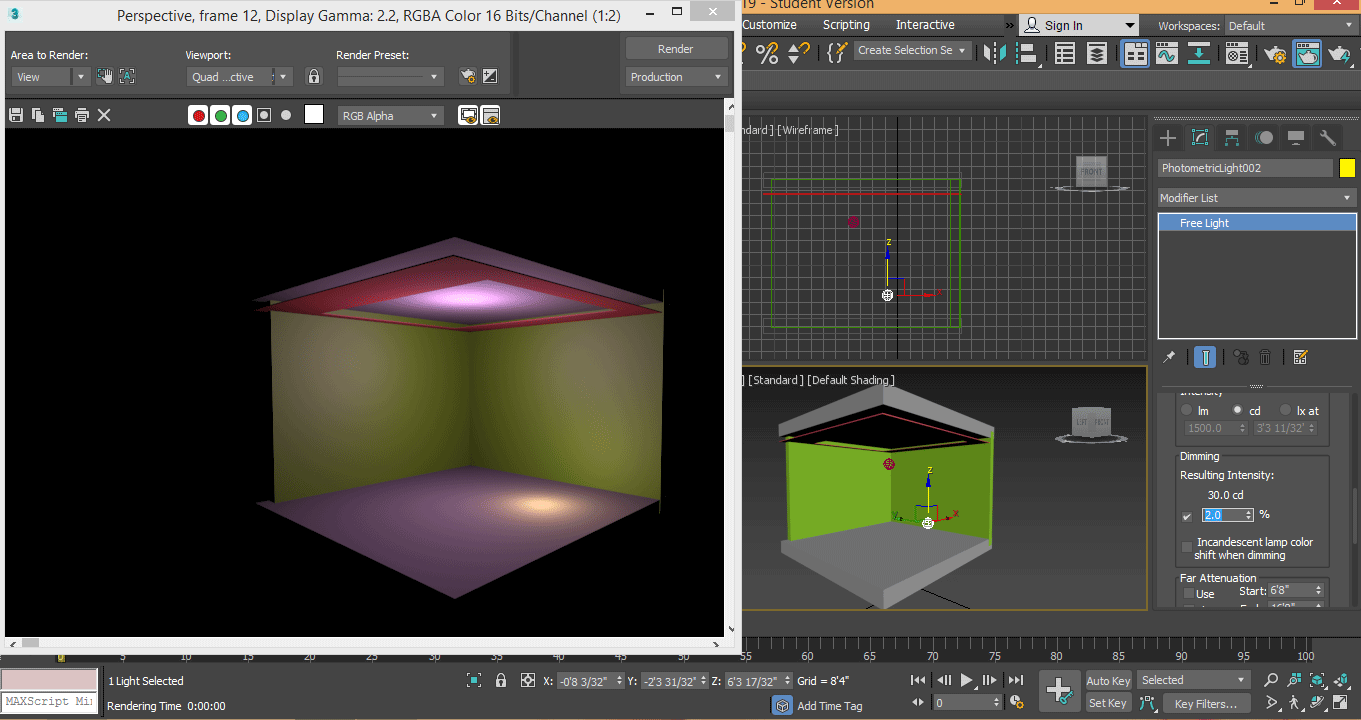
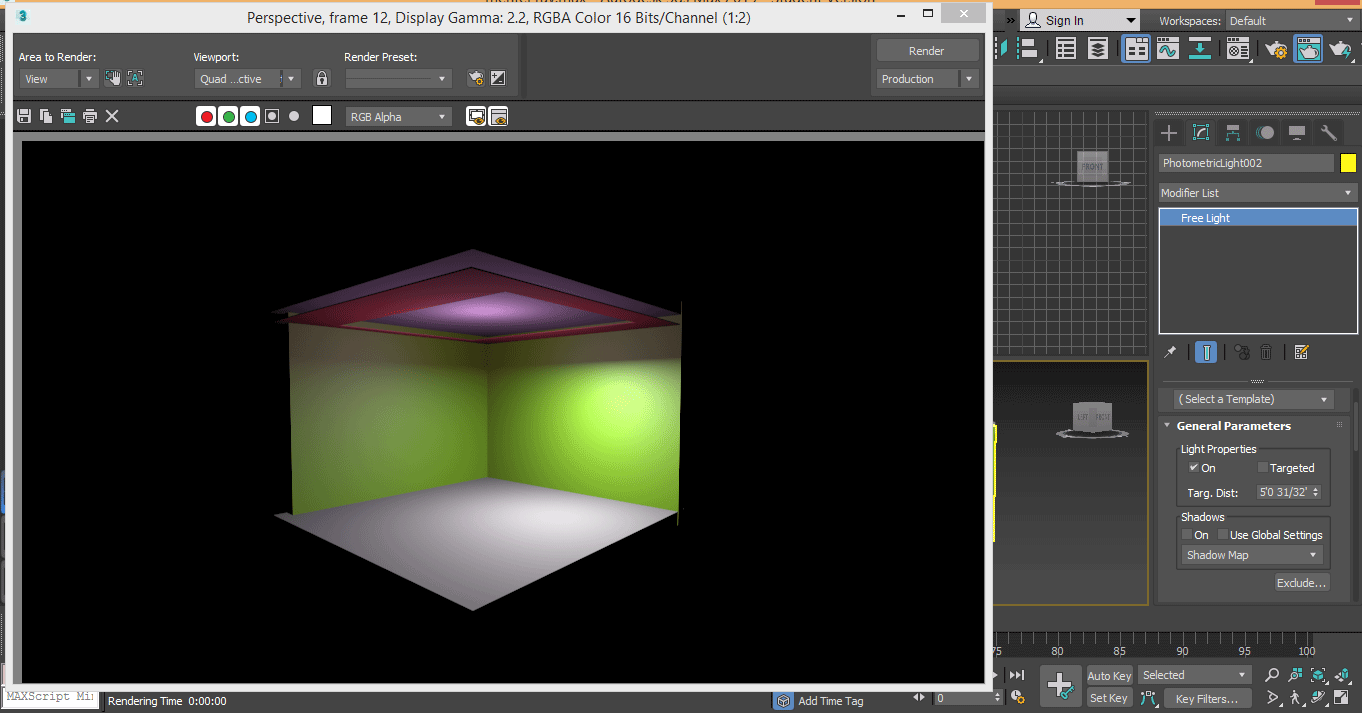
Step 4: Now, we will see its preview in the render.

Step 5: We can turn On and Off this light from the general parameter option present in the common panel area. Click the checkmark in the On box to On the light, Or uncheck this box for Offing the light.
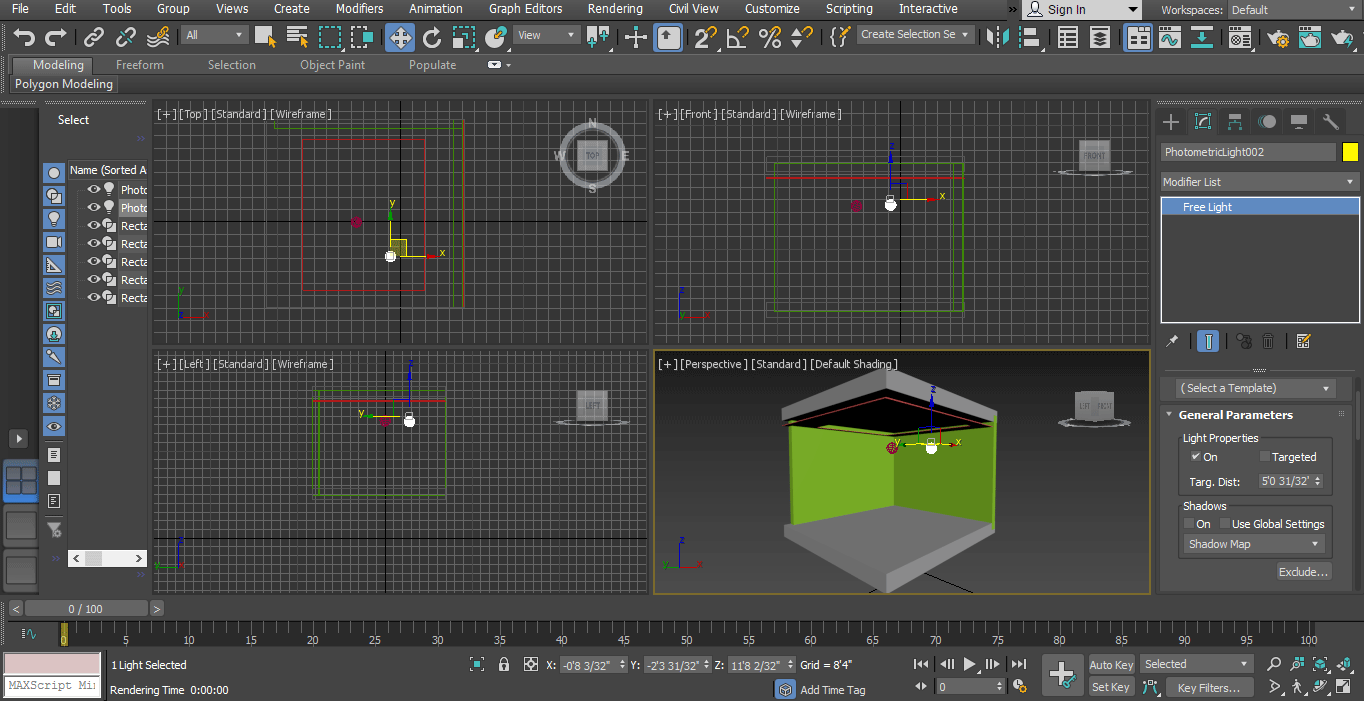
Step 6: Go to modify the list, choose target option from here we can set target distance form here target distance means on which area light should be focused.
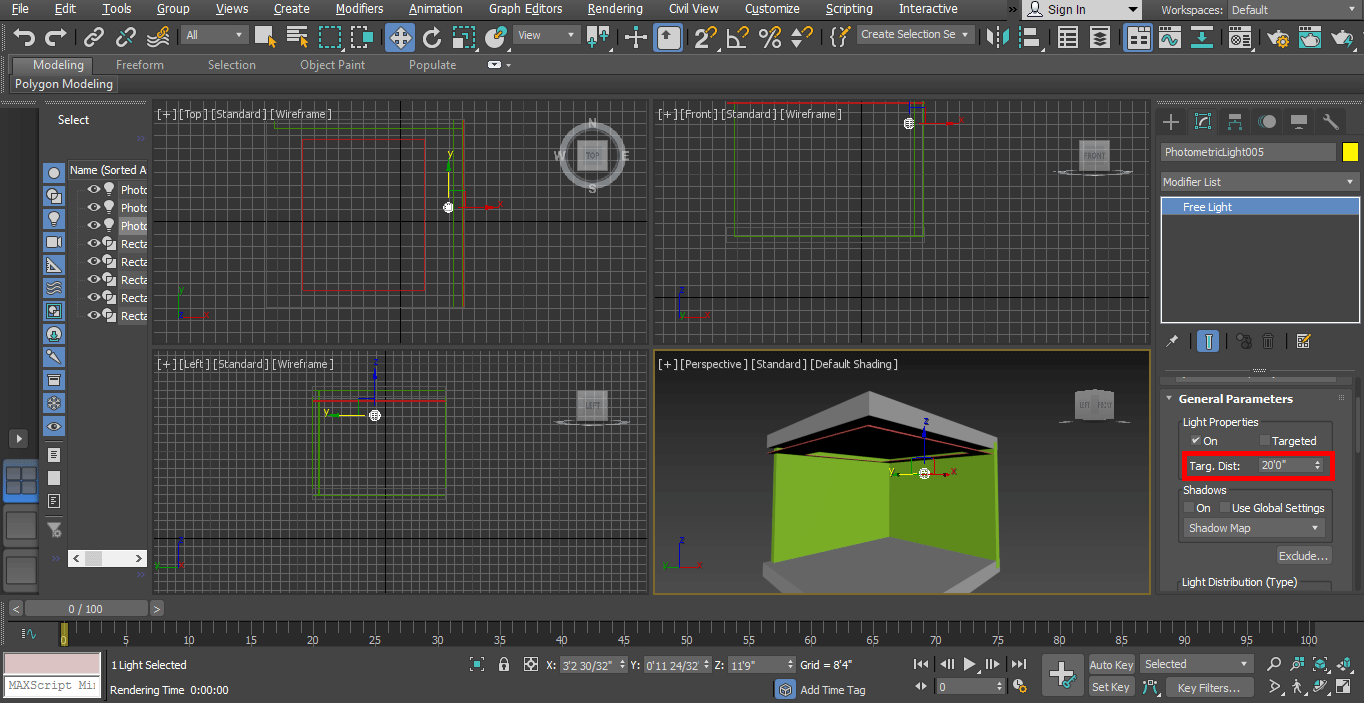
Step 7: We can give shadow from here by clicking on the checkbox of the On option. You can see the show in render.

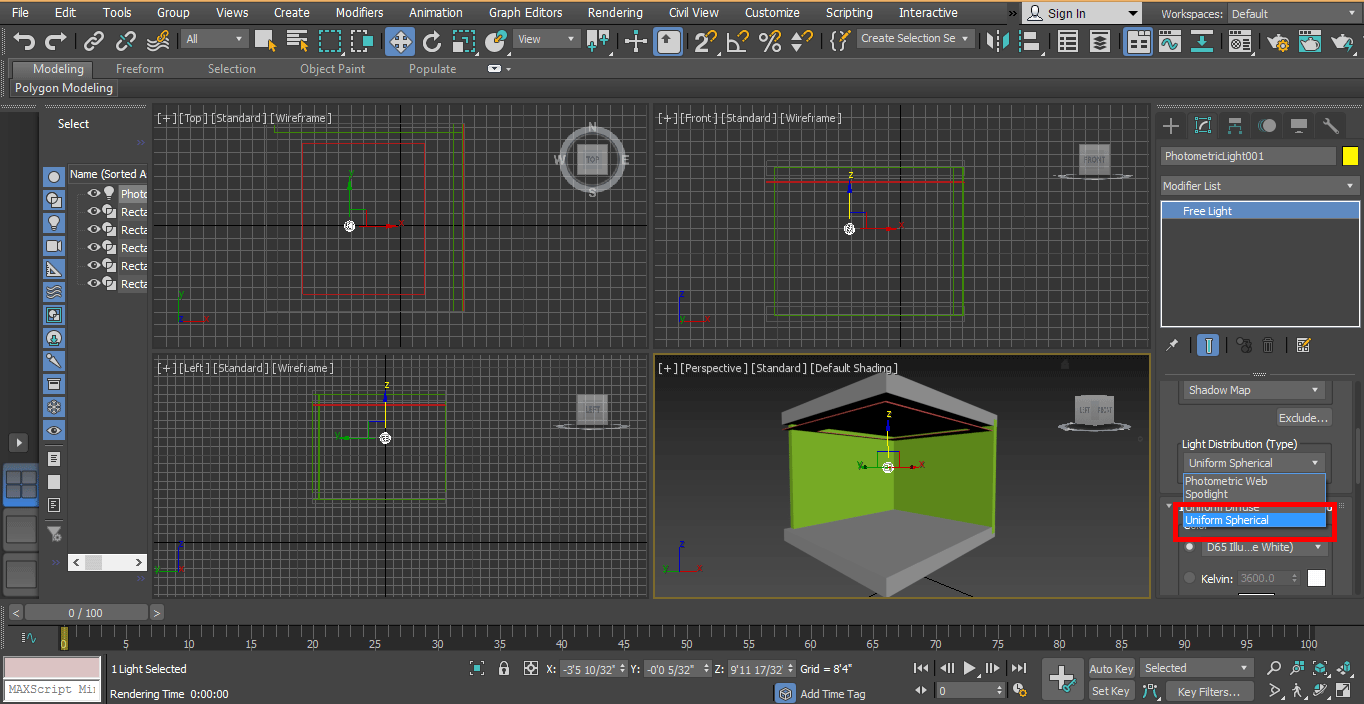
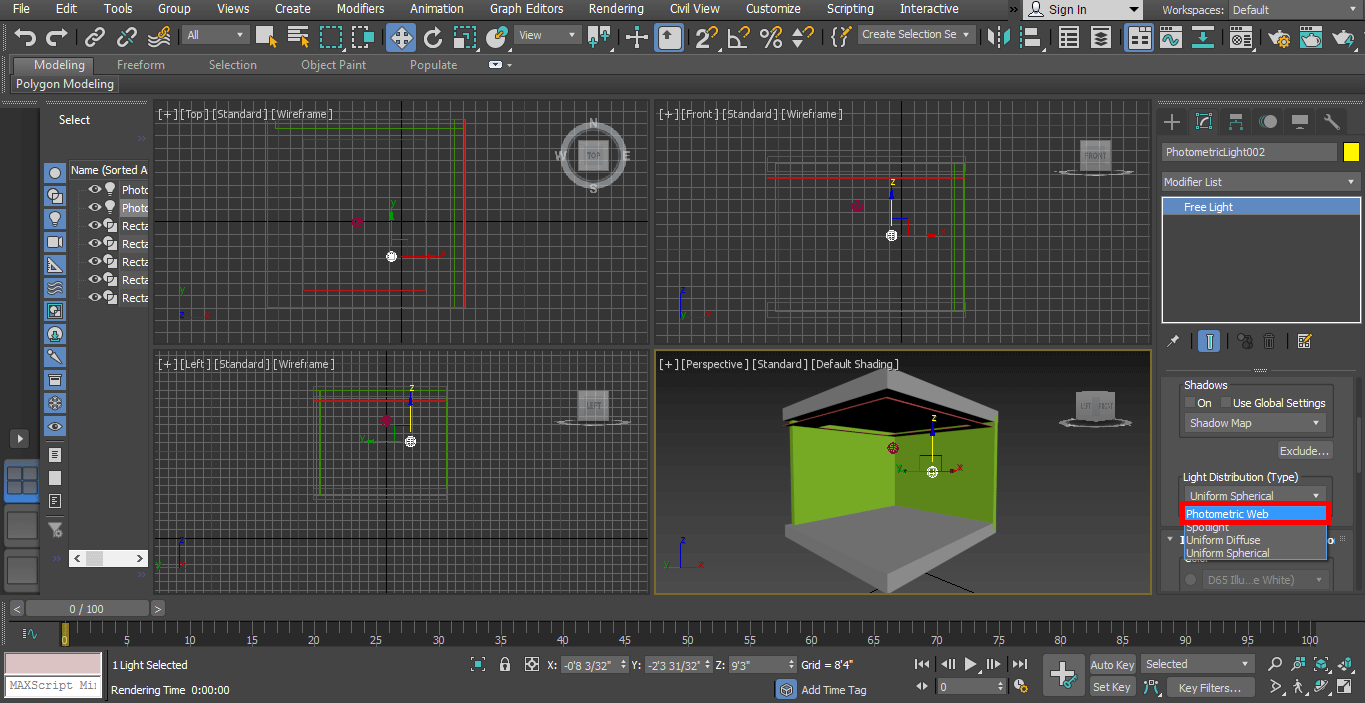
Step 8: Here is the light distribution option in the common panel.

- By this option, we can set different types of light in our model that are Uniform Spherical, Photometric Web, Spotlight, etc. You can choose according to your requirements.
Step 9: Now, I will show you the spotlight effect. Choose the spotlight from here.
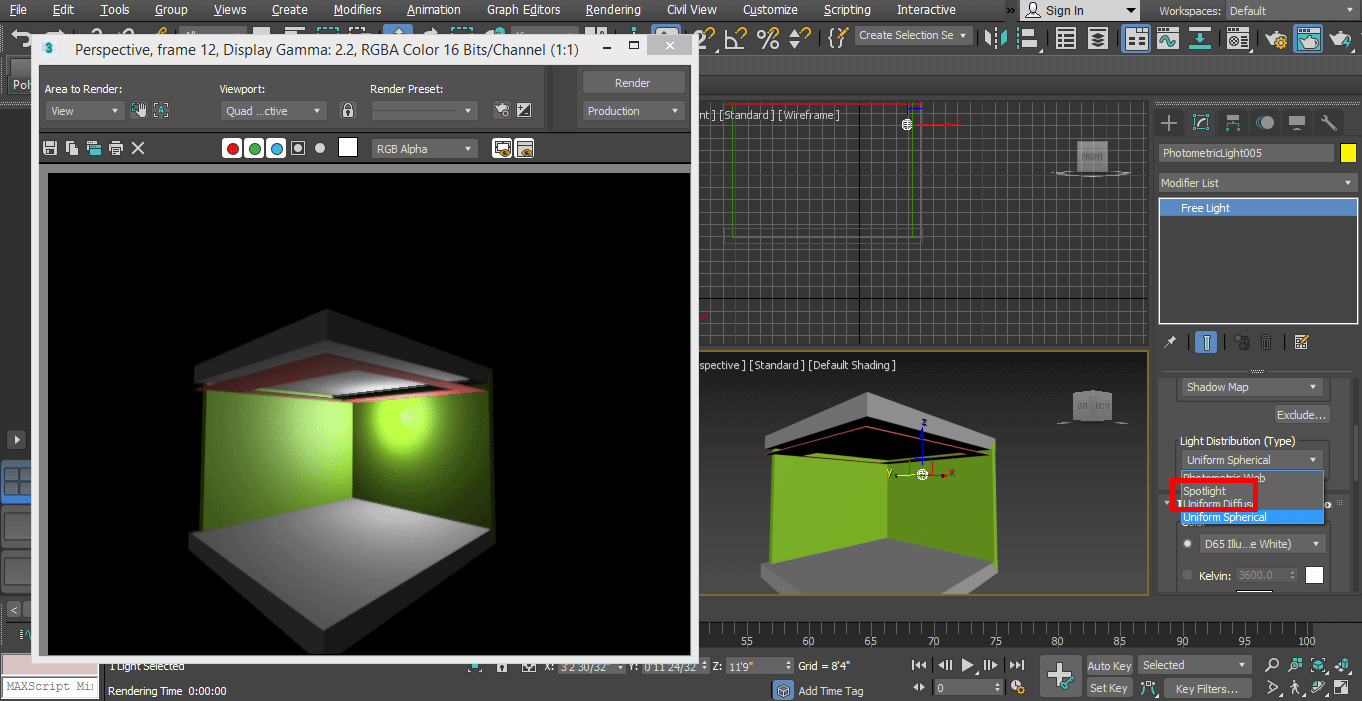
Step 10: And set it in the model.
Step 11: Check to render effect by clicking on the render tab, which is present in the workspace’s top right corner.
Step 12: We will now take Uniform Spherical light from here and set it in a perfect place so that it can uniformly distribute in our model.
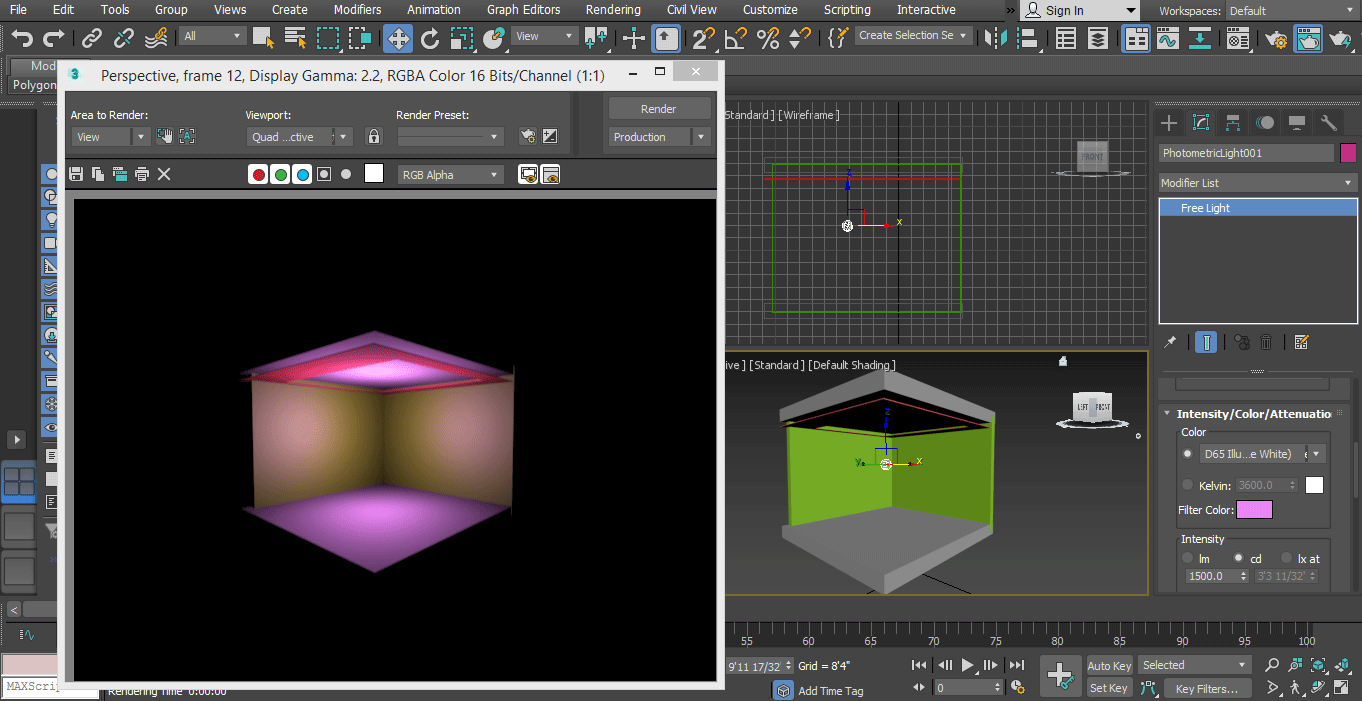
Step 13: Now, we will change the color of light for changing color choose a color from the Filter color option of the common panel.
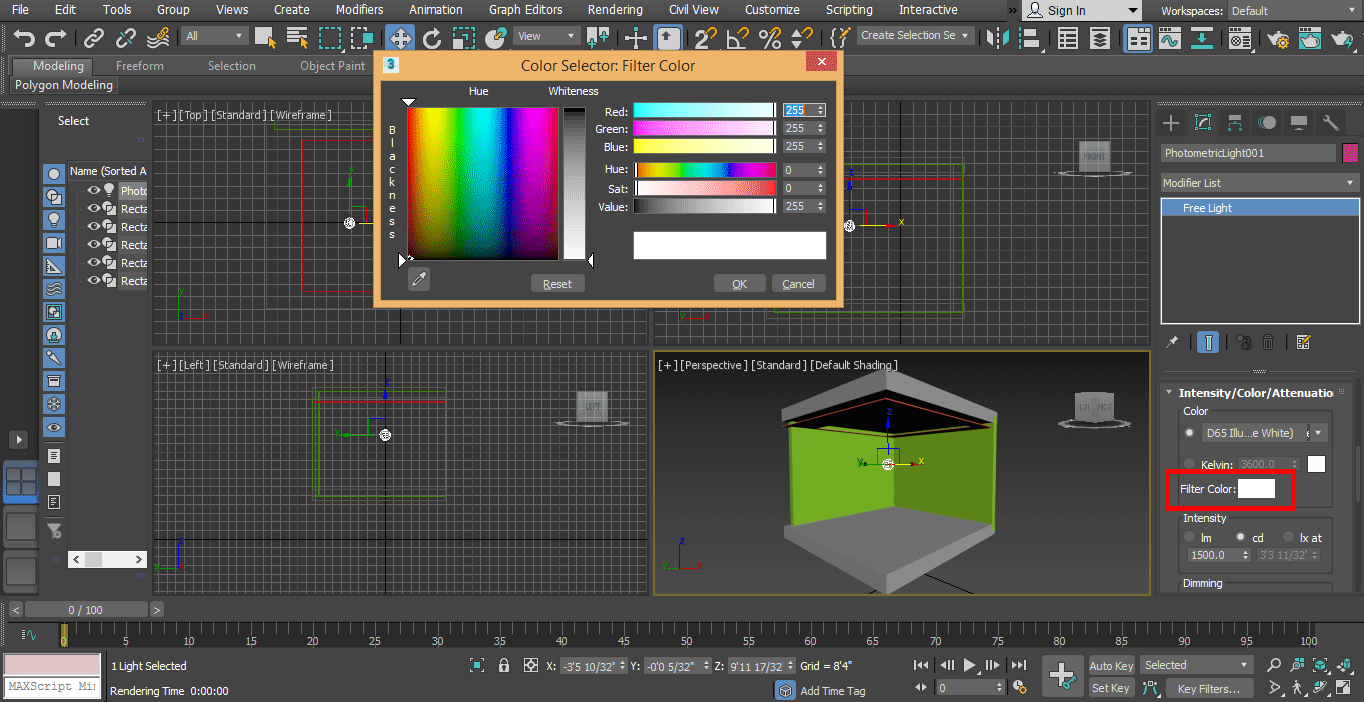
Step 14: You can check the different color effects in your model.
Step 15: Here, we set the intensity of light; intensity means the brightness of the light for setting the intensity of light. Go on the common panel, go to the Dimming option and set data here.
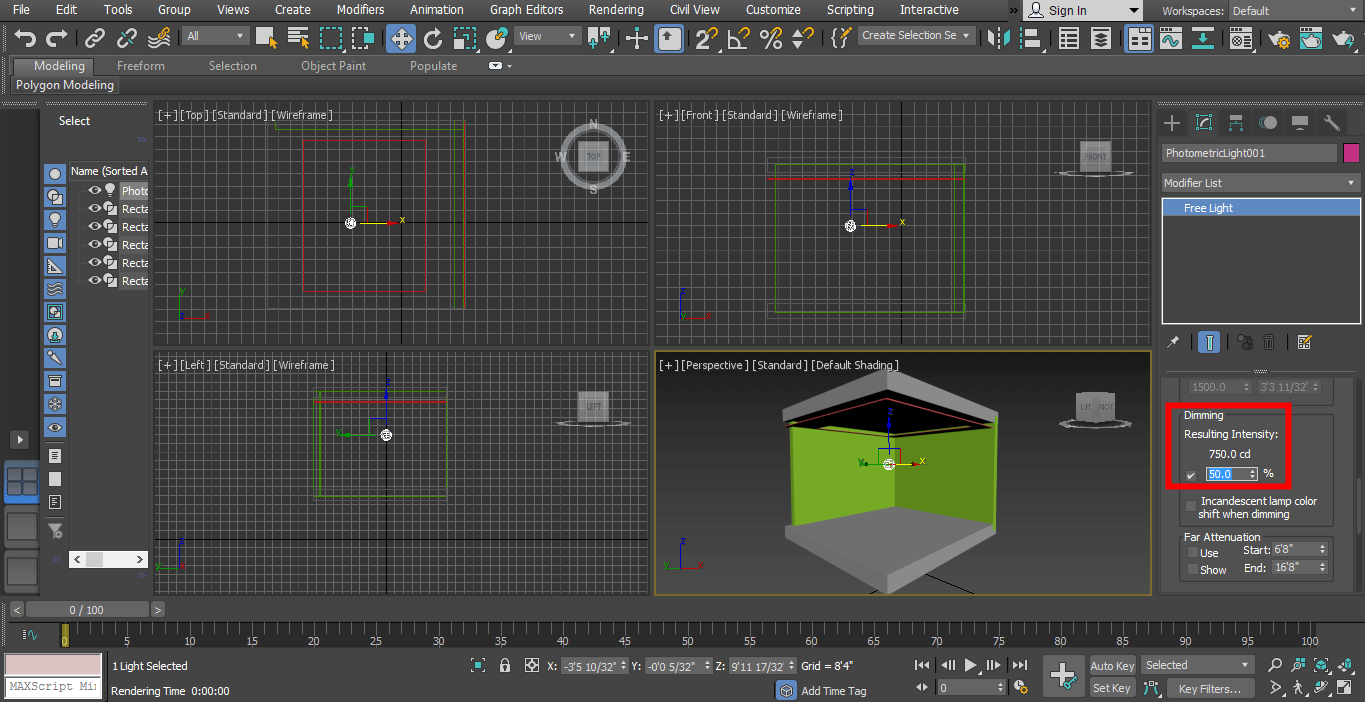
- You can check the dimming effect by changing data as many times as you want.
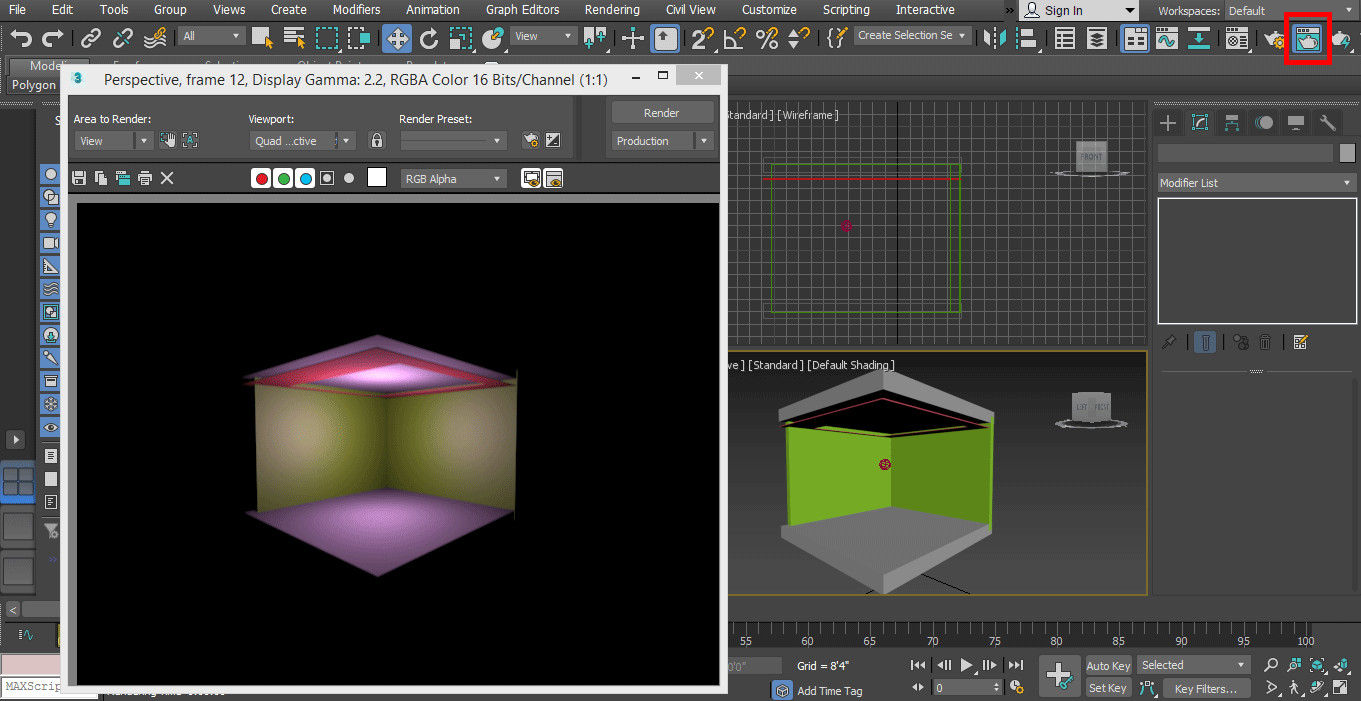
Step 16: Render it to see the effect, to render, go on the render button at the top corner of the working area.
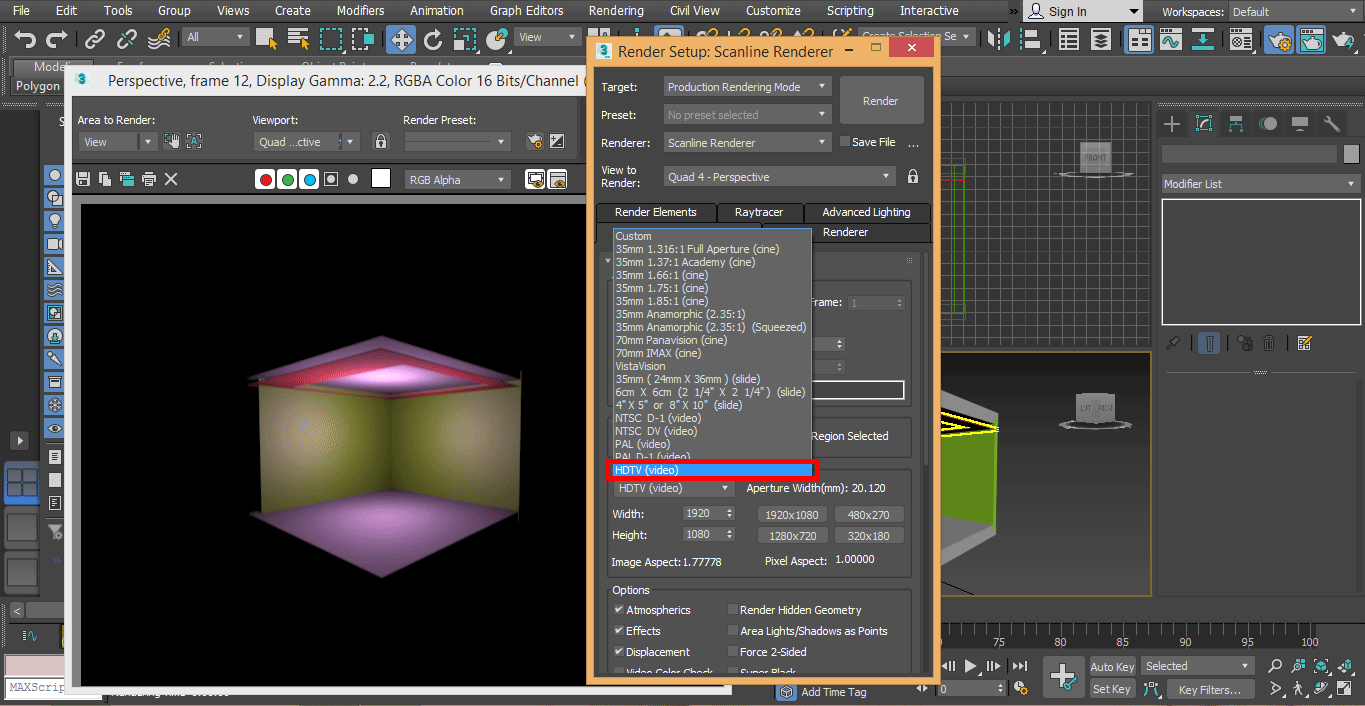
Step 17: For making it more effective, we will set some render parameters from the render setup. To render, setup, press the F8 key on the keyboard; a dialog box will open; go to custom and choose the HDTV (video) option from here.
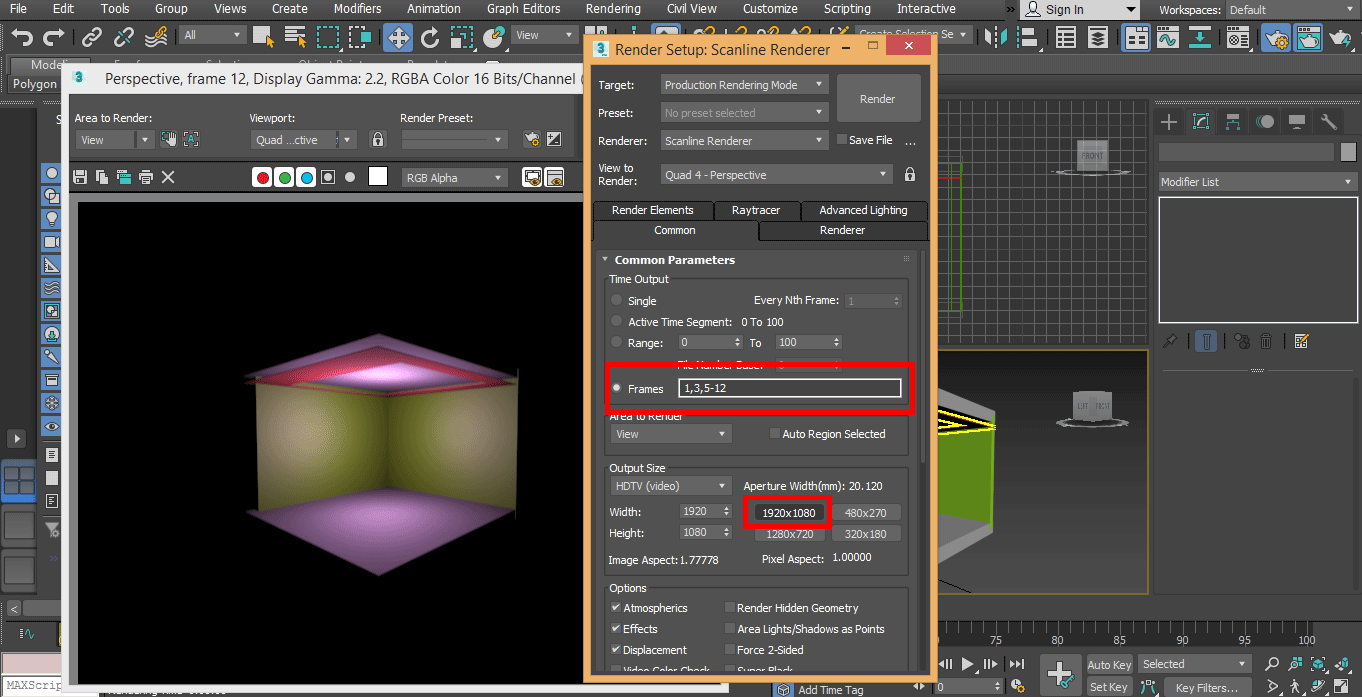
Step 18: Click on the high-resolution option, i.e. 1920 x 1080, and click on the render tab of the render setup dialog box.
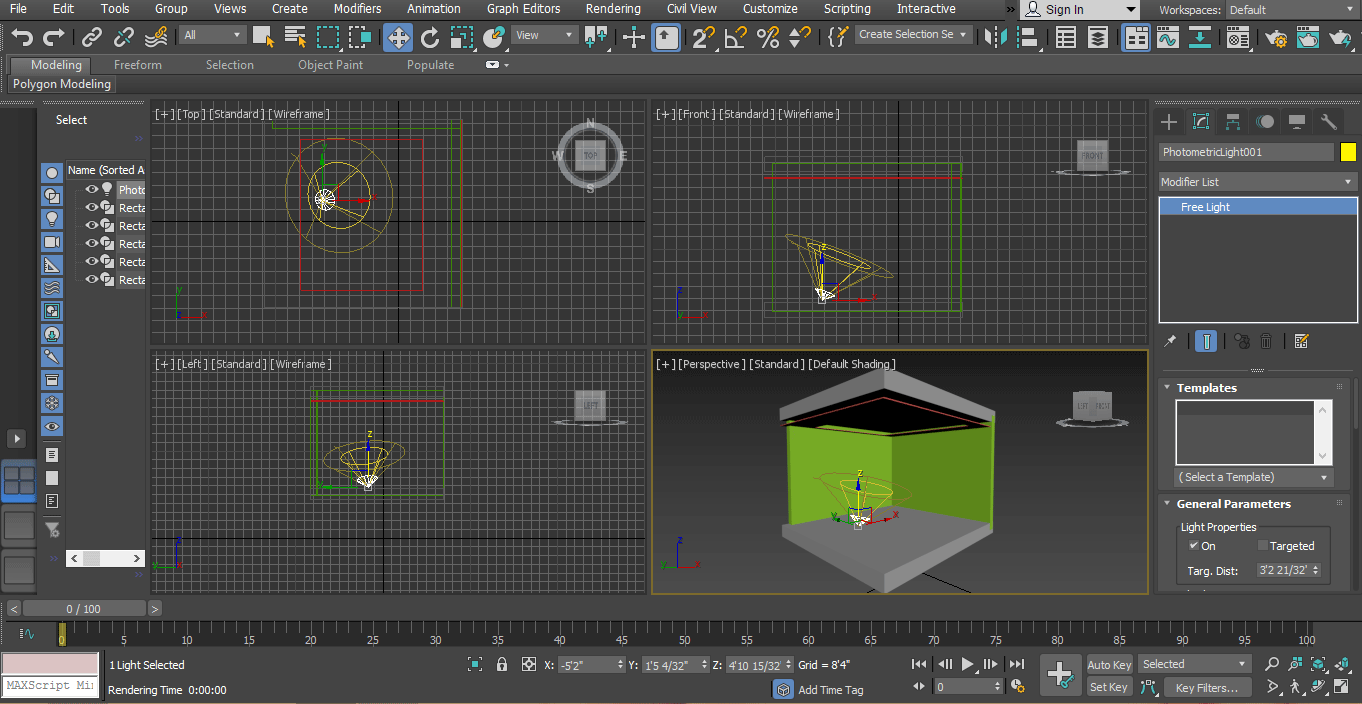
Step 19: Now, I will set another light, click on the create a tab of the common panel, click on Photometric, click on Free light draw it in the model.
Step 20: Dim the light from the parameter area of the common panel to see its effect.
Step 21: Choose photometric web light from the common panel area to make different light than the previous light, which we had set in our model. We are using photometric web light for giving different light effects in our model.
Step 22: We select the light and click on the move button and drag it to the middle. You can place the light anywhere in your model, where you like to place it.
Step 23: Now, we will see the render effect again.
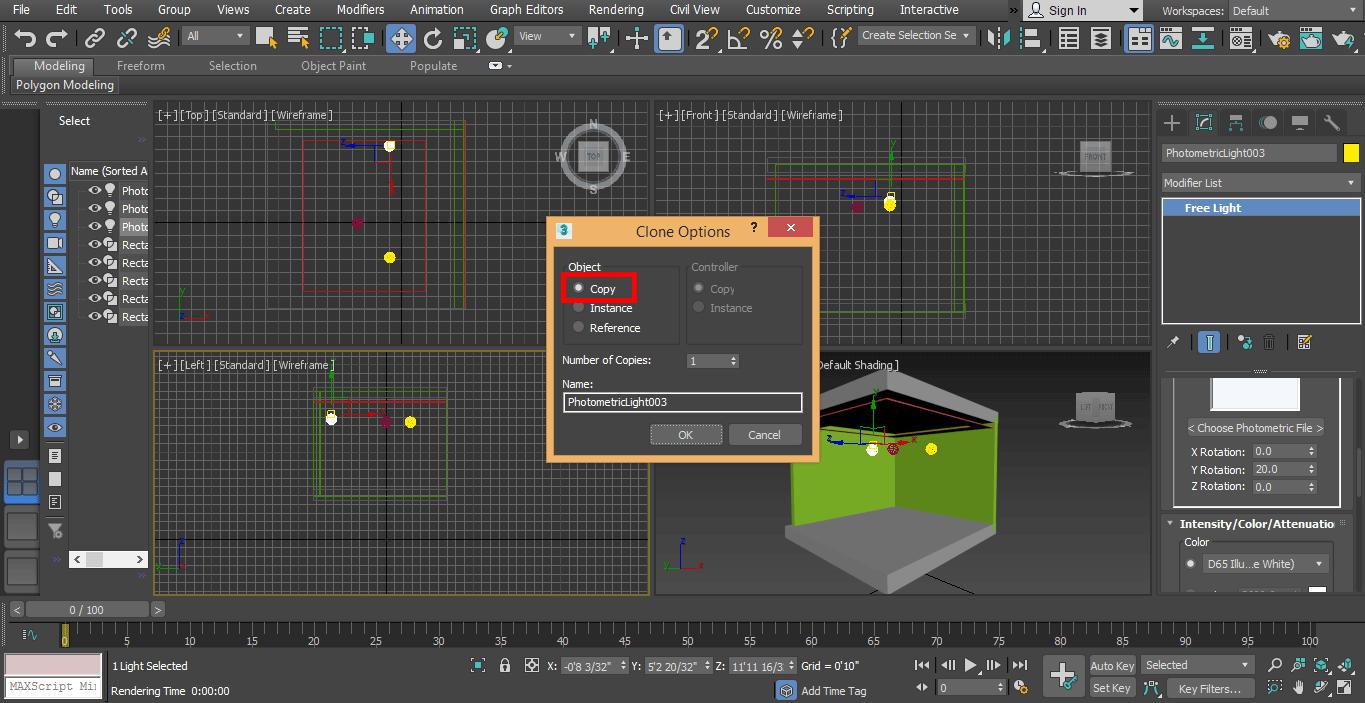
Step 24: And for the clone, the light clicks on the light and simply drag it by holding the click. You can create many copies one by one, click on the copy radio button to clone it, and click on the ok tab.
Step 25: I will check the effect on the full screen of perspective view by pressing the Alt+W keys on the keyboard.
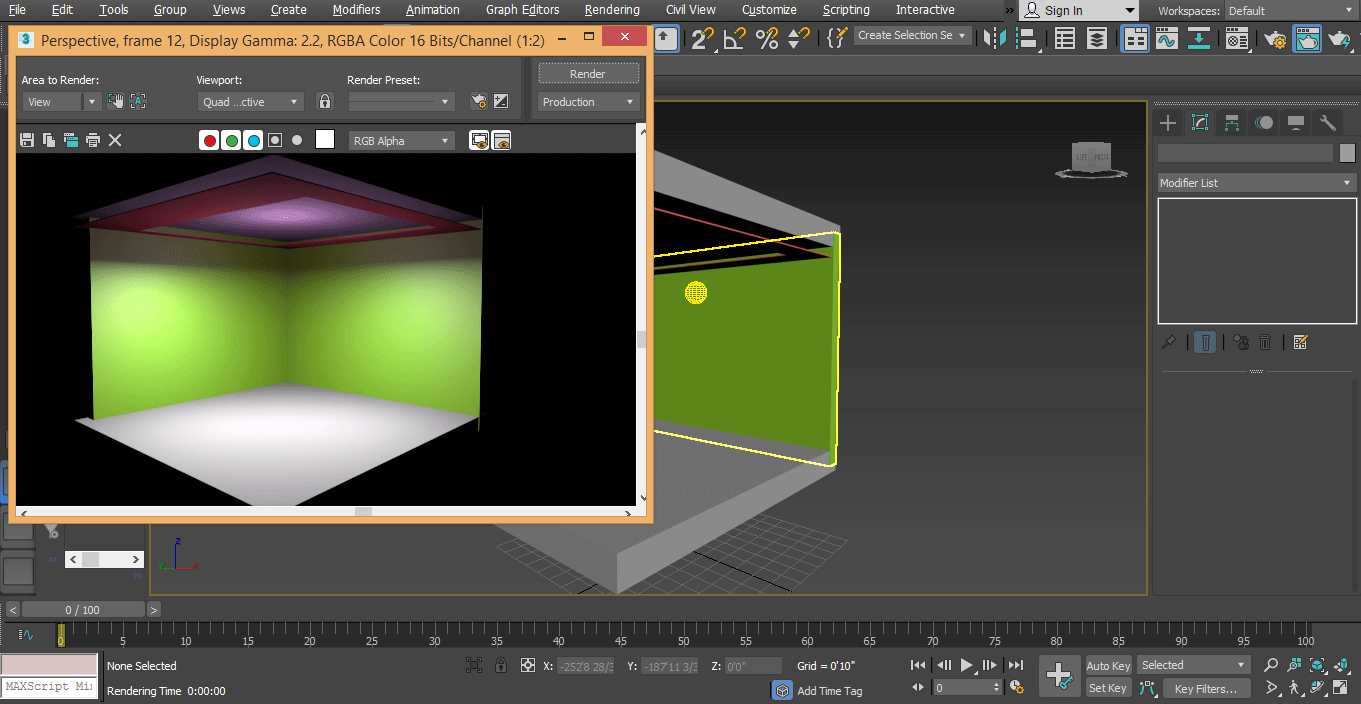
- This is our final mental ray in our model; here, we can see the effect of light easily on our model. You can use a different type of light in your project just by following these steps. You must have to take different lights that are Photometric Web, Uniform Sphere after drawing free light on the model for using different light.
Conclusion – Mental Ray in 3ds Max
Here you have learned the basics of mental ray in 3D max, and after this tutorial, you can easily set mental ray for any 3D object and 3D model project. Mental ray makes your model very effective. After knowing mental ray, you will be able to give lighting effects to your model in a very simple way.
Recommended Articles
This is a guide to Mental Ray in 3ds Max. Here we discuss mental ray in 3ds max in an easy way with a very effective model result. You can also go through our other related articles to learn more-
