Updated July 1, 2023
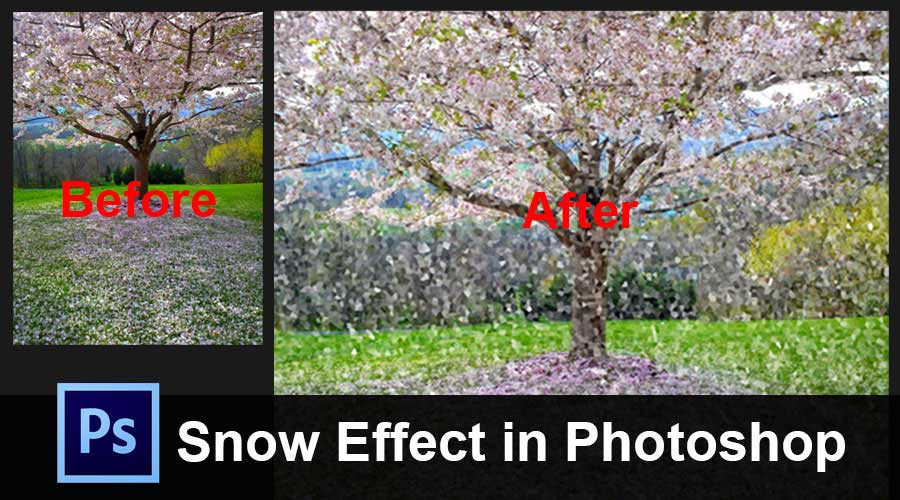
Introduction to Snow Effect in Photoshop
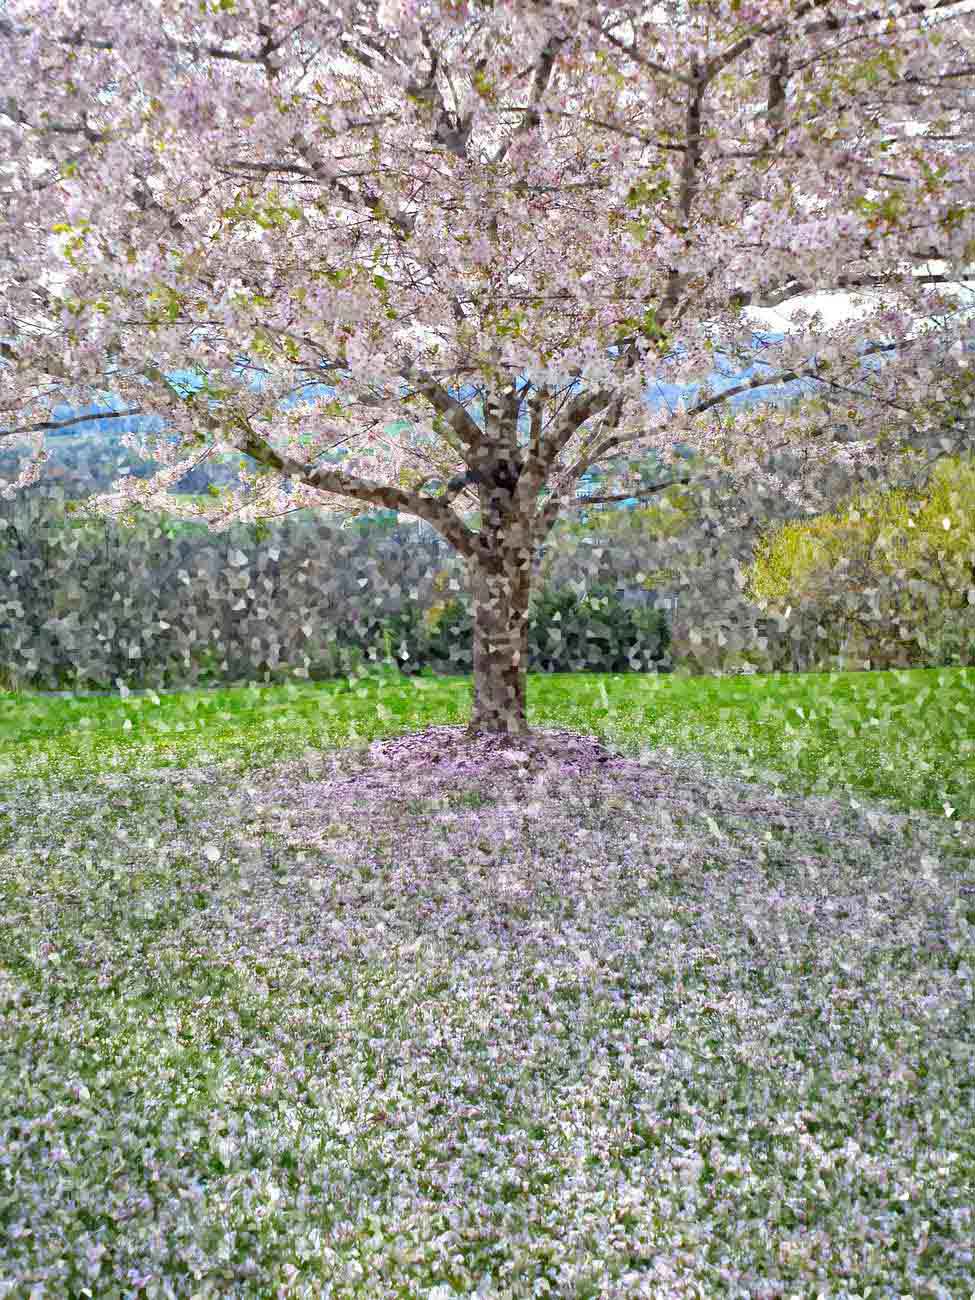
Photoshop is the widely used tool for multiple effects and attribution to add them in photos. It stands first to be selected for the project pipeline for the projects such as graphics editing, image effects adding, magazine making, article framing within news pages, and many more. We can add an unrealistic look and fields to the image like snowfall, rain, sunlight adjustments, sharpness, blurring, color adjustments, airflow, and many more. Today we shall see how to add a snow effect to the photo. Selection of photo also plays a key role or gets the reality appearance so pic the most suitable pic for the snow effect and follow the below steps to get the snow effect on to the photo using photoshop layers. These similar tricks can be applied to other suitable photos.
How to Create Snow Effect in Photoshop?
Step 1: Add a new black “Snow” Layer is added.
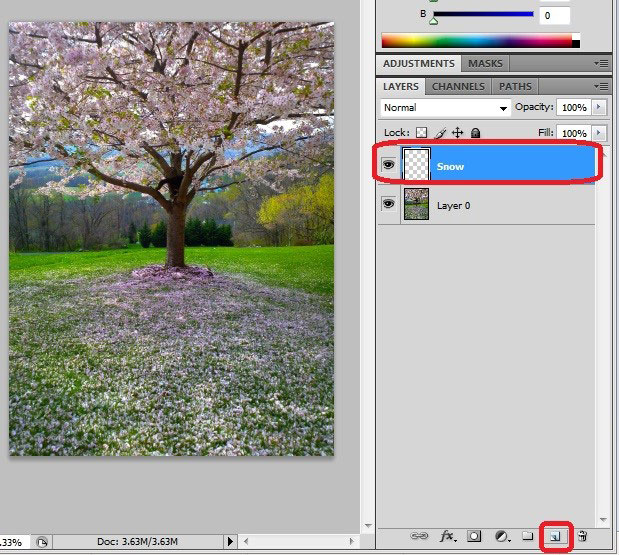
Open the photo in Photoshop application to which snow effect must be added. From layers, select a new layer icon to create a new blank layer to the layer panel, name it to be rememberable. Press and hold Alt key in windows and Option key for Mac OS.
Step 2: Click on the Edit Button and from the menu bar and select the Fill option.
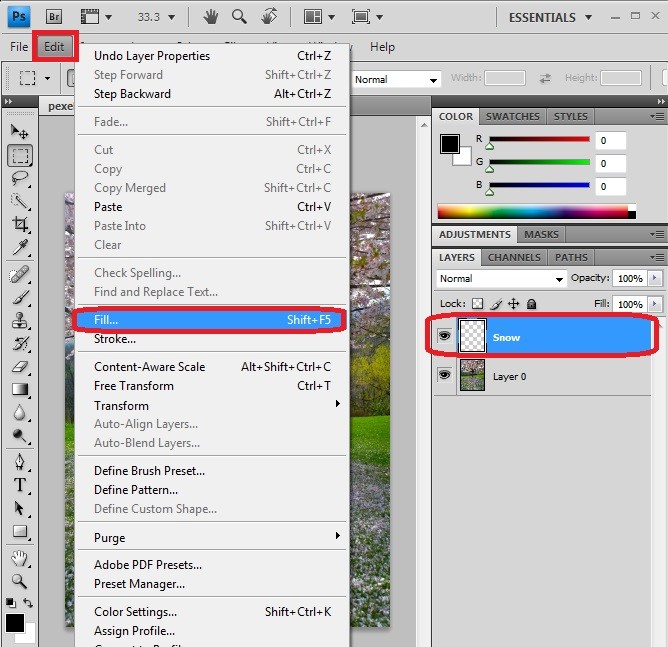
Select the newly created layer and fill it with Black. Go to the Edit menu.
Step 3: The Fill options.
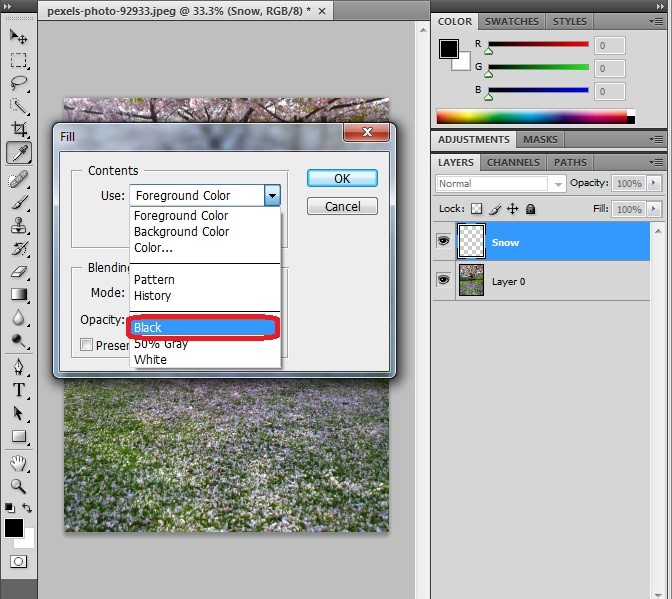
A dialog box opens with details of Fill in contents from drop-down select Black and clicks on Ok. The newly created layer will be filled with black color.
Step 4: Go to Filter and, from the menu bar, select the option Noise and new Add Noise.
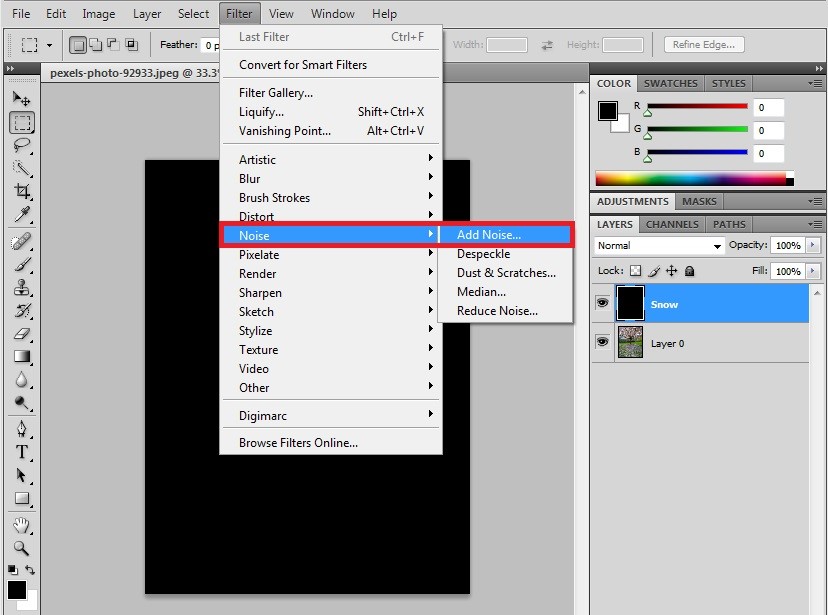
Select a black layer, go to filter from the menu bar and hover to Noise and select Add Noise option. New windows will be opened with the add noise option, and a few configurations like Amount must be set to 25. From Distribution, enable Gaussian to Enable Monochromatically and click on ok. We can see a few white spots added to the layer. Adjust the brightness as required after filling the noise.

Step 5: Go to Edit and click on the transform button and select the Scale option.
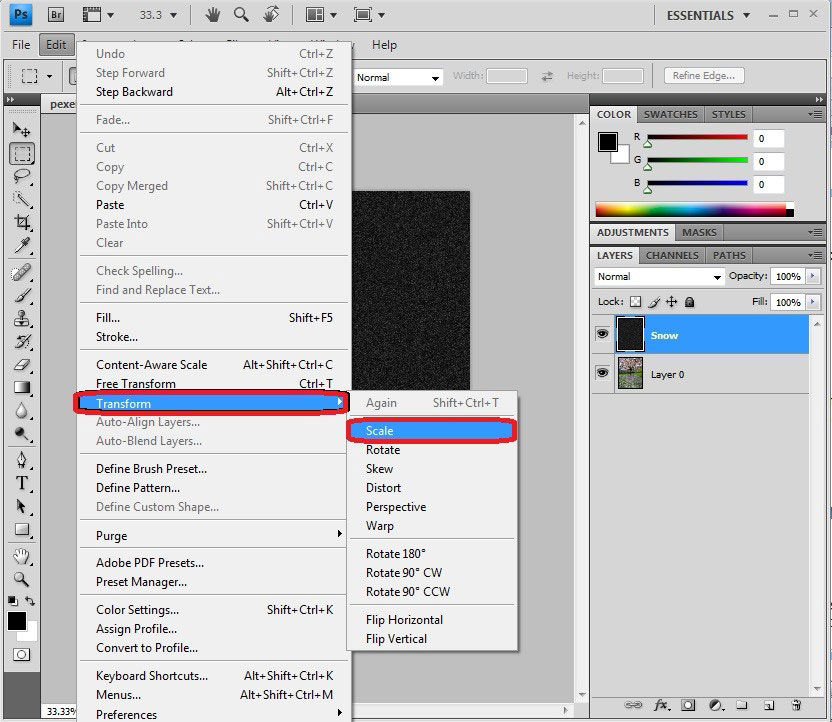
We need to make the white color size higher. For this, go to Edit from the menu bar, select the Transform and choose Scale to click on the link (-) option to make the width and height values as required. This link adjusts width and height together automatically when changes happen. The advisable width and height are 400 percentages globally.
Click on the checkmark in the Options bar to accept the changes. By doing this, the White marks increase bigger and look like snow. This step must be done only if it’s necessary for the image advised for large pictures but not smaller, closer or portrait pictures.
Step 6: The layer Blend mode > screen
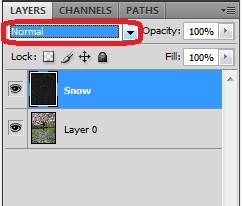
Suppose we identify any problems in noise that will be removed completely, which gets our image more persistent required view. Select the layer and change the blend mode to screen from default to Screen.
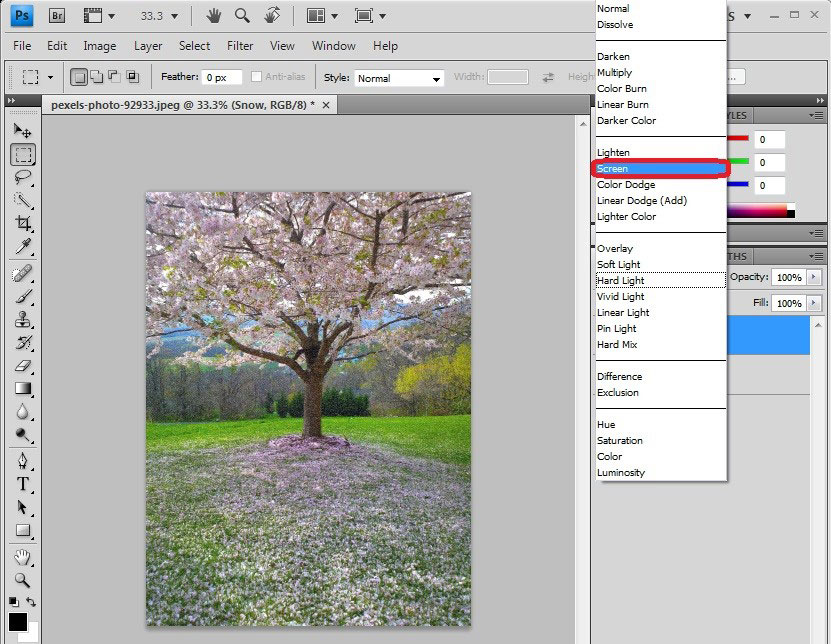
By doing this, the screen blend mode hides the blackness of the layer and white noise visible onto the image. Our background original appears with the Wight noise of the snow layer.
Step 7: Go to Filter, click on the blur option, and select the Motion Blur
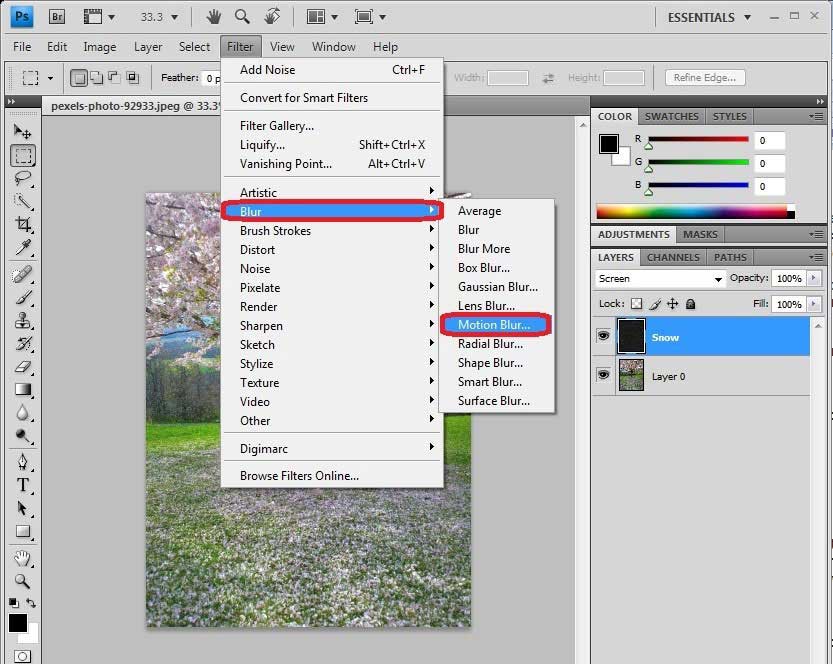
Go to Filters from the menu bar and chose Blur, then choose Motion Blur. This helps in applying a motion blur filter to the layer to get a snowfall effect to add a natural look and feel to the snow.
Step 8: Go to Filter, click on the motion layer, and adjust the angle
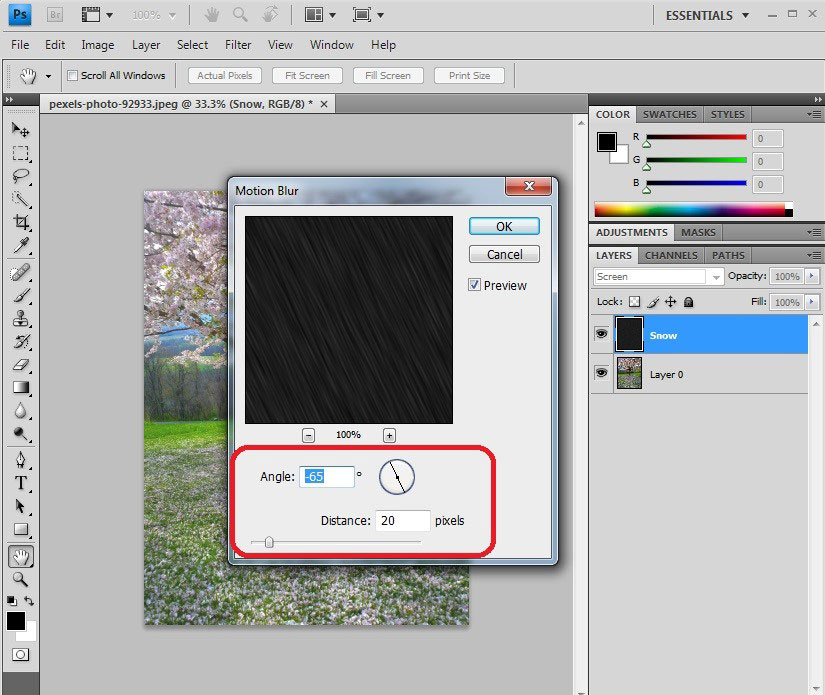
Motion Blur window with Angle -65, Distance of pixels as 16 to 20, and click on ok. This adds a snow fall angle and motion to white pixels in the layer.
Step 9: Adding an Adjustable layer.
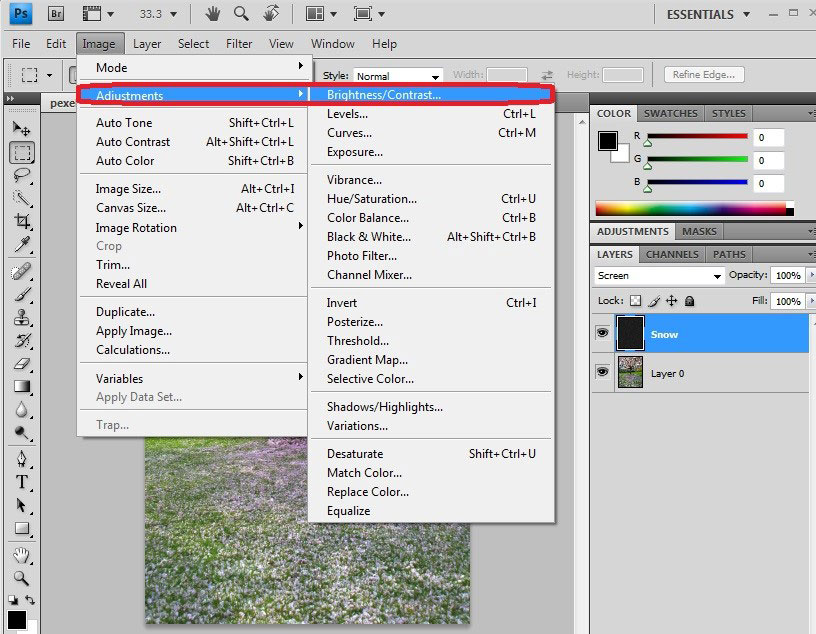
We can reduce the snow effect or the brightness if required using the adjustment layer. Click the new fill or adjustment layer icon at the button of the layer panel. Managing the RGB values and other properties also depends on the image colors that we take for a background.
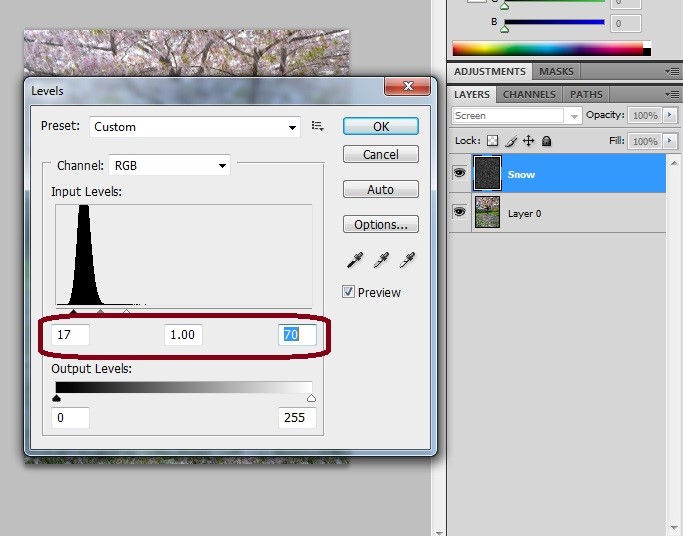
Step 10: Go to the layer, click on the Adjustable layer and select the option level.
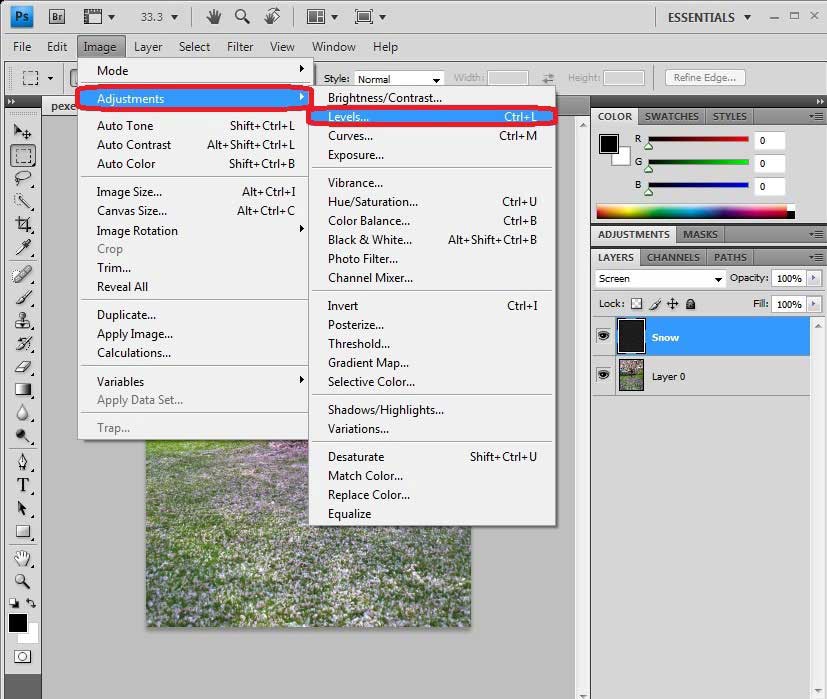
Select layer go to layers from the menu bar and go to layer select new adjustable layer and select level and adjust input levels as 162 1.00 204 or 41 1.00 119 which are commonly used this values of levels also defer based on the image taken and adjusting the snowfall in required rate. And click on ok to apply the snow effect to the layer.
Step 11: Go to the edit and click on the button transform and select the Rotate option.
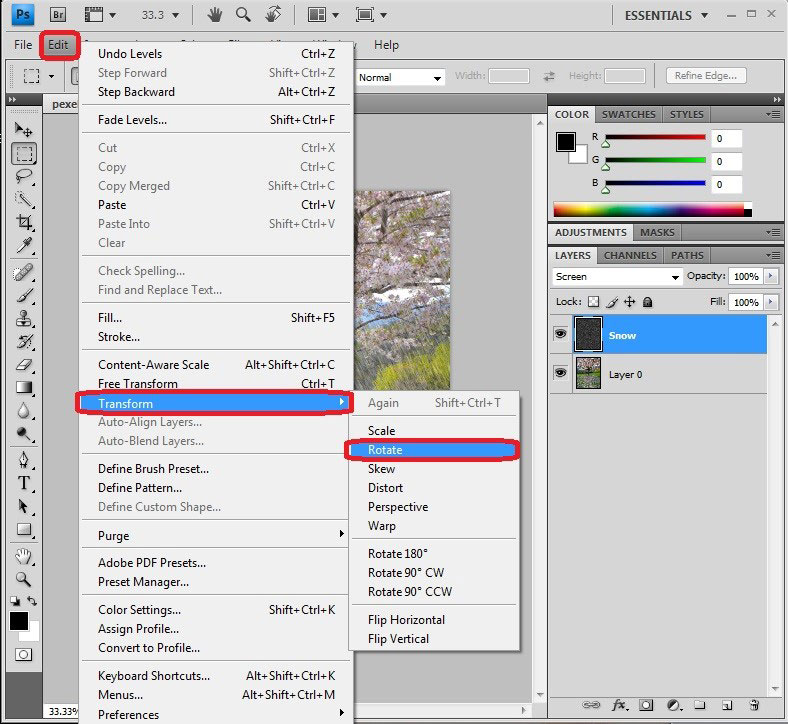
Rotate the layer to 180 degrees to get the snowflakes falling and all flakes at the same angle as natural. It helps in changing the angular fall of snow in their image. This here, it’s the regular processes to add more clear professional detailing follow below steps.
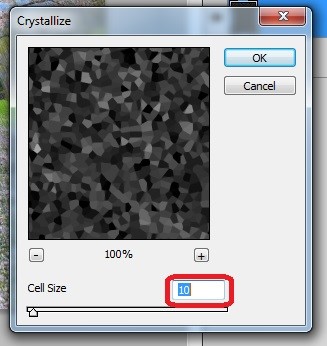
Step 12: Go to the filter, click on the Pixelate, and select the option Crystallize.
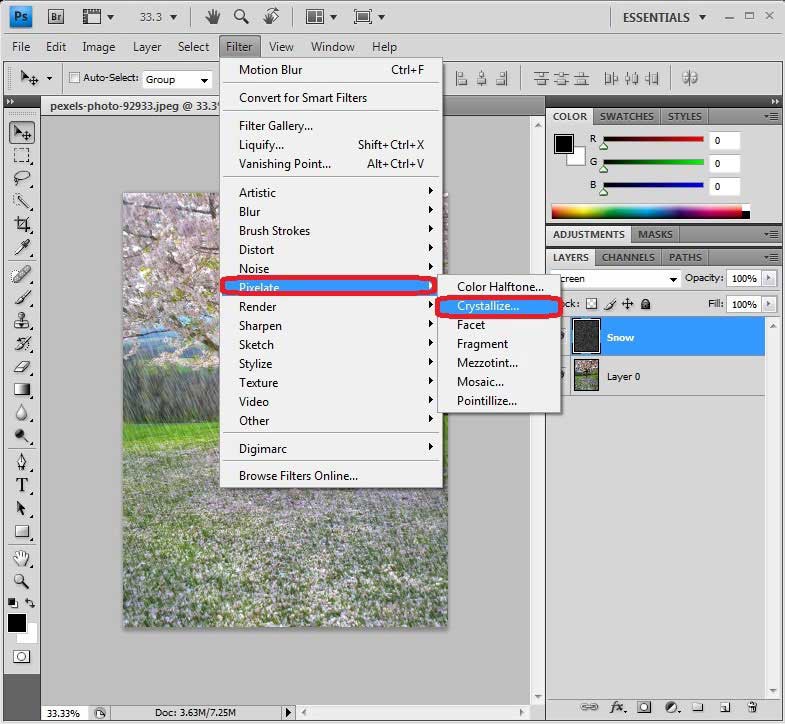
Apply Crystallization to the image and adjust the size of the cells with cell size and adjust the value of 10 to 20, usually as per the effect required on the image. Click OK to apply the crystallize effect.
Step 13: Re-adjust the Levels using sliders.
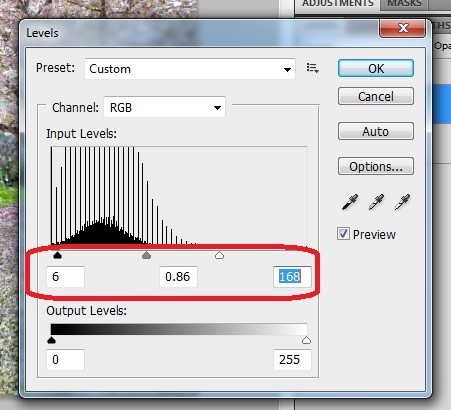
Levels and RGB values, and other properties of an image can be changed to get the look and feel of snow and to improve it in terms of quality and requirements.
Conclusion
Snow effect in photoshop helps add the look and feel of snow to the image needed; this method helps add non-seasonal effects to photos in the same way and procedure. It’s always hard to drive such effects on the photo and matching the snow effect to the taken photo by making slight landscape adjustments. If we follow the steps involved as above, it’s easy to add the snow effect to the image by the end of the day. We learned how to make snowflakes as require to the image, changing the angle of flakes to get the flakes falling as reality. The complete course details with personalizing the picture with a different view and attribution processes and adding snow effect to the selected image with professional tricks. Try these steps and get your image crystallized.
Recommended Articles
This has been a guide to Snow Effect in Photoshop. Here we discuss the introduction to the snow effect in photoshop and the step to effect an image. You can also go through our other suggested articles to learn more –
