Updated September 13, 2023
Introduction to Biped in 3ds Max
3D Max is a professional 3D computer designing software, which is used in creating 3D animation, games, models, images, etc. and plays a major role in the work of Video Game developers, Film and TV Studios. Biped is the basic part of the animation in 3D max software. Biped in 3ds Max gives motion to parts of character in character modeling and connects it to the real world. By the Biped command, we can check the result of our model working in the real world, and we can make changes many times until we get the best result of our model in our project or according to client requirement.
Using Biped to Animate our Object
Biped gives a realistic view of our model. Here you will learn how to give animation by using Biped in your project step by step. Let’s start our tutorial in a very interesting way.
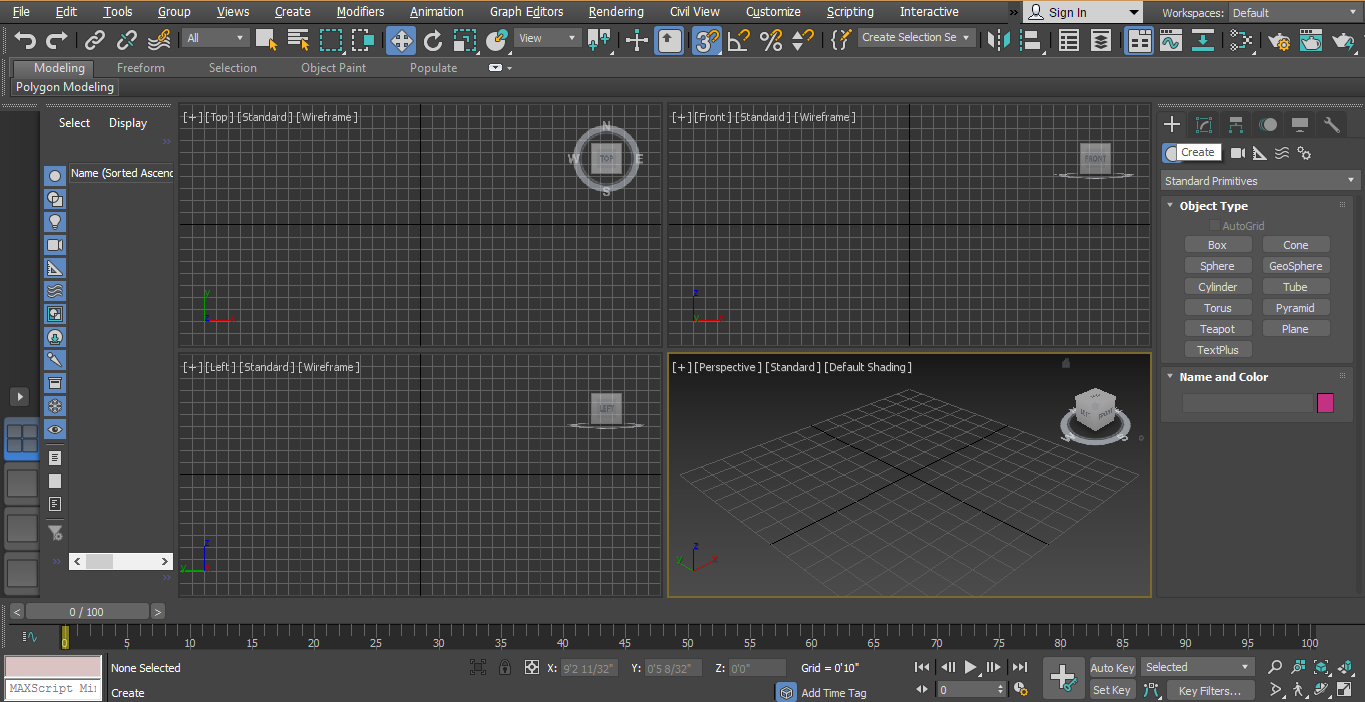
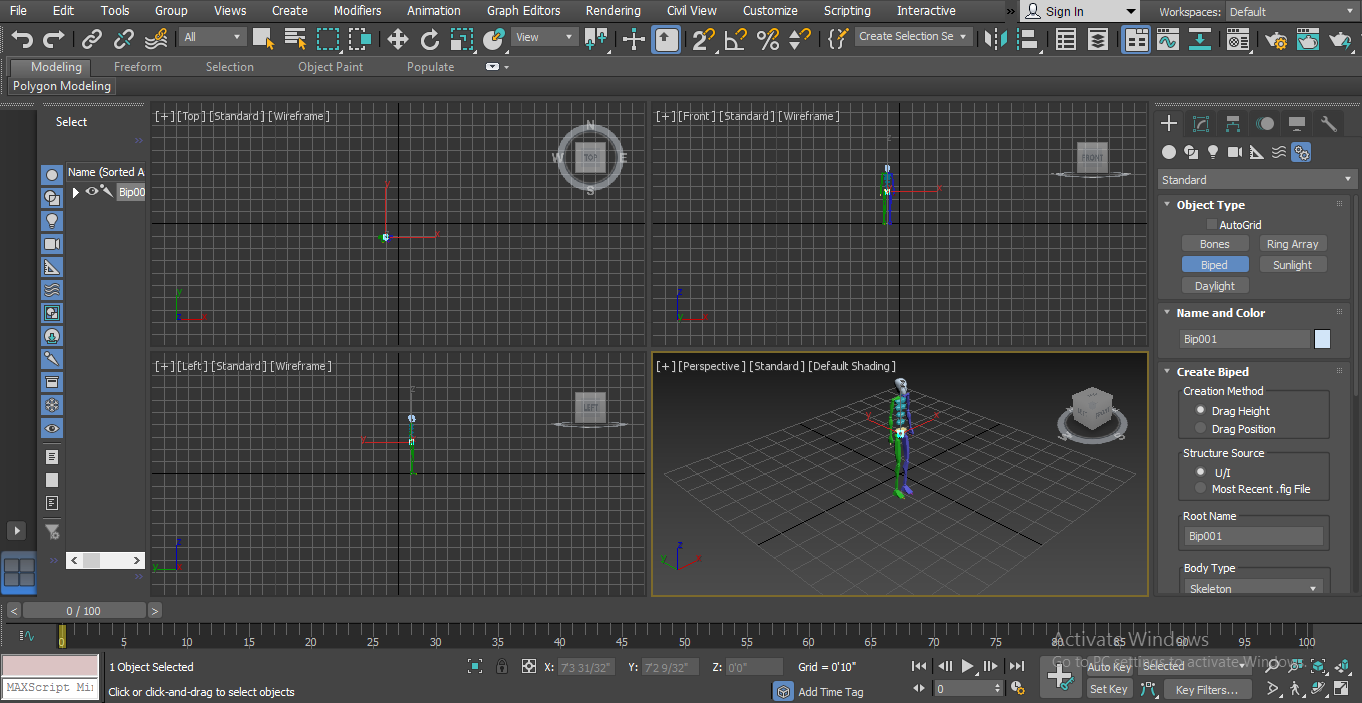
Step 1: There are four viewports working areas in 3ds max software, which are Top viewport, Front viewport, Left viewport, and the last one is Perspective viewport. We can choose any one of them for drawing our model at any time.
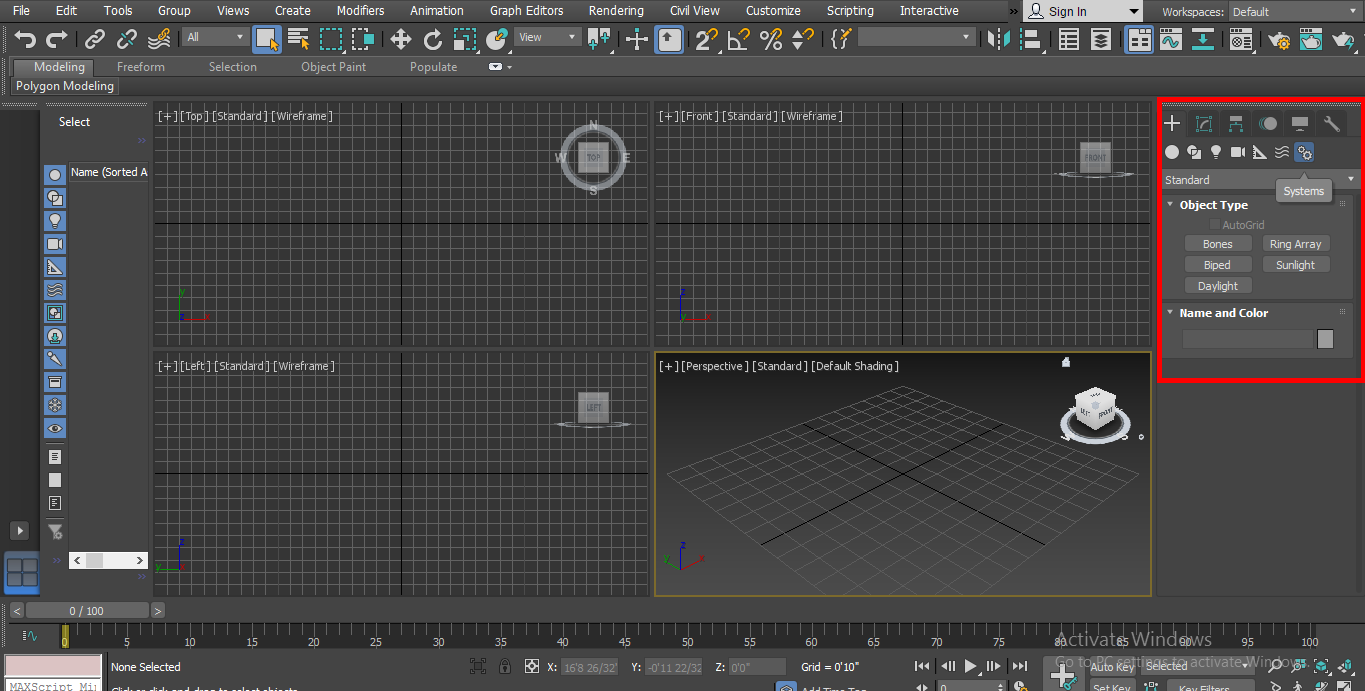
Step 2: For learning biped in 3ds max, just follow the same steps as I am doing. First of all, we will go to the common panel and click on the Systems tab and again click on the Biped tab.
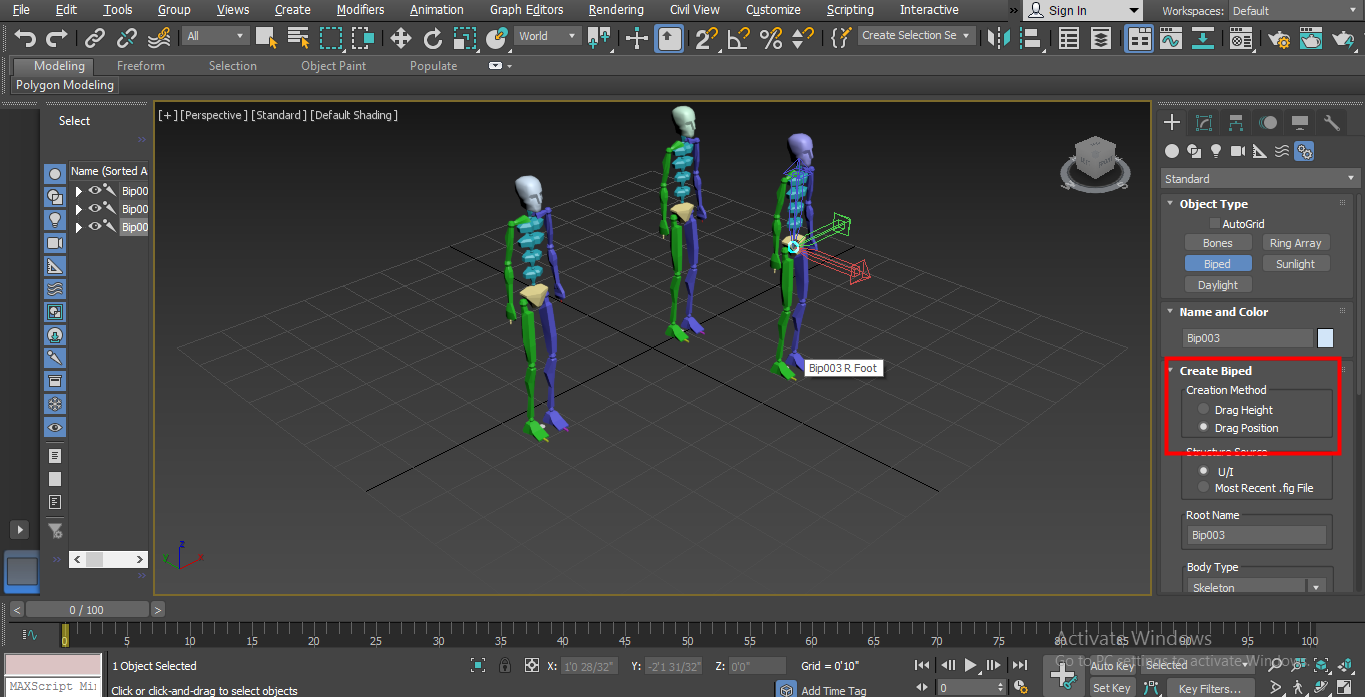
Step 3: I will click anywhere on the grid of the perspective viewport; you can click on the gird or out of the gird to draw your Biped. You can draw in any viewport. First, there are two methods by dragging the mouse pointer in an upward direction, i.e. height.
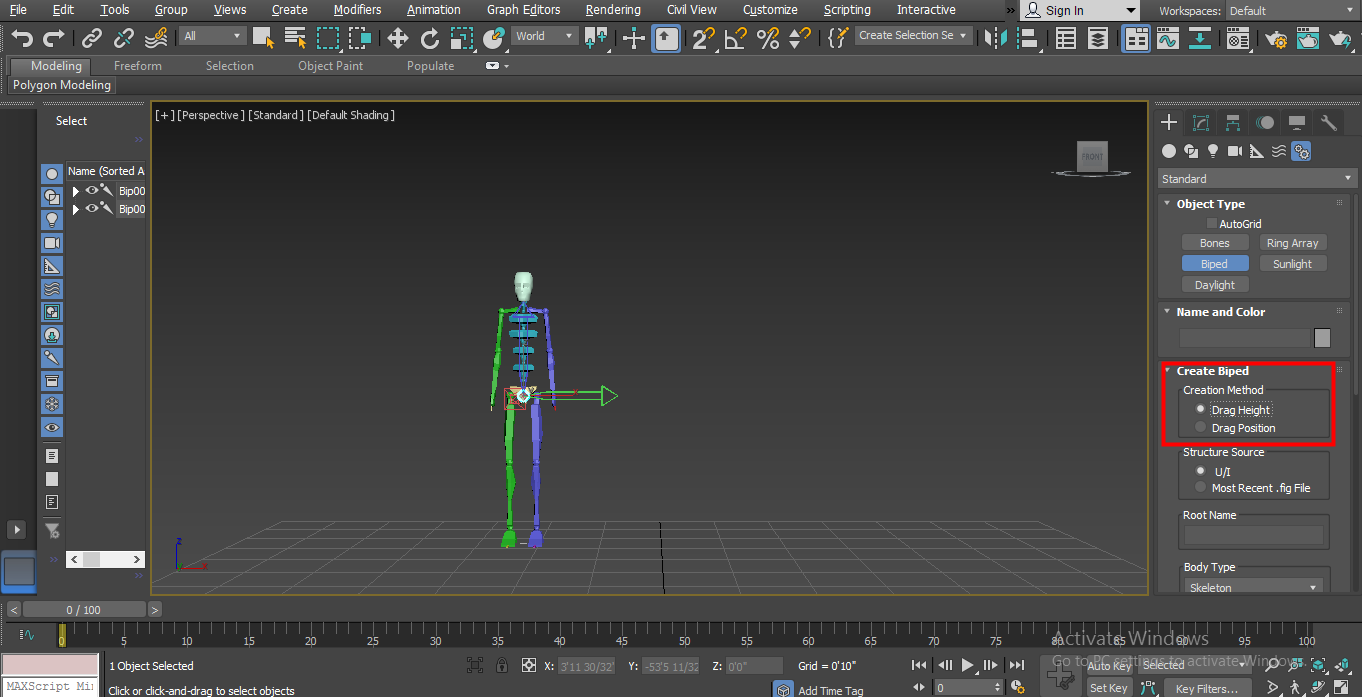
Step 4: And second is Position; with this method, you can place it at any position by clicking on that position.
Step 5: Now here we have the Body type option – from here, we can change our biped in different types of body form that is:
- Skeleton
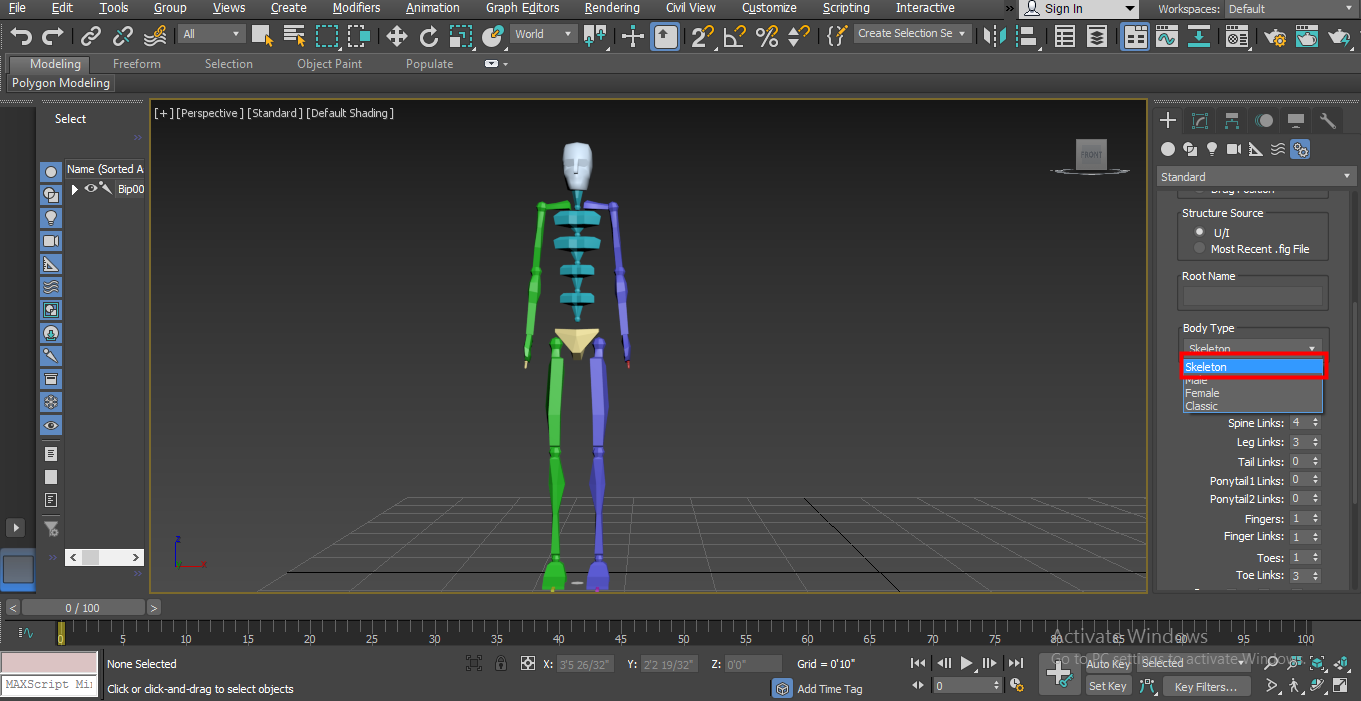
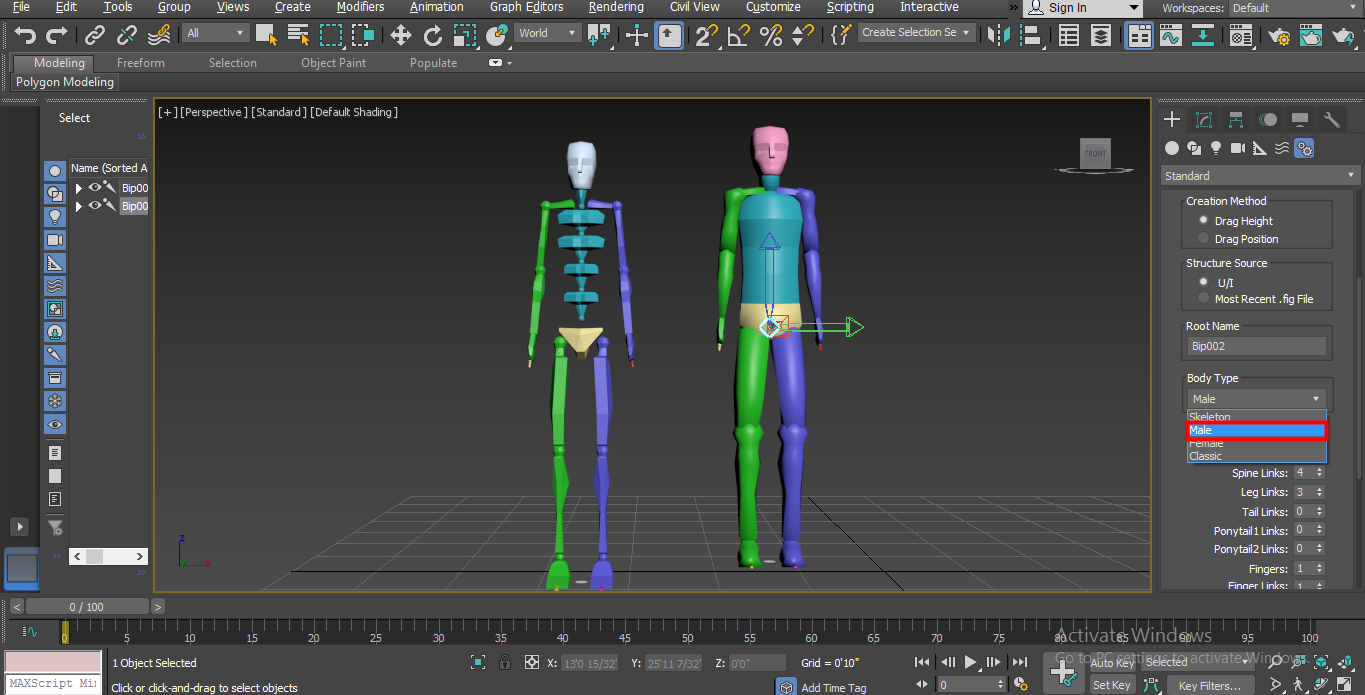
- Male
- Female

- Classic
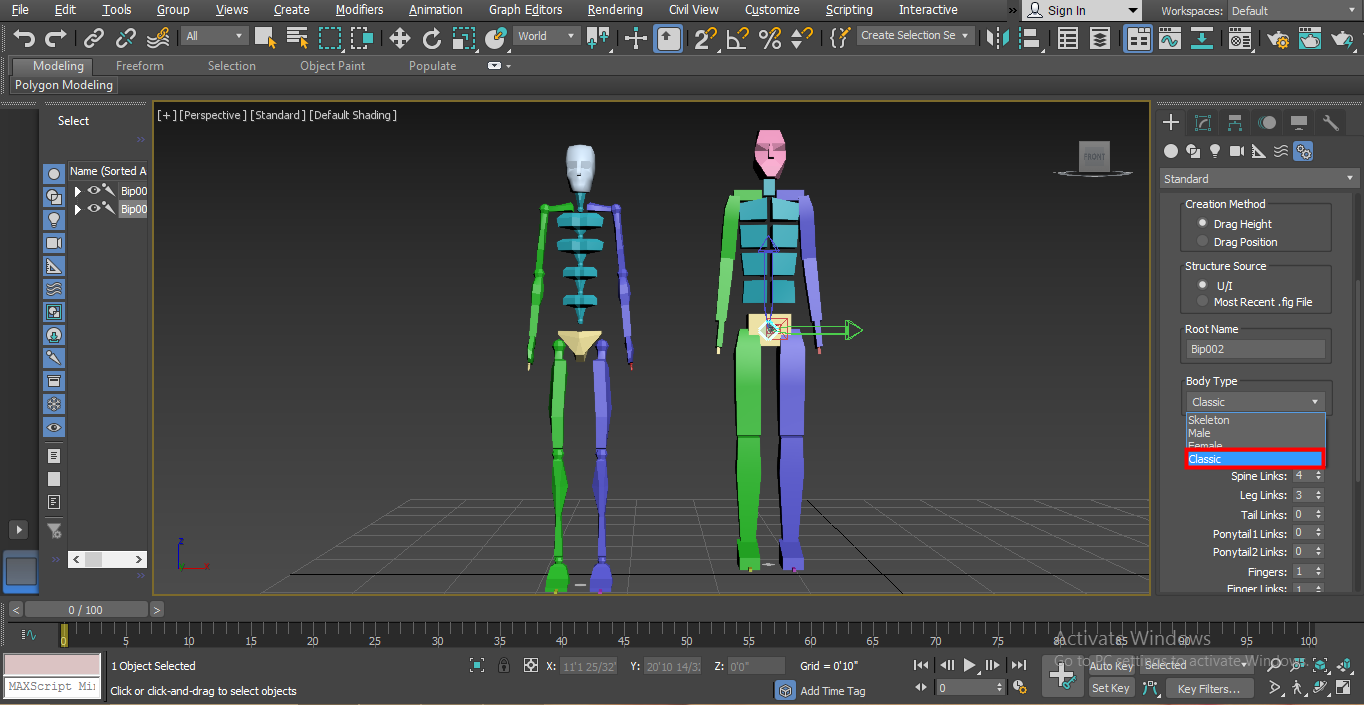
You can choose any one of them for your character biped.
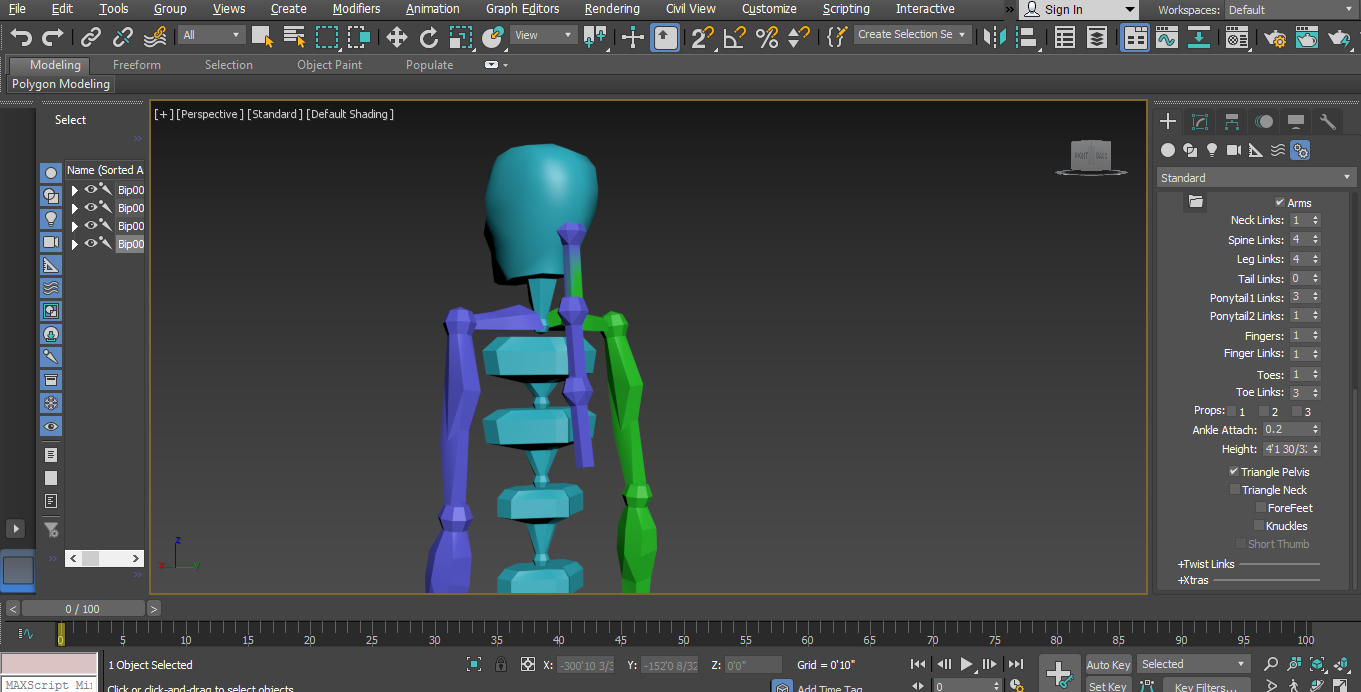
Step 6: We have more other parameters here related to body joint that are: Neck links – we can increase it by changing its parameter. If we give 4, then there will be four joints in neck link joints/links means we can give rotation around this joint during the animation.
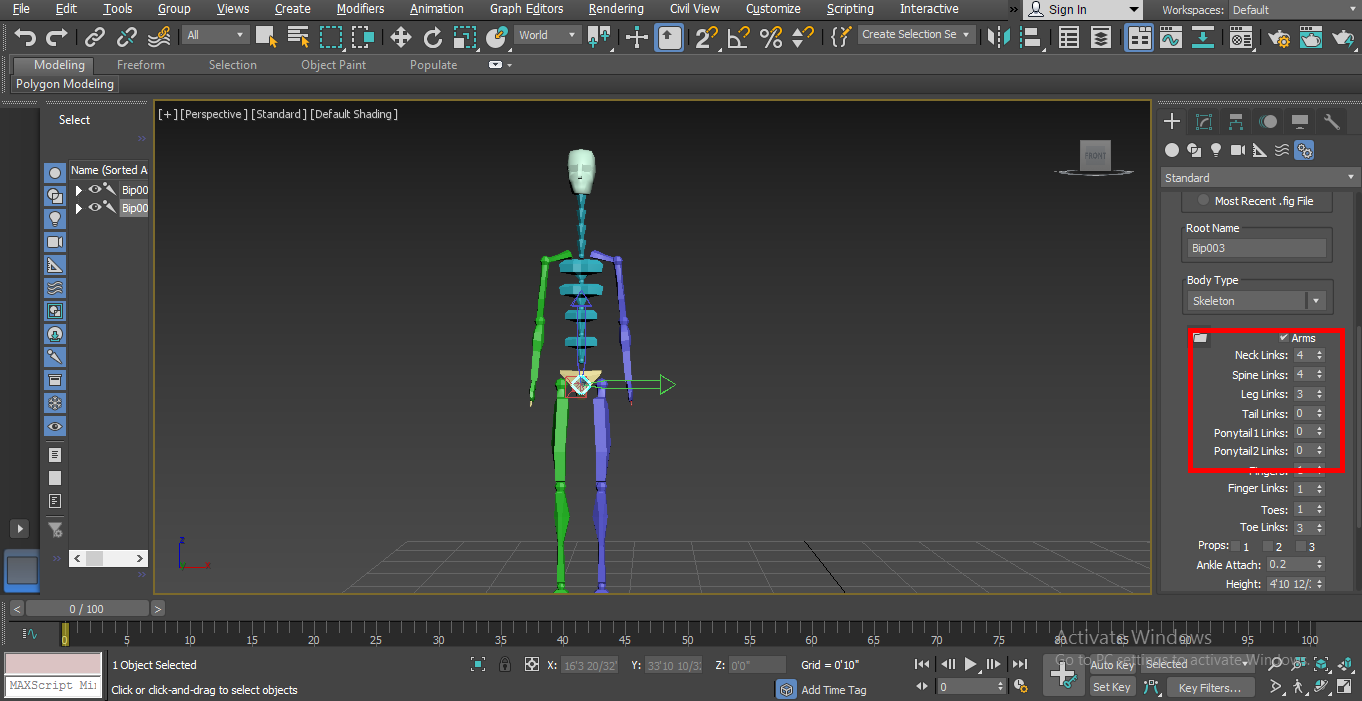
Step 7: Spine links. We can increase it by changing its parameter. if we give 6 as data, then there will be 6 joints in the Spinal cord link.
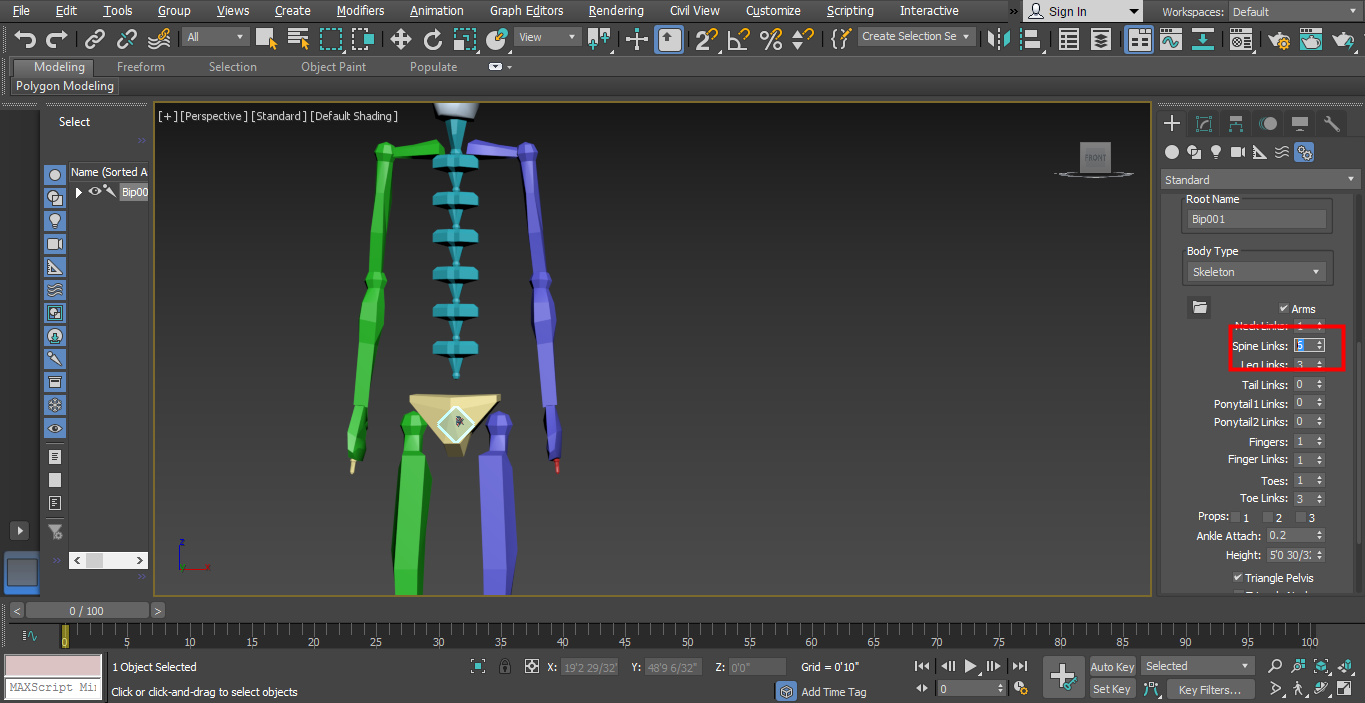
Step 8: For Leg links, we can give a maximum of 4 links and a minimum of 3 links in the leg joint.
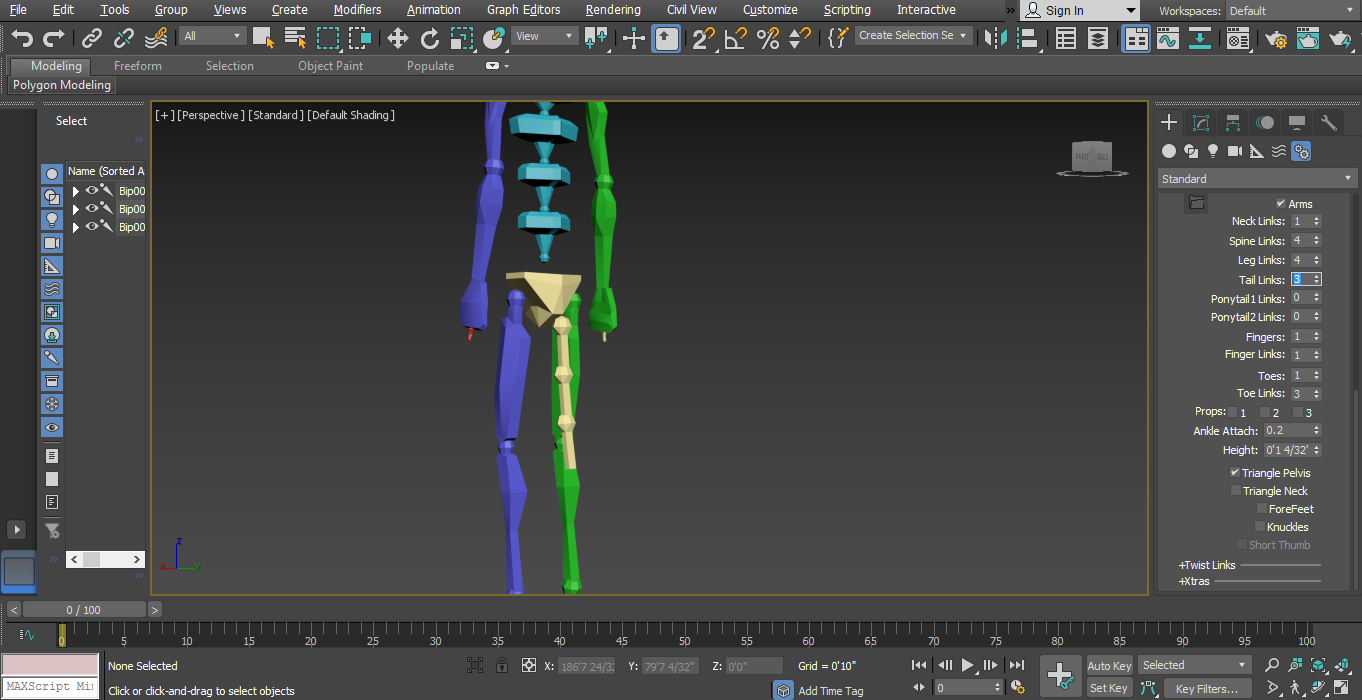
Step 9: We can give Tail to our character if we want by setting parameters in Tail links.
Step 10: We can give a ponytail to our character if we want. There are two ponytail options, ponytail1 link and ponytail 2 link; we can give two different links in a ponytail of our character.
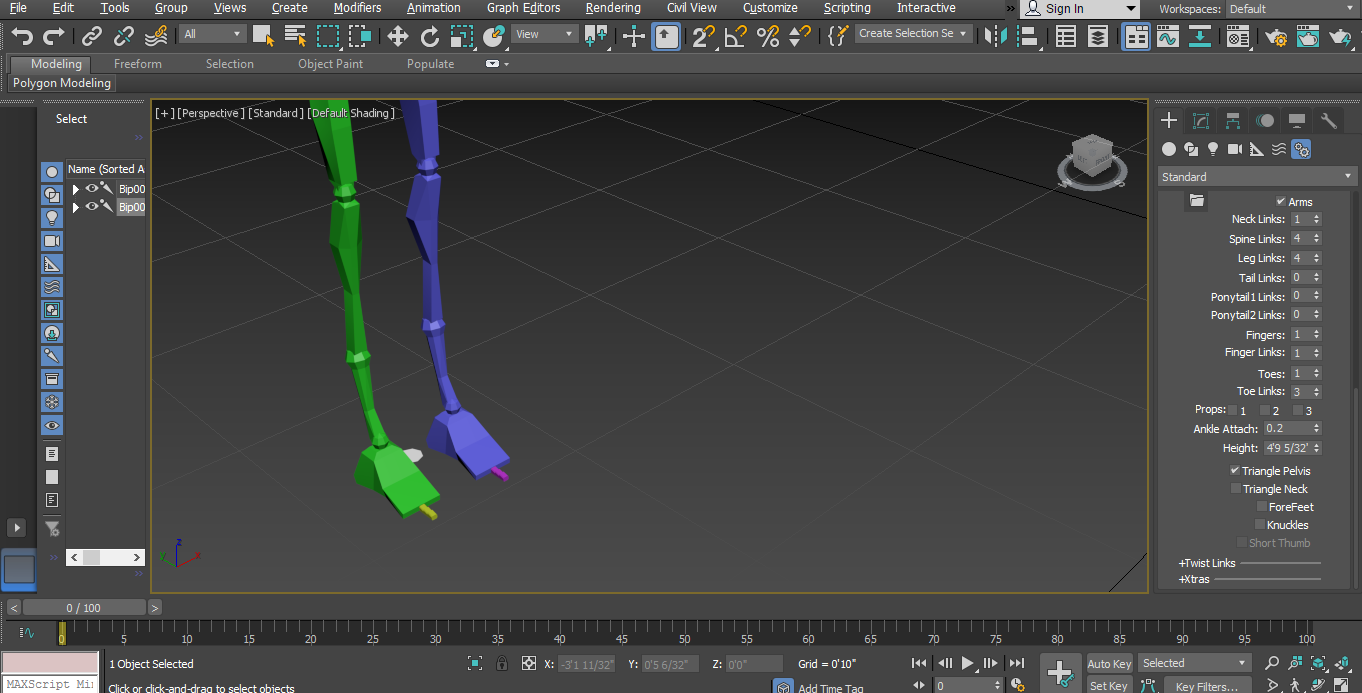
Step 11: We can increase or decrease the number of fingers to our character, i.e. if we give 4 in the parameter, then there will be four fingers in our character’s arm. According to you, you can give a maximum of 5 and a minimum of 1 finger to your characters.
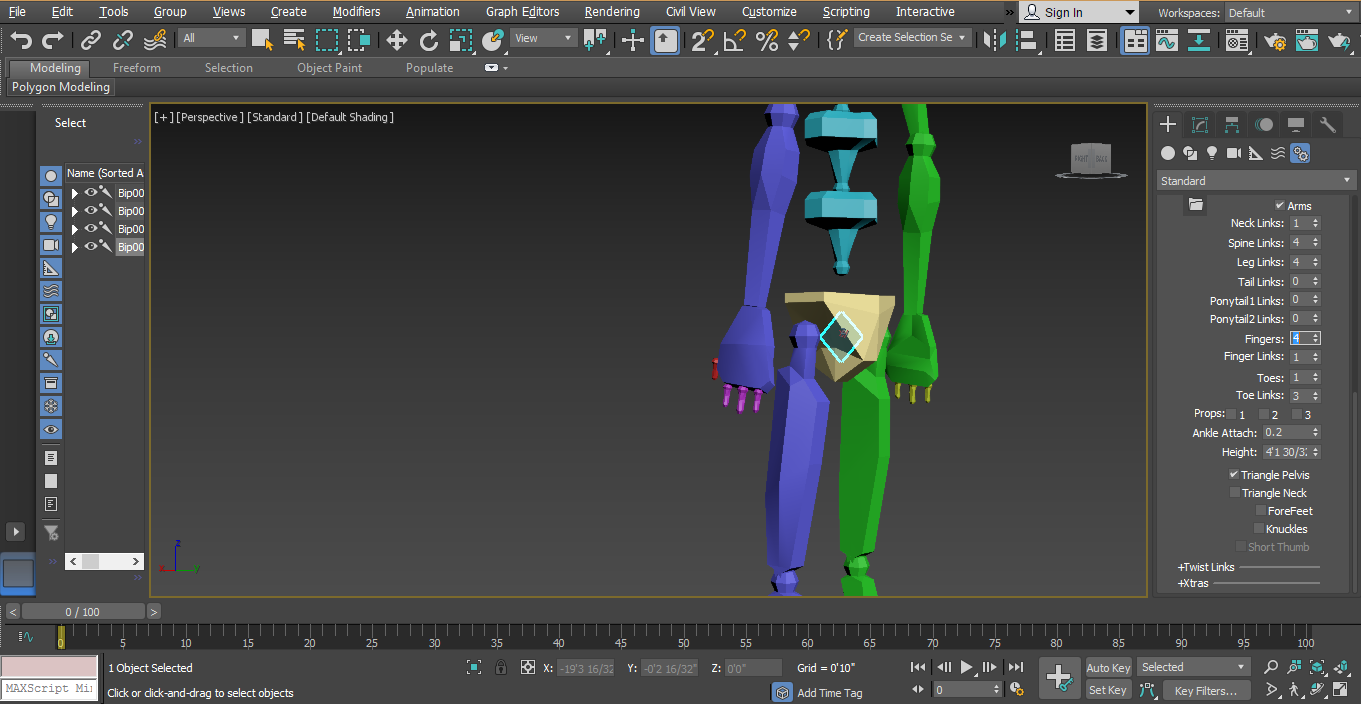
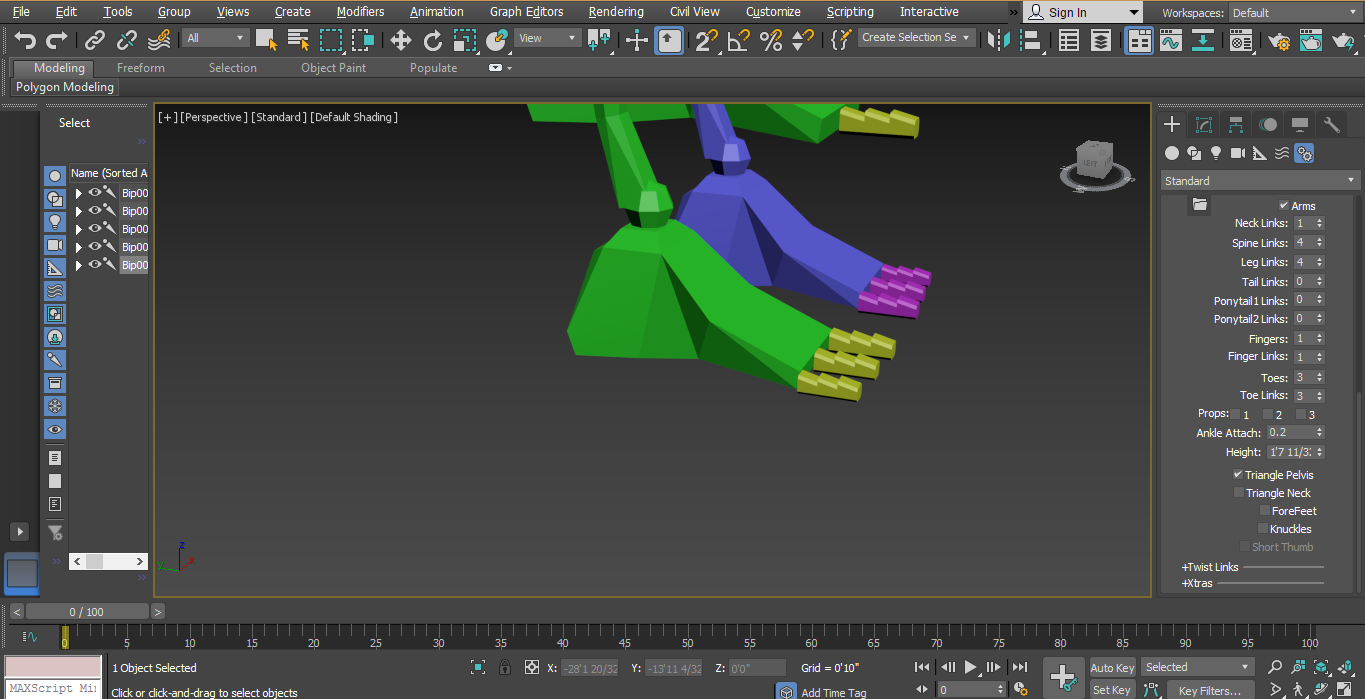
Step 12: Here, for giving a finger of the leg in our character, we use the Toes option here, and we can give a maximum of 5 and a minimum of 1 toe (finger) to our character.
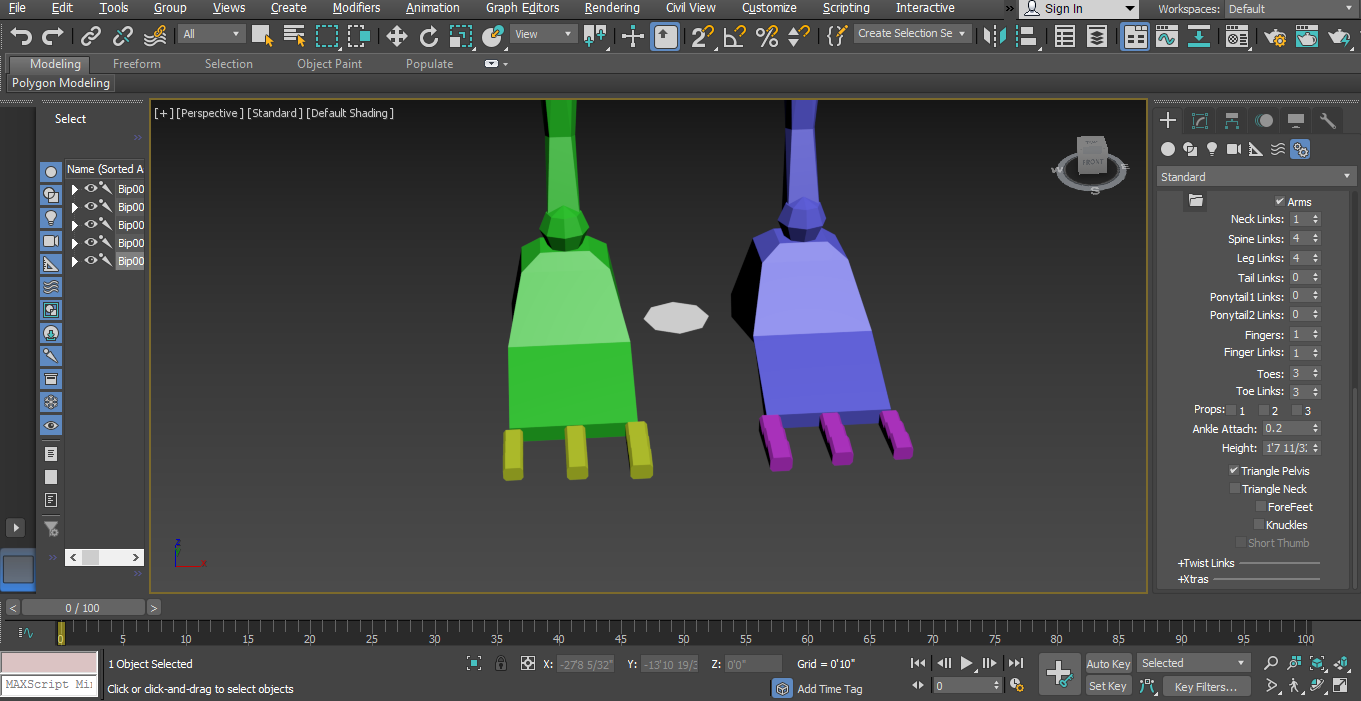
Step 13: We can give joints in toes by using the toes links option; we can give a maximum of 3 or a minimum of 1 link here.
Step 14: We use these links for moving and rotating each and every part in the animation of our character. Now, when you turn to animate and rig your character with biped, we have to go in motion for modification in your drawn biped.
Step 15: Now, we will go to full-screen mode of perspective viewport for a better view. Press Alt+ W for full screen after clicking on perspective viewport mode.
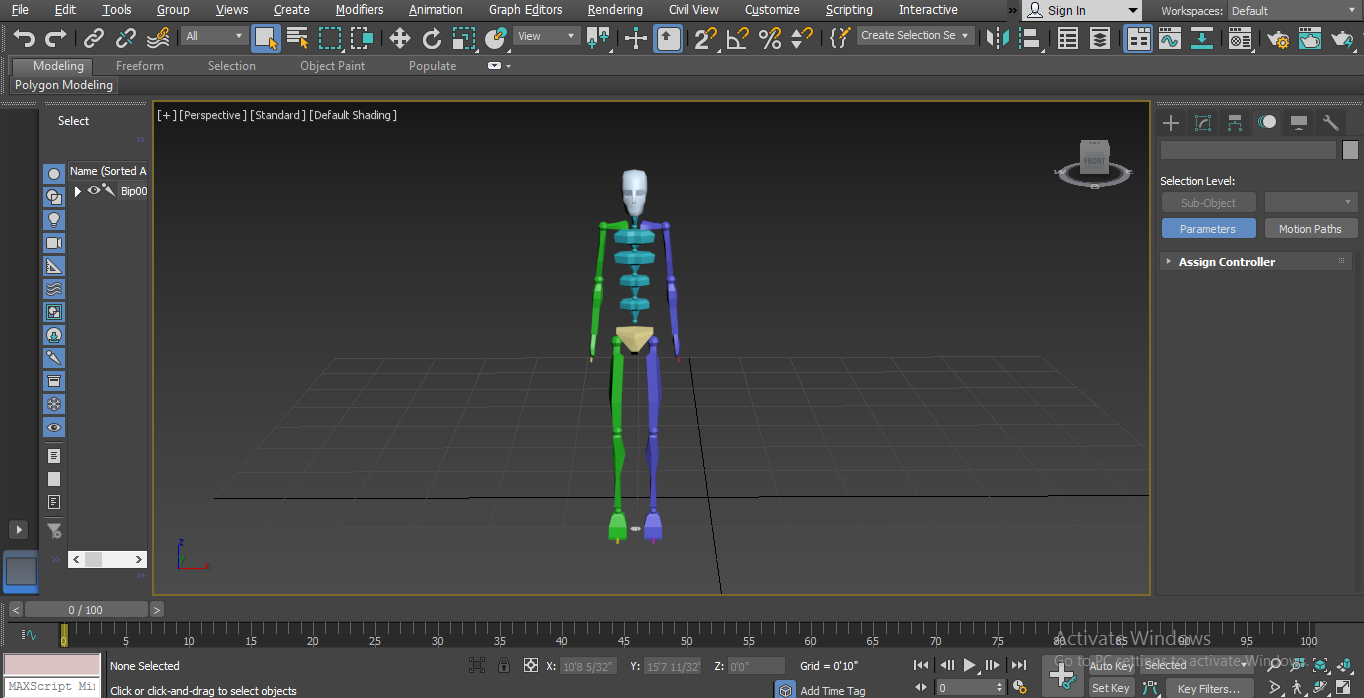
Step 16: In the biped tab, we have different types of parameters. Let’s take a look at it. Now we will select our drawn biped and then click on the motion tab of the common panel.
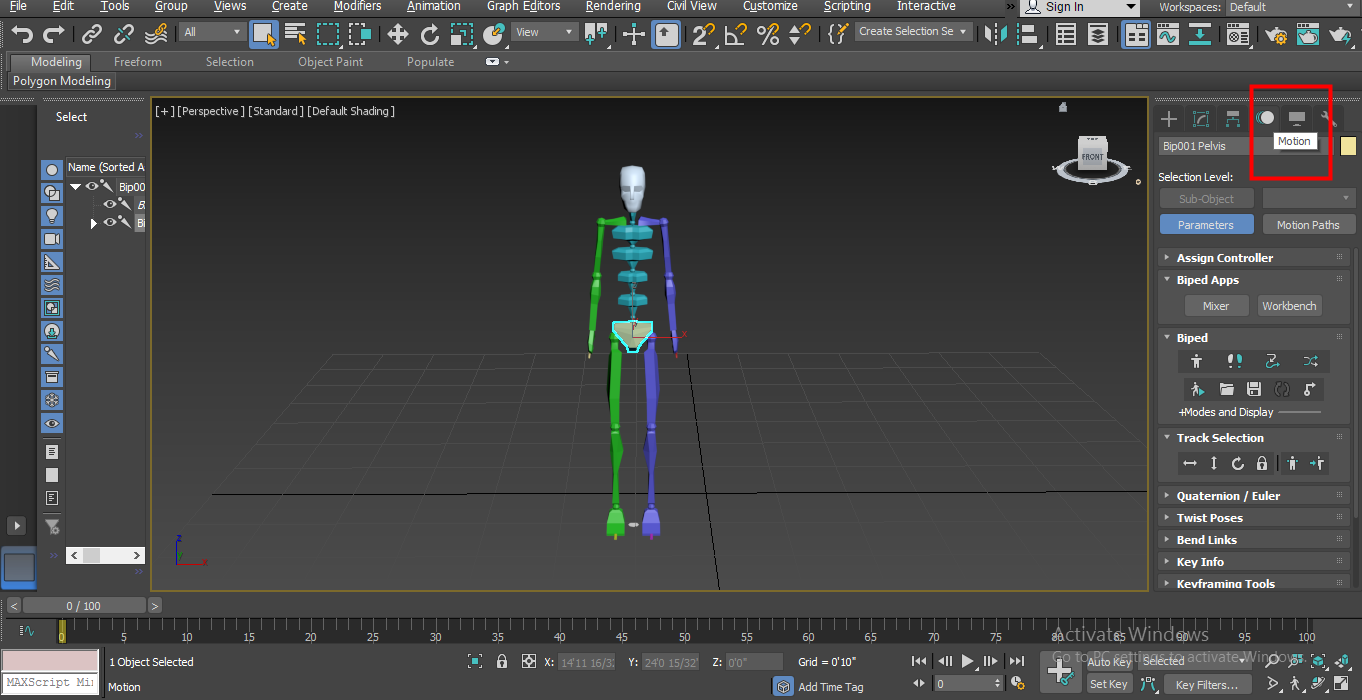
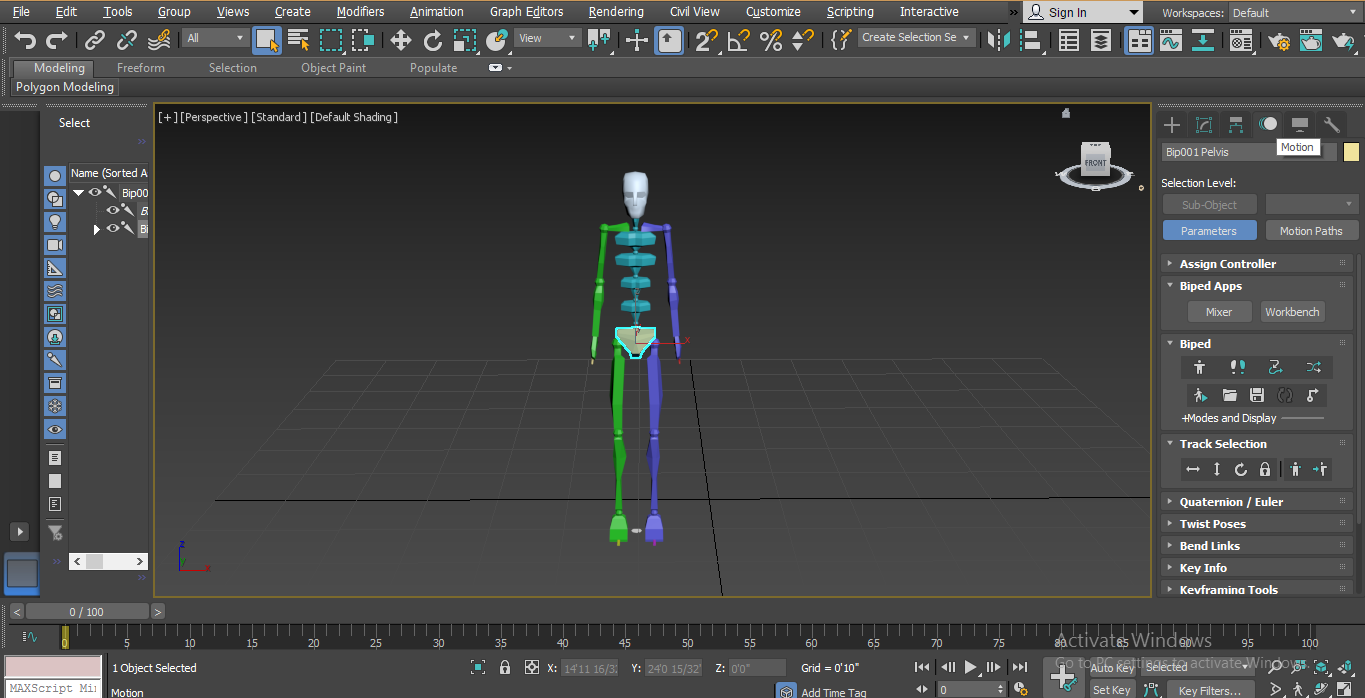
Step 17: We have a different type of parameter here in the biped section; we can set all this parameter according to our needs; you can see all the parameter in the image shown below.
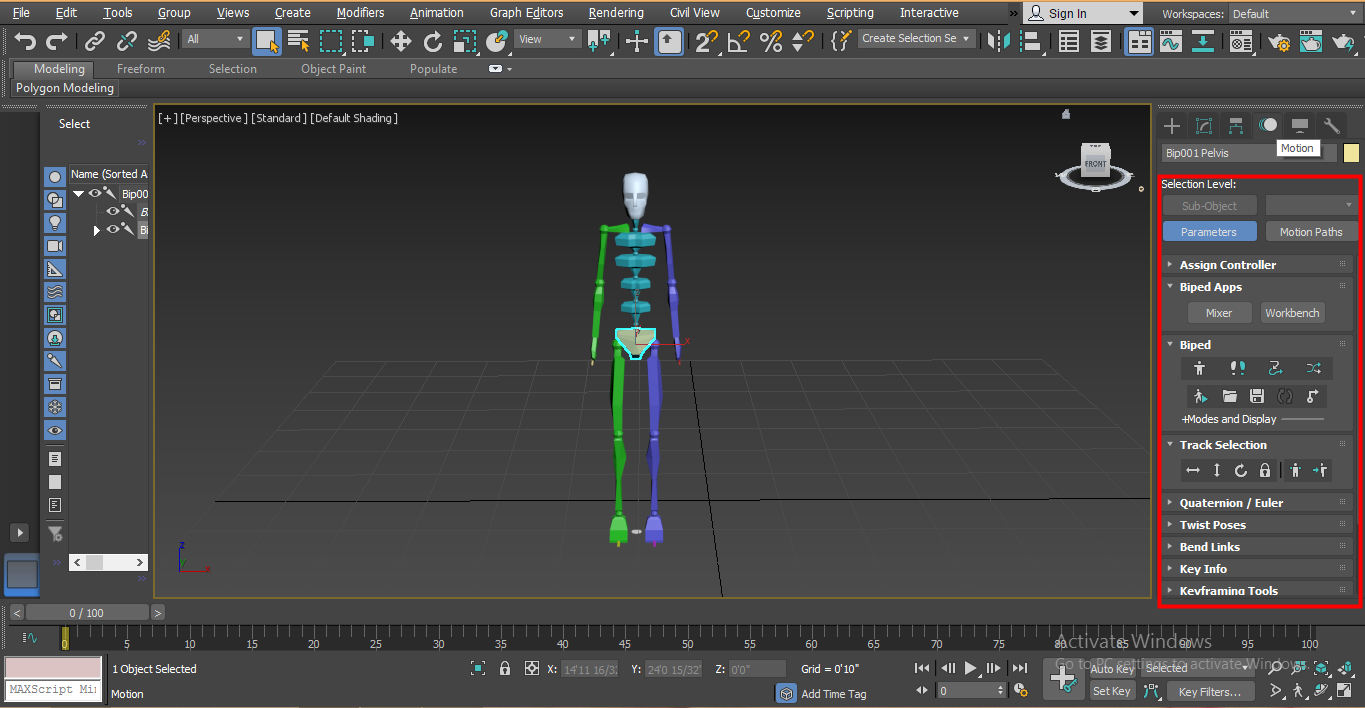
Step 18: We cannot move our whole biped with the normal moving option; we will go to the Track Selection option of the biped parameter in a common panel for moving our biped.
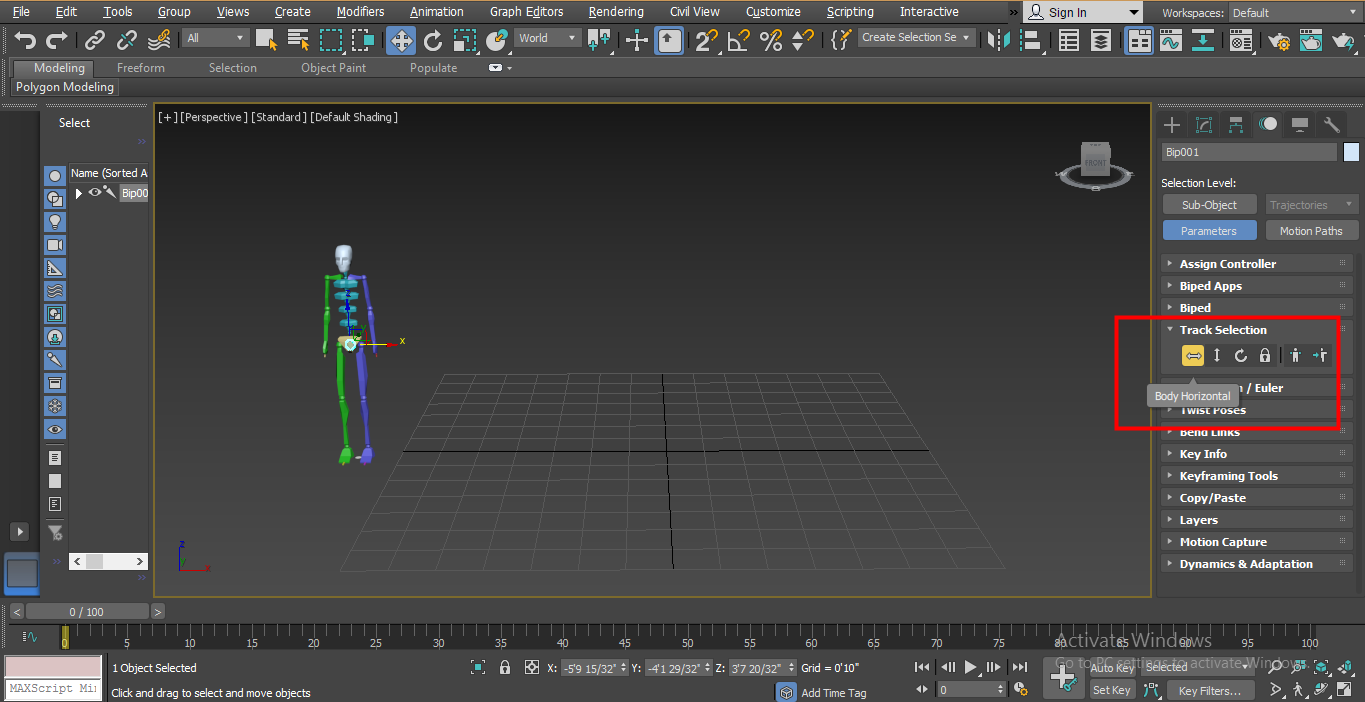
Step 19: Here, we have moved the option of Body Horizontal to move in a horizontal direction. For moving in a horizontal direction, click on Body Horizontal tab and drag the mouse pointer in that direction to move.
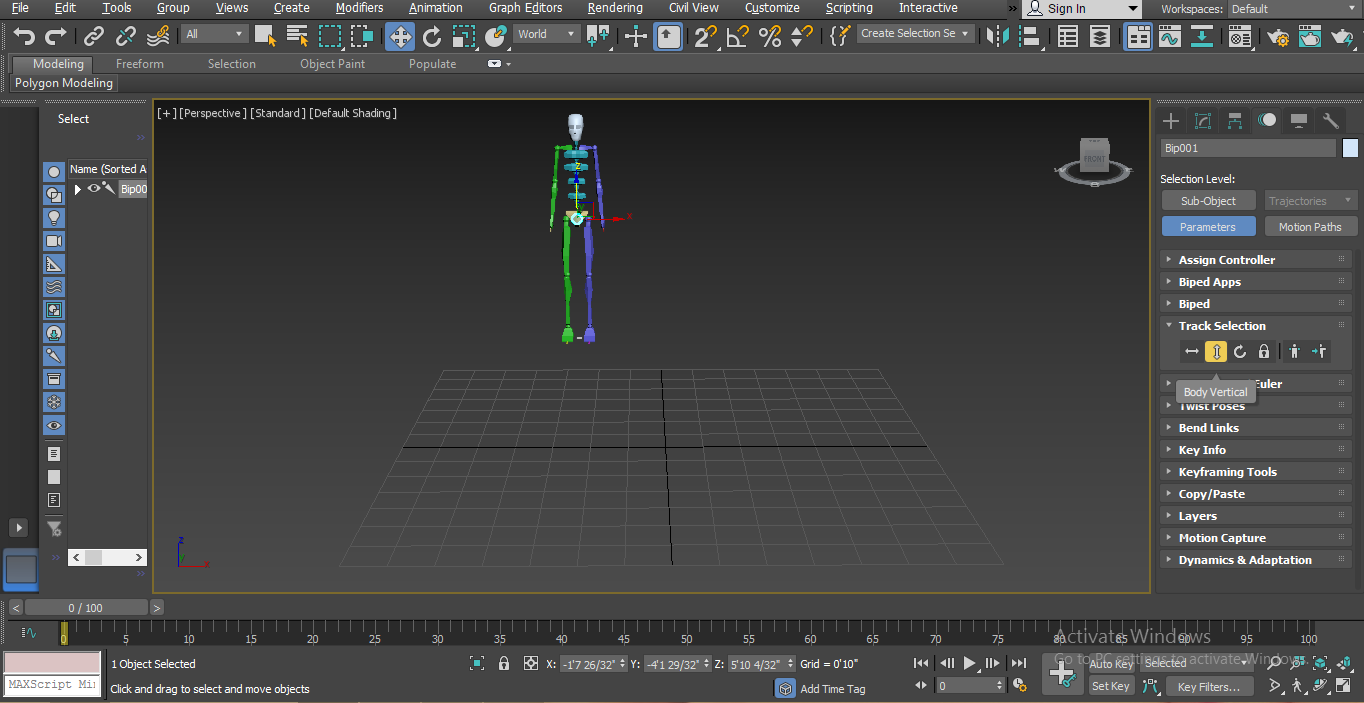
Step 20: Body Vertical option for move in the vertical direction. For moving in a vertical direction, click on Body vertical tab and drag the mouse pointer in that direction to move.
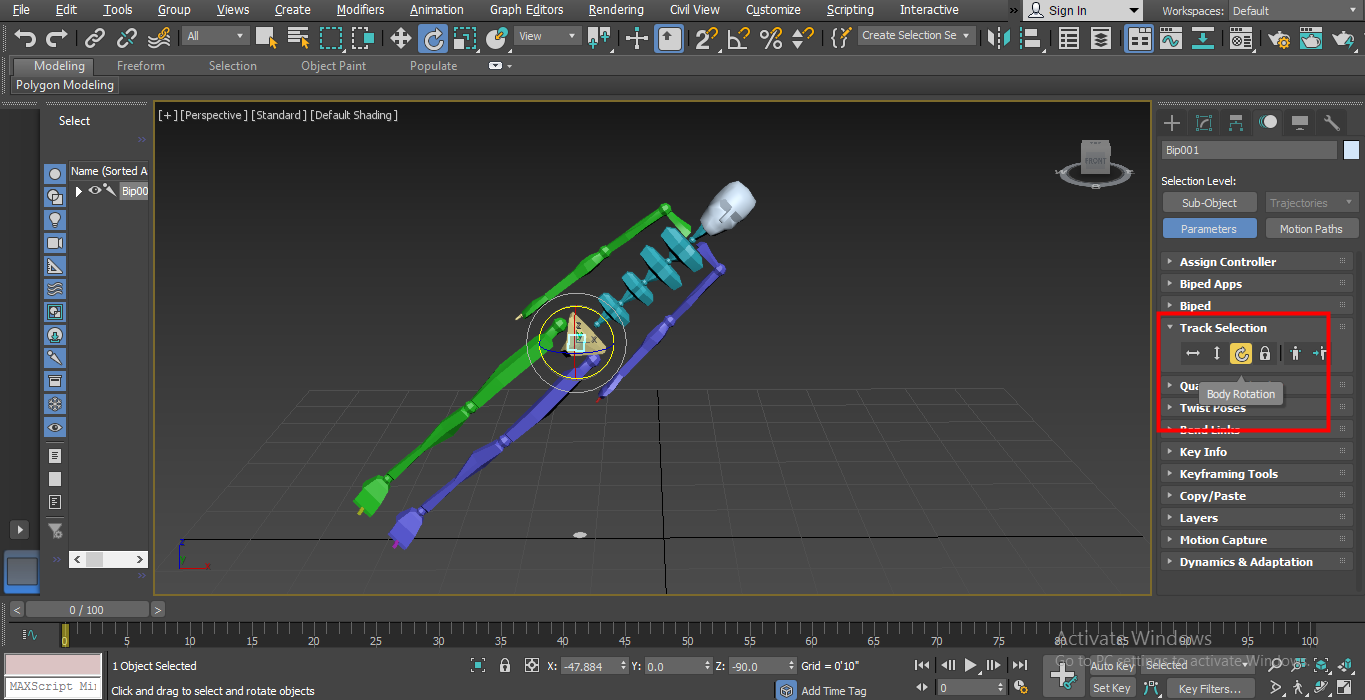
Step 21: Body Rotate option for rotating in a circular motion. For rotating in a circular motion, click on the Body Rotate tab and rotate the body in the X, Y, and Z plane according to you.
Step 22: You can rotate any single part of biped by selecting that part; for selecting that part, click on that part and rotate in your desired point in the X, Y, Z plane.
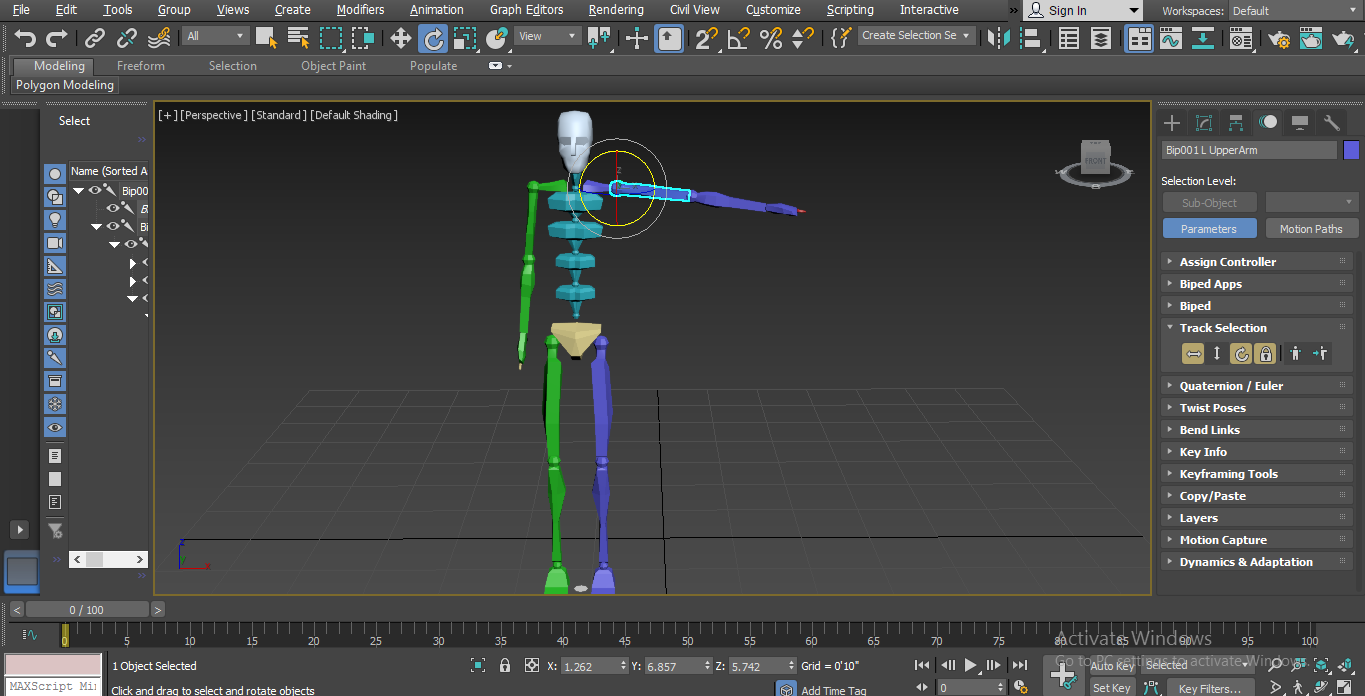
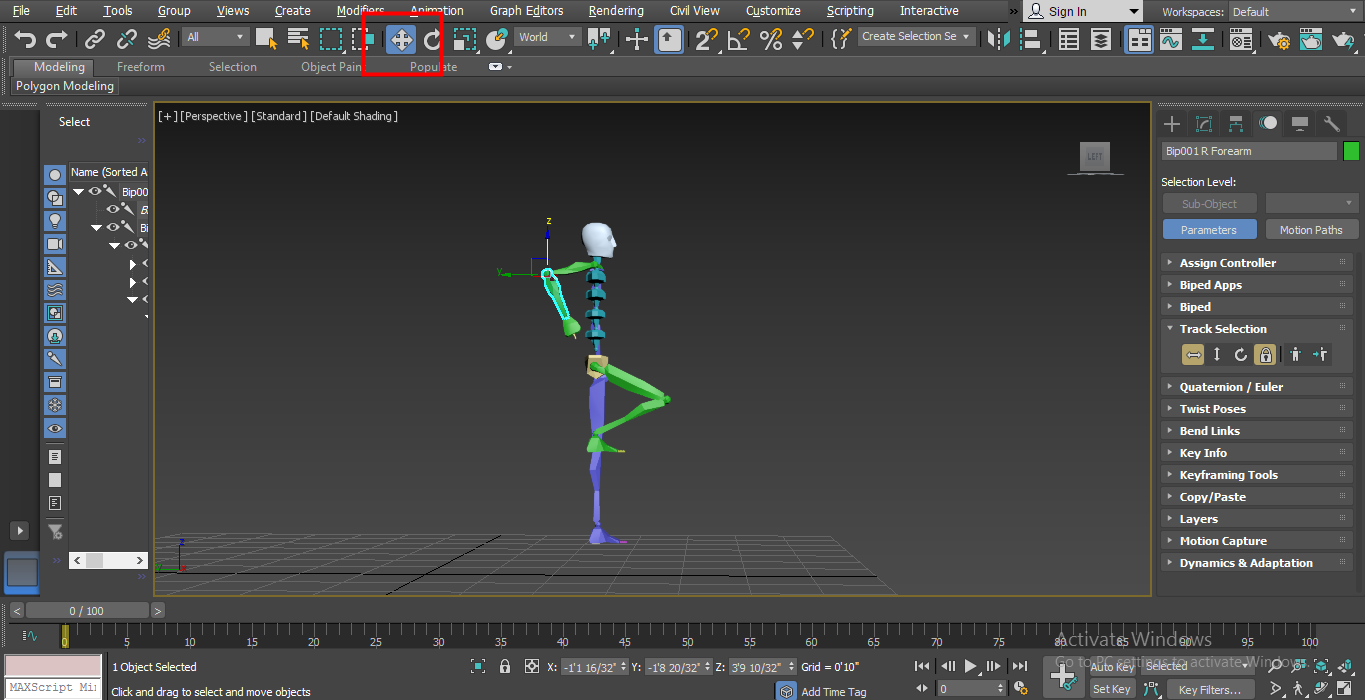
Step 23: For moving a single part of the body at the joint, you have to just click on that body part and click on the normal move command of 3ds max, which is present in two left corners and move that part in X, Y, Z planes in which you want to move by dragging the mouse pointer.
These are the basic parameter of the biped; by using this parameter, you can set it according to your character of the model.
Conclusion – Biped in 3ds Max
In this way, you can easily animate and rig your model with biped for any purpose. After having command on biped, your future will turn towards a character designer in gaming industries as well as in cartoon character animator industries. After learning biped from this tutorial, we will find great fun during the animation of your character with biped.
Recommended Articles
This is a guide to Biped in 3ds Max. Here we have discussed steps for animating our object using Biped and various illustrations to move parts to our character modeling. You can also look at our other related articles to learn more –
