Introduction to Photoshop Software
- This is a graphics and image editing software; this software can edit your image in a raster form rather than vector form. This software is not only used for image editing but also for creating whole digital art. This software can edit and create images in multiple layers and support masking and alpha composting. It also provides several color modes like RGB, CMYK, CIELAB, spot color, and duotone. PhotoShop creates and edits its document only in.PSD and.PSB file formats.
- Before October 2002, Photoshop’s naming was based upon version numbers. But after the introduction of Creative Suite branding, each new version name is designated with CS and a number; for example, the eighth version of Photoshop was designated as CS and the ninth version as CS2. So we have a version from CS to CS6. Again after the introduction of Creative Cloud Branding in June 2013, each new version name is named with CC and the year. We have the version from Photoshop CC to Photoshop CC 2019. Each new version has some additional features compared to the previous version. The current version of Photoshop is Photoshop Mix.
- There are many features of Photoshop like Pen tool, Clone stamp tool, shape tools, measuring and navigation tools, selection tool, cropping, slicing, moving, marquee, lasso, magic wand, eraser, video editing, 3D extrusion, mobile integration, camera raw, 3D printing tool, color replacement tool, etc.
How to Create Metal Text Effect in Photoshop?
However, here our focus area is to explain the metal text effect in Photoshop. Below are the steps to follow for creating a metal text effect in Photoshop:
Step 1: Create a new document by clicking on the Photoshop icon.

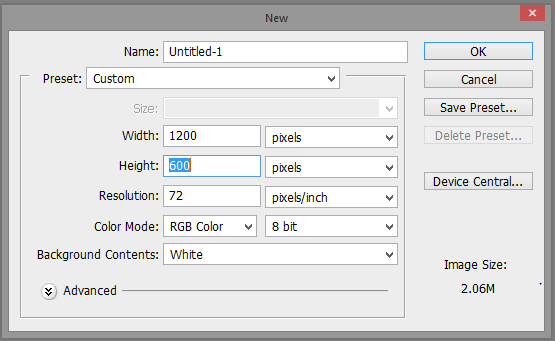
Step 2: Create a new document by clicking on the File Option on the top left corner. A dialog box will appear to select a new file option from the dialog box. According to your requirement, a pop-up window will appear to select the width, height, resolution, and Color mode. Keep background content as white.
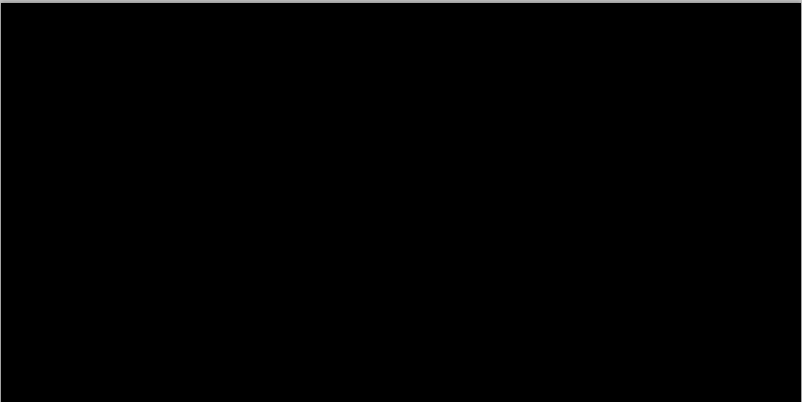
Step 3: Press D on your keyboard. This will reset the foreground and background color to its default if needed, which will set the background color as black. After that, press Alt+ Backspace to fill the background color as black.
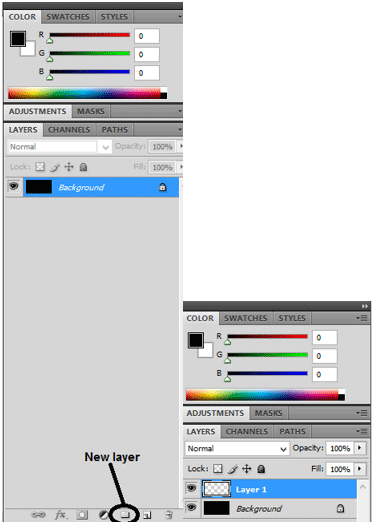
Step 4: Now add one blank layer by clicking on the new layer option on the bottom left corner (second icon) of the screen. This will add one blank layer above the background layer name as Layer 1.
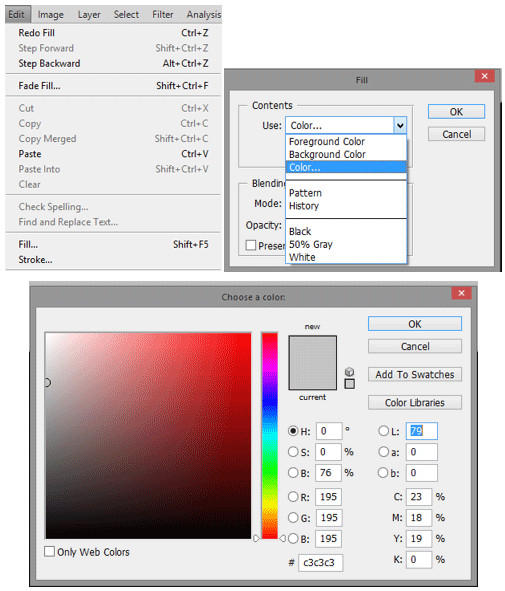
Step 5: Now, we need to fill layer 1 with gray color. To do this, click on the Edit option on the top left corner of the screen. Then select the Fill option from the displayed window. We can also press Shift+F5 as a shortcut. A pop-up window will appear, which will ask the user about the desired color. Click on Color, a palate of color will appear. Type RGB code for gray color as 195,195,195, and then click Ok. Layer 1 will be filled with gray color.
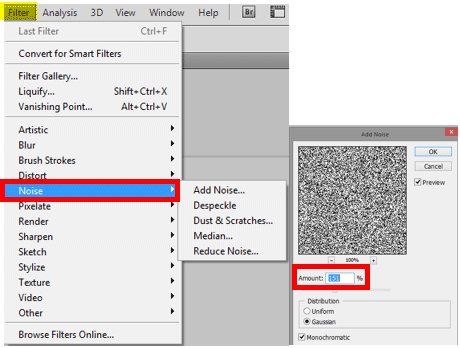
Step 6: Now, the next step is to add noise. For this, click on the Filter menu in the toolbar and then select Noise from the options > Add Noise. Select Amount to be 151 % to provide a good amount of noise to document. Check that Distribution should be Gaussian and Monochromatic is also ticked, then click okay.
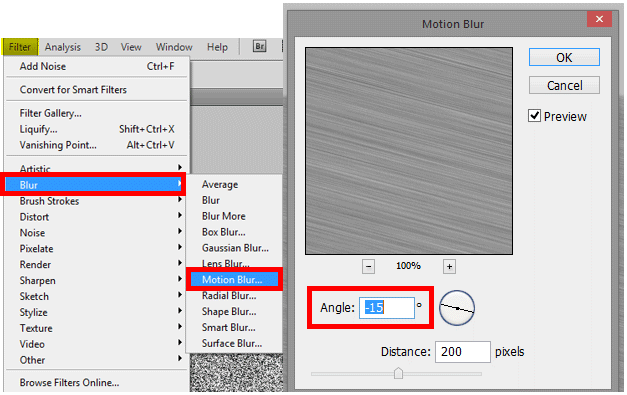
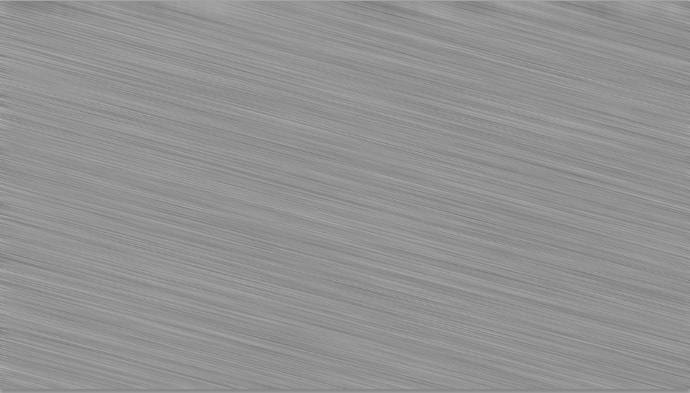
Step 7: We need to do Motion Blur to provide texture to the image. For this, click on Filter > Blur > Motion Blur. Select Angle according to your requirement from -10 to -20 % and distance as 200 pixels. Using the motion Blur will provide the brushed metal effect as shown below.
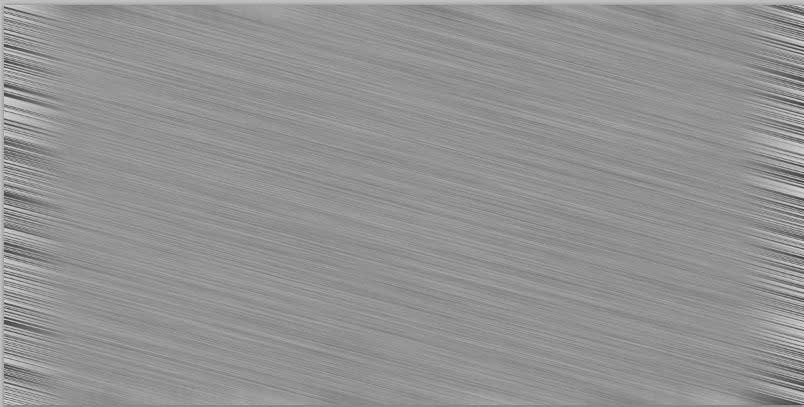
Step 8: Motion Blur is not able to blur the images around the edges, as shown above. To remove this, we have to crop the edges of the image. For this, select the Crop tool and then click at the top left corner from where the good part of the image starts. Then drag the mouse to the right bottom corner where the good part of the image ends. Click Ok.

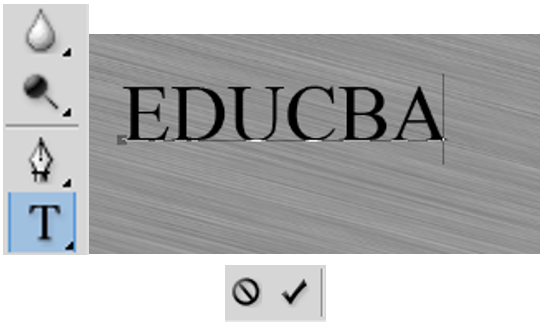
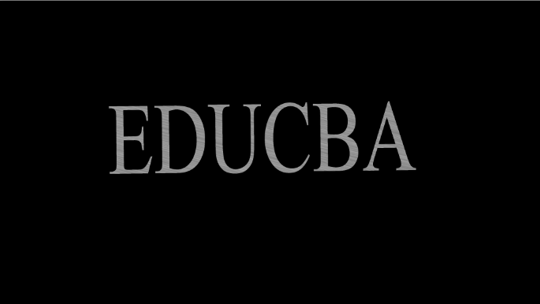
Step 9: Now, the next task is to add text to the image. For this, select the text T tool and then select the desired font. After that, type the text at the desired location. After you had written the text, click on the checkmark provided on the left corner of the text box.
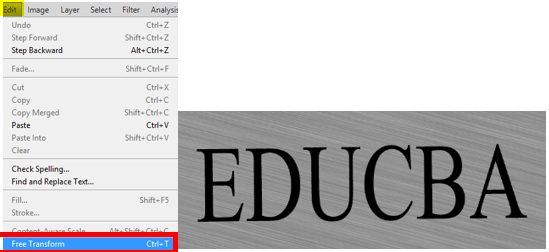
Step 10: Your text may be too small to see on the screen. To increase the font size, select the free transform tool from the edit menu. To resize text, hold Shift Key and drag any corner keeping the aspect ratio the same. To move text, click anywhere inside the bounding box and drag it. Press enter after editing text.
Step 11: Now move the text layer below the Texture layer. To do this, click on the text layer in the layers panel and drag it downwards.
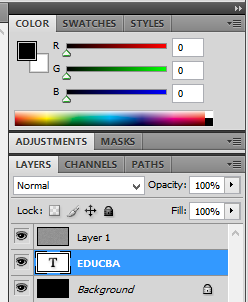
Step 12: Make Layer1 as a Clipping Mask to the text layer. To do this, right-click on Layer 1 and select create a clipping mask from the menu bar. Select it Layer 1 has now clipped on the text layer as shown below. We can check that the grey color will be only inside the text.

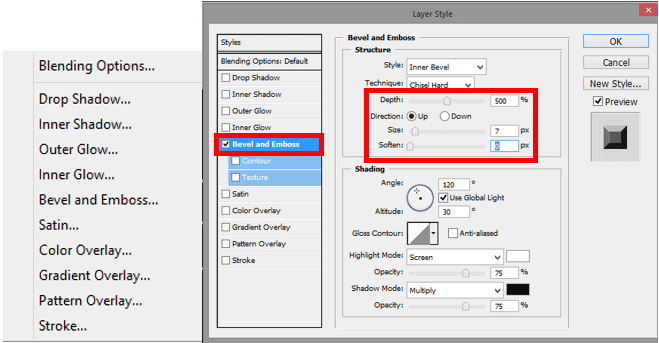
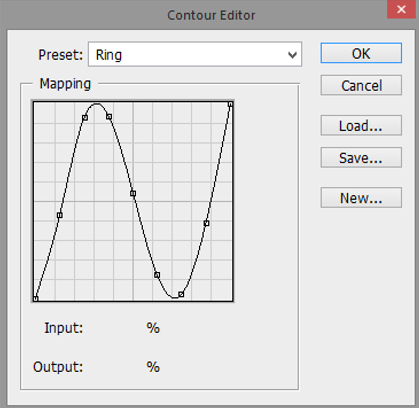
Step 13: We have to add Bevel and Emboss layer style. To do this, select the text layer and click on, ![]() to add a layer style. A dialog box will appear; select Bevel and Emboss from the box. A pop will appear in select style as Inner Bevel, technique as Chisel Hard, depth as 500%, and size as 7 px. Now click on Glass contour and change its style as the ring. Tick mark on Anti-aliased option. Click okay to finish this command.
to add a layer style. A dialog box will appear; select Bevel and Emboss from the box. A pop will appear in select style as Inner Bevel, technique as Chisel Hard, depth as 500%, and size as 7 px. Now click on Glass contour and change its style as the ring. Tick mark on Anti-aliased option. Click okay to finish this command.
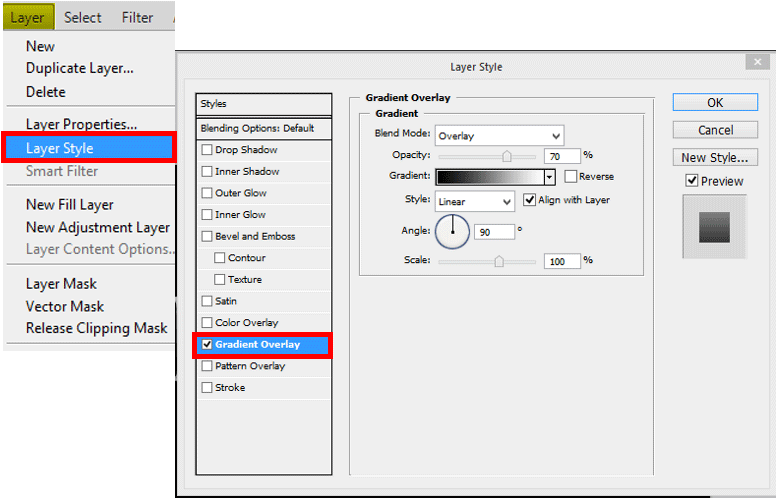
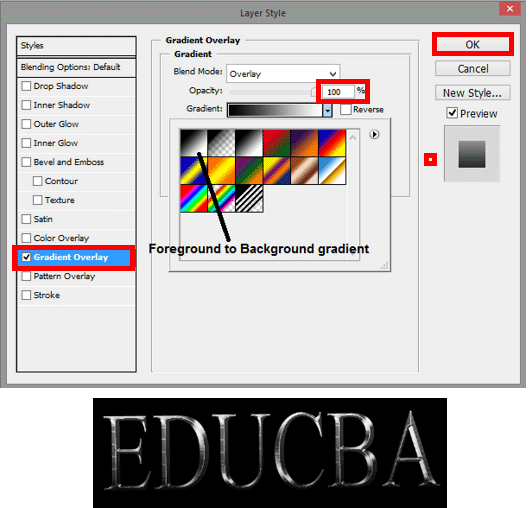
Step 14: The next step is to add a Gradient Overlay Layer Style to the image. Now select Gradient Overlay Style from the layer menu toolbar. A pop-up appears, which will ask the user about the blend mode, opacity, gradient, Style, Angle, and Scale. By default, select the right gradient according to the current foreground and background colors, but choose the right colour if some other gradient is selected. Select Blend Mode as Overlay and Opacity as 70%. This will add the initial lighting effect to the text. Click Ok. The effect is now added to the image.
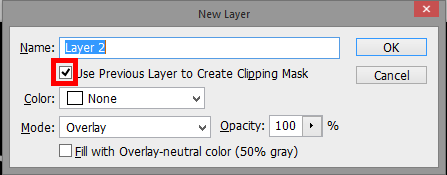
Step 15: Next, we have to add a new layer set to overlay blend mode. To do this, click on Layer1 and hold the ALT key. Then select the new layer option, a pop-up will appear, which will ask about color, mode, and opacity. Tick mark on the option, use the previous layer to create a clipping mask, mode as an overlay, and opacity 100 %. Click on Ok a new layer will appear.
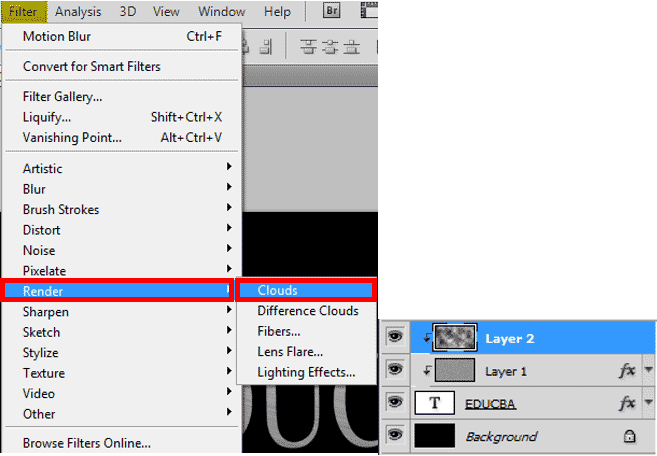
Step 16: We can add some random highlights and shadows to the metal effect. For this, select Filter>Render>Clouds. This will create lots of light and dark regions.
Step 17: Clouds created in the previous step need to be smoothed to be highlighted and shadowed more. This can be done by blurring it. To do this, click on Filter > Blur > Gaussian Blur. A pop will appear set pixels as 10.Then click okay. A new look will appear as shown below.
![]()
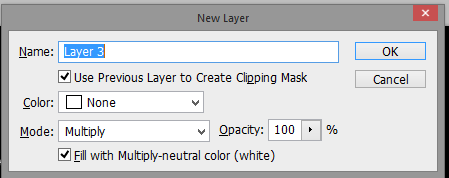
Step 18: Now, we have to add a new layer set to multiply blend mode. To do this follows the same as Step 14. Once again, hole the ALT key and click on add new layer. Choose Use Previous Layer to Create Clipping Mask, mode as multiply and tick on Fill with Multiply-neutral color (white). Click OK.
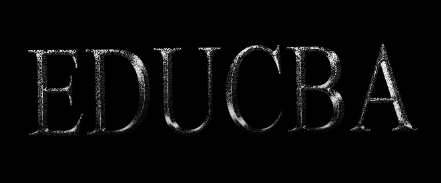
Step 19: Now, to add some grunginess to the image, we have to add some dirt or scratches to it. This can be done by adding Noise to it. Follow the same steps to add noise as Step 6. The final image will appear as shown below.
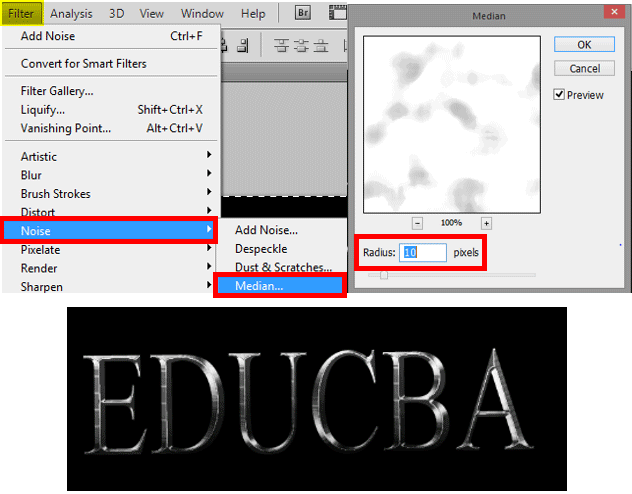
Step 20: Look at the image, which is in the form of dirt and scratches now; we have to apply the Median Filter. To apply this, click on Filter > Noise > Median. A pop up will appear, which will ask to adjust the radius. Try dragging your cursor at the bottom of the Radius to adjust. A value of about 10 will provide good effects. Click OK. The final image will appear as shown below.
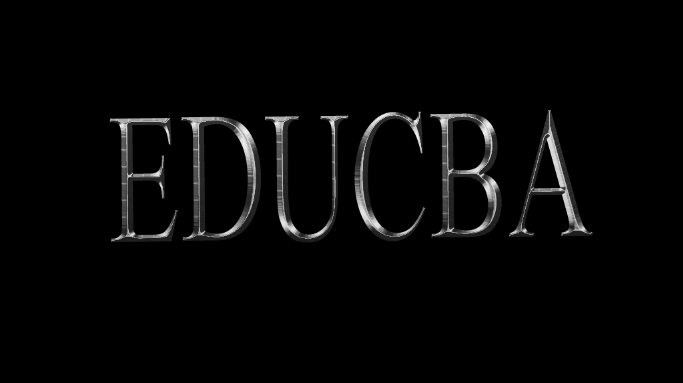
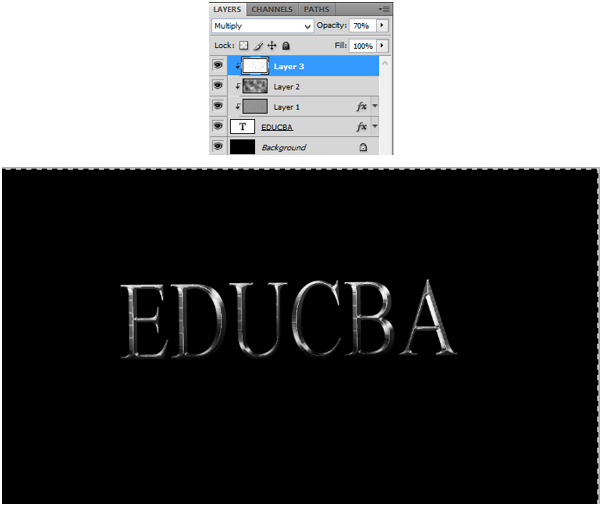
Step 21: If the effect of dirt and scratches looks too dark, we can change the layer opacity to adjust it. Right now, opacity is adjusted to 70%, as shown in the below image. The final image will look as below.
Above are the steps we need to follow in creating a metal text effect in Photoshop.
Recommended Articles
This is a guide to Metal Text Effect in Photoshop. Here we discuss the step by step process of creating a metal text effect in photoshop. You can also go through our other related articles to learn more –
