Updated August 28, 2023
Introduction to Glitch Effect
Glitch effect is nothing but a disturbed visual which mostly occurs in the software damage and ratifies itself, and some colored lines when some damage happened on TV or a computer. Glitch effect can be created in every video editing applications, but the thing is professionals always use after-effects for VFX because we can have free hands-on graphics and more options to make the effects more effective. Glitch is used for title animation, visual effects, and a transition; it became a trendy effect in the games and trailers of horror movies.
Create Amazing Glitch Effect
The glitch effect is among the trending thing on the internet used by most of the designers. So, let’s dive in and learn how to create a Glitch effect on your own.
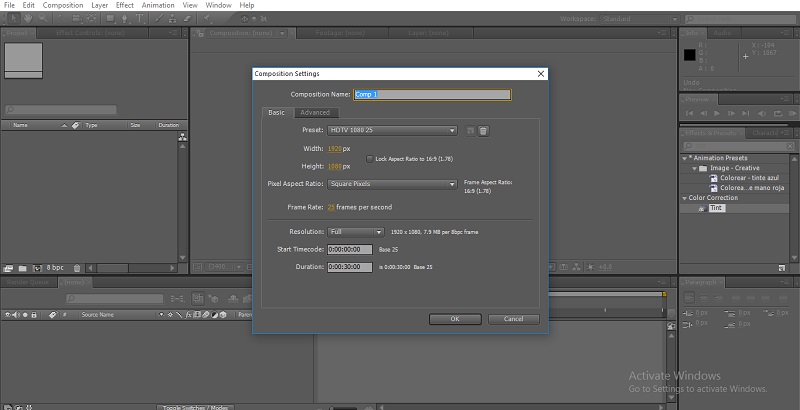
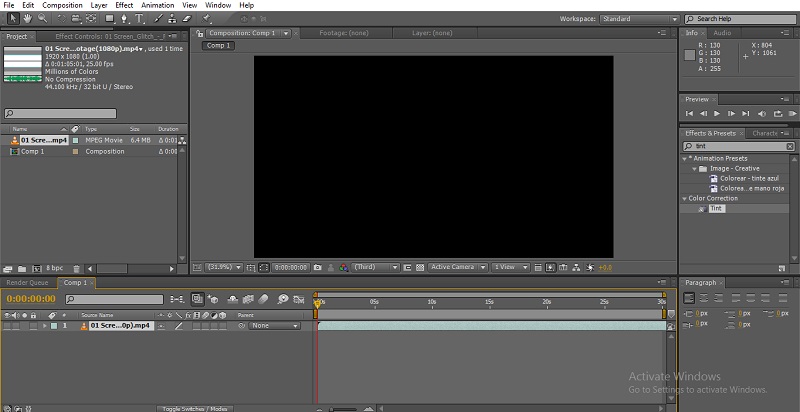
Step 1: Open New Composition.
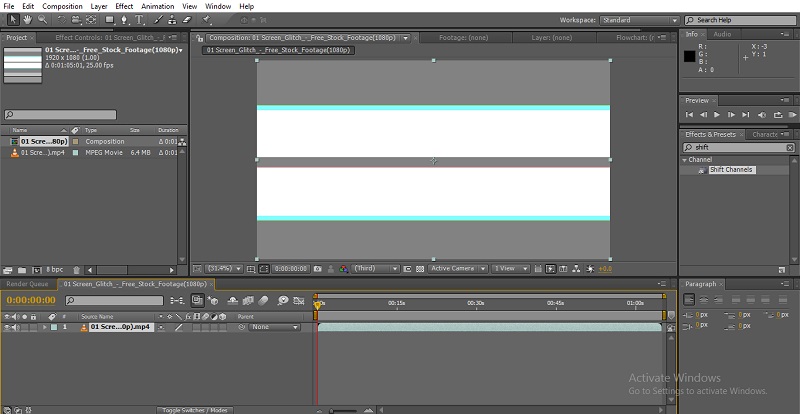
- Here I am going to apply the Glitch effect to my text; for that, we need to add a glitch effect video to the timeline; I have a video readymade; else, we can create a glitch video using a solid layer and applying some effects like fractal noise.
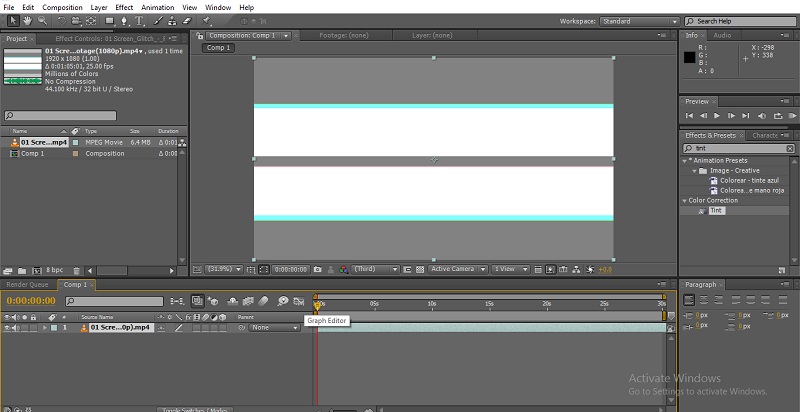
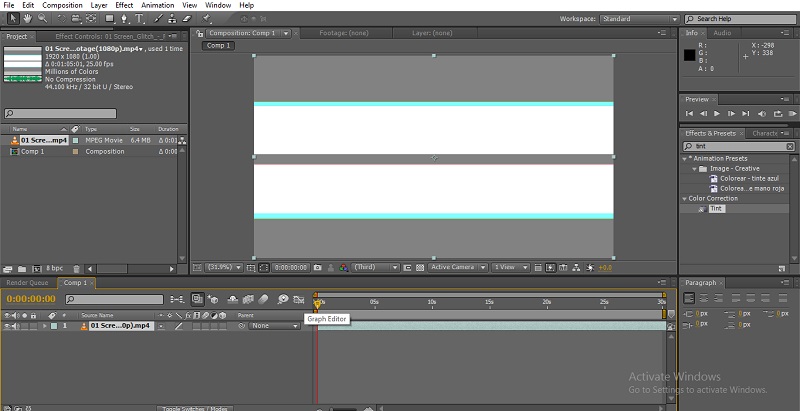
Step 2: Here, we add a Glitch effect video to the timeline now. And, now we need to disable the visual and audio too.
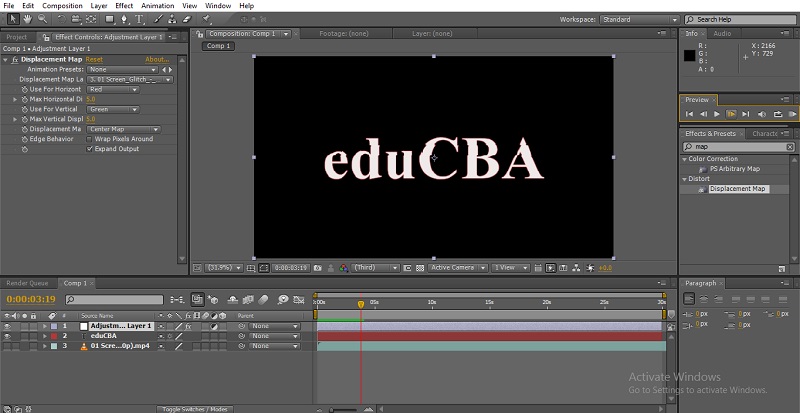
Step 3: Now add a text.
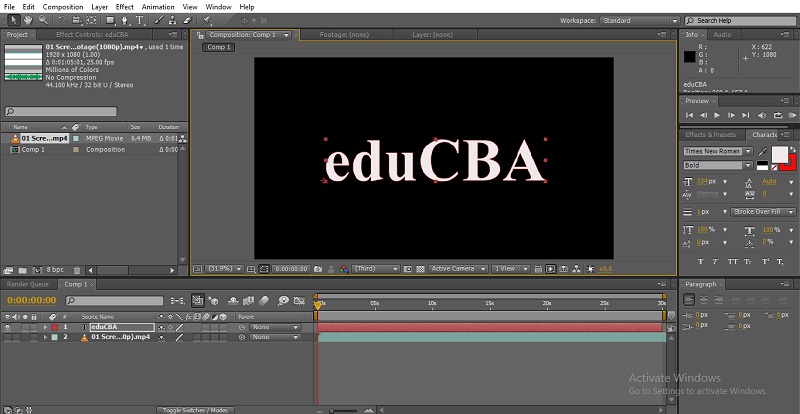
- We need to select the perfect text style; I selected Times New Roman and position the text to the center of the screen by that we can get the effect perfectly because we have glitch video behind the text.
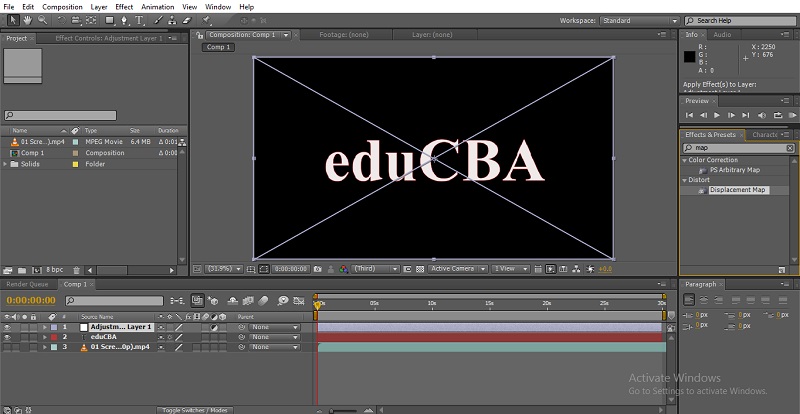
Step 4: Add an Adjustment Layer.
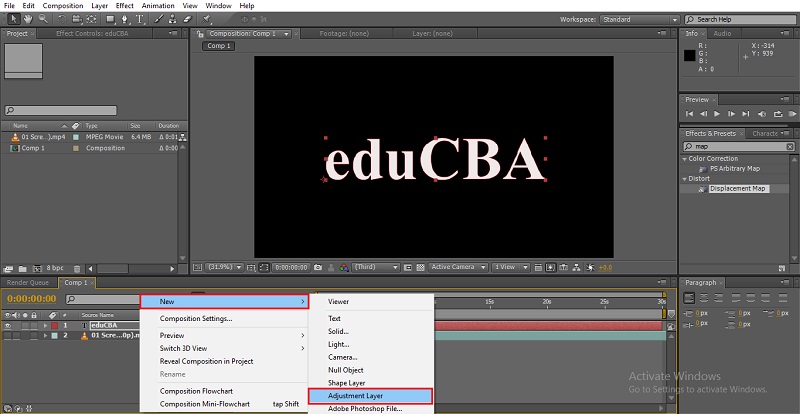
Step 5: Go to effects and presets and select displacement map, then add the preset to the adjustment layer.
Step 6: Now, we expand the adjustment layer, go to the configuration window and expand the values. Select the layer in the displacement map.
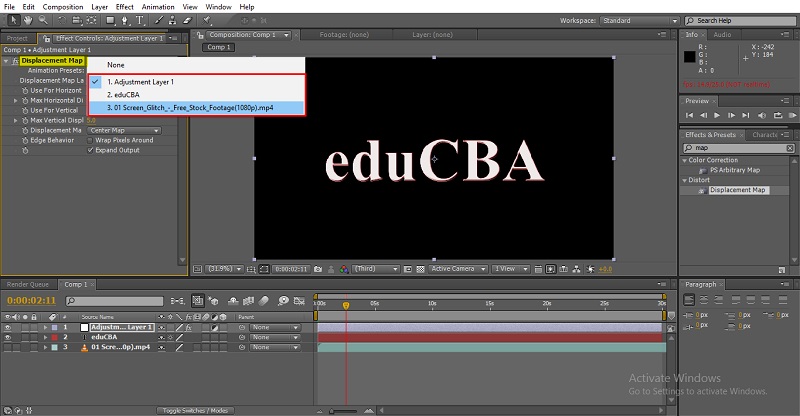
- We need to select the layer we like to composite; I select the glitch video layer.
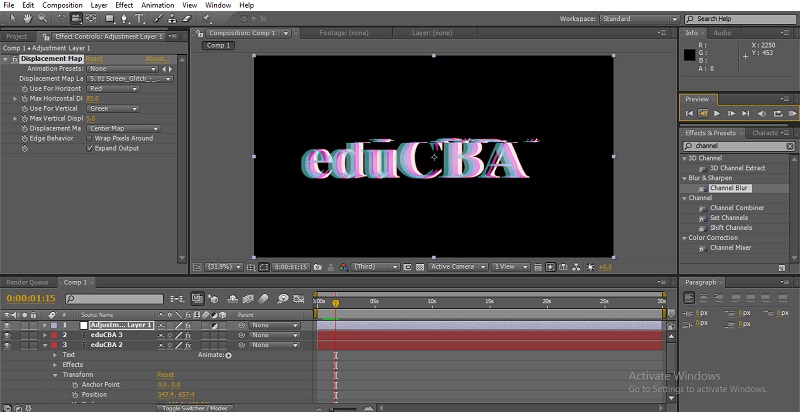
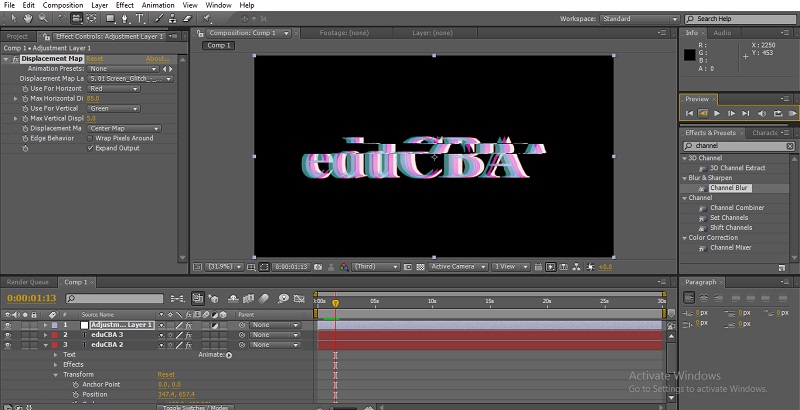
Step 7: Now we can see the text glitches, to look more effective, we need to expand the Horizontal display.
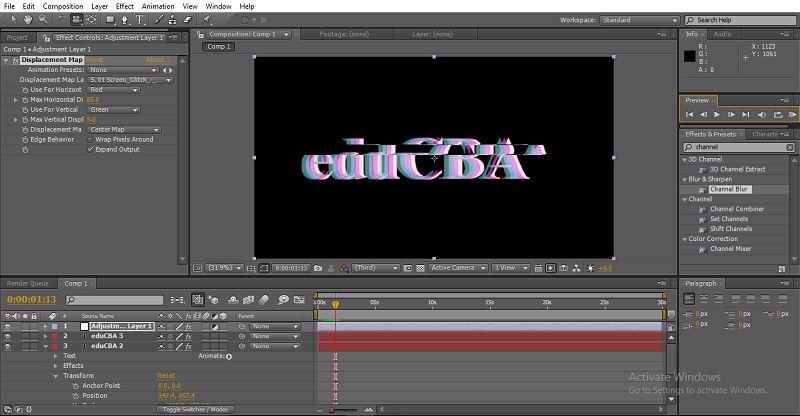


Step 8: Let’s make it more effective by adding some more effects. Make text layer 2 duplicate layers.
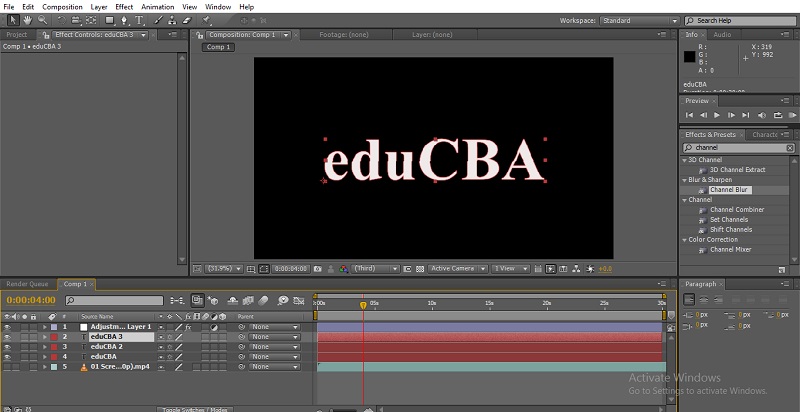
Step 9: Add channel Blur to the two newly added duplicate layers.
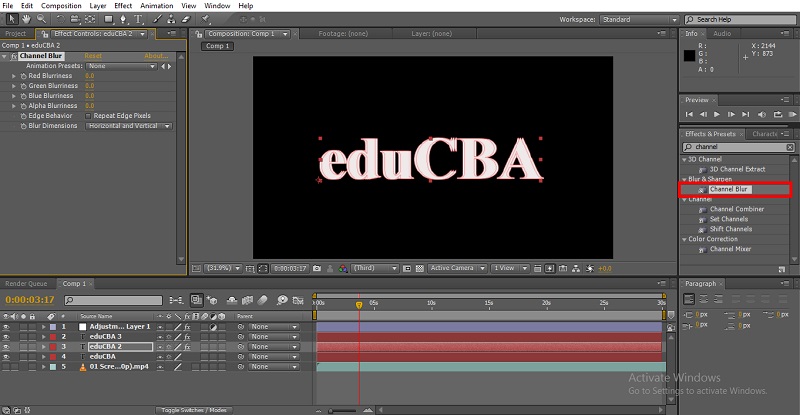
Step 10: Expand the values and give two different colors to both text layers.
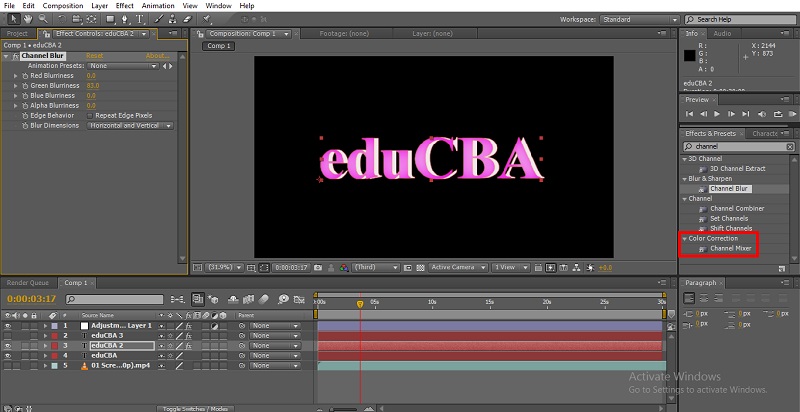
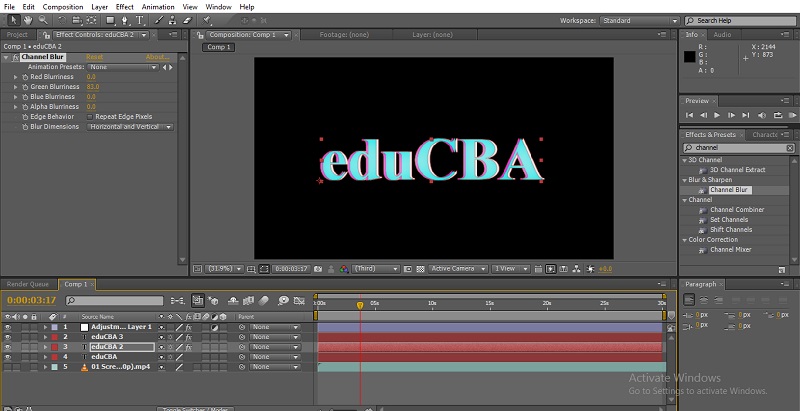
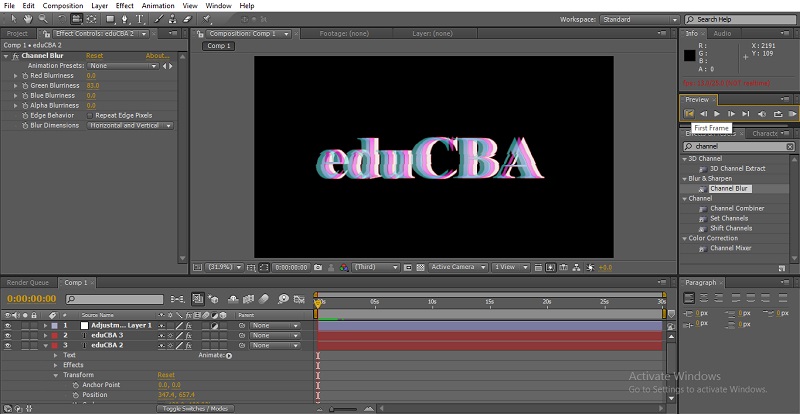
Step 11: Now, select the positions of the two layers and move side.

- Now we can find three different colors to the text, now just render we can see the effect perfectly.
Techniques to Use Glitches
We have a lot of techniques to use glitches now; let’s see some more glitch effects.
Step 1: Same as above, add a glitch video, or we can make a glitch effect by ourselves also, but to save time, we can use the existing video.
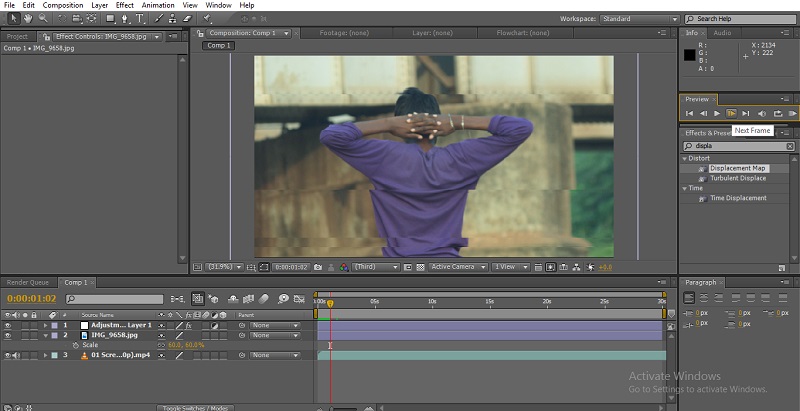
Step 2: Add an image or a video. I have imported an image.
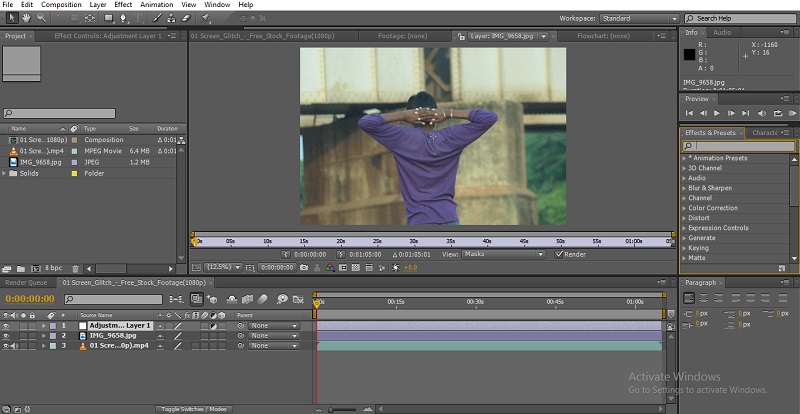
Step 3: Add an adjustment layer.
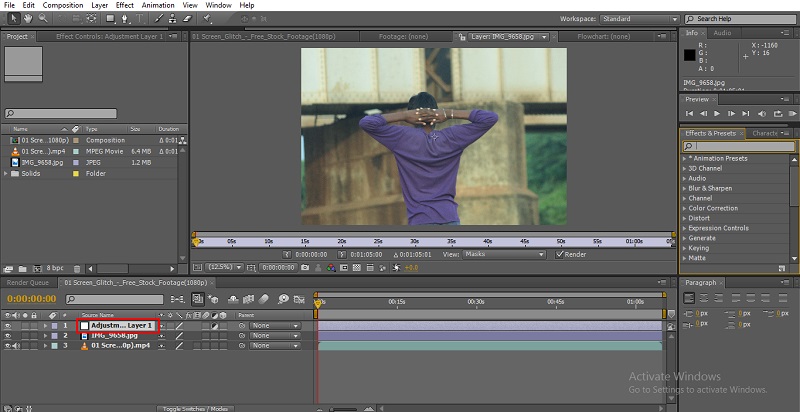
Step 4: Add displacement map to the adjustment layer, and disable the glitch layer.

Step 5: Now go to the configuration window and expand the values. Displacement map to glitch layer. Horizontal display to 30, and we can expand according to the requirement.
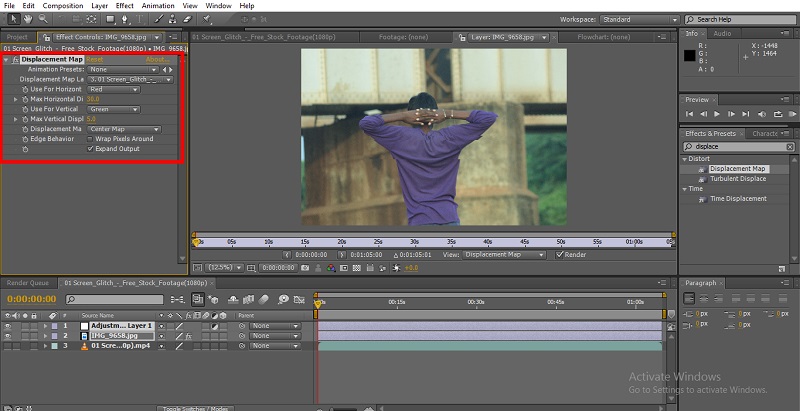
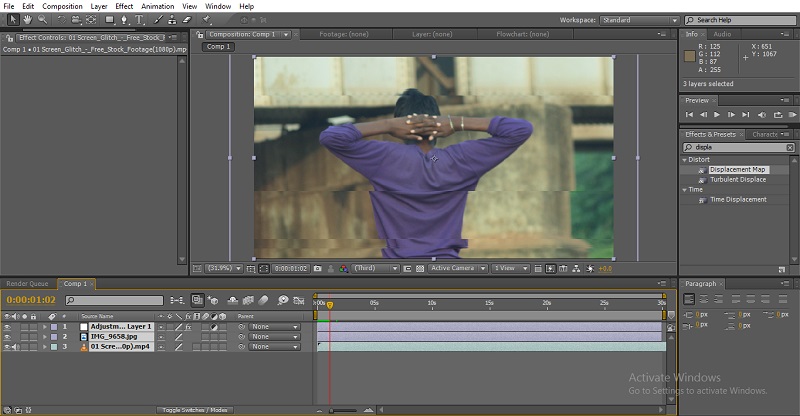
Step 6: Now, if we render, we can get the glitch effect.
- It’s not finished now; we will add some more options to make it more effective.
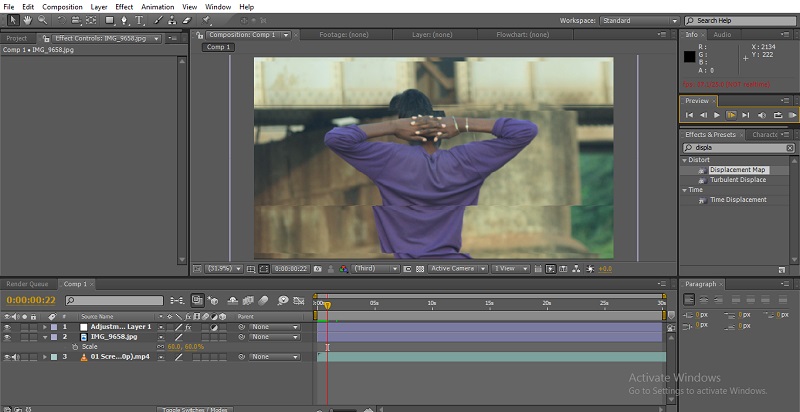
Step 7: Make the three layers as a single layer by using the compose layer. Select three layers.
- Go to layers and select pre-compose.
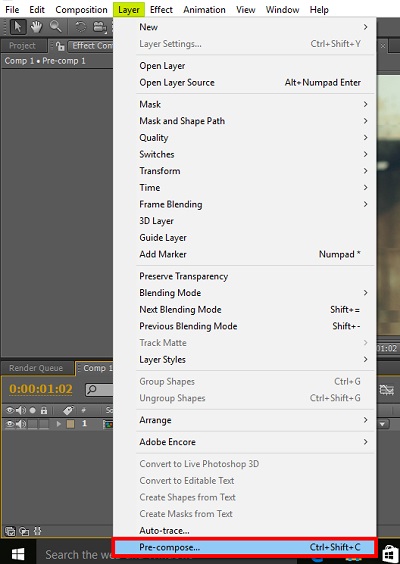
- We can use Ctrl+Shift+C as a shortcut to get this option.
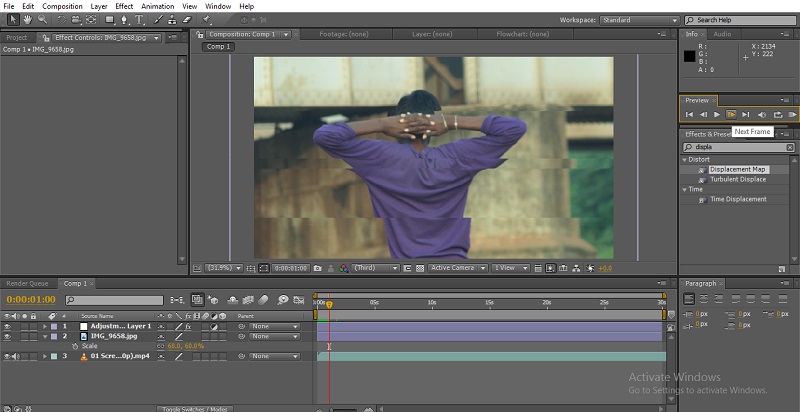
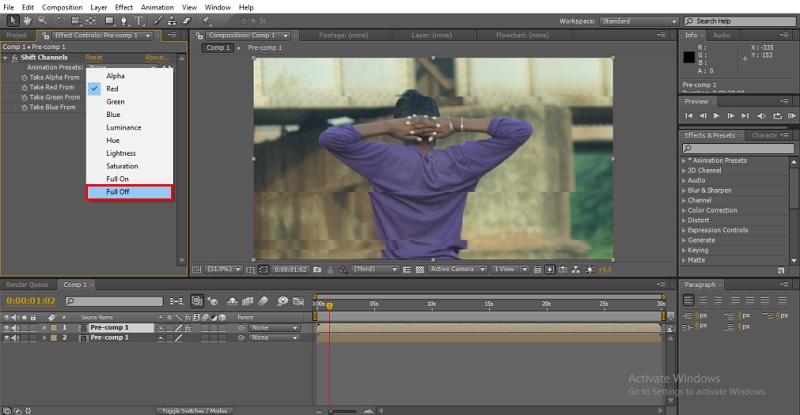
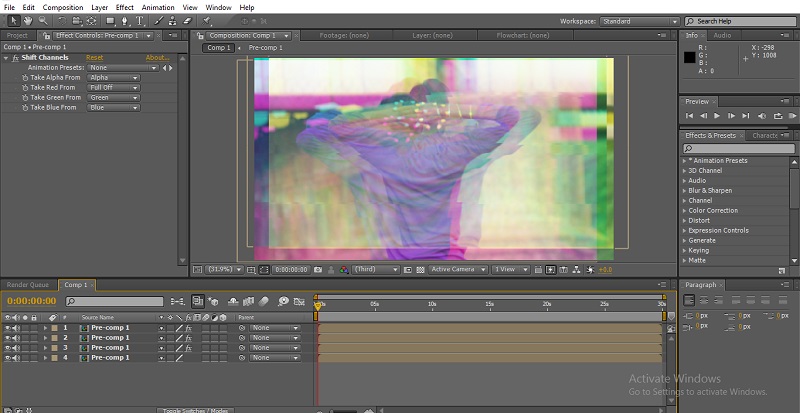
Step 8: Make a duplicate layer, then apply the shift channel to the duplicate layer.
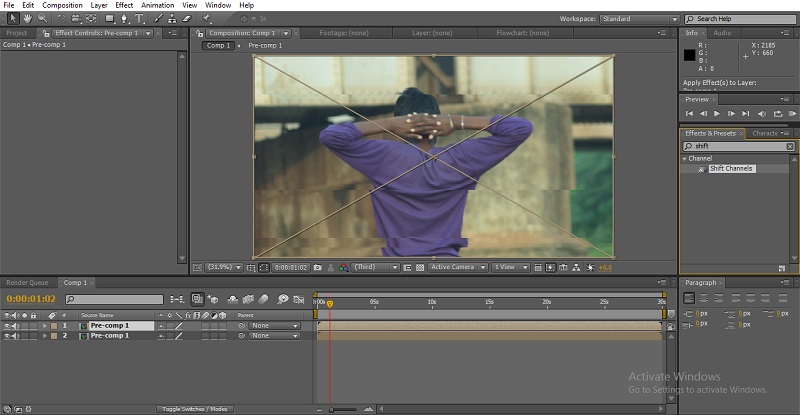
Step 9: Now expand the values of the shift channel, and select Full Off.

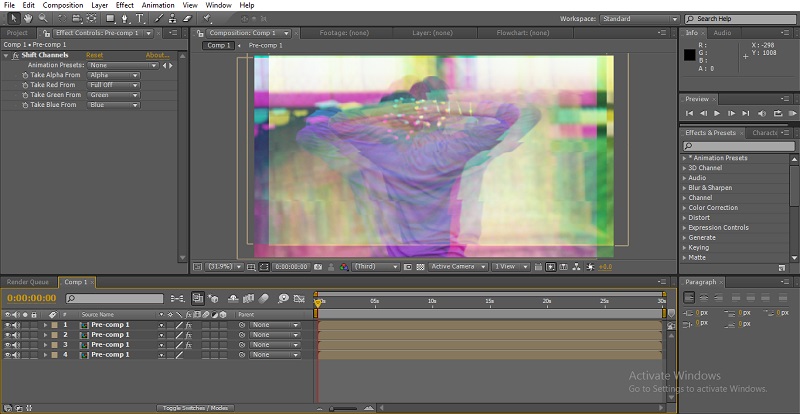
Step 10: Make another duplicate layer and Full Off blue.
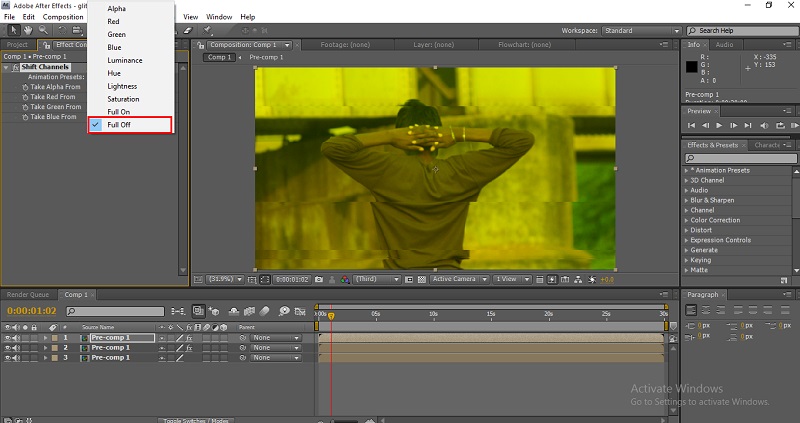

Step 11: Make another duplicate layer and Full Off green.


- Here we created 3 duplicate layers with different color channels; we can perform a perfect glitch by making different duplicate layers.
Step 12: Select the top 2 layers and change the blend mode to screen.


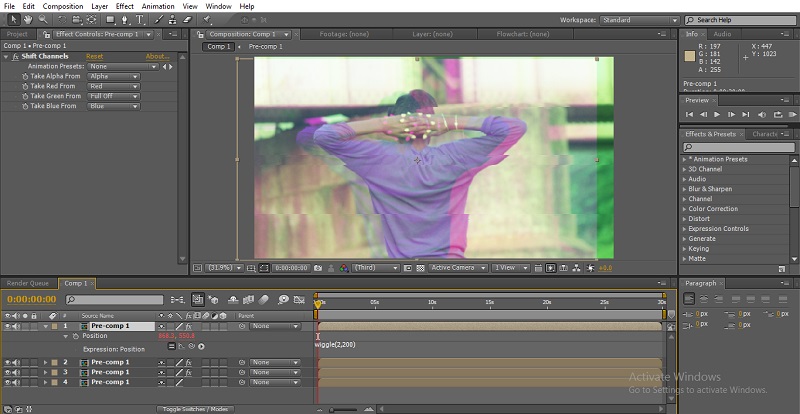
Step 13: Now select the top layer and go to the position and start expression.
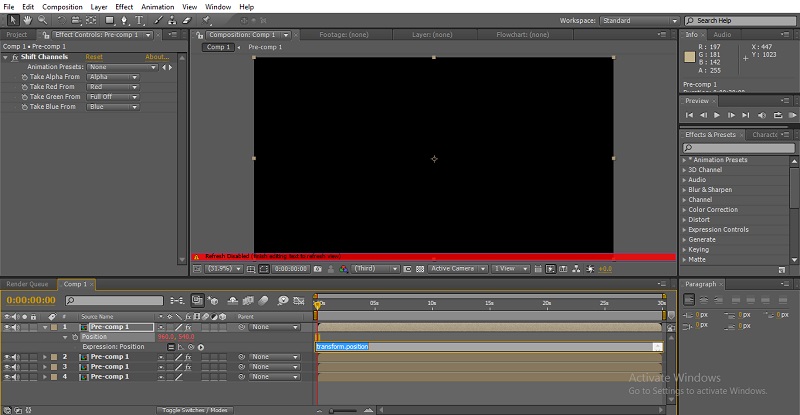
To start the expression, hold Alt, click on the stopwatch of position, and then give expression wiggle (2,200).
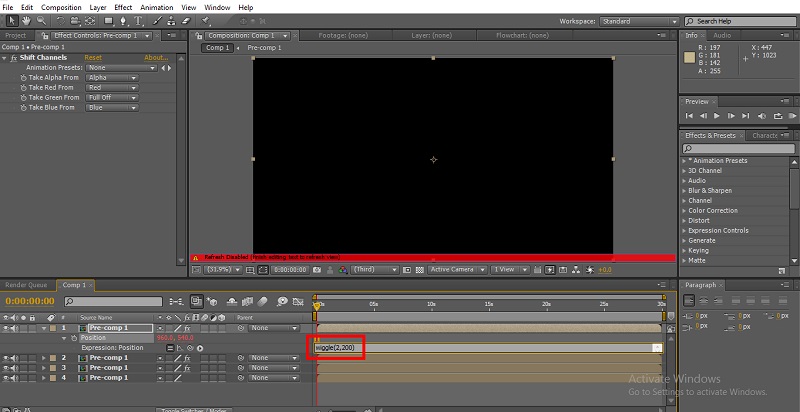
Step 14: Now copy the expression and paste it to the remaining layers.
We can find four visuals on the screen with different colors and move in different directions now render and see the perfect glitch.

Adding Keyframes to the Image
If we use opacity by adding keyframes, we can get the best output. Let’s see how?
Step 1: Add a new adjustment layer.

Step 2: Add optics compensation to the adjustment layer.
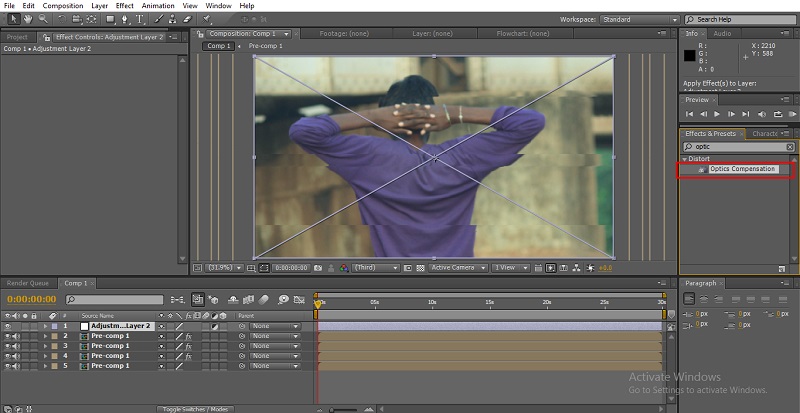
Step 3: Now expand the values of optics. Field of view to 120.

- Here we can see the object became like a circle now; we need to enable reverse lens distortion.

Step 4: We need to give expression to the view center. Wiggle (5,1000) then can watch how the video expands and adjusts the visual with keyframes of view center.

- This method can be used for the transitions, for the change over for the videos; it will look more effective than the normal transition.
Step 5: Add radial blur to the adjustment layer.
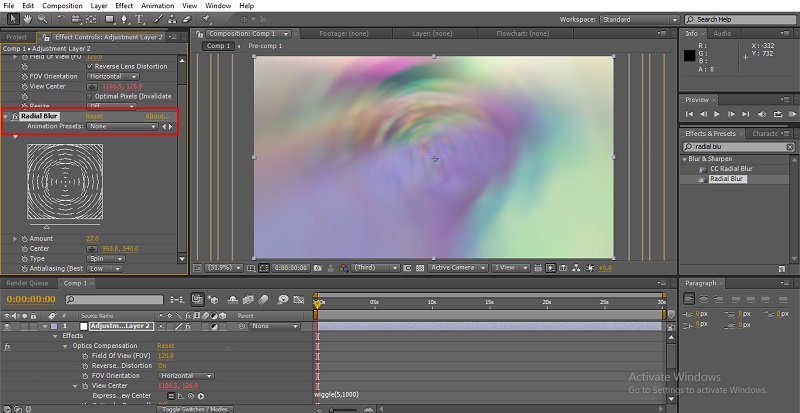
- Now increase the amount of blur according to the requirement
Step 6: Now change the type to zoom; usually, it will be spin.
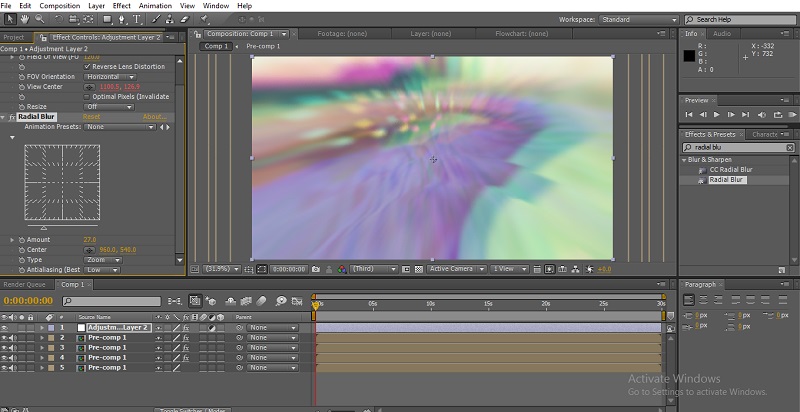
- If we use the zoom type, the transition will be more effective than spin.
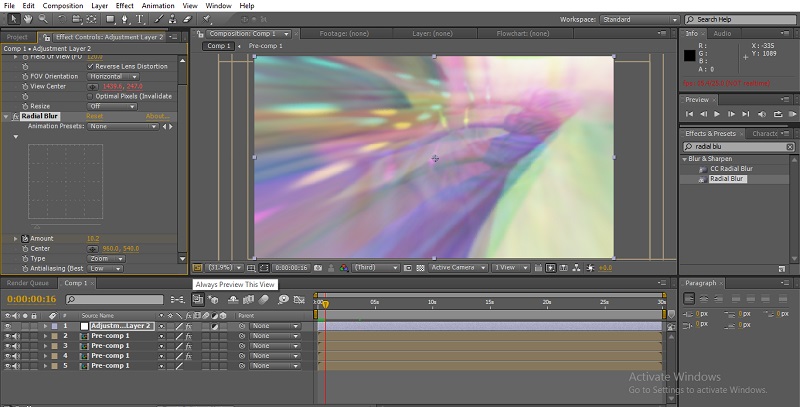
Step 7: Now animate with the help of the amount option by adjusting the keyframes 0 to 50. To make a smooth move.
Conclusion
In this process, we saw how to create a glitch, uses and methods of glitch effects; first, we try with text, and then we try with some visuals also, and we saw how to create transitions with the glitch effects; what did we learn?, What is the glitch and uses of glitch effects?. How to glitch text, glitch visuals, create transitions with the glitch effects, etc.
Recommended Articles
This is a guide to Glitch Effect in After Effects. Here we discuss how to create a glitch effect in 3 different methods. You can also go through our other related articles to learn more –
- Methods to Create Snowfall in After Effects
- Introduction to Puppet Tool in After Effects
- Learn How to Create 2D Animation?
- Pen Tool in After Effects | Drawing and Animating Object
- Guide to Upgraded Versions of After Effects
- Composition in After Effects | How to Work?
- After Effects Transitions | How to Make?
- Examples of Slider Control After Effects
