Updated August 28, 2023
Introduction to Composition in After Effects
In this article, we will learn about Composition in After Effects. Composition is nothing but a window where we can keep our layers, files and sequence is called composition, it’s just like a container for files and layers; whatever we need to start, we need to create composition; first, we can also call it as an independent timeline which contains our image, movie, and text files.
Compositions are the foundation for the project in the after-effects because without creating a composition, we can import the files and layers, it’s a basic thing but very important options, in some editing software we call sequence as same in after effects we can call it as composition, these compositions are like separate mini-projects.
How to Create a Composition?
Let’s start creating a new composition in after effects with the following steps.
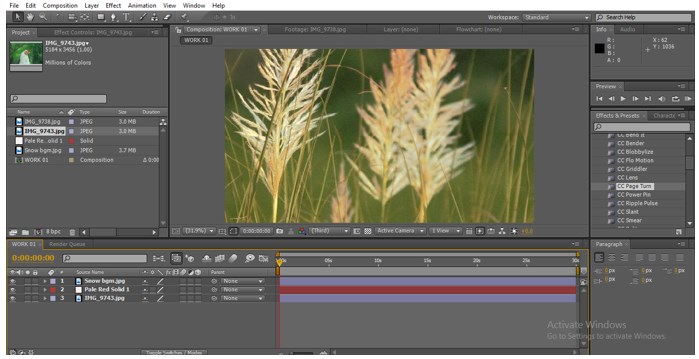
Step 1: Here, we can see the project with some files.
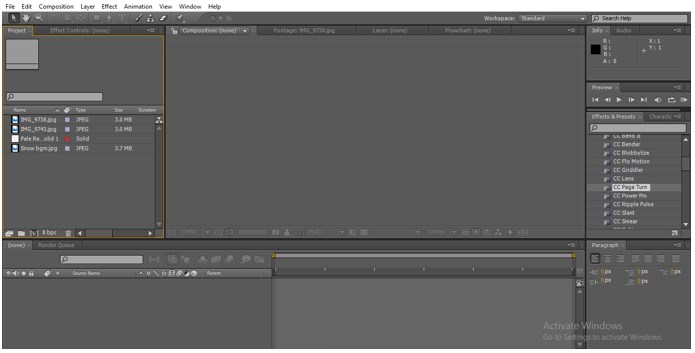
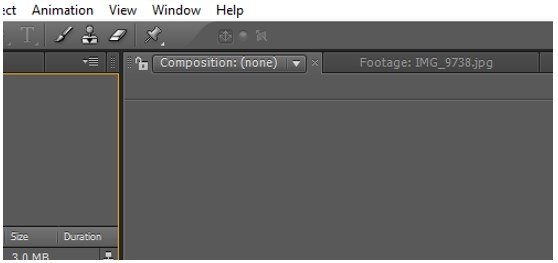
We can view the files, but we can perform any action on these files without creating a composition. We can find composition option none on the top.
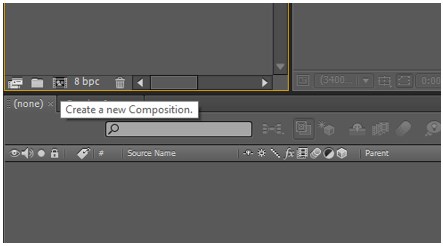
Step 2: We need to create a new composition.
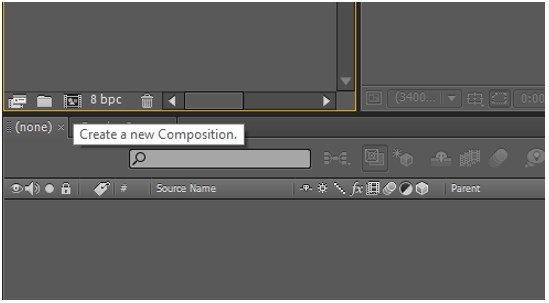
At the bottom of the project window, we can find an icon; it’s the composition icon in after effects; by clicking on the icon, we can open new composition.
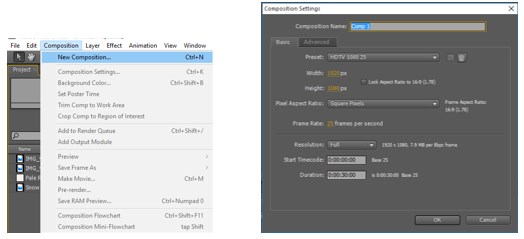
We have another option to open a new composition, i.e. go-to composition, and select the first option also; we can use Ctrl+N for a new composition.
Step 3: Once we open a new composition, we will get a window like this asking for compositing settings; in this window, we can find a lot of options lets see that in detail.
Step 4: First, we can find the composition name by default; it will be as Com 1; giving composition name is very important because we may have multi compositions in a project, so we don’t get confused on the compositions.
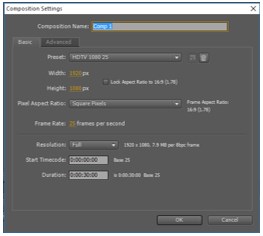
Step 5: Next, we have Basic settings; Presets setting is one of the important in settings; when we click on the preset, we can get a drop-down menu.
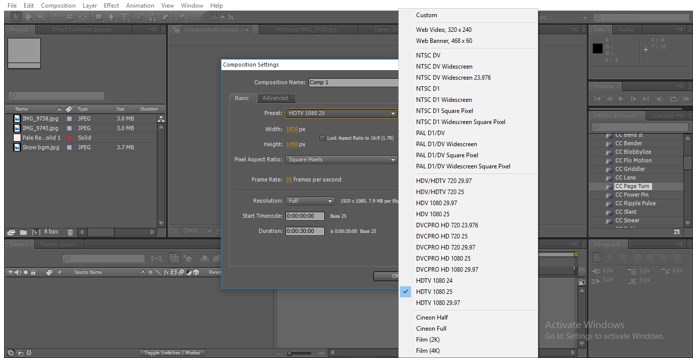
In the drop-down menu, we can find a lot of videos presets; these presets indicate the quality of our output, and according to our requirement, we need to select the presets.
Step 6: After selecting the presets, we can find the size option below the presets.
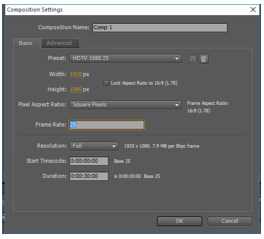
Here are the width and height options; once we select the preset, the height and width will be changed default; if we want to change, we can change manually if we have a requirement, and also we can lock the aspect ratio if we need to change the width and height we can uncheck the lock option and we can change height and width if we did such things there will be a change in the aspect ratio, so better to follow the default.
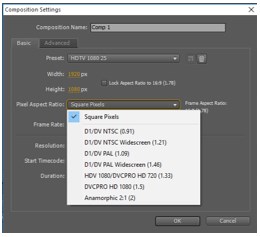
Step 7: Then we have an option called pixel Aspect ratio, here we have some default options we can select from that; actually, when we select the preset automatically, every option will get changed if we have any requirement, we can again.
Step 8: The next option is the Frame rate per second; we can also change the frame rate. The next option is very important, i.e. Resolution.

When we select, we will get a drop-down menu; we have four resolution options like Full, Half, Third, Quarter; whatever we select the resolution, the same will be our output. I always recommend to take a high resolution for a better output.
Step 9: The next option is time code, and duration will be by default; we also have the option to change.
Step 10: Once we complete the compositing settings, we can click OK, then we can find the compositing option in the project.
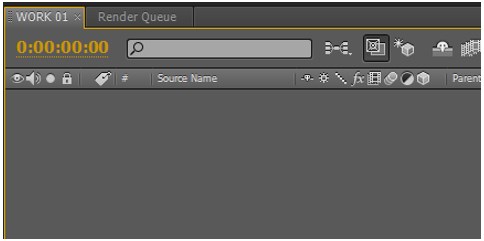
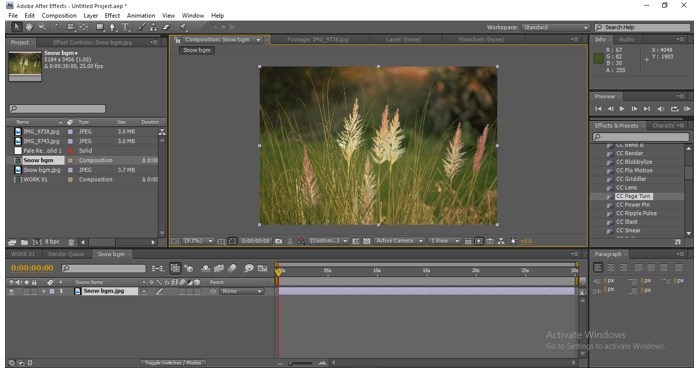
I have given the composition name as Work 01; now we can find the composition in the timeline; now I think you may understand why we need to give the name for the composition.
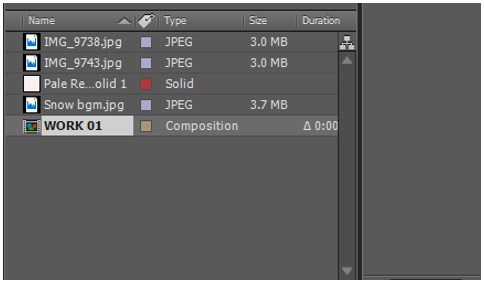
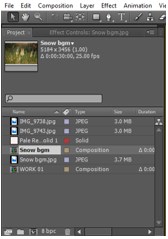
Here we can find the composition created in the project; now, we can understand that composition is nothing but a sequence; it will be in the files list we can identify the composition file with that icon.
Step 11: Once we create the composition, then only we can import the files to the timeline and perform actions; we can directly drag the file to the timeline each file we import to the timeline will create an individual layer; whatever files we import each file have their layers, by that we can play the clip or we can perform an action to create animations or editing of the clips.
Now we can understand the importance of the composition; we can create multiple compositions in a project.
Step 12: When we have size variation in the composition, we can adjust with the scale option but if we need the composition size as the same as out file, just drag the file to the composition icon in the below of the project window.
When we do this, the composition is created in the same file name itself with the original size of the file; now, we can found two composition windows in the project.
By doing this method, we can avoid the scale and position adjustment editing process, and we can be aware of losing quality, but the output ratio will be changed.
Step 13: If, unfortunately, we close the composition in the timeline, we can reopen the composition from the project menu.
Step 14: Once we completed the work, we can export each composition in separate video files.
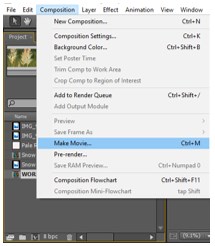
Select the composition file and go to the composition menu and select a make movie option; we can use Ctrl+M as a shortcut for this option.
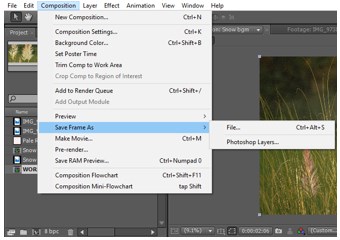
We can also export a frame from our composition, which means we can export a snap from our timeline; it may be a current frame.
Step 15:If we have created a lot of compositions in one, we can place our composition in another by nesting option.
Recommended Articles
This is a guide to Composition in After Effects. Here we discuss the Introduction, its importance, and how to create a composition. You can also go through our other related articles to learn more –
