
Introduction to Slider Control After Effects
Slider Control is one of the controlling features of After Effect software which provides you with a controlled parameter for the handling animation of any animated effect during your animation and gives you the best result of animation by providing you with a wide range of settings of the parameter according to you. Here in this article, we will analyze the Slider Control feature of After Effect and also understand it by an example in a few simple steps.
How to Use Slider Control in After Effects?
Before starting our article for the learning of Slider Control, we must have an overview of the different sections of this software so that you can understand different terms throughout this article. So let us discuss them.
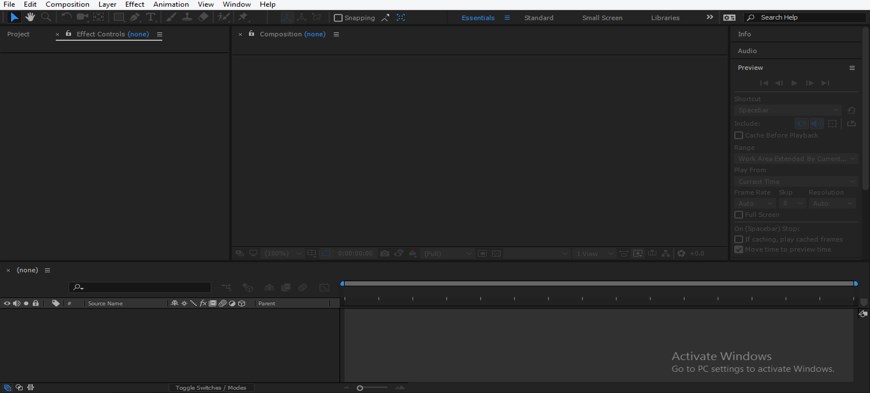
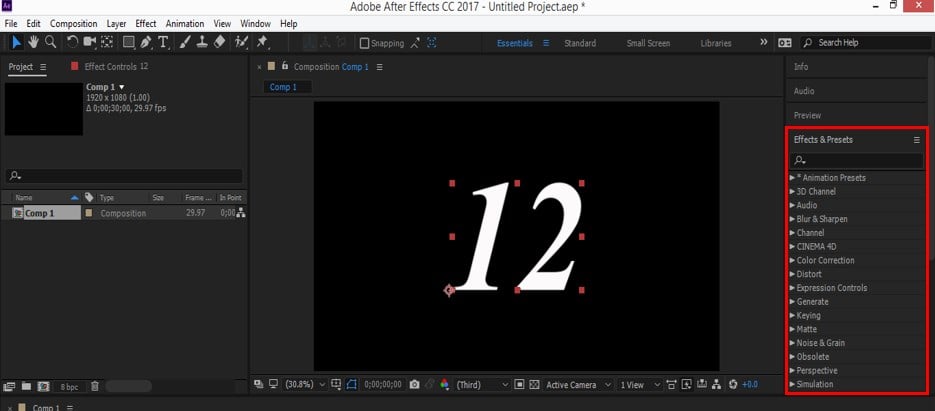
Step 1: At the top of this software, we have two ribbons one is Menu Bar, and the other is Toolbar, this section used for adjustment of different parameters of this software, at the left side, there is Project Panel, which shows the status of current work of any project, at the right side, we have some options such as Effect & Presets tab, Preview tab, Align tab and many others for making different adjustment during the creation of any animation, at the button end of this software we have two sections that are Layer section, which shows a number of layers of any composition and Timeline panel, which shows keys & keyframe head for making adjustment of any animation.
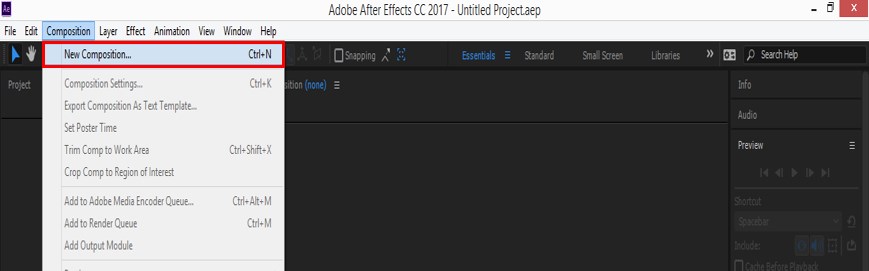
Step 2: Let us have a New Composition for our work. For taking new composition to go to the Menu bar and click on File New. A drop-down list will be open; choose the ‘New Composition’ option from this drop-down list.
Step 3: Or you can create a new composition from the Project section also. For creating ‘New Composition’ from here, just click on the ‘New Composition’ icon at the bottom of the Project section.

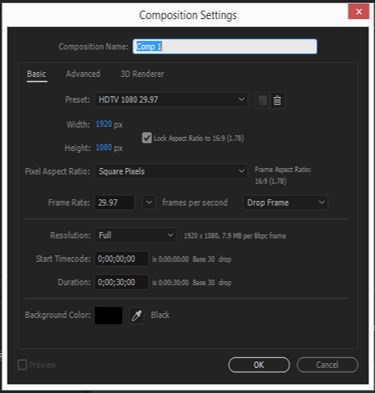
Step 4: Once you click on the New Composition option, a dialog box of Composition Settings will be open. Set the parameters of composition from this box according to you and click on the Ok button of this box for applying the settings.
Step 5: Now go to the tool panel and take the Text tool from here by click on the Text tool icon.

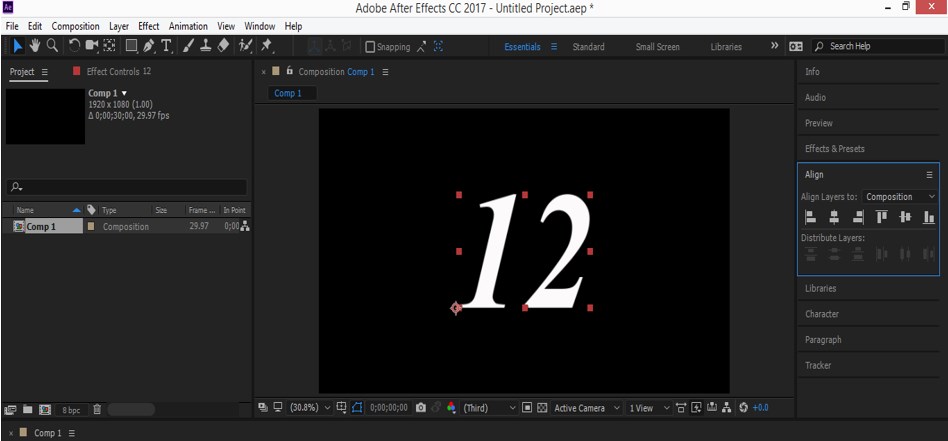
Step 6: Now type a text. I will type a number like this and align it at the center of the composition with the help of aligning panel, which is at the right side of the working area of this software, or you can use short cuts of alignment for aligning the text. Adjust the size of the text according to you by setting the parameter for the character text box.
Step 7: Now go to the Effect & Preset tab, which is on the right side of the working area of this software, and click on it. Once you click on the Effect & Preset tab, a drop-down list of effect and their presets will be open.
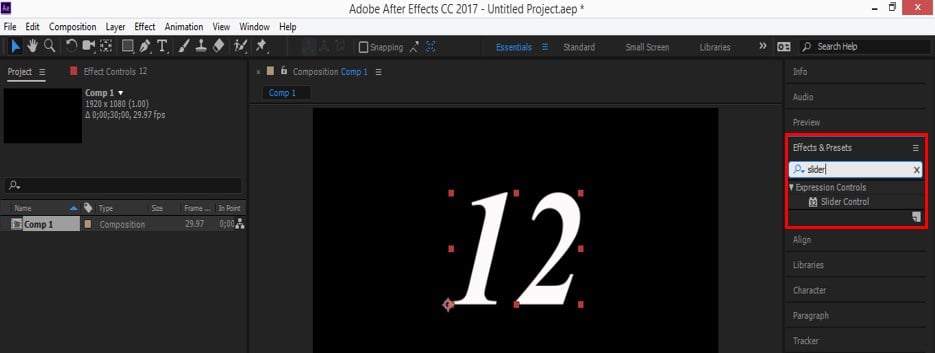
Step 8: Now, search the ‘Slider Control’ option here by going through the drop-down list of effects or simply type ‘Slider Control’ in the search box of the ‘Effect & Presets’ box.
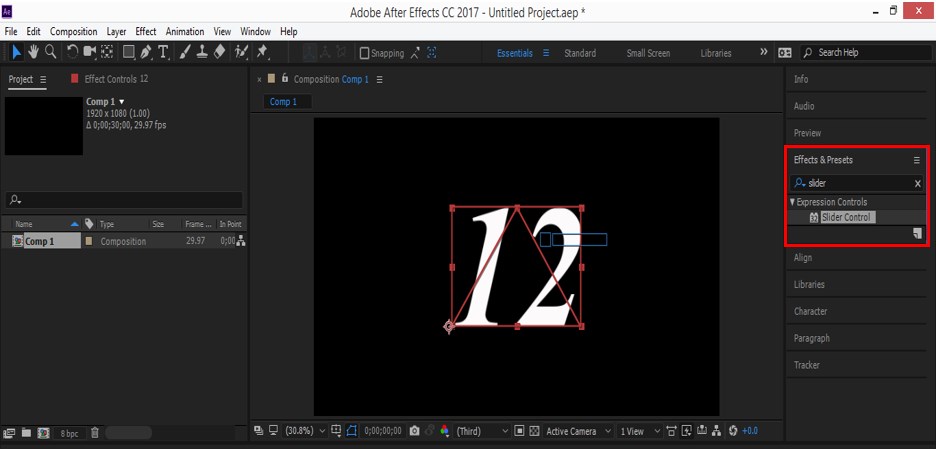
Step 9: Now pick the ‘Slider Control’ tab by click on it and drop it on the text by releasing the mouse button.
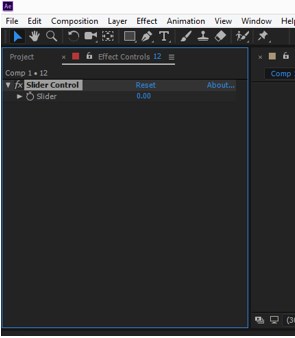
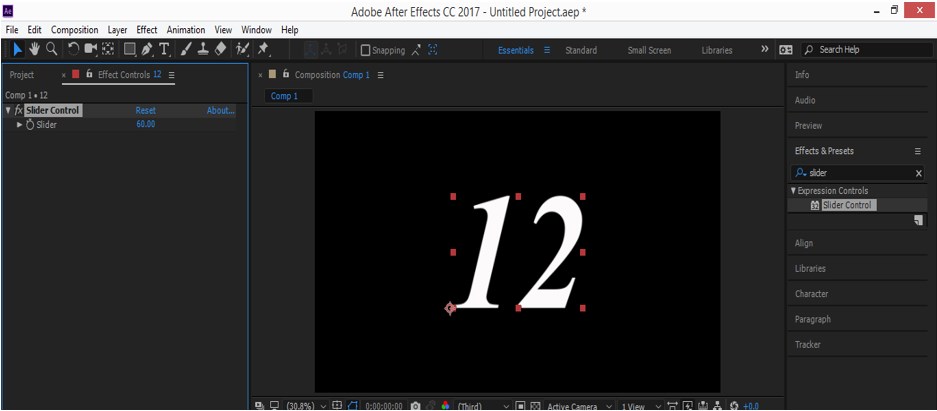
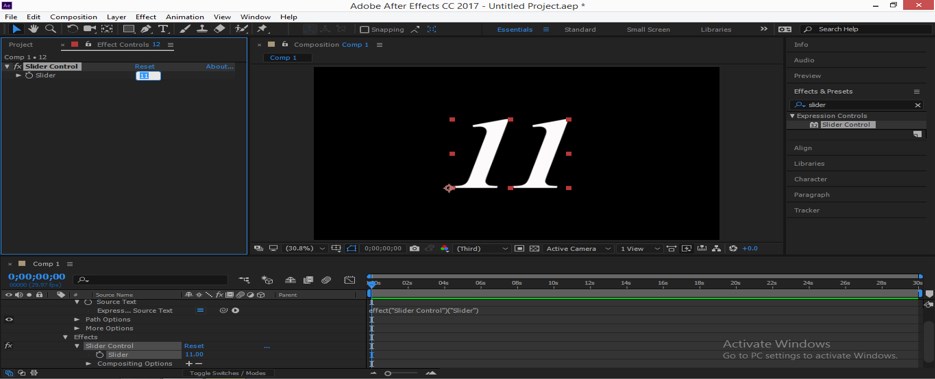
Step 10: Once you drop the ‘Slider Control’ effect on the text. A parameter panel of ‘Slider Control’ will be open in the Project panel area like this.
Step 11: Now, when you change the value of the slider from a parameter of ‘slider control’, there will be no change happens in text because the text is not attached with slider control.
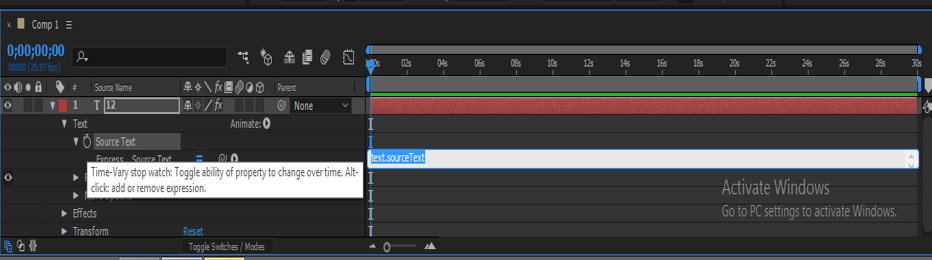
Step 12: For attaching Slider Control with text go-to layer section, which is at the button end of this software. Click on a small arrow icon of a text layer for opening the properties of this layer. Now click on the small clock icon of the ‘Source Text’ property by holding the Alt button of the keyboard.
Step 13: Now click on the small icon of the Effects parameter of this layer to open the properties of effects and connect the text with the slider by dragging the connector icon of text to the small clock icon of the slider option I did.
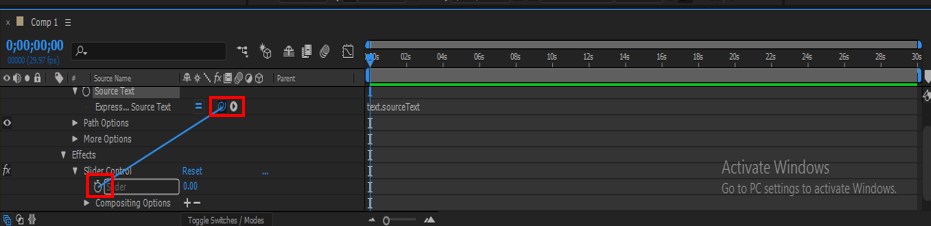
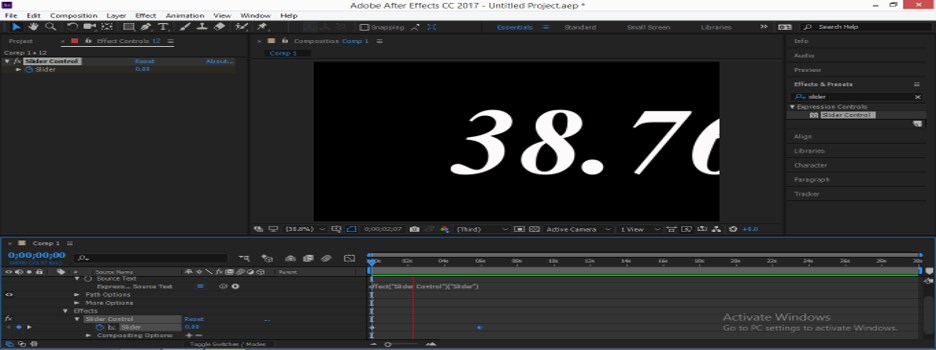
Step 14: A command of connection of the text with the slider will be generated in the Timeline section.
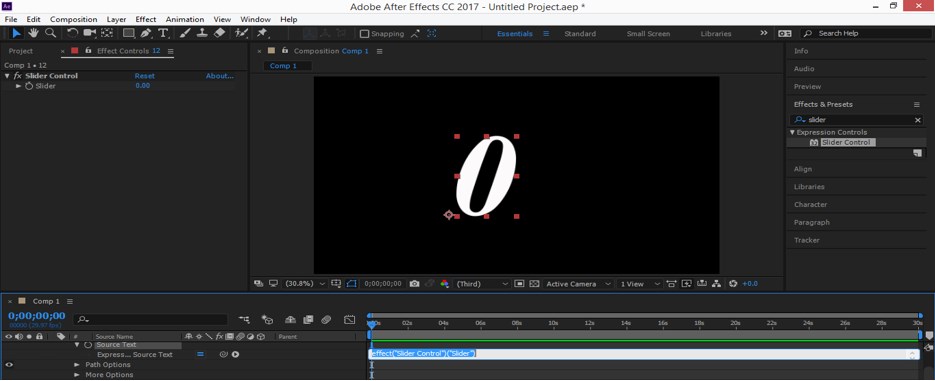
Step 15: Now, when you change the value of the Slider from the Slider control section, the value of text will also be changed.
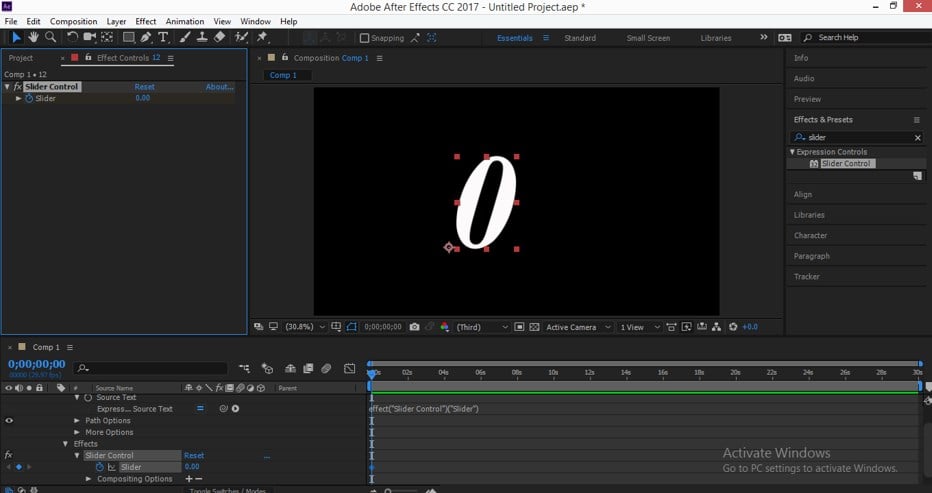
Step 16: Let us now animate the slider value for seeing the effect of slider control on this text. For animating it, click on the small clock icon of the slider option. A key will be generated in the keyframe section. Make the value of Slider at 0.00.
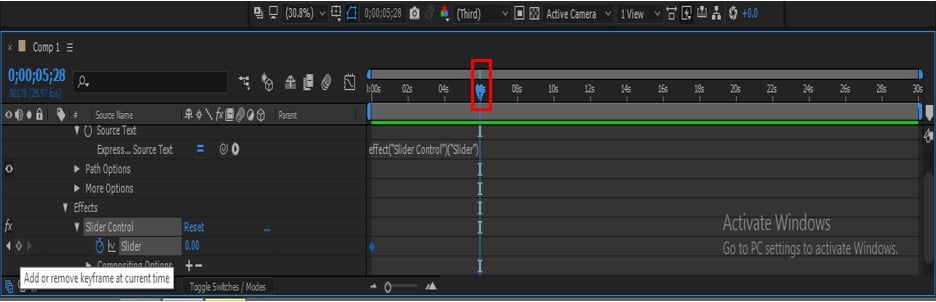
Step 17: Now, place the keyframe play head at 6 sec; you can place it according to you and click on the key icon of Slider for adding the next key-on keyframe section.
Step 18: Now, change the value of the Slider up to 100, or you can change the value according to you for animating it by using the slider control option.
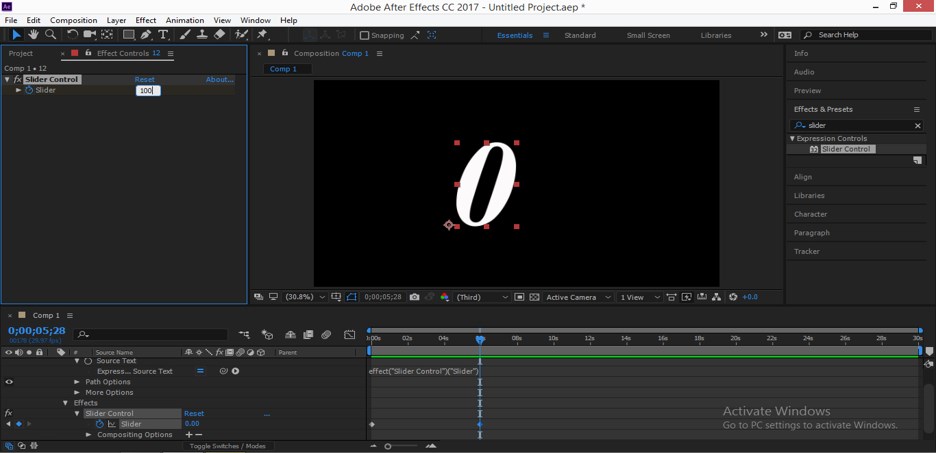
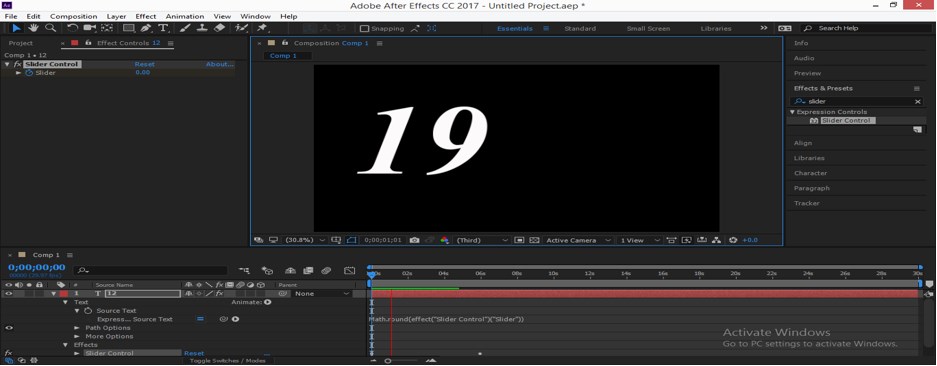
Step 19: Now play the animation by pressing the Space bar of the keyboard, or you can play animation from the Preview tap of this software which is at the above of the Effect & Presets tab. When you play the animation of this text, the number will change between ‘0’ to ‘100’ like this with time.
Step 20: If you want a round number in slider control, then you just have to edit the command of the slider control option. For editing the command type ‘Math.round(effect(“slider control”)) in the keyframe section in front of the Expression of Source Text option like it did.
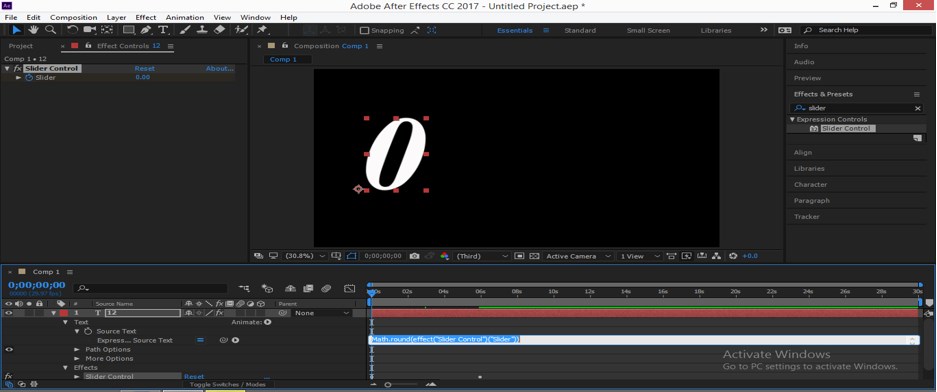
Step 21: Now, when you play an animation, the number of text will change in a round number like this.
In this way, you can use Slider Control in After Effect software for making any animation.
Conclusion
After this article, you can easily understand Slider Control in After Effect software and can use it to make highly professional animation for your own project. You can enhance your skill by having a command of these types of features of this software.
Recommended Articles
This is a guide to Slider Control After Effects. Here we discuss how to use Slider Control in a simple and easy way in a step by step manner. You can also go through our other related articles to learn more –
