Updated July 6, 2023

Introduction to Extrude in AutoCAD
AutoCAD is the most common and best computer-aided drafting and designing software developed by Autodesk. We know the importance of this software in the design field. Huge changes and technological upgrades have happened in the designing field with the introduction of AutoCAD. We can divide designing into two categories, 2D drawing, and 3D drawing. Today we will discuss one of the 3D designing tools available in AutoCAD. Extrude feature in AutoCAD is used to make 3D objects by extruding a closed surface. As the name denotes, this tool extrudes a 2D surface by giving a height dimension to it. For example, if we want to make a cylindrical bar, we have to draw the circular surface first, and by applying it to the extrude tool and giving proper extrude dimension, we can change it to a 3D object.
Creating Extrude Effect in AutoCAD
Extrusion is a simple command that gives a lot of effects in AutoCAD; let’s look at a few examples step by step.
Step 1: Open a new drawing page in AutoCAD software and select the 3D Modelling option from the drop-down menu, as shown in the image below.

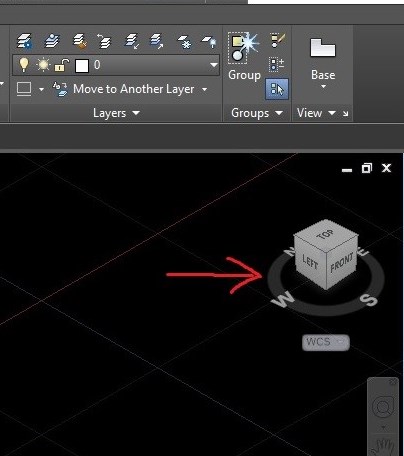
Step 2: Next step is to change the drawing page into an isometric view. You have to rotate the navigation tool called a view cube. Rotate the view cube by long-pressing the left mouse button and set the drawing page suitable for isometric drawing. 2D drawings to make 3D objects are always drawn in isometric views.
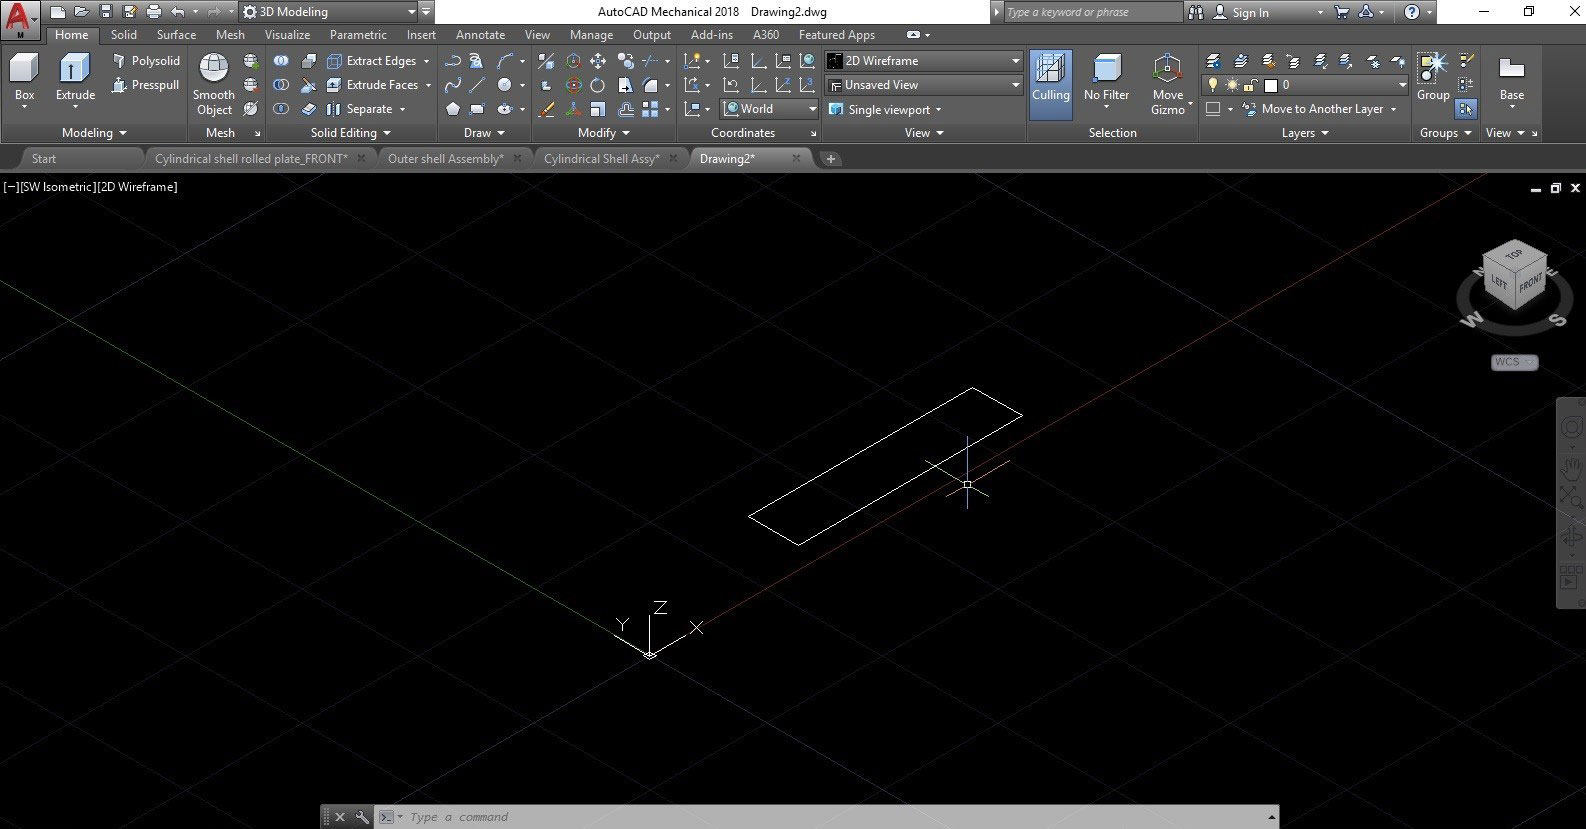
Step 3: Next step is to start drawing the 2D design to be extruded. Extrude effect is applicable only in closed shapes like circles, squares, rectangles, polygons, or any shapeless closed figure. So here, as a first example, we will extrude a rectangular shape. We have to draw a rectangle, as shown in the image below. To draw a rectangle, either we can draw it using lines or by using the rectangle tool. Draw the rectangle and give the proper dimensions.
Step 4: We must apply the extrude command to make this 2D rectangle into a 3D object. For that type, extrude in the command box or select extrude tool on the top left side of the toolbar. Then you can see some options in the command box, as shown in the image below. You have to select any one of that commands. Here we select the path command.
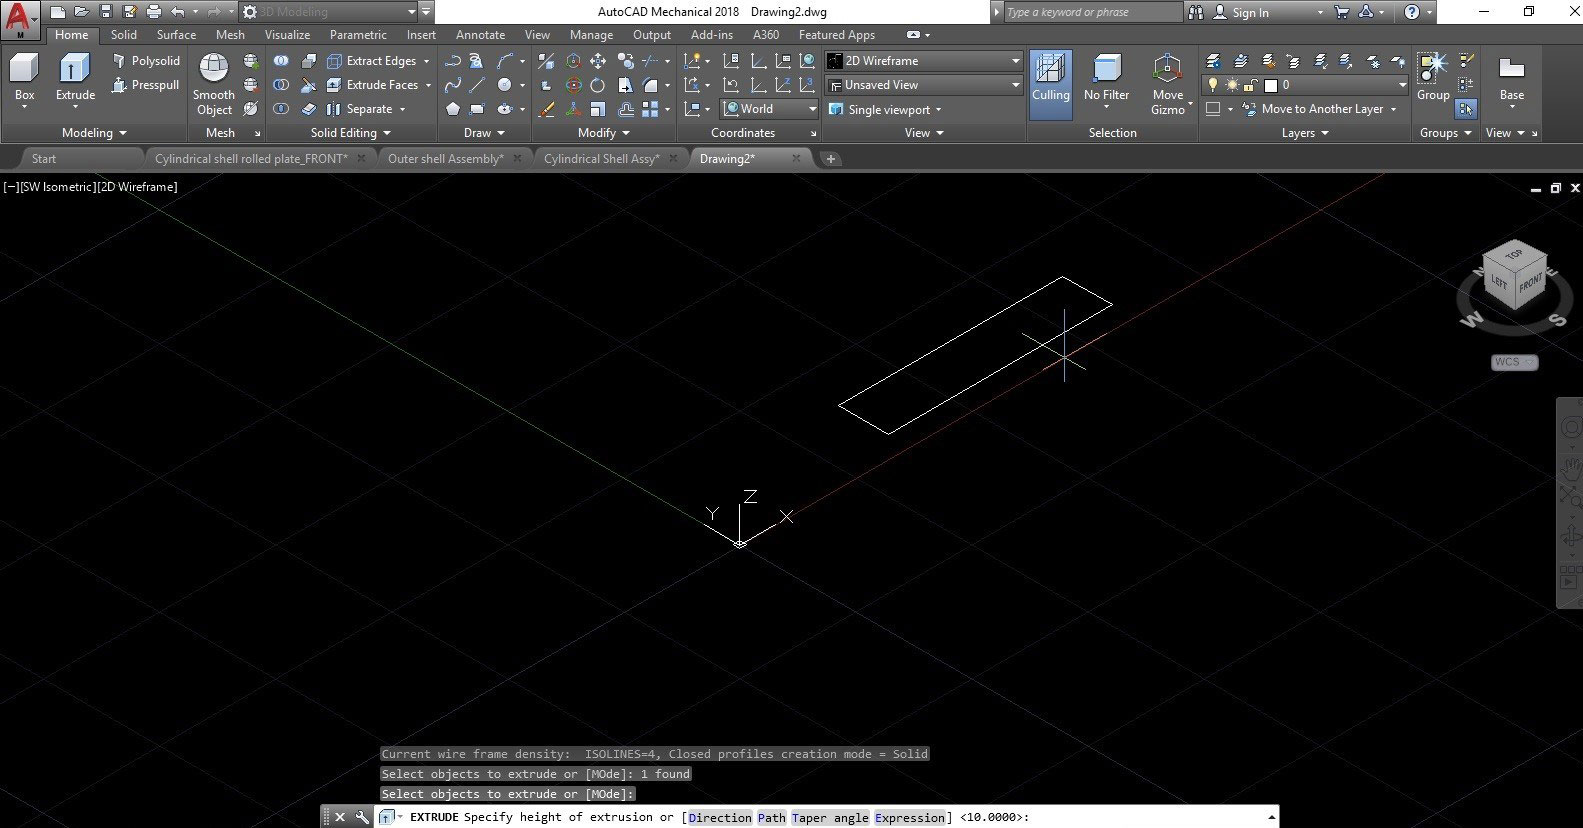
Step 5: Draw a path to extrude the rectangle after selecting the path command. Select the line tool and draw a line, as shown in the image below.

Step 6: Click the “Select the path” option after drawing the path line. Then select the line you’ve drawn, and you can see the rectangle extruded towards that path line, as shown in the image below.

This is a wireframe version of the 3D object. You can shade this object and even change the color if you want.
Creating Circular Cylinder using the Extrude Tool
Step 1: Steps 1 and 2 are the same as we did for the first example. Open the software and set the isometric view, as mentioned before.
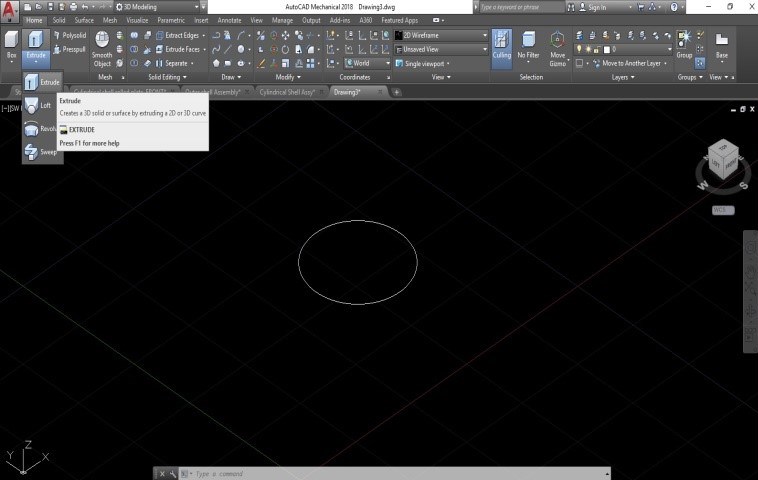
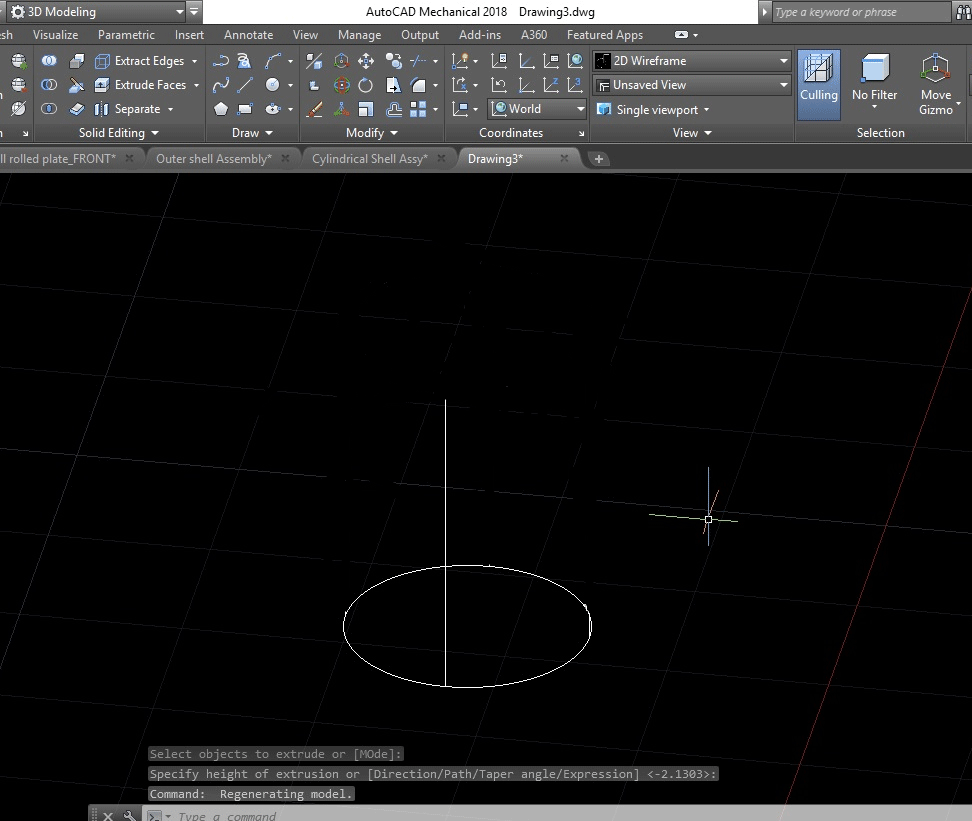
Step 2: If you want to make a cylinder, you must first draw the 2D circle. Either type circle in the command box or select the circle tool from the toolbar and draw the circle as per your requirement, as shown below.
Step 3: Next step is to draw the path line as we did in the first example. See the image attached below.
Step 4: While extruding a circle, you must make the circular profile perpendicular to the path line. Use the 3D rotate option to rotate the circle 90 degrees before extrusion.
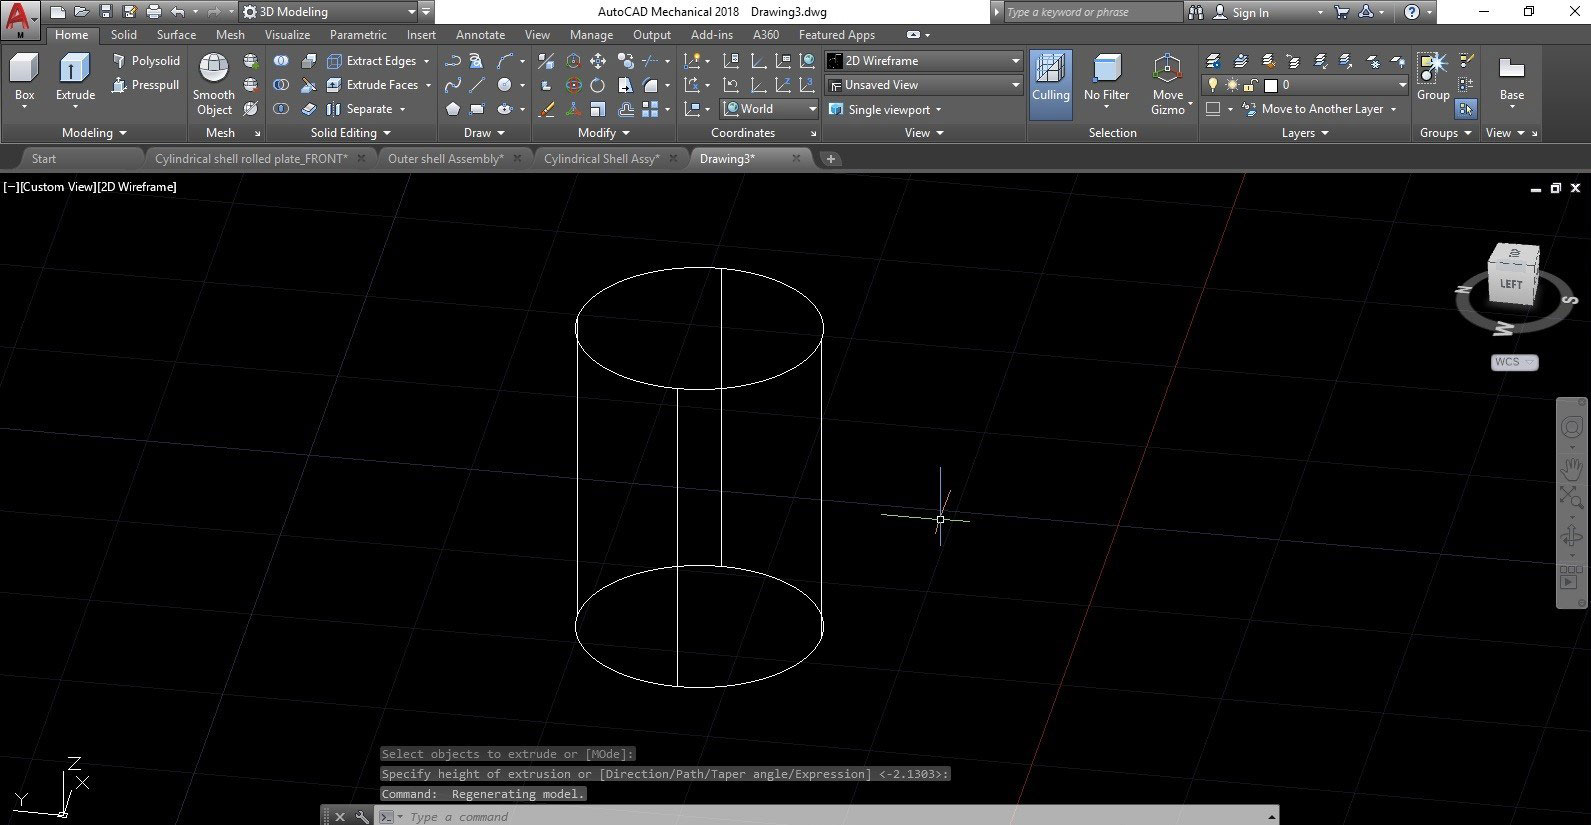
Step 5: After changing the path line perpendicular to the circle, click the “select the path” option. Then select the line you have drawn, and you can see the circular extruded towards that path line, as shown in the image below.
Conclusion
Extrusion is a simple command that gives you much power in the 3D design platform. It is the basic and most important function in 3D modeling. Any complex shapes can be made using the extrude feature. We saw only a few examples of this feature, you can practice more, and by doing more tasks, you will be more familiar and good at this. By studying extrude commands in AutoCAD, you will learn the basic function of this feature. It will help you work with other 3D modeling software since the basic concept of extrusion is the same in all applications.
Recommended Articles
This is a guide to Extrude in AutoCAD. Here we discuss how to create Extrude Effect in AutoCAD and create a Circular Cylinder using the Extrude Tool. You can also go through our other related articles to learn more –
