What is AutoCAD?
AutoCAD is a drafting software with the help of which an architect and design engineers draw their designs in 2D and 3D formats. This is the first software that helps us to draw our design in the digital format. Before this, people drew their drawings on sheets and chart papers of different sizes. They use sheets of A1, A2, A3, and A4 sizes to draw their object. Thus, our main focus is to tell how we can insert an image in Auto CAD in this presentation. In this topic, we will learn about Insert Image in AutoCAD.
How to Insert Image in AutoCAD?
Steps to follow for inserting an image in Auto CAD.
Process #1
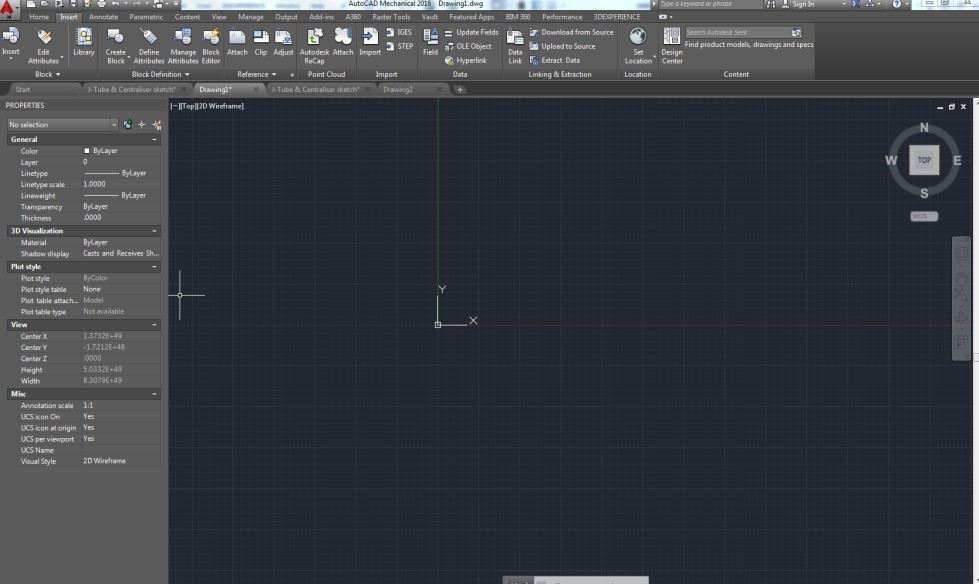
Step 1 – Open the AutoCAD software by clicking on the AutoCAD icon provided as a shortcut on your windows. AutoCAD software will appear on your screen, as shown below.
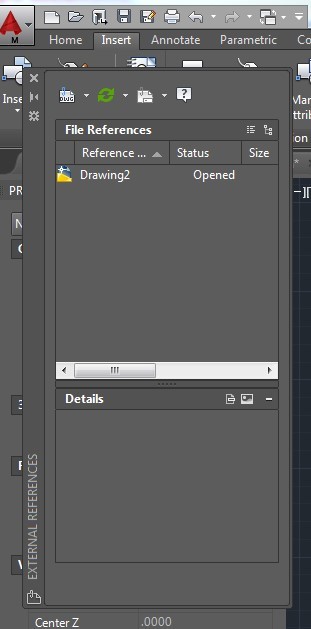
Step 2 –Type command IMAGE on the Auto CAD command box and then press Enter. A Dialogue box will appear on the screen, as shown.
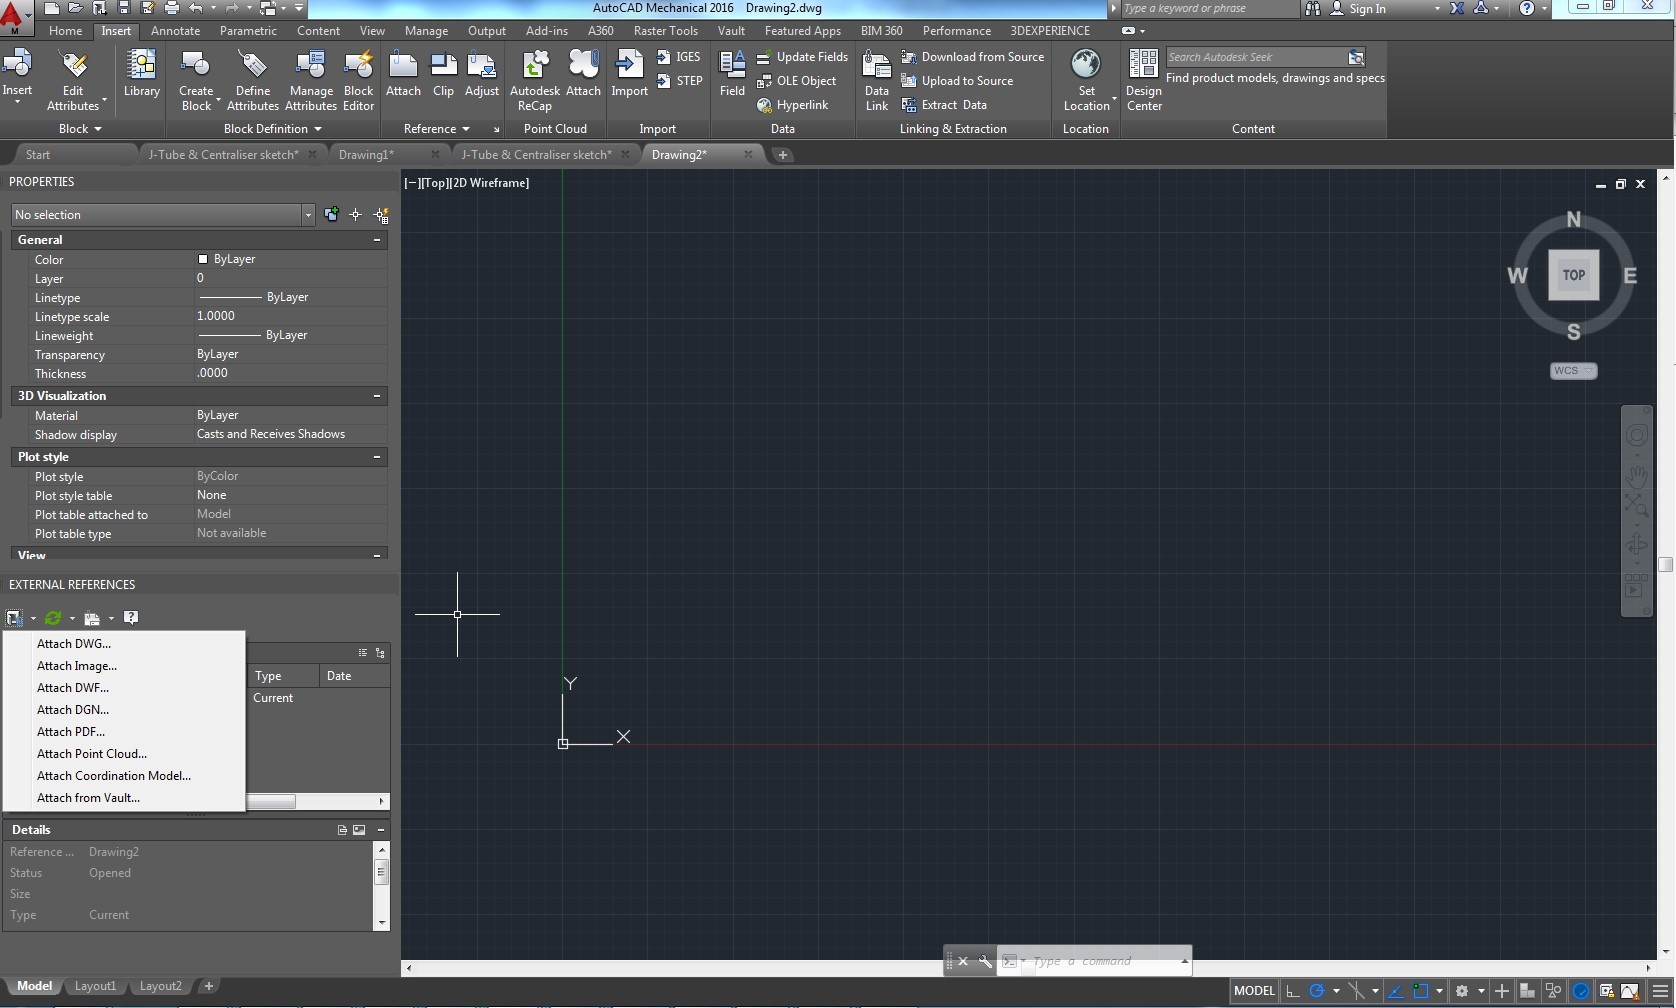
Step 3 – Then press on the DWG folder appearing on the leftmost corner of the dialogue box. A small dialog box will appear on which many options are available like Attach DWG, Attach Image, Attach DWF, etc. Click on the Attach Image option on the dialog box.
Step 4 – A pop-up dialog box will appear on the screen. Browse the image you need on Auto CAD software.
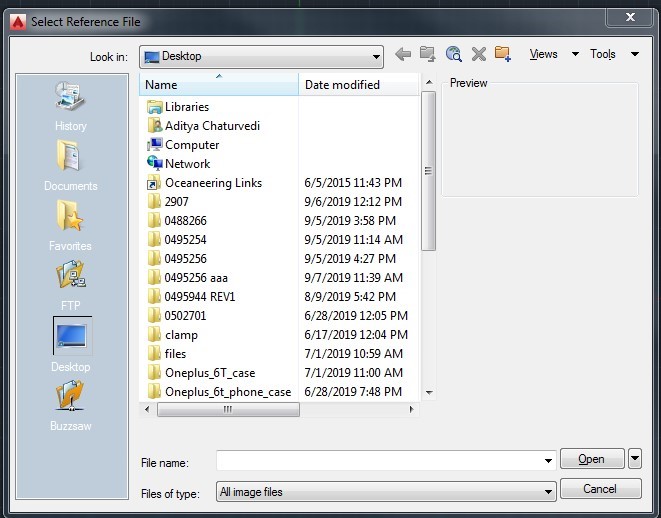
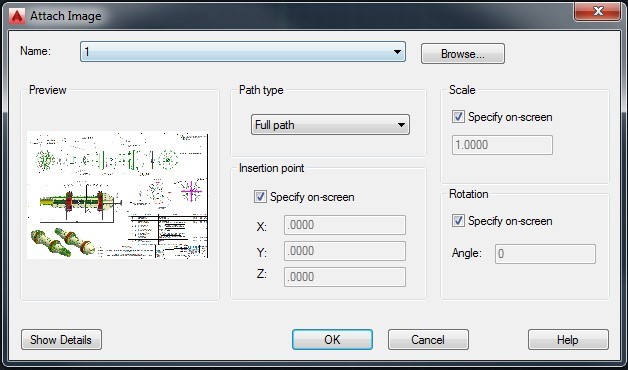
Step 5 – After you browse, a pop-up will appear, asking for the path type, insertion point, Scale, and image rotation you need. Specify path type as full and press okay for all other options as “Specify on Screen’’. However, in this way, you can insert your image at any position on the Auto CAD window.
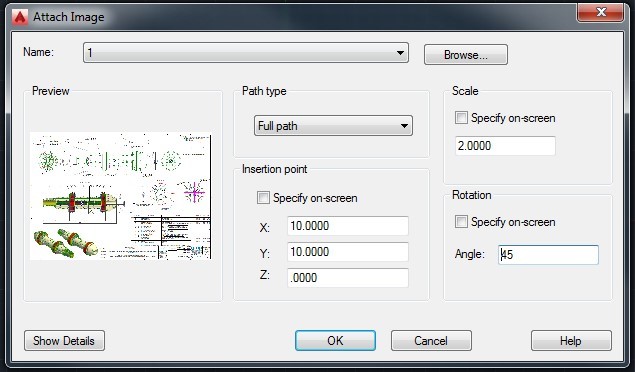
Step 6 – If you know the exact location, and the scale factor of the image, then you can type the position and scale factor as shown below.
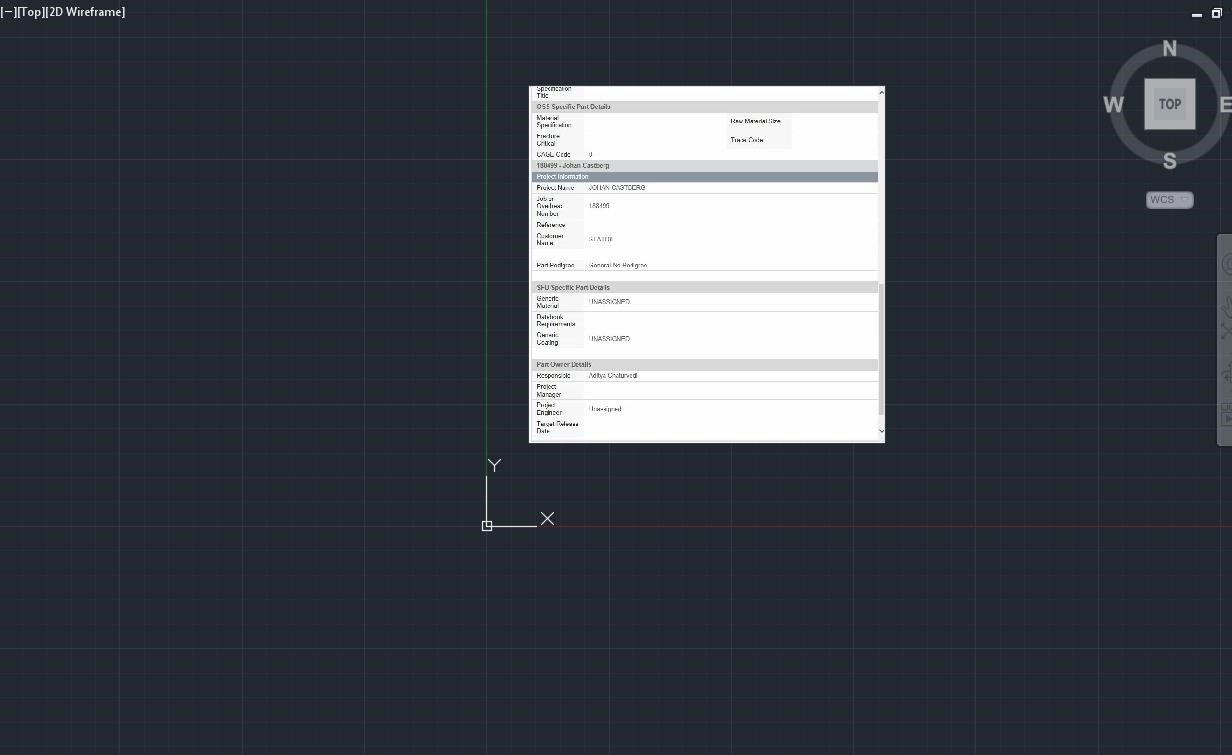
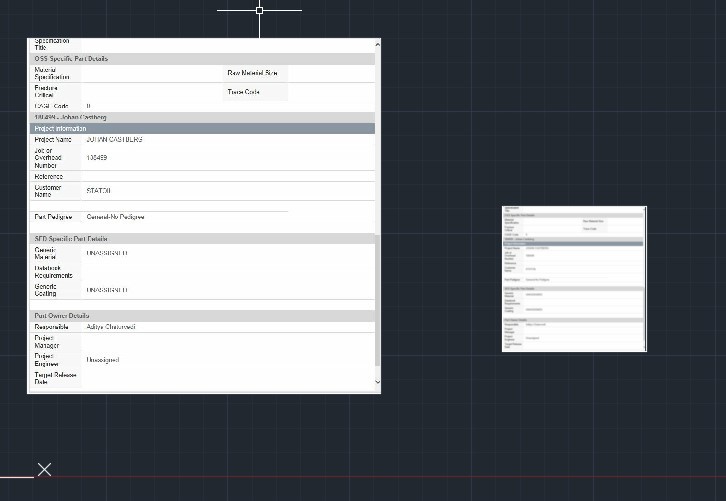
Step 7 – After you specify the insertion place and rotation, the image will appear on the screen as shown.
Step 8 – You can also enter multiple images on the same window by following the above process.
Process #2
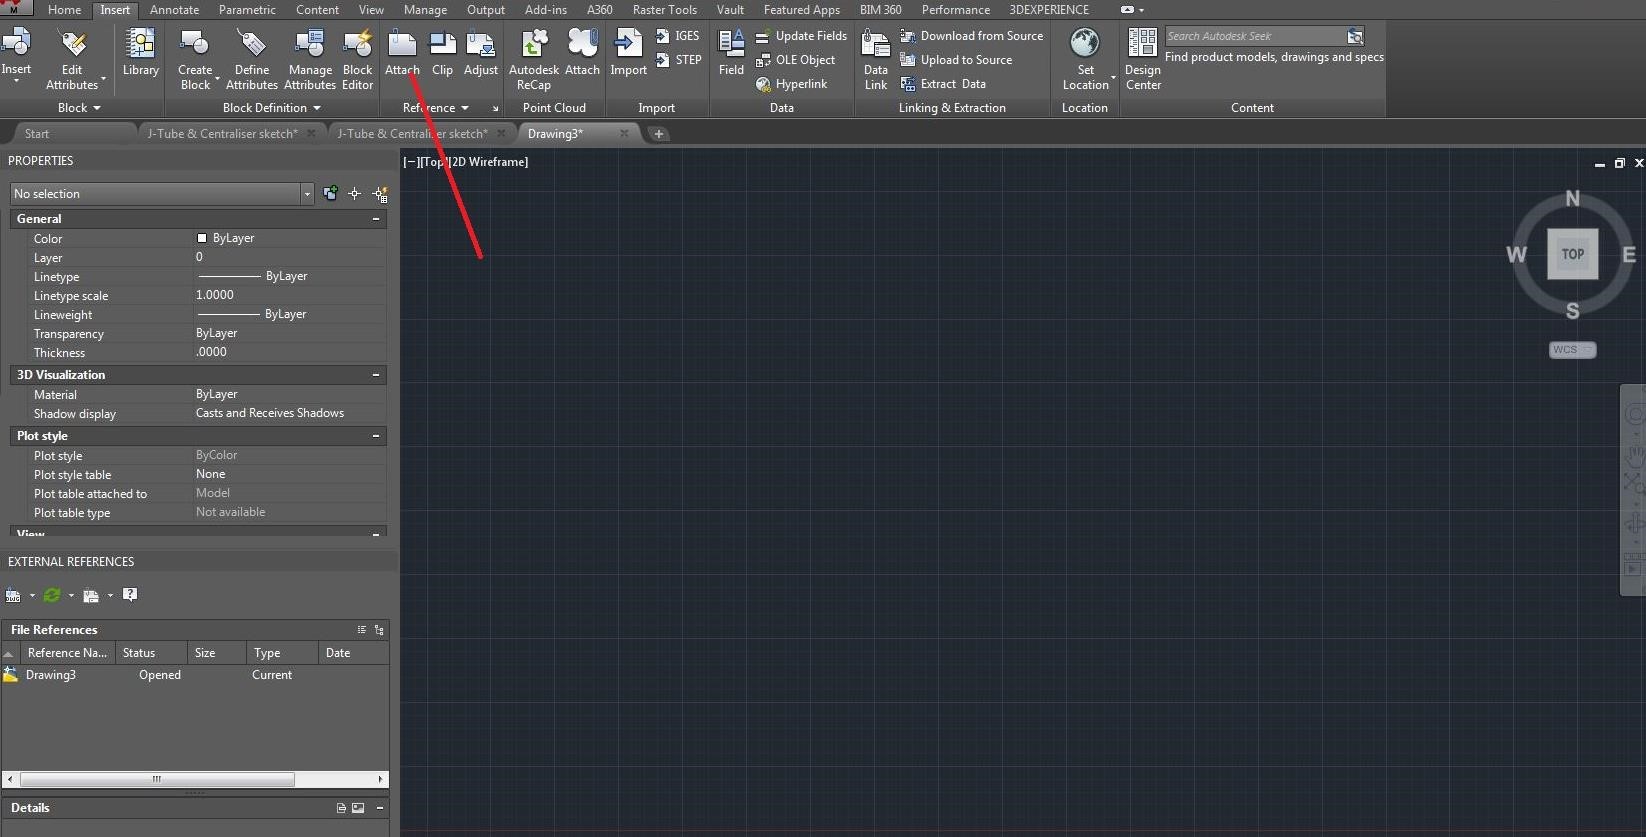
You can directly insert an image by clicking the Attach icon on the Insert taskbar and following the same procedure from Step 5 to Step 8.
Thus these are 2 processes by which we can insert an image in Auto CAD software.
Recommended Articles
However, this is a guide to Insert Image in AutoCAD. Here we discuss How to Insert Images in AutoCAD step by step with given screenshots. You may also look at the following article to learn more –
