EDUCBA

EDUCBA

MENUMENU
  • Free Tutorials
  • Free Courses
  • Certification Courses
  • 280+ Courses All in One Bundle
  • Login
Home Design Design Tutorials Photoshop Tutorial Selection Tool in Photoshop
Secondary Sidebar
Photoshop Tutorial
  • Basics and Advanced
    • What is Photoshop?
    • Install Adobe Photoshop
    • Introduction to Photoshop
    • Career in Photoshop
    • Uses of Photoshop
    • Adobe Photoshop Commands
    • Is Photoshop Free?
    • Website Layout in Photoshop
    • Adobe Photoshop
    • Top Features in Adobe Photoshop
    • Adobe Photoshop Elements tools
    • Free UI Kits For Photoshop Download
    • Layers Panel in Photoshop
    • Photoshop Moon Brushes
    • Ripple Effect Photoshop
    • Action in Photoshop
    • Photoshop Color Match
    • Photoshop color picker
    • Photoshop split toning
    • Photoshop GIF
    • Photoshop Extend Background
    • Photoshop template flyer
    • Photoshop content aware fill
    • Photoshop Overlays
    • Photoshop vignette
    • Photoshop Textures
    • Photoshop liquify
    • Photoshop automate
    • Photoshop presets
    • Layer effects in Photoshop
    • Photoshop hologram effect
    • Vintage Effect Photoshop
    • Vaporwave Photoshop
    • Photoshop Polaroid
    • Pixel Effect Photoshop
    • Photoshop Creative
    • MP4 to GIF Photoshop
    • Templates in Photoshop
    • Night Effect in Photoshop
    • Photoshop Sun Effect
    • Photoshop Gold Gradient
    • Perspective Correction in Photoshop
    • VHS Effect Photoshop
    • Halftone in Photoshop
    • Puppet Warp in Photoshop
    • Photoshop Cheat Sheet
    • Resize Object in Photoshop
    • Distortion Effect Photoshop
    • Clone Stamp Tool in Photoshop
    • Fisheye Effect in Photoshop
    • Vanishing Point in Photoshop
    • Fix Perspective in Photoshop
    • Warp Image Photoshop
    • Transform Tool Photoshop
    • Photoshop Straighten Image
    • Glitch Effect in Photoshop
    • Photoshop Cinemagraph
    • Stamp Effect in Photoshop
    • Typography in Photoshop
    • Photoshop Distort Effect
    • How to Print in Photoshop?
    • Morphing in Photoshop
    • Glow Effects in Photoshop
    • Tree Brush Photoshop
    • 3D Text Effect in Photoshop
    • Shiny Effect Photoshop
    • Photoshop Font Effects
    • Metallic Effect Photoshop
    • Ice Effect in Photoshop
    • Dispersion Effect in Photoshop
    • Healing Brush Tool in Photoshop
    • Crop Tool in Photoshop
    • Artboard in Photoshop
    • Fire Effect in Photoshop
    • Photoshop Versions
    • Portrait Effect in Photoshop
    • Quick Selection Tool in Photoshop
    • How to Highlight Text in Photoshop?
    • How to Change Text Color in Photoshop?
    • Change Color in Photoshop
    • Filters in Photoshop
    • Change Hair Color in Photoshop
    • How to Change Shirt Color in Photoshop?
    • Watercolor Brushes in Photoshop
    • How to Blend Images in Photoshop?
    • Plastic Effect in Photoshop
    • Ruler Tool in Photoshop
    • How to Fill Color in Photoshop?
    • How to Delete Background in Photoshop?
    • Plugins in Photoshop
    • Photoshop Mixer Brush Tool
    • Color Replacement Tool in Photoshop
    • Eraser Tool in Photoshop
    • Motion Effect in Photoshop
    • How to Make Logo in Photoshop?
    • Lasso Tool in Photoshop
    • Reflection Effect in Photoshop
    • Metal Text Effect in Photoshop
    • Gold Text Effect in Photoshop
    • Smart Objects in Photoshop
    • Text Effects in Photoshop
    • Layers in Photoshop
    • 3D Text in Photoshop
    • Selection Tool in Photoshop
    • Patch Tool in Photoshop
    • Eyedropper Tool in Photoshop
    • Rectangle Tool in Photoshop
    • Background Eraser Tool in Photoshop
    • Rain Effect in Photoshop
    • Oil Paint Filter in Photoshop
    • Clipping Mask in Photoshop
    • Burn Tool in Photoshop
    • Paint Bucket Tool in Photoshop
    • Snow Effect in Photoshop
    • Mirror Effect in Photoshop
    • Adobe Photoshop Alternatives
    • Transparent Text in Photoshop
    • Sharpen Tool in Photoshop
    • Custom Shape Tool in Photoshop
    • Adobe Photoshop Tools
    • Red Eye Tool in Photoshop
    • Adobe Photoshop Shortcut Keys
    • Pencil Tool in Photoshop
    • Blur Tool in Photoshop
    • Smudge tool in Photoshop
    • Sponge Tool in Photoshop
    • Magic Wand Tool in Photoshop
    • Move Tool in Photoshop
    • Line Tool in Photoshop
    • Photoshop Interview Questions

Related Courses

Photoshop Training Course

Adobe Premiere Pro Training Course

Design Training Course

Selection Tool in Photoshop

Selection-Tool-in-Photoshop

Basics of Using Selection Tool in Photoshop

Adobe Photoshop offers a number of tools for selection, but none of them are as beginner-friendly as the Quick Selection tool. It is one of the most basic and fun tools to use if you want to select various portions of an image and make modifications. You can select one or more parts of an image to add or remove elements from the selection.

The tool was first introduced in Photoshop CS3; you don’t need 100% precision as the photo editing app automatically detects similar color tones when selecting parts of an image and stops when you close in on the edges.

How to Use the Selection Tool in Photoshop?

The default key to choose the Quick Selection tool in Photoshop is W. You can also manually find the icon from the toolbar on the left and choose the tool.

Selection Tool in Photoshop 1

Start Your Free Design Course

3D animation, modelling, simulation, game development & others

1. Making Selections

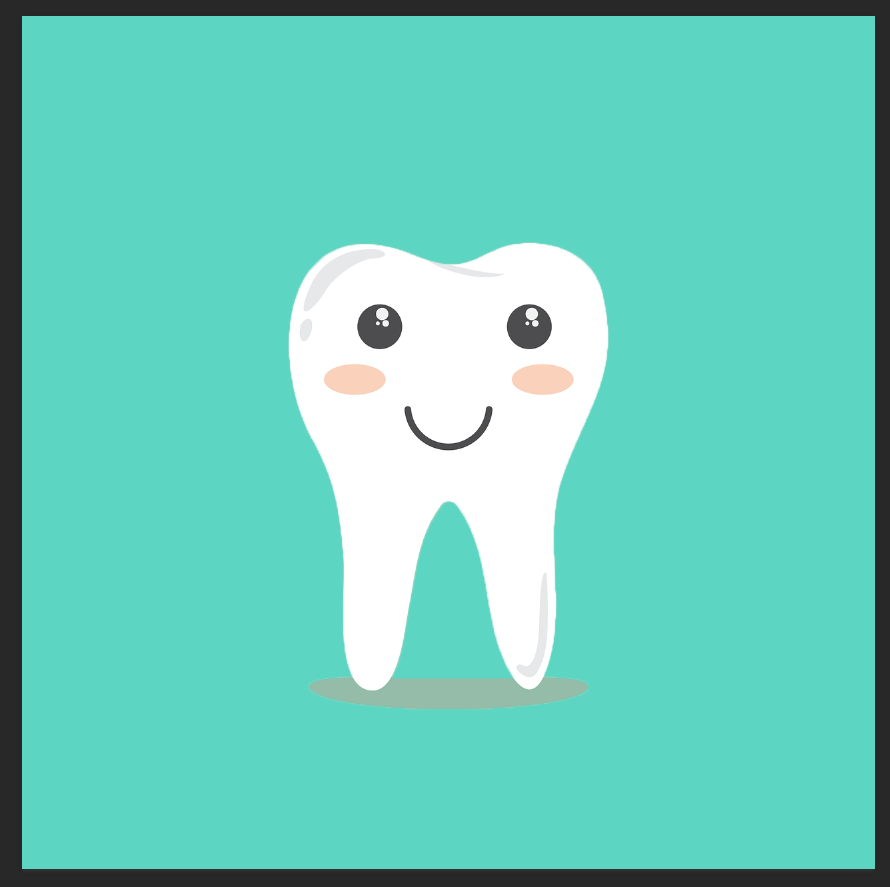
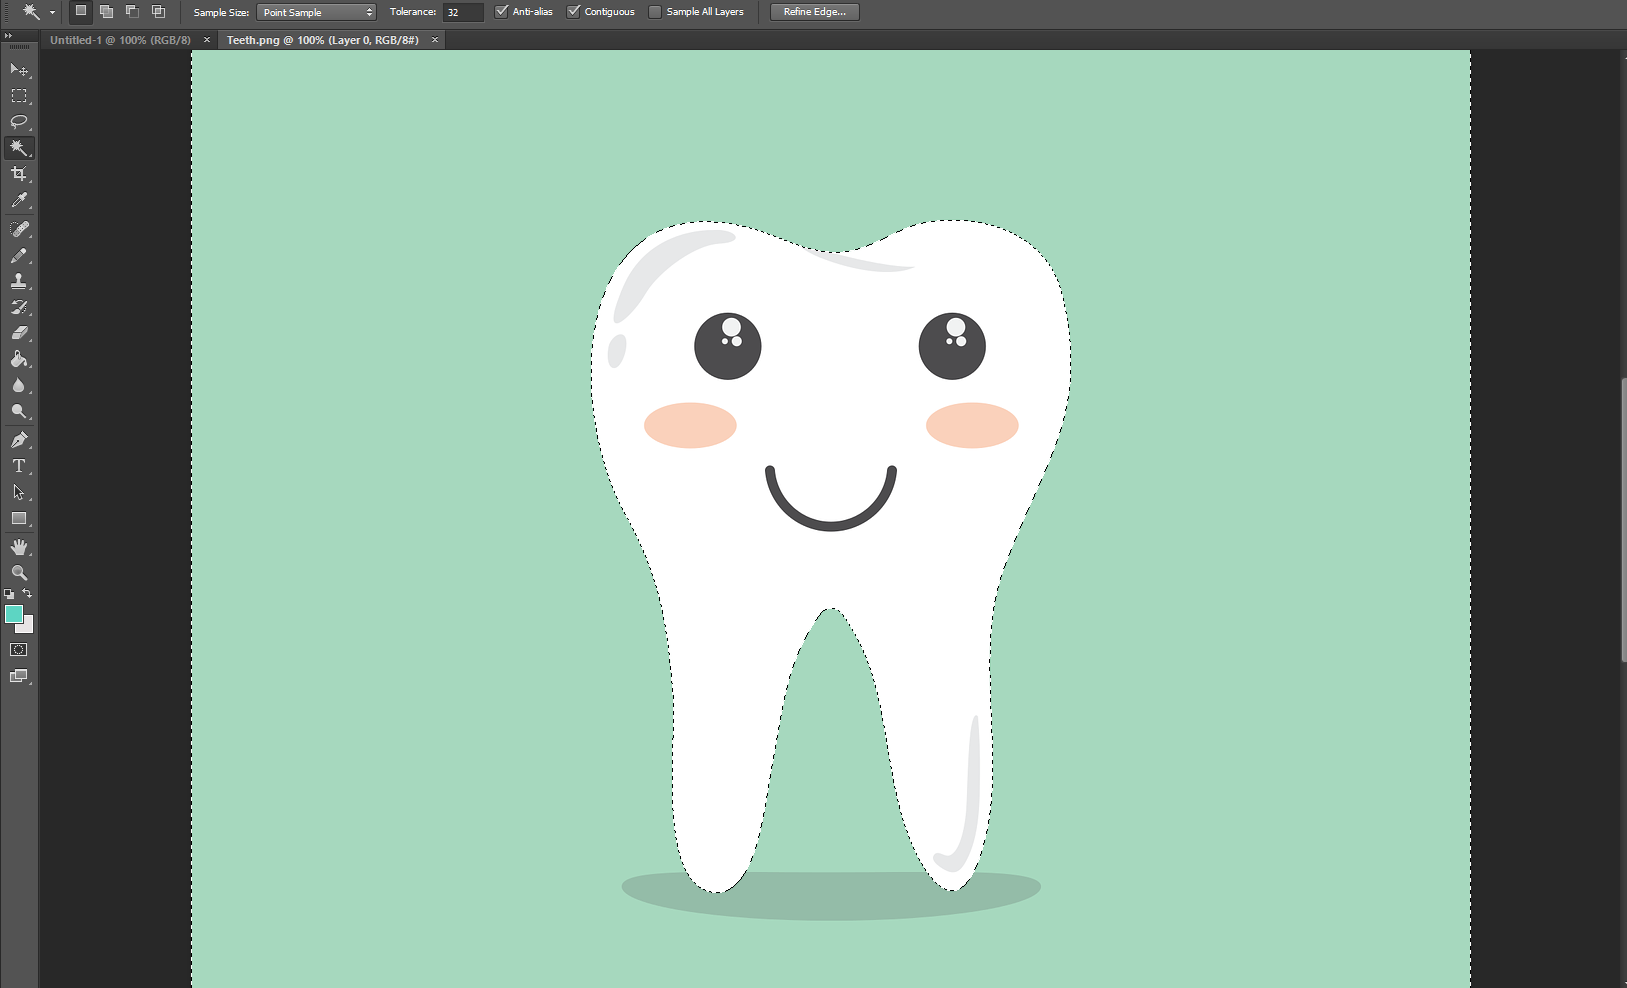
Open any image that you want to edit in Photoshop. Take a look below at the cartoon tooth that we are using for the demonstration. We want to keep the main subject intact without making any changes, but we want to change the background to a more attractive color.

Selection Tool in Photoshop 2

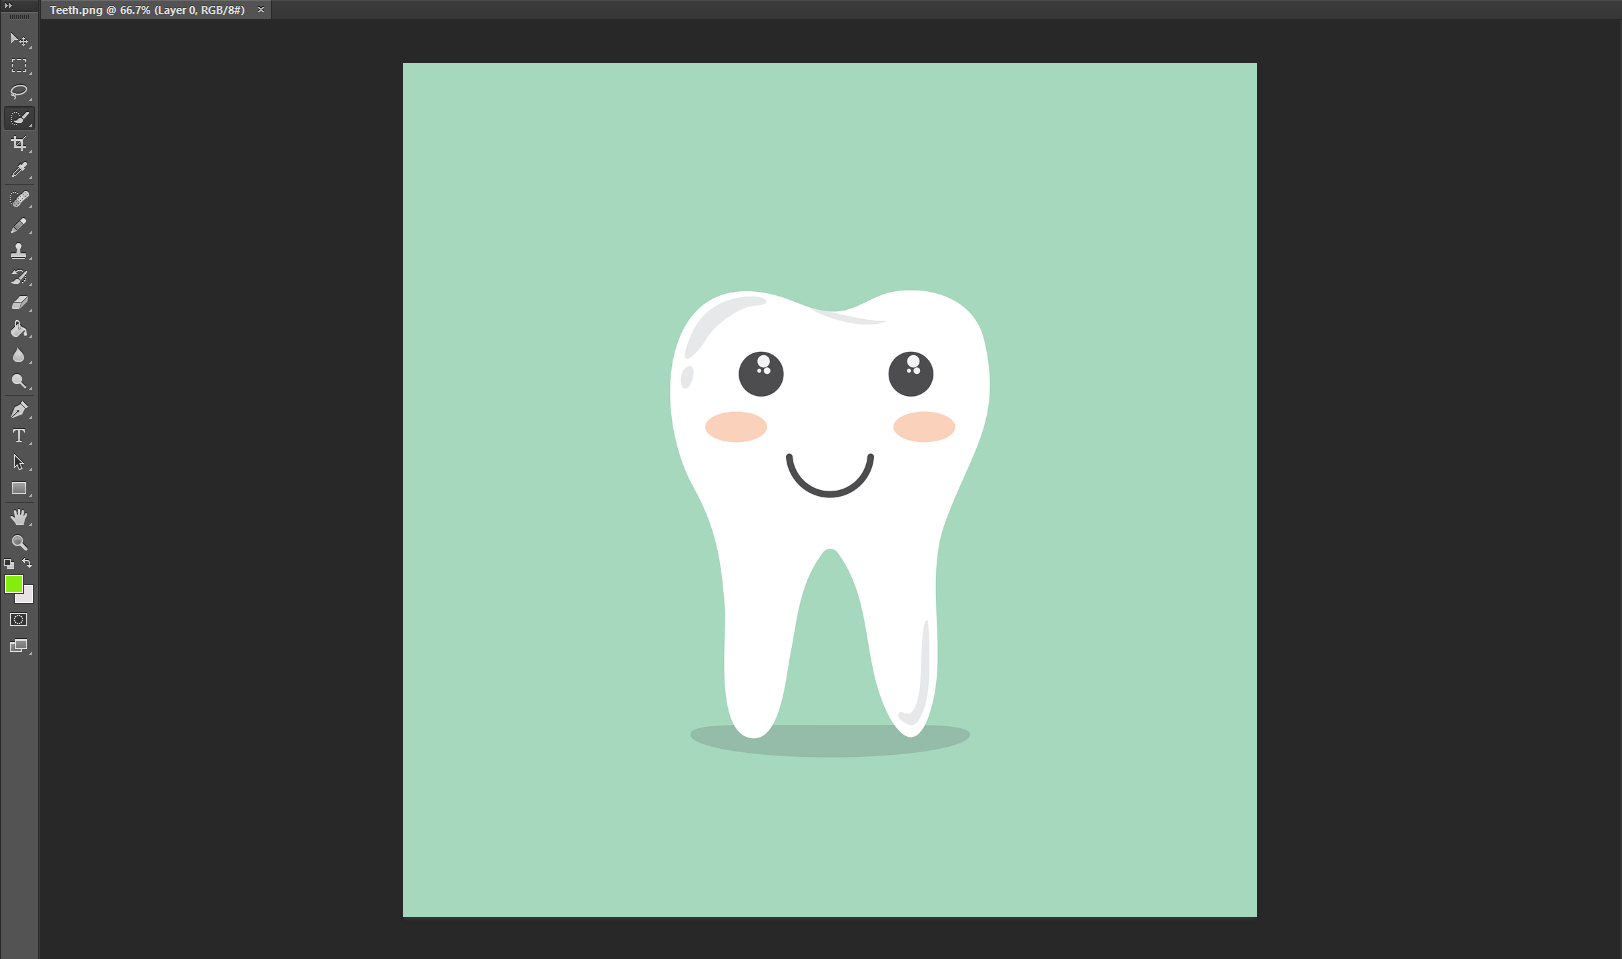
To achieve our goal, we can simply use the Quick Selection tool and drag over the subject to select everything but the background.

All in One Design Bundle(280+ Courses, 100+ projects)
AutoCADHoudiniAdobe Premiere ProPhotoshop
SolidworksVFX Visual EffectsCorelDrawUnreal Engine
Price
View Courses
280+ Online Courses | 100+ projects | 2000+ Hours | Verifiable Certificates | Lifetime Access
4.6 (65,057 ratings)

Selection Tool in Photoshop 3

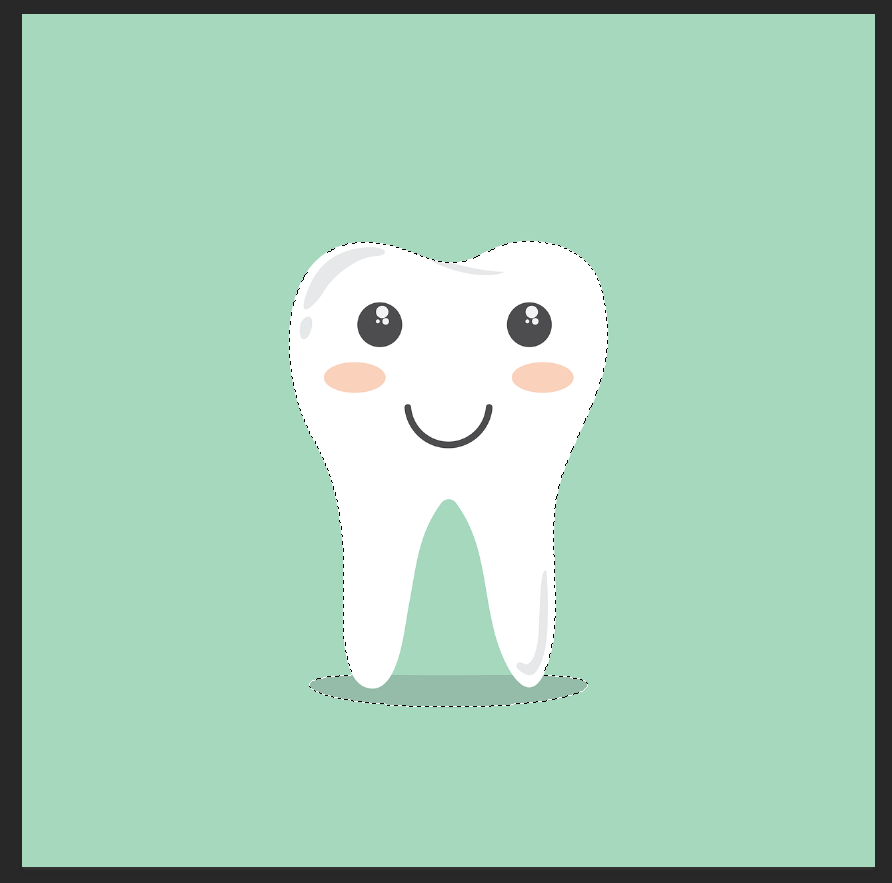
The tooth gets selected, and simply right-click on the selection and press Layer Via Cut. You can also press Shift + Ctrl + N to create a new layer on a different file and paste the selection.

Selection Tool in Photoshop 4

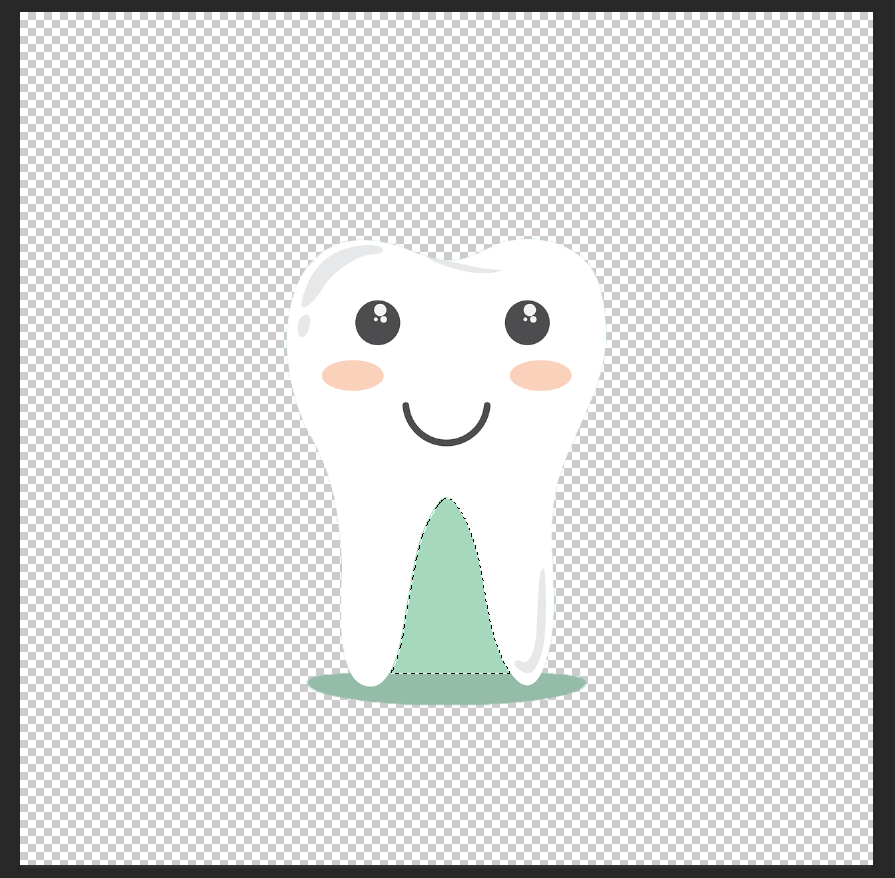
In our case, a small portion of the background remains in the center of the image. Simply use the Quick Selection tool again and select the excess parts.

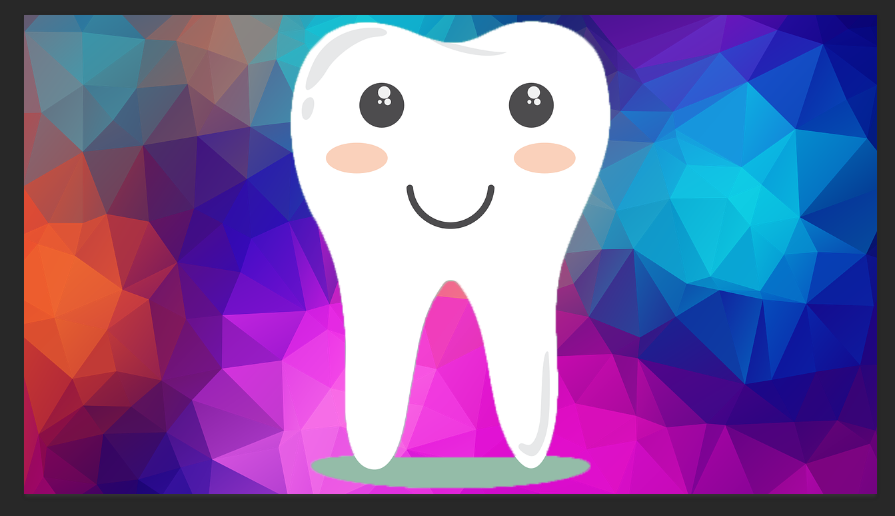
We used the Paint Bucket Tool (G) to fill in a new color in the background on a fresh layer. To create a new layer, press Ctrl + Shift + N and paste an image or fill the background like we did using the Paint Bucket Tool.

Selection Tool in Photoshop 5

Here is an example of a custom image background with the same subject.

Making Selections 5

2. Making Finer Selections

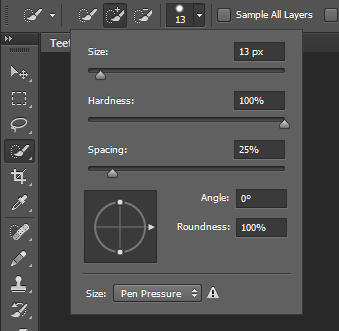
You can fine-tune your brush size to work on the jagged edges or any extra bits that may have been selected when making your initial selection. You can edit the Size, Hardness, and Spacing to get the right tool size.

Making Finer Selections

3. Adding and Subtracting from Selections

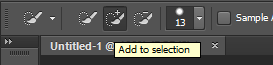
All selection tools in Photoshop can be modified to add or subtract selections from a selected image. Simply choose the Quick Selection tool and choose the Add to Selection option. Once it is activated, you can select more sections of your subject. You can also hold down the Shift key on your keyboard to achieve the same.

Adding and Subtracting from Selections

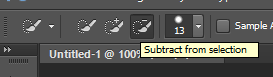
To Subtract from your existing selection, you can choose the Subtract from Selection option from the toolbar. You can also press the Alt key on an existing selection to remove elements from it. On Mac devices, you can achieve the same by using the Options key.

Adding and Subtracting from Selections 2

4. Making Intersections

To create intersecting selections, you need to hold the Alt and Shift keys while you select an intersecting area to make an intersection. On Mac devices, you can hold the Option and Shift keys to achieve the same.

Understanding Quick Selection Options

There are additional Quick Selection Options that let you adjust the currently selected layer.

1. Sample All Layers

The first option you will see beside the Add and Subtract from Selection options is “Sample All Layers”. The tool is designed to create a custom selection from all layers instead of just the currently selected layers.

Sample All Layers

If you make selections from multiple layers of an image, you can use the Sample All Layers option to merge them into a single selection for editing purposes. ‘

2. Auto-Enhance

Next up is the Auto Enhance. It is the perfect solution to jagged edges that are created when using Photoshop for selecting objects. The tool automatically enhances the roughness and blockiness of your selection boundaries. If you are not using a stylus for all your selections, you can use the tool.

Auto-Enhance

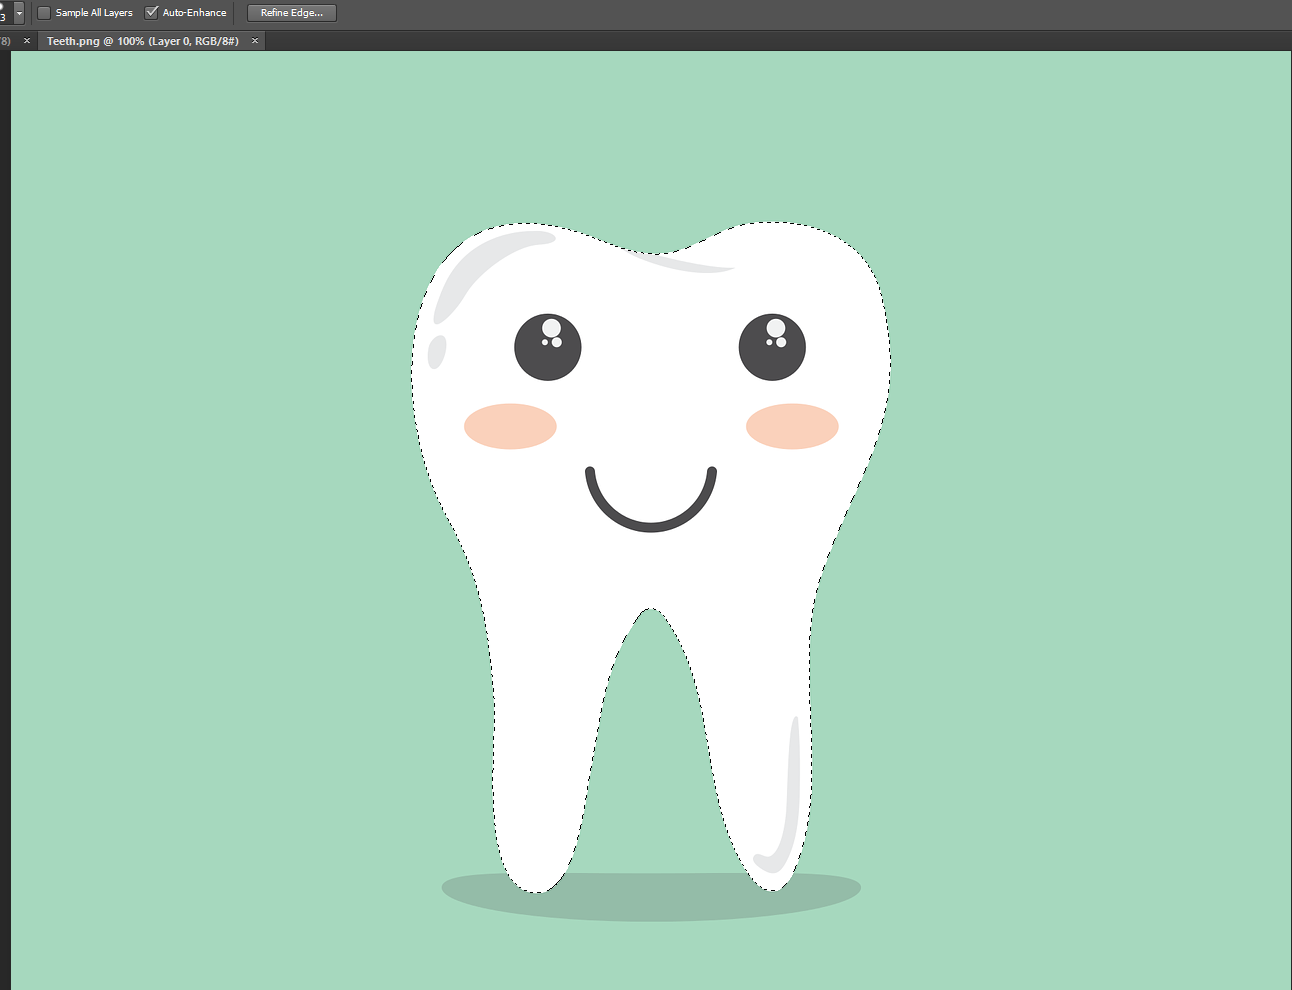
The editing is fully software-based, and there are no customization options available.
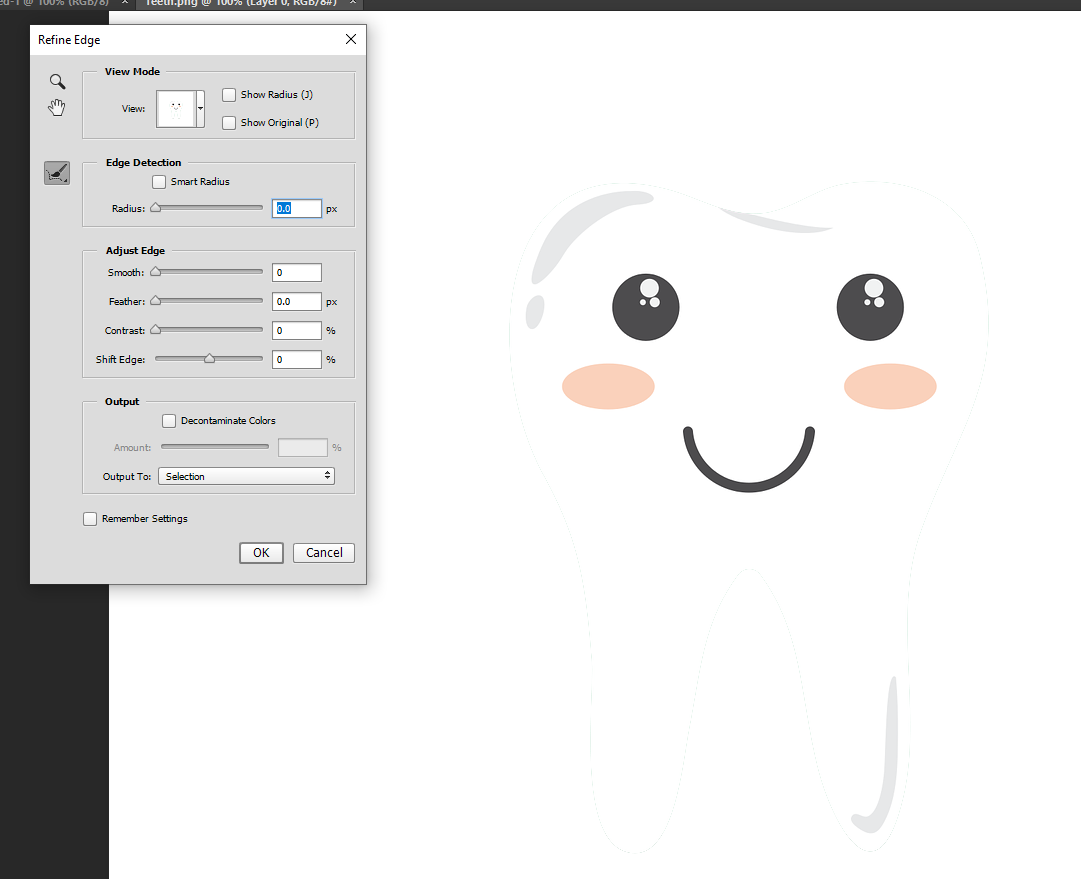
3. Refine Edges

If you are not satisfied with Photoshop’s automated results, you should use the Refined Edge option to manually change the contrast and radius options to make your selections look immaculate.

You can use a thin brush to paint inside the part of your selection. Simply drag along the insides of your selection to continue smoothing it. You can adjust the Edge Detection settings from the menu to reduce the amount of sharpness and make your selection look much smoother.

Refine Edges

4. Using the Magic Wand Tool

To use the Magic Wand tool, you can access it by holding down the Quick Selection Tool or right-clicking on the Quick Selection Icon to access it. Similar to the Quick Selection tool, you get the same Add to Selection, Subtract from Selection and Intersect with Selection options with the Magic Wand tool. Simply choose one of the selection options, and the Magic Wand tool’s pointer will change accordingly.

You can also use the options bar to adjust:

  • Tolerance: This option determines the color range of all selected pixels. You can set a value in pixels ranging from 0 to 255.
  • Anti-Aliased: This option lets you have smoother edges when selecting your subject using the Magic Wand tool.
  • Contiguous: You can automatically select adjacent areas that have the same colors as your selection when using the Contiguous tool.

The Sample All Layers and Refine Edge options are available with the Magic Wand tool as well, and they work exactly the same as when using the Quick Selection Tool.

Using the Magic Wand Tool

Conclusion

It takes time and patience to get used to making perfect selections, and it is recommended that you zoom into the image slightly to get more accurate selections. It would be best if you also tinkered with your Brush size to optimize your selections for maximum accuracy.

Recommended Articles

This is a guide to Selection Tool in Photoshop. Here we discuss the basic concept of using the selection tool in photoshop with the help of screenshots. You may also look at the following article to learn more –

  1. Rectangle Tool in Photoshop
  2. Eyedropper Tool in Photoshop
  3. Background Eraser Tool in Photoshop
  4. Selection Tool in Illustrator
Popular Course in this category
Photoshop Training (10 Courses, 12+ Projects)
  10 Online Courses |  12 Hands-on Projects |  80+ Hours |  Verifiable Certificate of Completion
4.9
Price

View Course

Related Courses

Adobe Premiere Pro Tutorial (4 Courses, 7+ Projects)4.9
All in One Design Bundle (280+ Courses, 100+ projects)4.8
3 Shares
Share
Tweet
Share
Primary Sidebar
Footer
About Us
  • Blog
  • Who is EDUCBA?
  • Sign Up
  • Live Classes
  • Corporate Training
  • Certificate from Top Institutions
  • Contact Us
  • Verifiable Certificate
  • Reviews
  • Terms and Conditions
  • Privacy Policy
  •  
Apps
  • iPhone & iPad
  • Android
Resources
  • Free Courses
  • Photoshop Tutorial
  • 3ds Max Tutorial
  • All Tutorials
Certification Courses
  • All Courses
  • Design Course - All in One Bundle
  • Photoshop Course
  • Maya Course
  • Unreal Engine Course
  • Unity Course
  • DaVinci Resolve Course
  • Pro Tools Course

ISO 10004:2018 & ISO 9001:2015 Certified

© 2022 - EDUCBA. ALL RIGHTS RESERVED. THE CERTIFICATION NAMES ARE THE TRADEMARKS OF THEIR RESPECTIVE OWNERS.

EDUCBA
Free Design Course

Banner Creation, Object Selection, Sky Replacement, Advance Filters & others

*Please provide your correct email id. Login details for this Free course will be emailed to you

By signing up, you agree to our Terms of Use and Privacy Policy.

EDUCBA Login

Forgot Password?

By signing up, you agree to our Terms of Use and Privacy Policy.

EDUCBA
Free Design Course

3D animation, modelling, simulation, game development & others

*Please provide your correct email id. Login details for this Free course will be emailed to you

By signing up, you agree to our Terms of Use and Privacy Policy.

EDUCBA

*Please provide your correct email id. Login details for this Free course will be emailed to you

By signing up, you agree to our Terms of Use and Privacy Policy.

Let’s Get Started

By signing up, you agree to our Terms of Use and Privacy Policy.

This website or its third-party tools use cookies, which are necessary to its functioning and required to achieve the purposes illustrated in the cookie policy. By closing this banner, scrolling this page, clicking a link or continuing to browse otherwise, you agree to our Privacy Policy

Loading . . .
Quiz
Question:

Answer:

Quiz Result
Total QuestionsCorrect AnswersWrong AnswersPercentage

Explore 1000+ varieties of Mock tests View more