Updated August 25, 2023
Introduction to Quick Selection Tool
Quick Selection Tool is the essential piece of the Tool panel of Adobe Photoshop application and utilized for the selection of a specific segment of the raster object for altering purposes, and the tool is widely known for its time sparing element and precision with high-res raster pictures, the user can understand about the usage and application of Quick Selection Tool in making the erroneous task of selecting a particular part of an image with ease and save precious time.
How to Use the Quick Selection Tool?
In this article, we will see about the basics and importance of the Quick Selection Tool in a very interesting way. However, before starting our article on the Quick Selection tool, let’s take a brief look at the User Interface of Adobe Photoshop software:
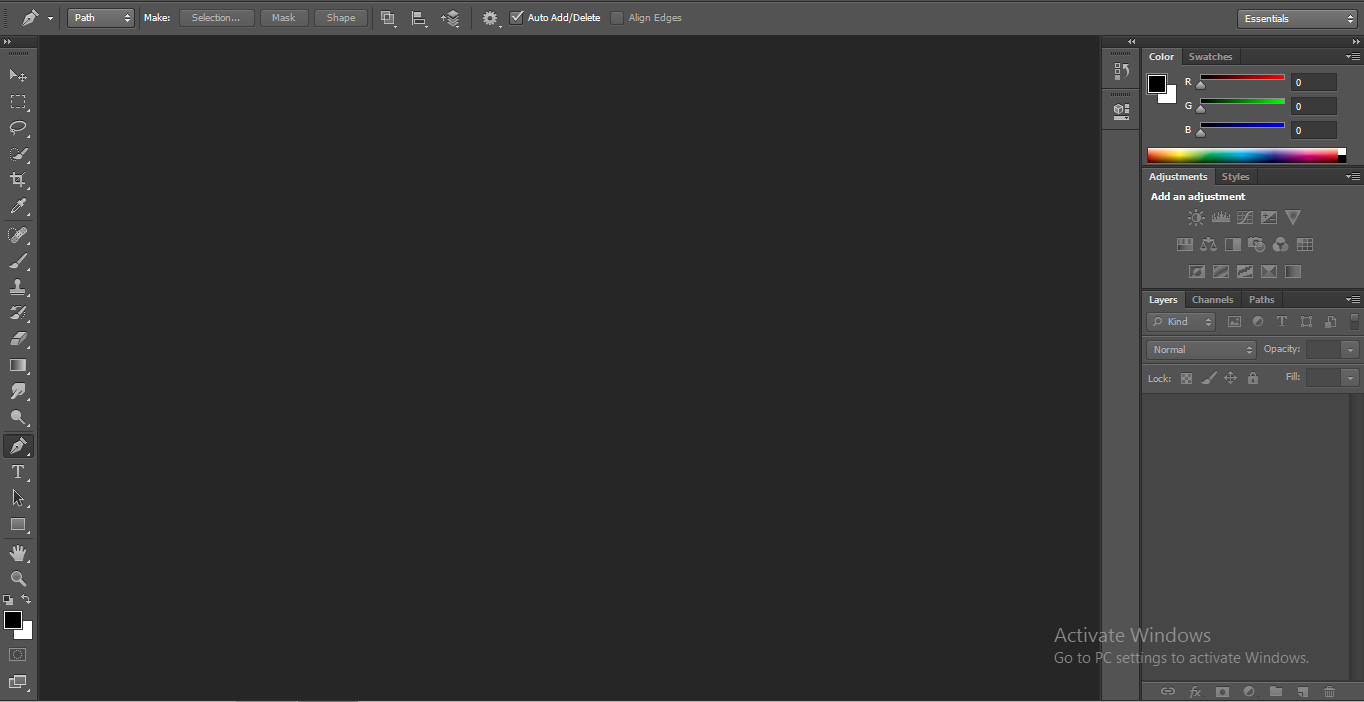
- This is the User Interface of Adobe Photoshop. We have different sections in it. It is a Tool Panel on the left side of the Photoshop work screen, the Menu bar at the top of the Photoshop work screen, Color Panel and Layer Panel on the right side of the Photoshop work screen.
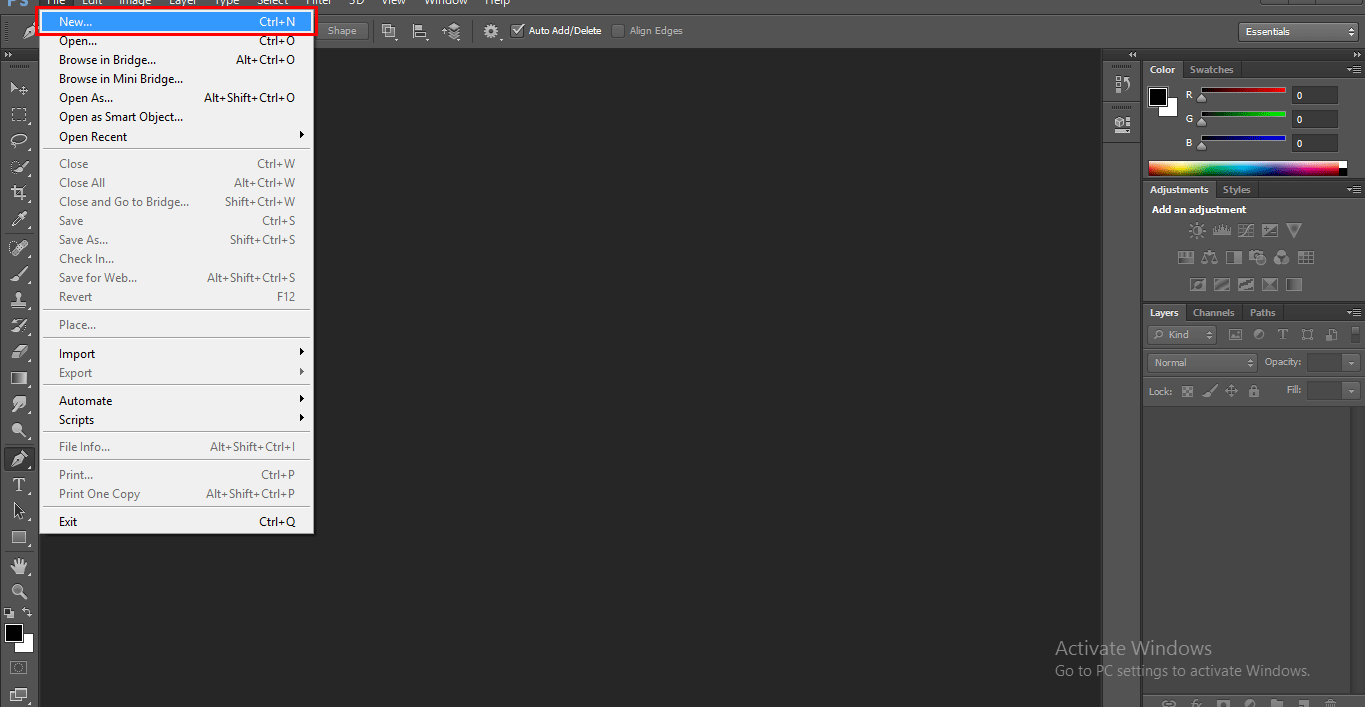
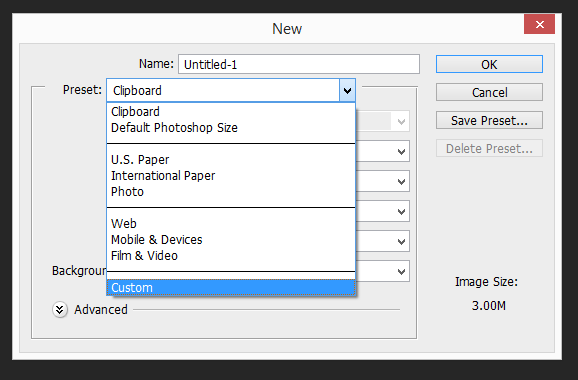
- Let us take a New Canvas or clipboard here, for taking the new Canvas to go to the File menu at the Menu bar. A drop-down list will be open. Click on the New option here.
- A new dialog box will open with the parameter setting of Canvas or clipboard. Here you can name your canvas whatever you want from the Name box of this dialog box.
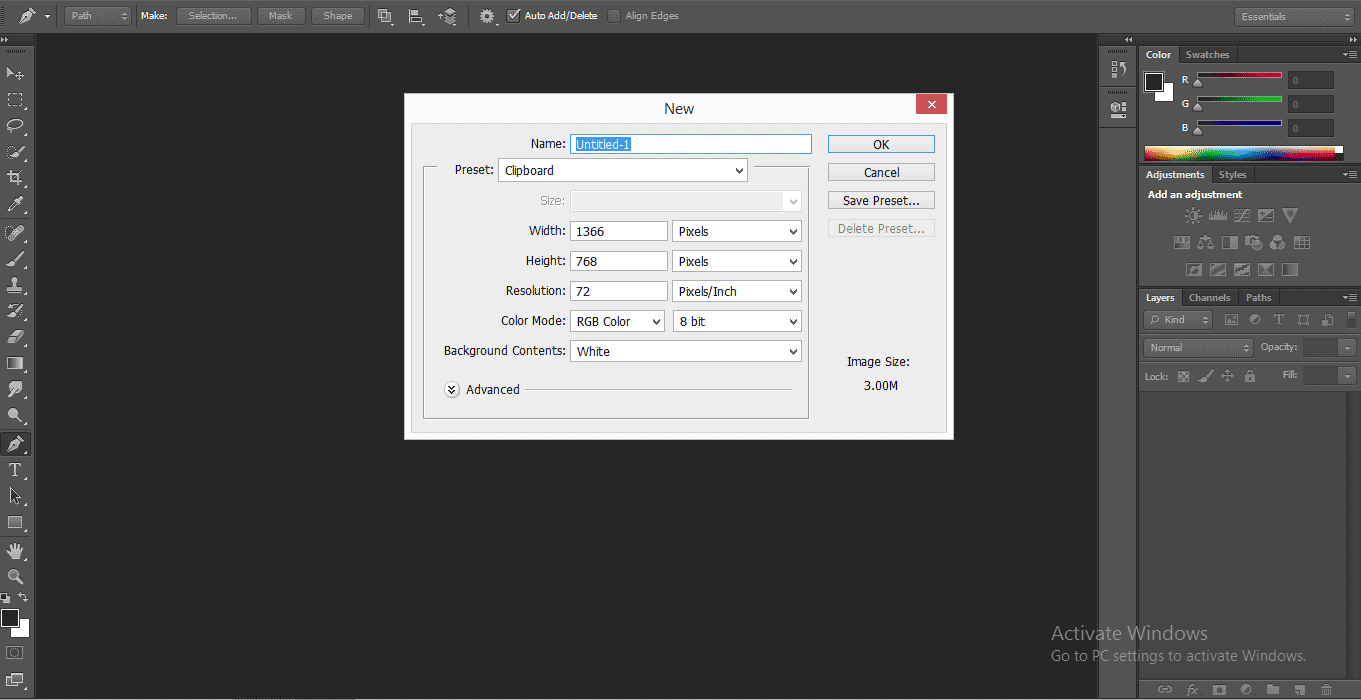
- We have a different type of Canvas style here, you can choose any one of them, or you can make your own canvas with your desired parameter for your own canvas click on the Custom option here and set the parameter according to you.
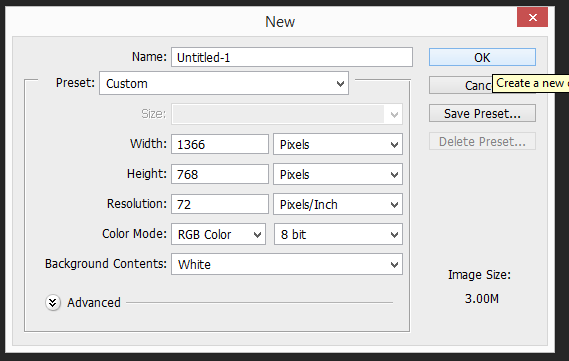
- You can also change the color of the Canvas from here.
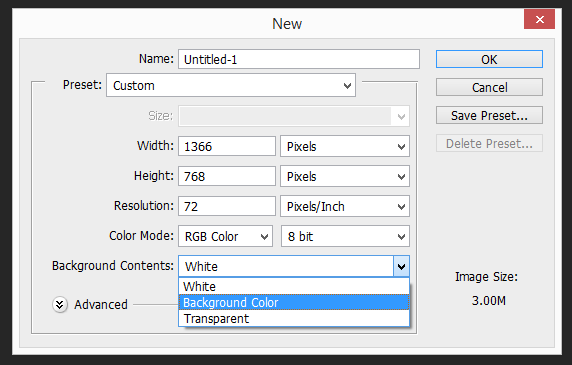
- And then click on OK in this dialog box.
- We have different selection tools in Photoshop software, Rectangular Marquee Tool, Elliptical Marquee Tool, Lasso Tool, Magnetic Lasso Tool, Quick Selection tool, etc.
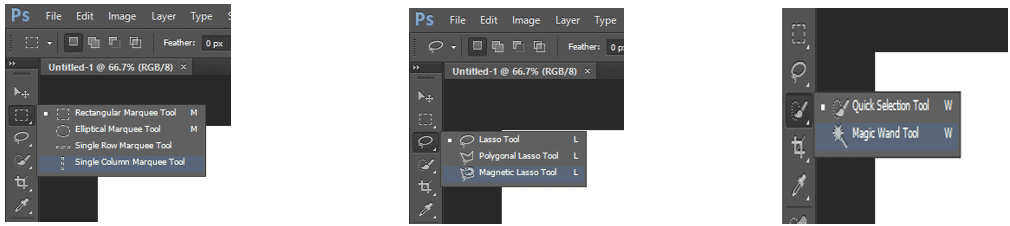
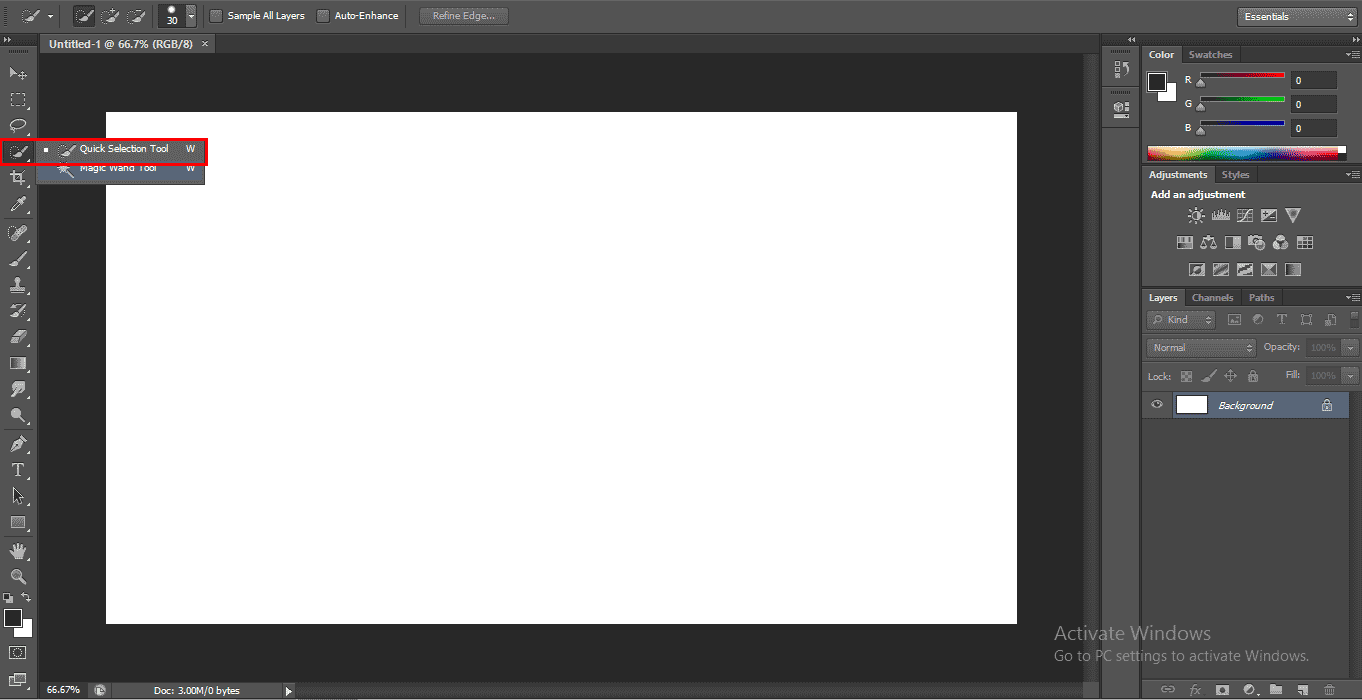
- We will see the Quick selection tool in this article. This tool is present in the tool panel with the icon of the brush symbol.
- First of all, we will download any image from the internet for our learning, you can take any image, whether it is downloaded from the internet or taken by yourself. During the use of this tool, make sure the image should be high-resolution quality because this tool works on the principle of color difference for the selection of any object.
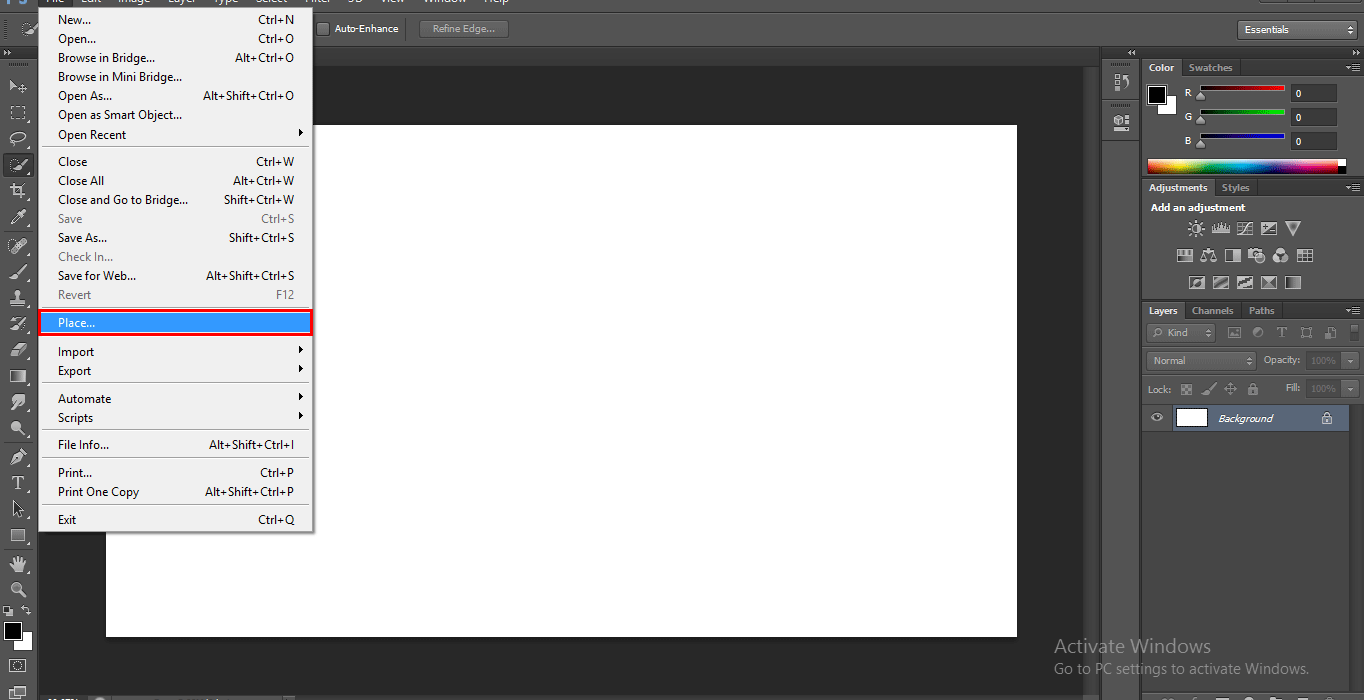
- Now we will place the image in our Photoshop software, for placing the image, go to the File menu in the Menu bar, a drop-down list will open. Click on the Place option here.
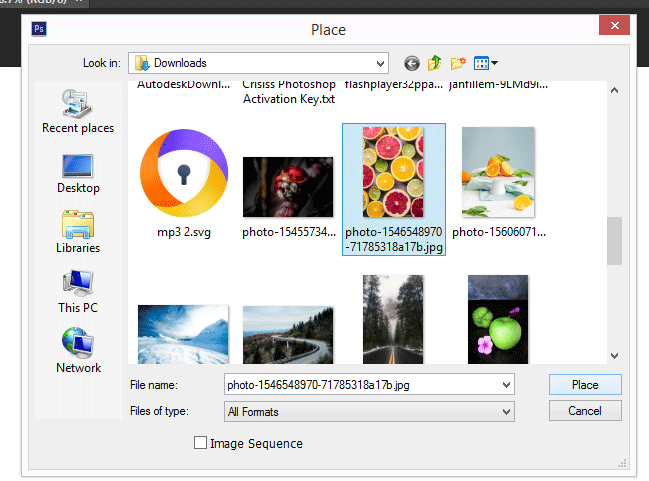
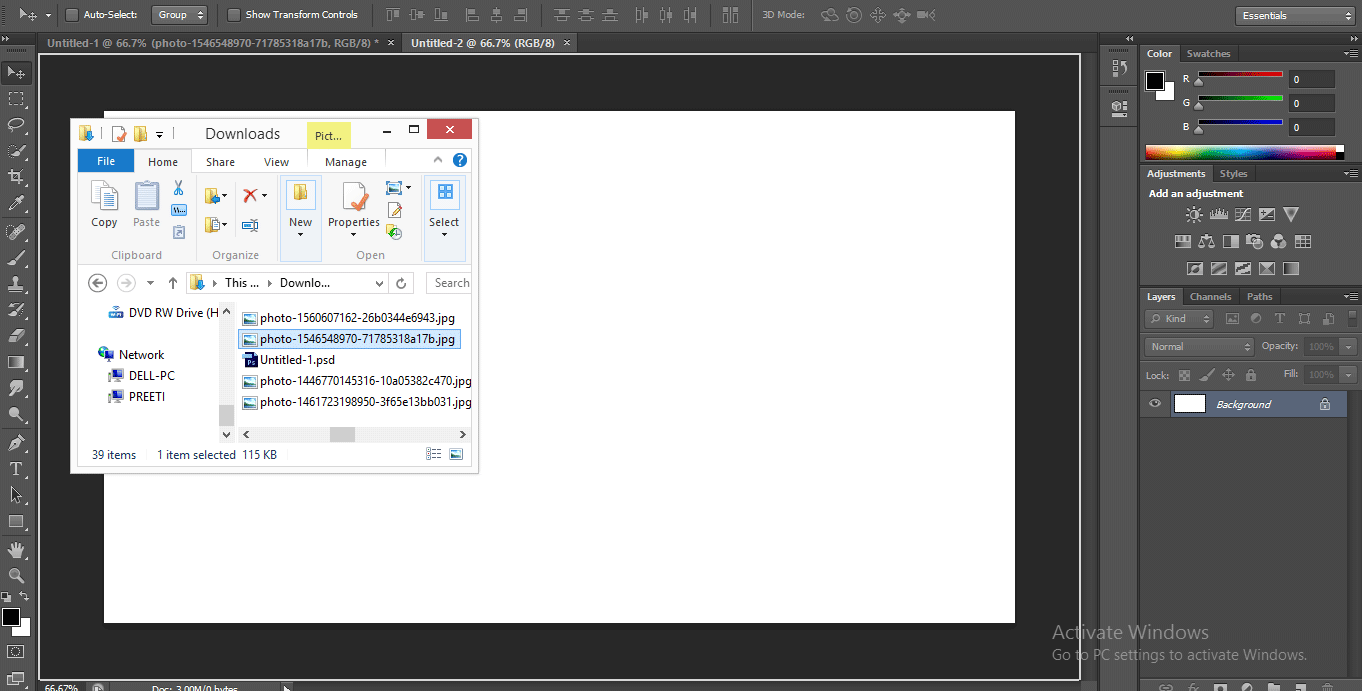
- A dialog box will be open. Go to that location where you have been saved your image, click on that image click on the Place button of this dialog box to place the image.
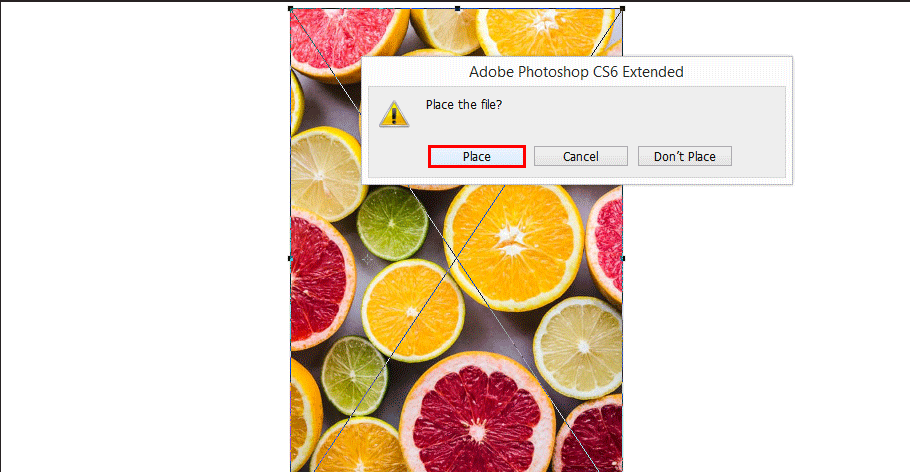
- Your image will be placed in the work area. Now when clicking on any tool, it will ask you to place this image or not? by showing this message box. Click on the Place button of this dialog box or click double-click on the image for making it unlinked.
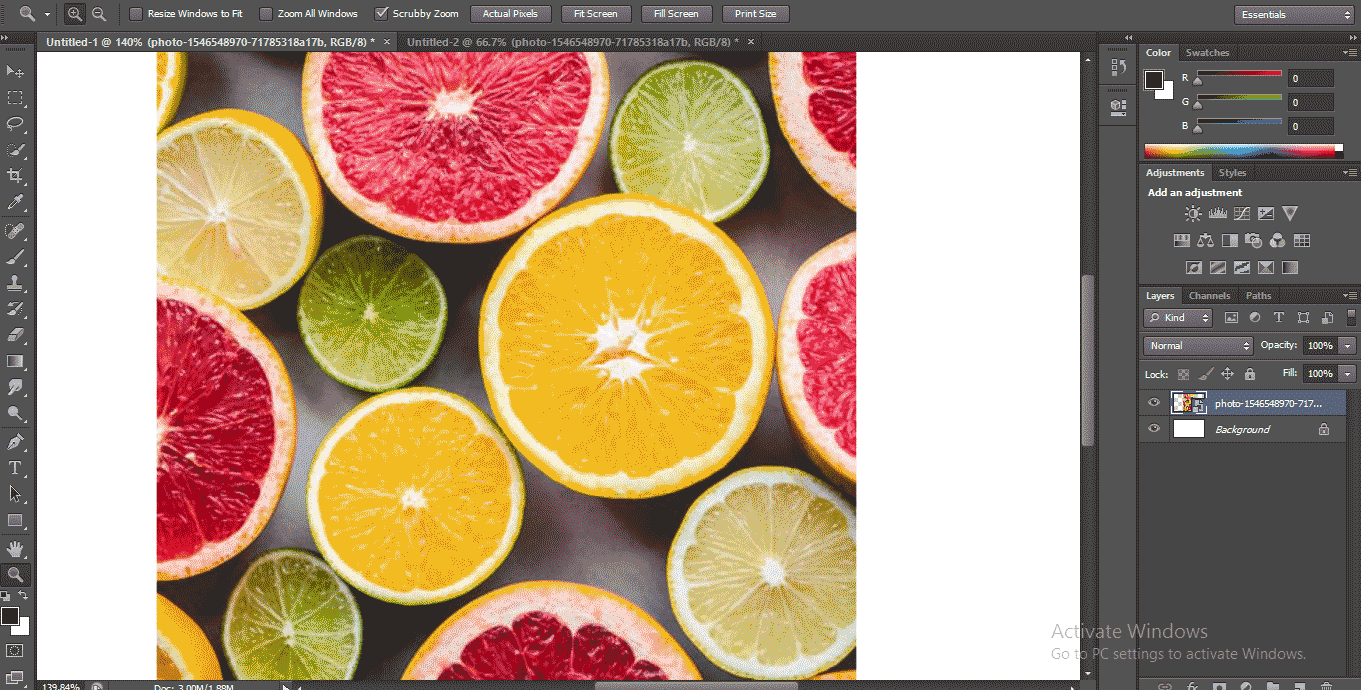
- Or you can directly place this image with a drag and drop process. First, open the folder where you have saved your image. Click on it and drag it into the Photoshop work screen, and drop.
- Now Press and hold the Alt key, scroll up the mouse wheel to Zoom In the image, and scroll down for Zoom Out the image.
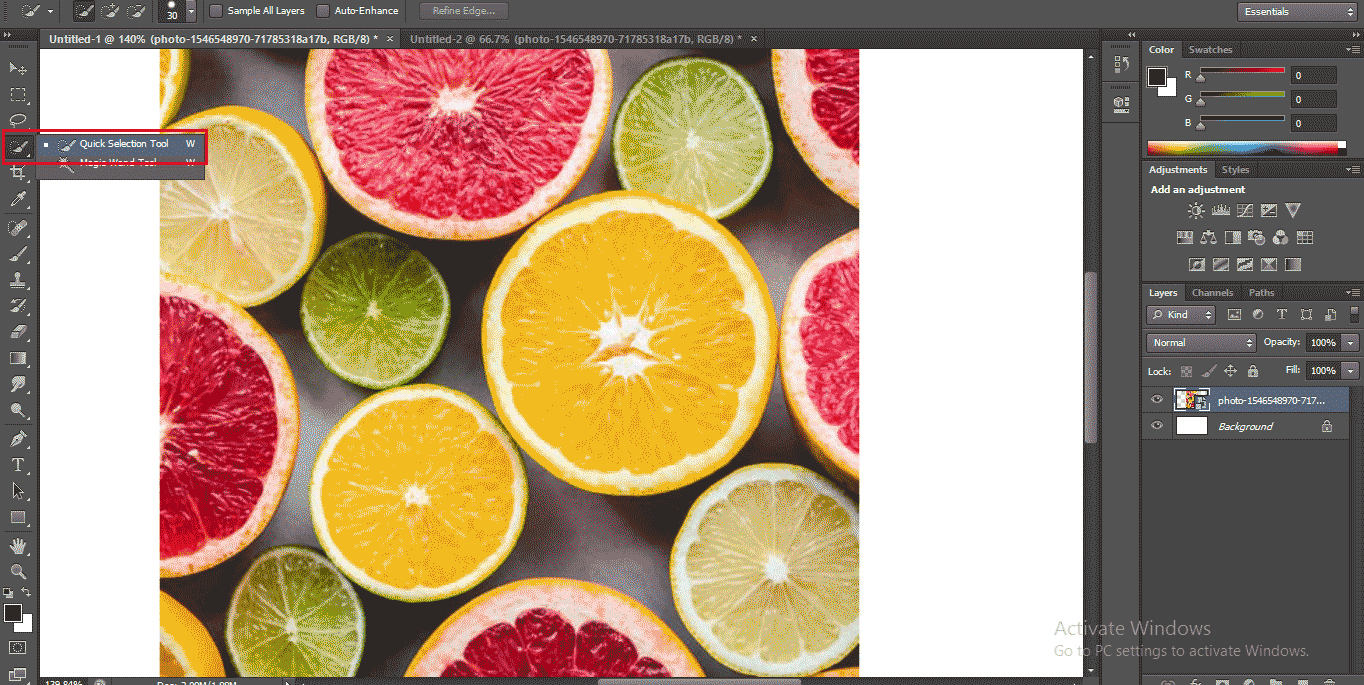
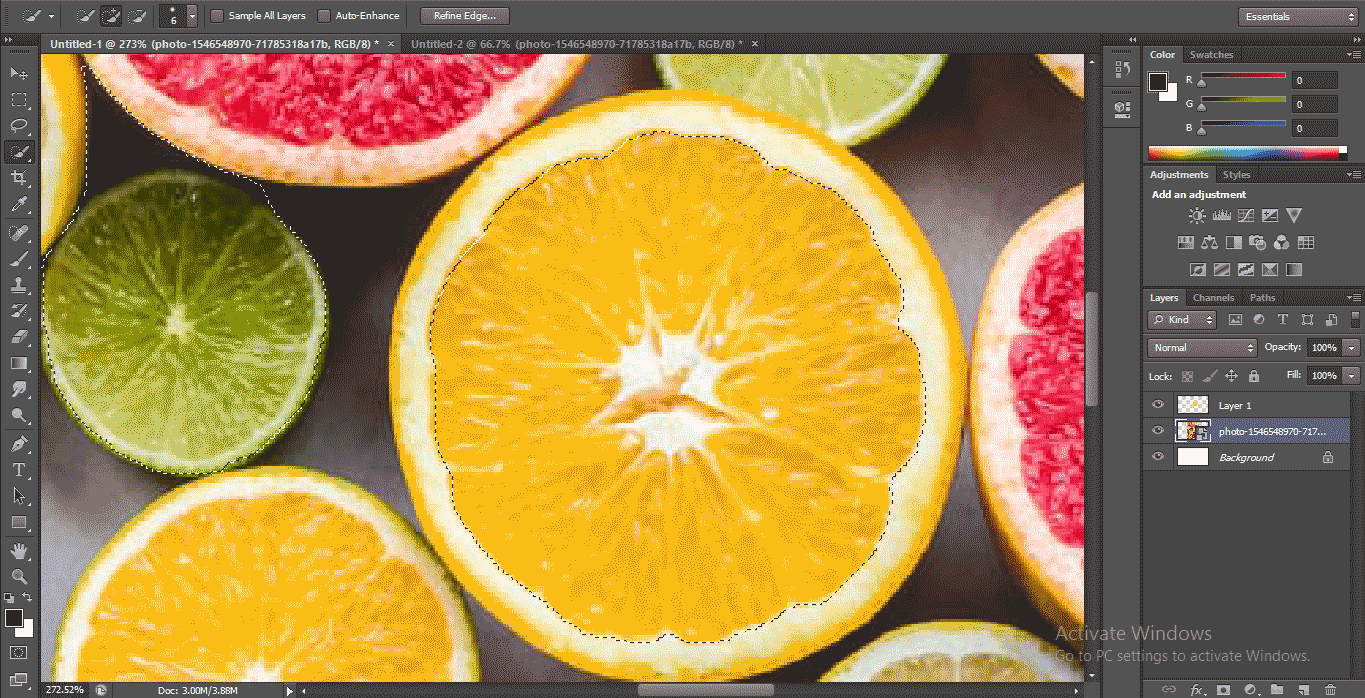
- Now take the Quick Selection tool from the tool panel by clicking on its icon.
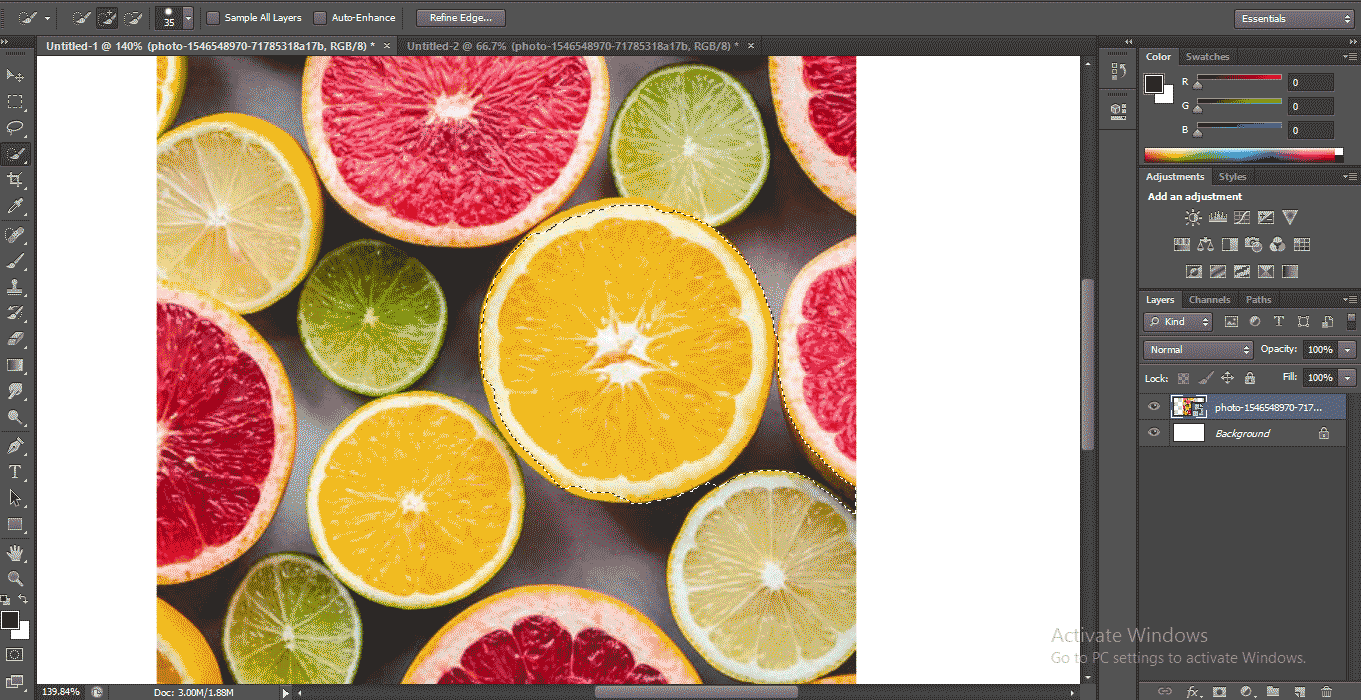
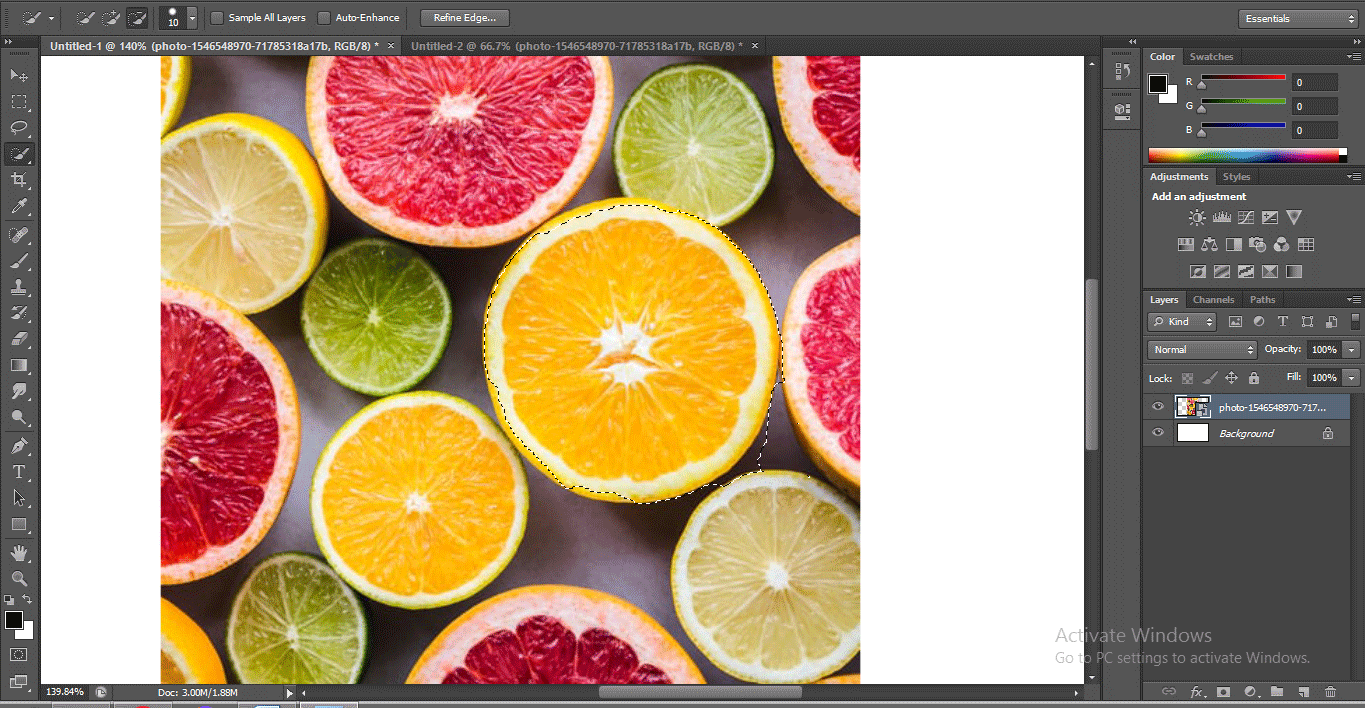
- We can increase the brush size of the quick selection tool by pressing the close square bracket button, i.e. ‘]’ from the keyboard, and decrease the brush size of the quick selection tool by pressing the open square bracket button, i.e. ‘[‘ from the keyboard. Then, click on that object which you want to select and move the mouse pointer in the direction of the section area.

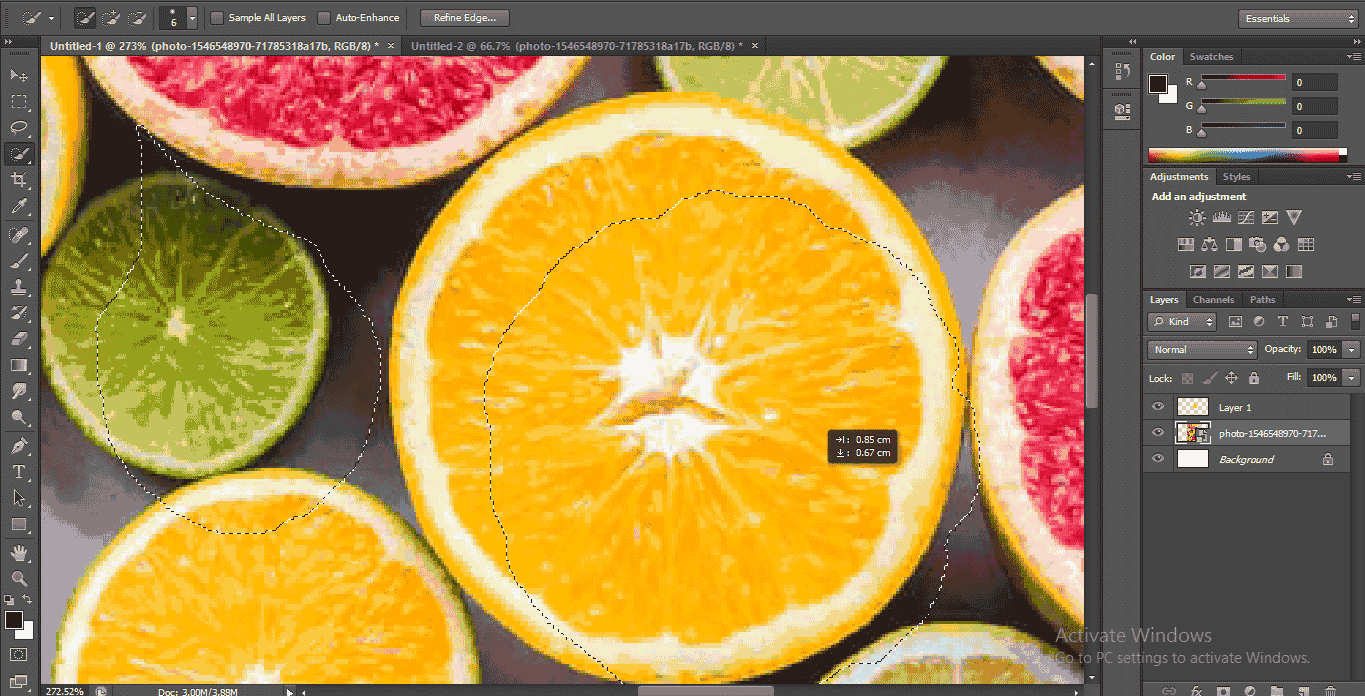
- If, by mistake, you selected more area than your requirement, as shown in the below screenshot.
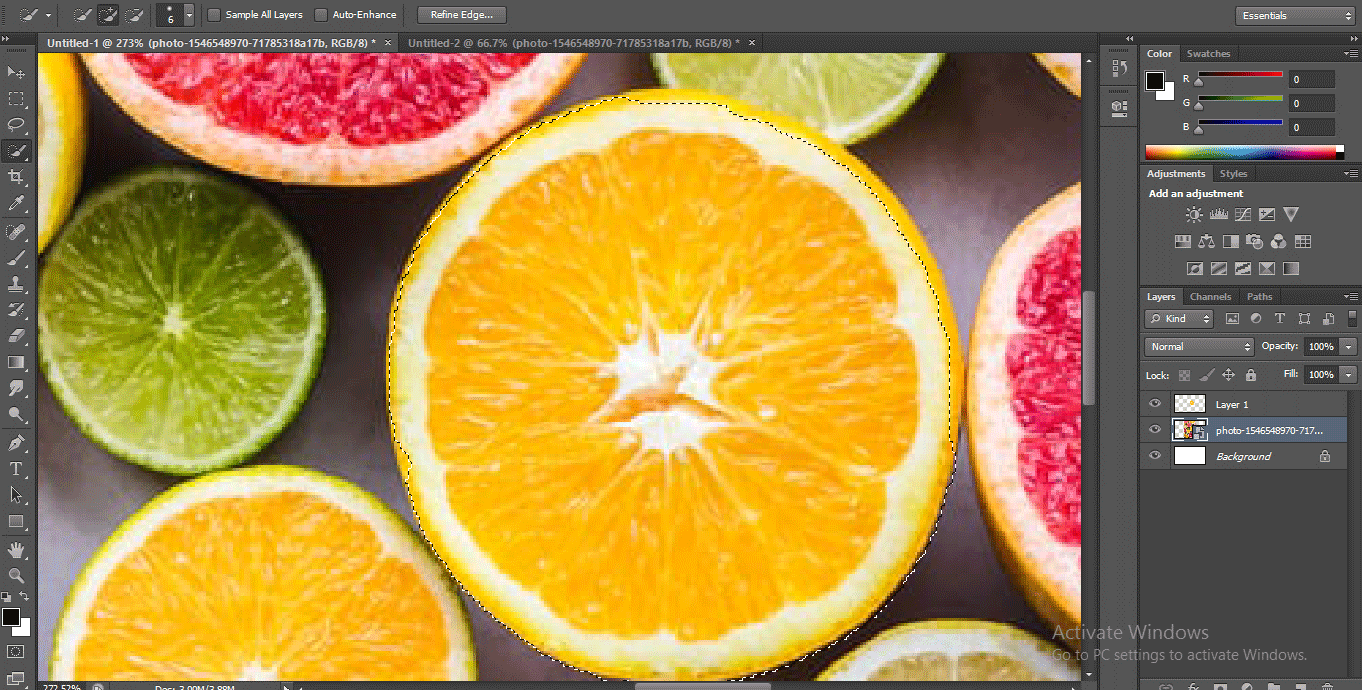
- First of all, we will decrease the size of the quick selection tool’s size by press the open square bracket ‘[‘ and then press the Alt button from the keyboard and by holding the Alt button so that the tool will cut the unwanted area. Now we will drag the mouse point in the direction in which we want to delete the extra selection.
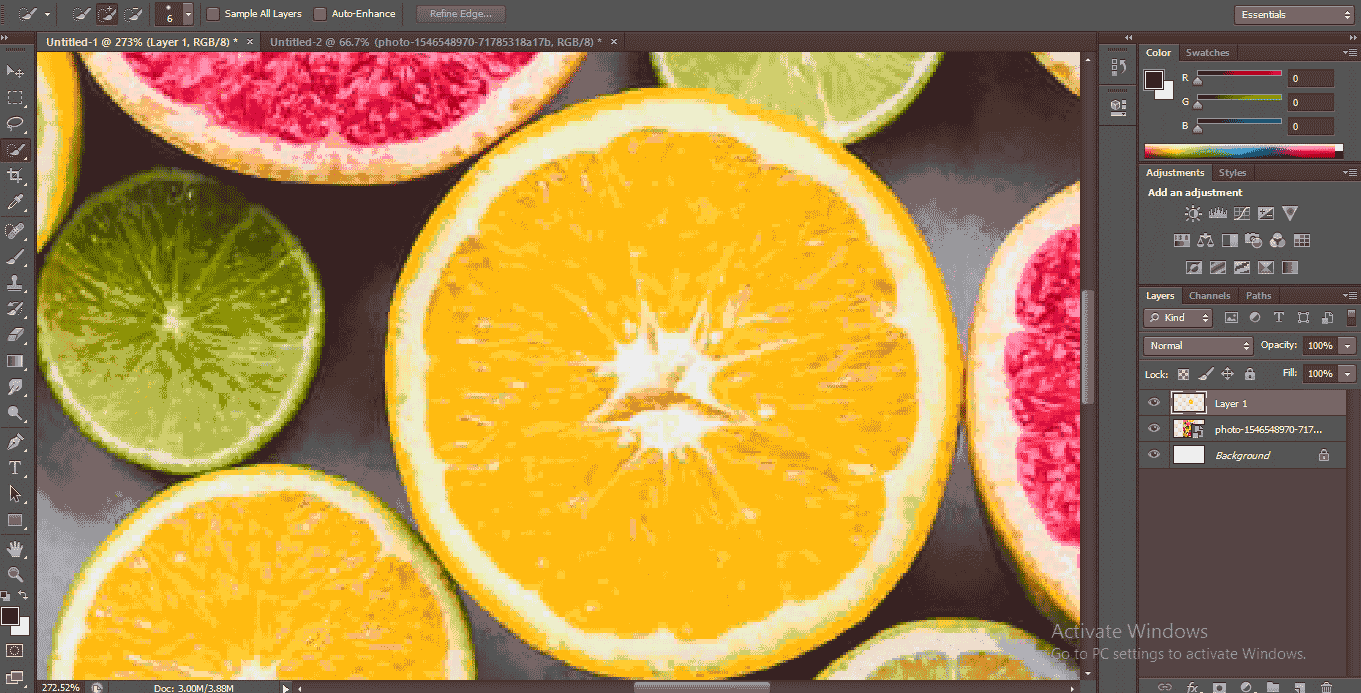
- Now you can see the selection of this object is completed.
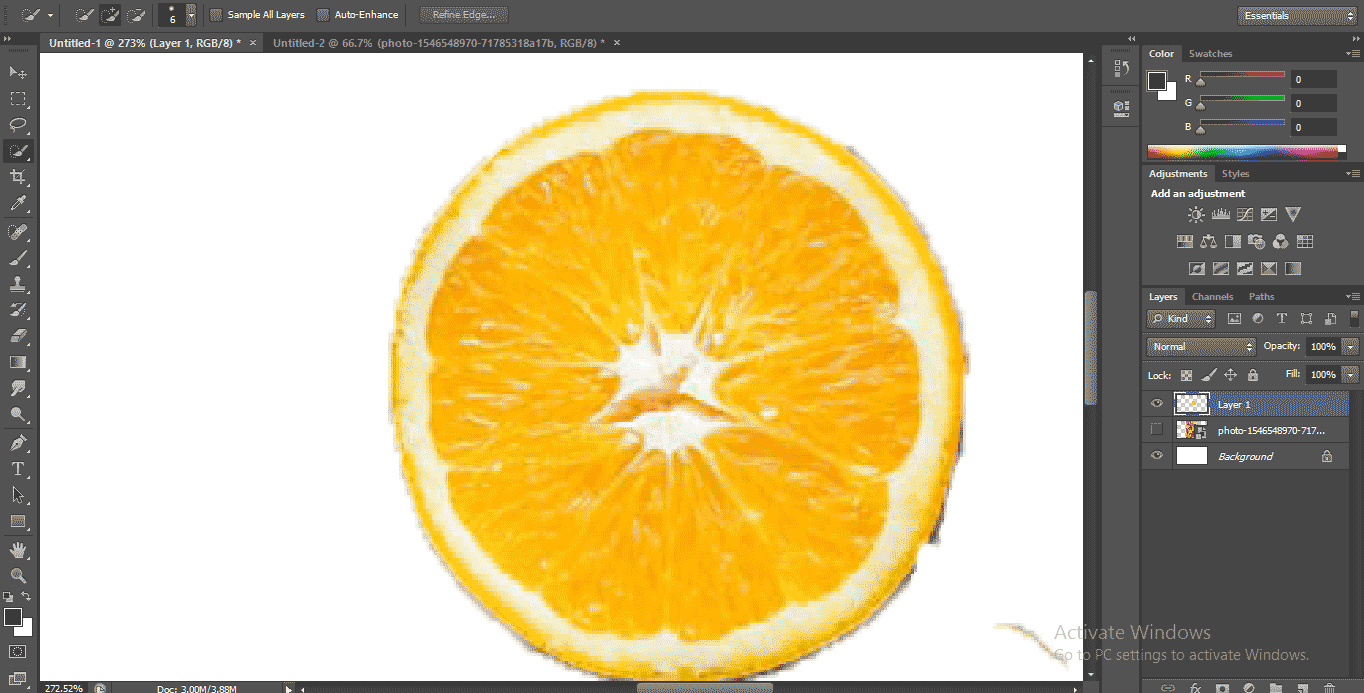
- Now go to the layer section and press Ctrl+J on the keyboard to make this selection separate from other objects of this image.
- Now when you hide the original image. You can see that our selection becomes a separate layer.
- You can select many objects simultaneously by holding the shift button from the keyboard and can use these selected objects for a different purpose.
- You can move this selection, click on the selected object, hold the mouse’s left button, and drag it to move.
- We have to Add sectional and remove the sectional button at the top of the work area; by adding the selection option, you can add many selections at a time. By subtracting selection, you can remove any selected part if you did not want it.

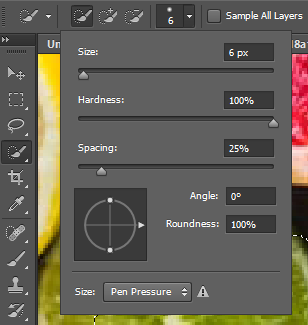
- You can make some changes to the brush by changing its parameter from here.
- You can easily understand the function of the quick selection tool in Adobe Photoshop software and can use it to give perfection in your work.
Conclusion
Here you see about the Quick Selection Tool of the Tool panel of the Adobe Photoshop in this article, and now you can easily understand the importance of this tool in Photoshop. After having a good command of the Quick Selection Tool, you can save your time and can do your work with accuracy without any irritation.
Recommended Articles
This is a guide to Quick Selection Tool in Photoshop. Here we discuss the introduction and how to use the quick selection tool? respectively. You can also go through our other related articles to learn more –
