Updated June 8, 2023
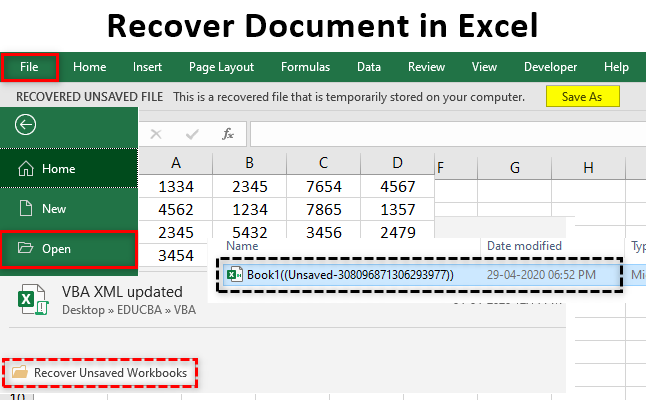
Excel Recover Document
In this article, we will learn about Recover Document in Excel. This is a story that every one of us has been through more than several times in our professional life. Excel crashes, we lose the data, the report is important, management breaths fire for the time report is not with them, and life becomes hell. A more decent way to tackle this situation is, you can save the Excel file every now and then. But this is not something as easy as it looks to read. You might forget to save the file, and that is quite natural.
What is Document Recovery in Excel?
Coming straight towards the point, Excel crashes frequently, and that frequently is something when you don’t want it to crash. If you have saved the file, all is well and good. If you do not, then there are things to worry about. For such users, who tend to forget to save files, Excel has some useful features that come in handy. In this article, we will see some features that allow a user to recover files that are not saved. Let’s see these methods one by one and step by step.
Excel AutoSave and AutoRecover Tools
We all are fortunate enough to have AutoSave and the AutoRecover option available under Excel, which helps us by allowing Excel to automatically save the worksheet after the stipulated time (for example, after every 10 minutes or so). The AutoRecover option allows you to recover the documents in Excel as well. However, you need to enable the AutoSave option for the same to work out in Excel. Follow the steps below to enable the same in Excel to save the worksheet automatically after a specific time.
You can see the Excel AutoSave option in Excel at the upper side ribbon. It is a switch kind of structure in which you can turn it ON and OFF at your convenience. See the screenshot below:
Step 1: Open a new Excel file and click on the File tab present under the uppermost ribbon in Excel.
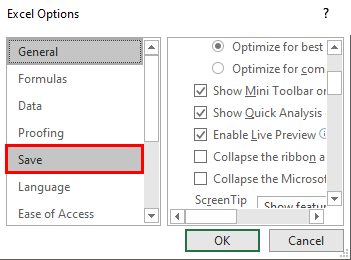
Step 2: Out of all the file operations available, click on the Options tab at the bar’s end.

A new Excel Options window will pop up when you click on the Options tab.
Step 3: Click the Save option under the list of options on the left-hand side under the Excel Options tab.
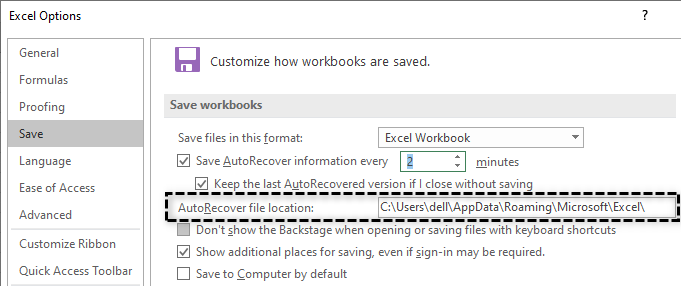
Step 4: On the right side of the window, you’ll see all options associated with saving a file under Excel as soon as you click the Save button. Multiple file-saving options exist for AutoSave and AutoRecover under the Save Workbooks section, as shown below.
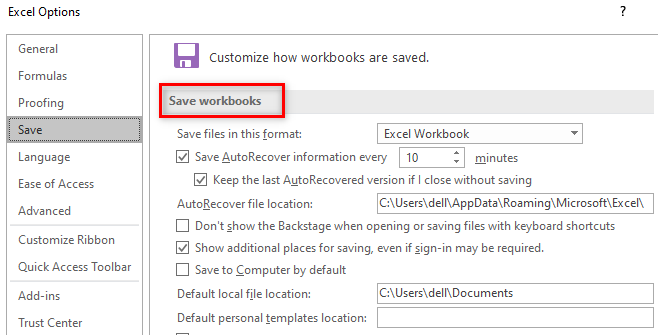
If you look closely, all these options are already tick selected and set to their default option values. However, you have all the leverage to change some of the custom values.
Step 5: If you see Save AutoRecover information in every tick box, it has a default value set to 10 minutes. Meaning the file will automatically save after every 10 minutes. However, you might want to reduce this file auto-saving time. Well, it is under your control, and you can reduce or increase it. I will change it to 2 minutes rather than 10 minutes, and now, the file will automatically save after every 2 minutes.

Step 6: Moreover, if you need to change the AutoRecover file location, you can also change this one. By default, all recovered files will store at C:\Users\dell\AppData\Roaming\Microsoft\Excel\ this path.
Do you see? Enabling these AutoSave and AutoRecover options is a great help for us. We can easily save the workbooks and recover those in case of any unfortunate event. Now, we will see how to Recover the Documents when Excel is crashed due to some unexpected error.
How to Recover an Unsaved Document?
Follow the steps below to recover a document that you failed to save.
Step 1: Click the File tab under the newly opened Excel file.
Step 2: Out of all the file options, choose Open and click on it.

Step 3: Once you click on the Open option on the right-hand side, you’ll see all the possible operations under the section. At the bottom of all those, you can see an option named Recover Unsaved Workbooks. Click on it.

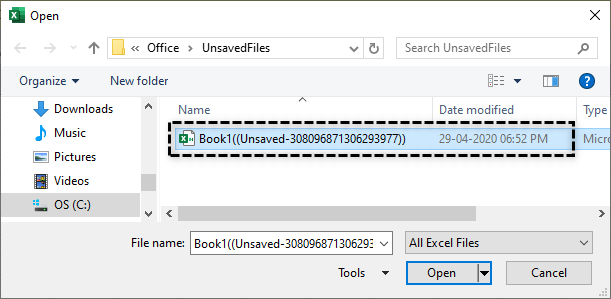
Step 4: When you click the Recover Unsaved Workbook option, a window will appear where all your unsaved workbooks are stored. Click on the desired file and hit the Open button to open it.
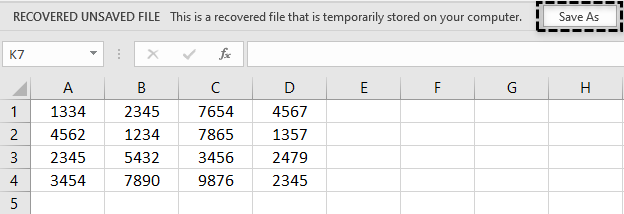
Step 5: Once the file is opened, you’ll see a message at the uppermost pane, as shown below:
![]()
This means you need to temporarily save the file on your local system and save it as an Excel file to access it anytime soon. Make a copy of the same by saving the file on another location of your drive. This way, you can recover the document that was not saved.
This is how you can recover the unsaved document under Excel.
Things to Remember
- All recovered files are stored in Excel binary format by default, which reads with the extension (.xlsb). However, binary format will cause you to lose some data if you try to make a copy of Excel under the same format. Instead, saving the file under .xlsx format or some other format but not the binary is recommended.
- Setting the AutoSave time is a smart way. However, you need to be smarter enough to set that time. I have set it to 2 minutes here in my worksheet. Because I wanted the most recent data up to 2 minutes in the worst case, I lost the unsaved file due to a system crash or other discrepancies. You can set this time under Save AutoRecover Information Every option in Excel.
Recommended Articles
This is a guide to Recover Documents in Excel. Here we discuss how to enable the Autosave option and Recover Document in Excel, which is not saved. You may learn more about Excel from the following articles –
