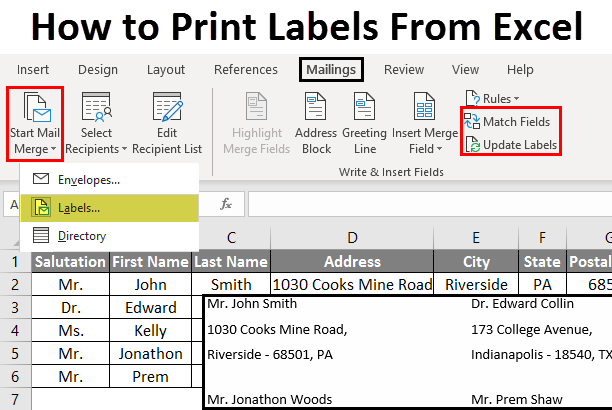
Introduction to Print Labels From Excel
Microsoft Excel is a tool handier than we think and know. It can do many things in a jiffy and without any hassle. Printing labels on paper sizing beyond standard documentation is a tricky job, especially when working with specialized formats like laser labels. Believe me, a lot of people are there in the world who are struggling with this issue. However, a proper step-by-step guide and some practice will do the task for you. Excel can be too handy in this regard due to its spreadsheet format, which is ideal for storing the contact and address information of the user. In this article, we will learn how to Print Labels From Excel.
Excel makes life easy in collaboration with Microsoft Word in printing mailing labels. It provides features allowing you to create and preview labels before printing. Using the mail merge feature with Microsoft Word, you can do this task neatly and easily print out the mailing labels from Excel.
How to Print Labels from Excel?
Let’s see how we can print the mailing labels from Excel with a few examples.
Step #1 – Add Data into Excel
- Create a new Excel file named “Print Labels from Excel” and open it.
- Add the details to that sheet. Dedicate a column to each label to ensure each has its column for mailing purposes. Ex. Salutation, First Name, Last Name, Address, City, State, and Postal Code should be the columns, and respective information should be filled in those columns. See the screenshot below:
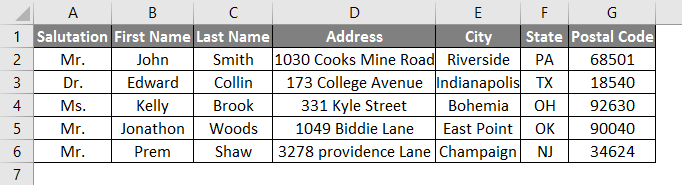
- The screenshot shows that your details should be one entry per column. It helps to manage and print labels properly.
- Save the file once you are done with entering the data and close the same.
Step #2 – Confirm File Format in Microsoft Word
As I mentioned, we will use an Excel file in Word. It is mandatory to set some file format settings under Microsoft Word so that you can use the Excel file in it. This step helps to have a smooth conversion between Word and Excel.
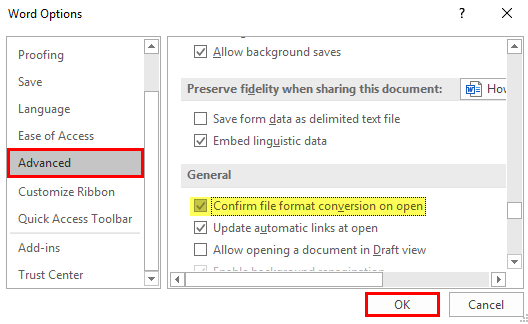
- Open a Word file. Click > File. Select > Options (placed at the bottom of the left pane).
- A new options pane will pop up. Click > Advanced. Under Advanced Settings, scroll down to the General Settings section.
- Confirm file format conversion on open is checked, and then click OK. Please see the screenshot below.
Step #3 – Set up Labels in a Blank Word Document
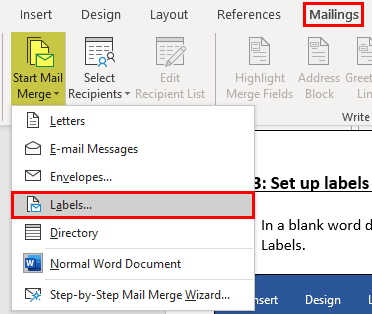
- In a blank Word document, Go to > Mailings, select > Start Mail Merge, and select > Labels.
- A new pane called Label Options will open up. Under that, select Label vendors as Avery US Letter, Product number as 5160 Address Labels. Then, click OK. See the screenshot below.
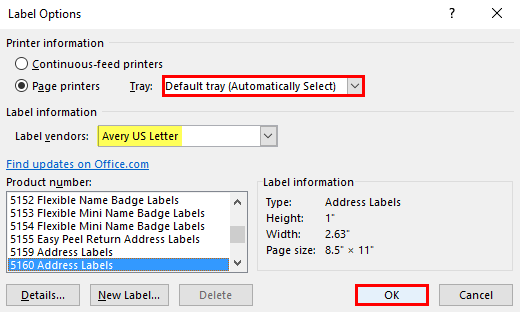
Also, look at the button New Label… Use it to create your labels with custom dimensions.
Step #4 – Connect the Worksheet to the Labels
Now, let us connect the worksheet containing the label data to these labels and then print it up.
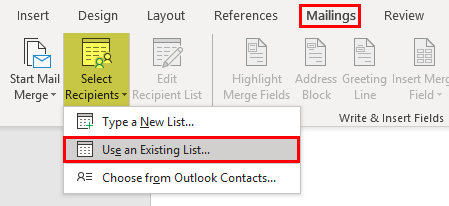
- Go to the Mailing tab > Select Recipients (appears under Start Mail Merge group)> Use an Existing List. A new Select Data Source window will pop up.
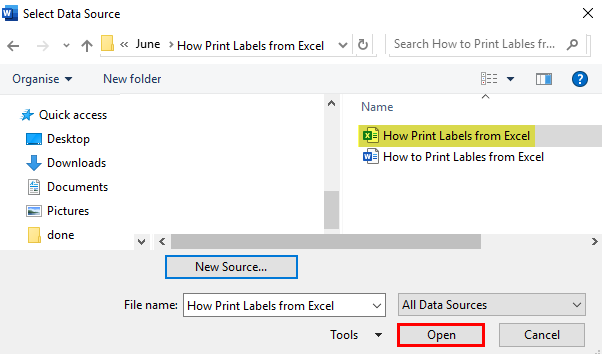
- Navigate towards the folder where the Excel file is stored in the Select Data Source pop-up window. Select the file in which the labels are stored and click Open.
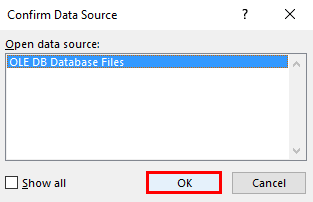
- A new pop up box named Confirm Data Source will appear. Click OK to let the system know you want to use the data source.
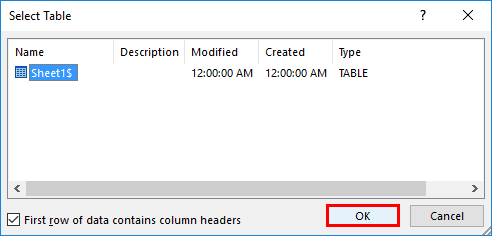
- Again a pop-up window named Select Table will appear. Click on OK to select the table from your Excel sheet for labels.
Step #5 – Add Mail Merge Fields
This is the step where your well-formatted column headings will make sense. If you feel you have some labels not assigned proper columns, you can change the same. It’s that easy.
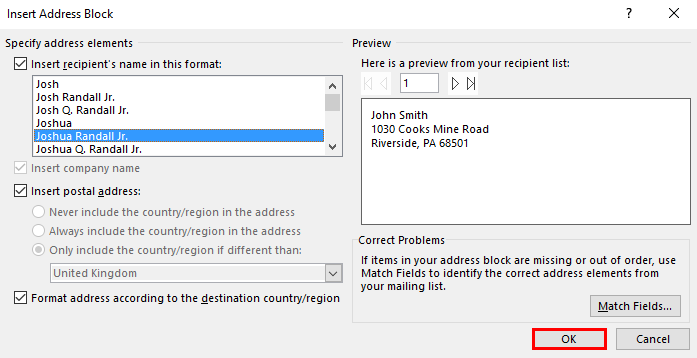
- Please select the first record from the document and click Address Block (it appears on Write & Insert Fields under Mailings).
- Select the appropriate format for the recipient’s name to appear. This will allow the first name from our list and address details to be assigned to that first record.
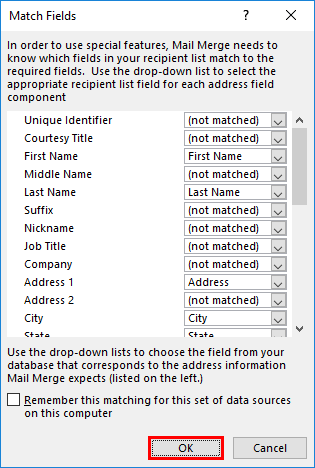
- Select Match Fields from Write & Insert Field.

- Select the appropriate column headings for the required fields. Click OK once you are done with it.
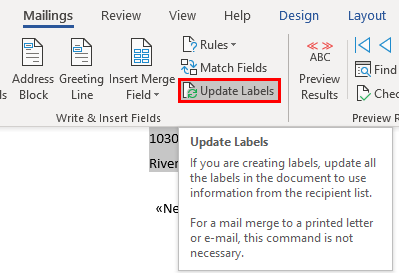
- Click on Update Labels that appear in Write & Insert pane.
- Once you click on the Update Labels, all the names along with address details will take positions of each record in the document one by one, and eventually, every record gets updated.
Step #6 – MergeWorksheet and Word File
We are almost done and up-to-the final step of printing named labels for our mailing list. After this step, you will see the mailing labels on a new word sheet and print them.
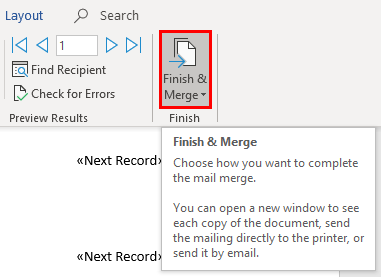
- You can see a dropdown called Finish & Merge on the rightmost side of the Mailings pane. Click on it to see the different options available.
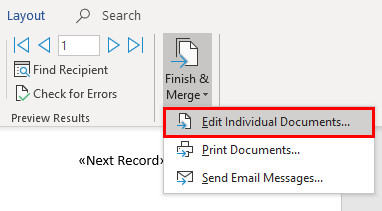
- On the dropdown that appeared, click and select Edit Individual Documents.
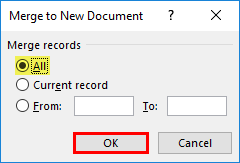
- Now, a new pane appears named Merge to New Document. Select All in the Merge Records selection and click OK to merge all the information from the Excel sheet to the Word mailing labels.
- A new label document will open with all the mailing labels inserted one by one in the format you need. See the screenshot below.
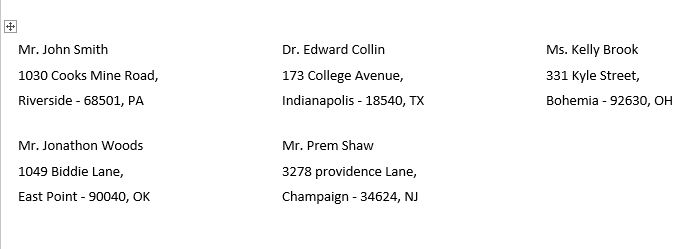
You can give the print of these labels and use them in your mailing. It makes your task pretty easy, isn’t it?
Things to Remember
- Please ensure you use one column at a time for each label in Excel; it will work then and only then.
- While connecting the Word and Excel files, ensure the proper column name is selected as a field so that the resulting label will be formatted accordingly and no differences will be found.
Recommended Articles
This is a guide to How to Print Labels From Excel. Here we discuss the Steps to Print Labels from Excel, examples, and a downloadable Excel template. You may also look at the following articles to learn more –
