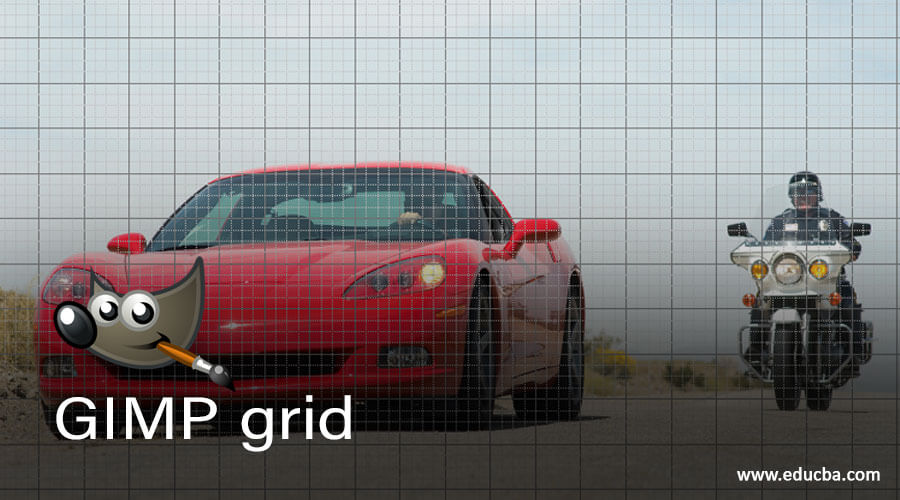
Introduction to GIMP Grid
Grid is like guidelines which help in designing as well as illustration work in any graphics designing software. As we enable the Grid option in GIMP, it will give us square shapes of blocks on our documents which are generally made by the vertical and horizontal guidelines. The grid helps us with the inaccurate measurement of our design and also helps us to snap with pixel for proper line artwork. We can use the grid just as reference guidelines in our work or can also export it with our final work by making some changes in the parameters of grid options of GIMP. So let us analyze these parameters.
How to use Grid in GIMP?
We can use the grid in GIMP in two ways: first, by using gird as our reference guidelines that give us square blocks of horizontal and vertical lines, and the other is by using them as our artwork with our final output GIMP. We will understand both of these ways one by one.
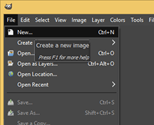
So for learning about it, let us have an image or document. For having a document in GIMP, go to the New option of the File menu of the menu bar, which is at the top of the user screen.
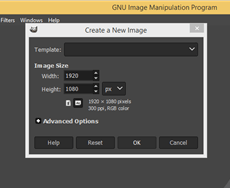
Make setting as per your choice in this ‘Create a New Image’ dialog box. I will go with these default settings and hit on the Ok button of this dialog box.
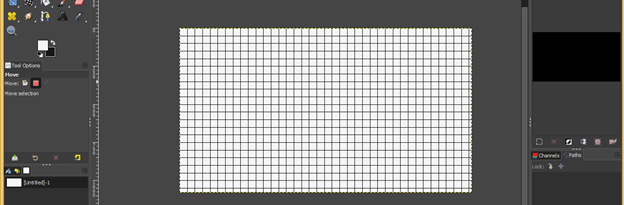
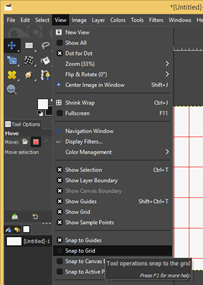
Now to activate the grid on our document, go to the View menu of the menu bar and click on the Show Grid option of the scroll-down list of the View menu.

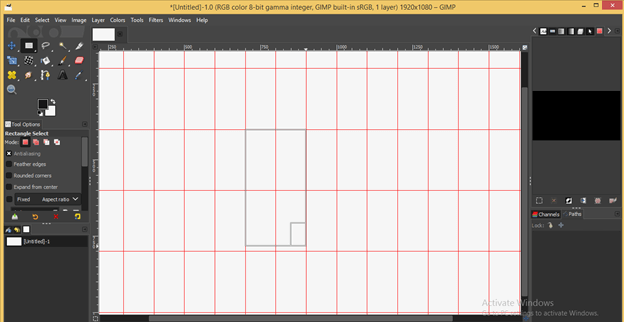
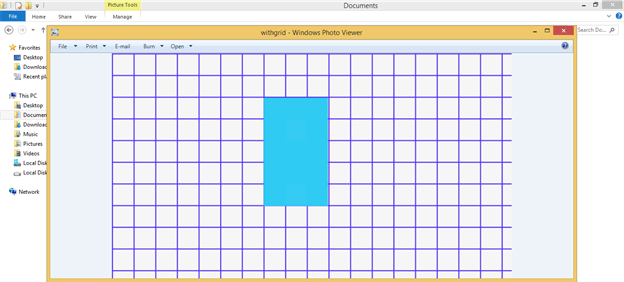
We will get this type of grid blocks on our document area when we enabled by grid option.
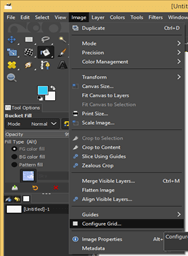
If you are enabled to see the grid on your document or have a very small grid block, then go to the Image menu of the menu bar and click on the ‘Configure Grid’ option for a scroll-down list of this menu.
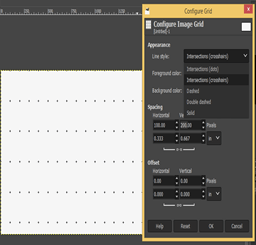
Once you enable this, a ‘Configure Grid’ dialog box will be open. Let us analyze the options of this dialog box. You can change the spacing between horizontal and vertical lines of blocks of the grid by changing the value of the Spacing options of this dialog box. If you change the value of horizontal spacing, then the vertical spacing will automatically be changed because the chain-link button of these values is On.
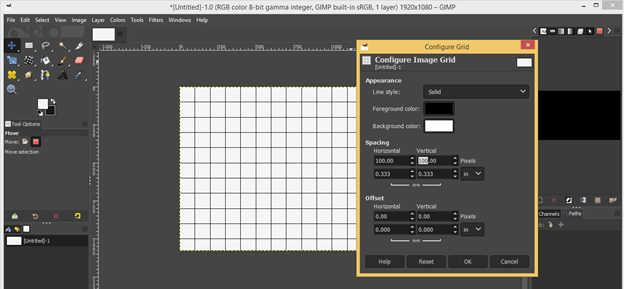
If you want to change these values separately, then disable the chain-link button by clicking on it below these values.

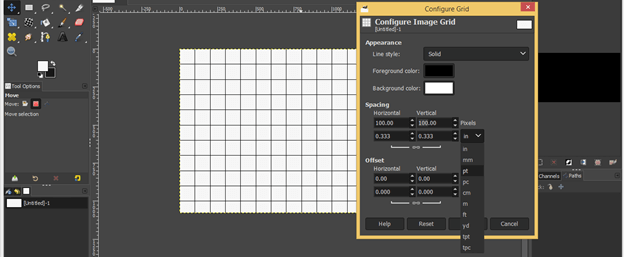
You can change the unit of block size from this list according to your work requirement.
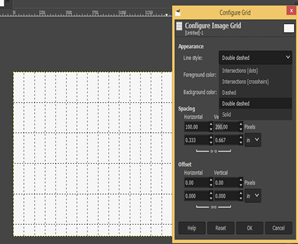
If you want to change the grid style, you can choose any one of the options from the Line Style option of this dialog box.
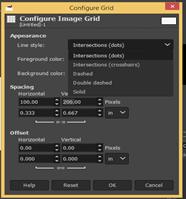
Check out all of the Line style options by selecting them and going with which will suit your work.
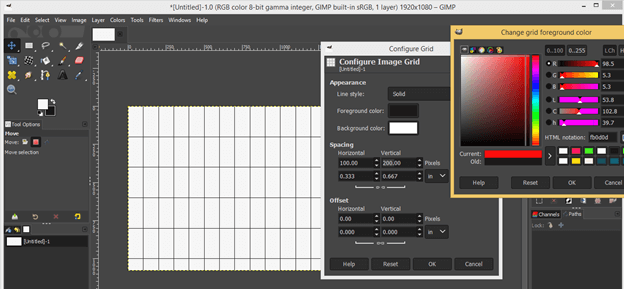
You can also change the color of the gridline by changing the color of the Foreground color option of this dialog box. Just click on the color box of the Foreground color option and choose your desired color from the ‘Change gird foreground color’ dialog box, and hit on the Ok button.
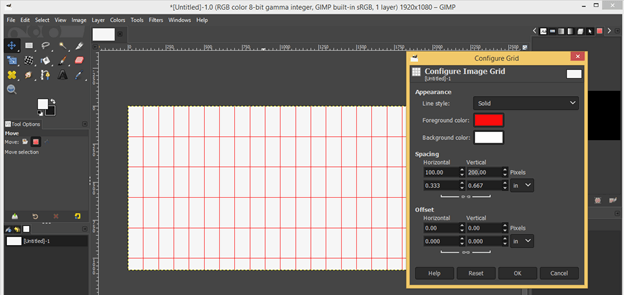
And Color of grid lines will change like this.
Now go to the View menu of the menu bar and click on the Snap to grid option of scroll down list. It will snap any tool cursor with the grid during working with that tool which gives perfection to your work.
Now take the Rectangle Select Tool from the tool panel and draw a rectangle like this. You will notice when you draw it; its corner automatically snaps with grid lines.
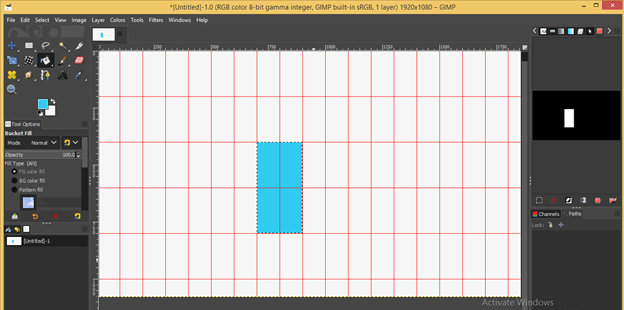
Now take the Bucket tool from the tool panel and fill this rectangle with your desired color.
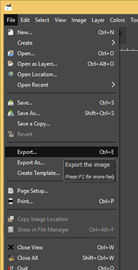
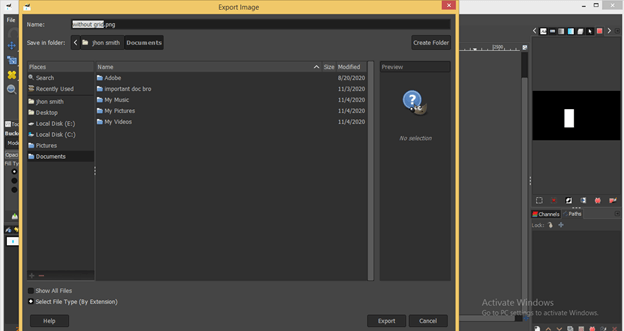
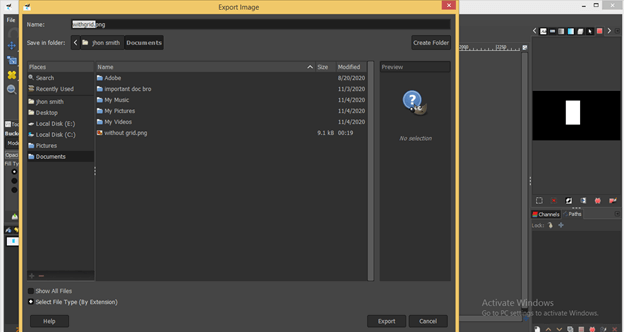
Now let us export this artwork as a png file. For exporting it, go to the File menu of the menu bar and click on the Export option of scroll down list.
Save it at your desired location.
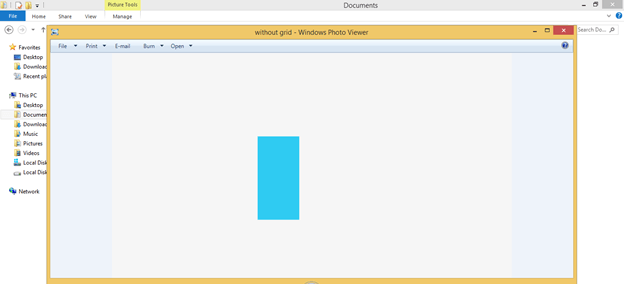
Now when you open this png file, you will notice there is no grid in your final output.
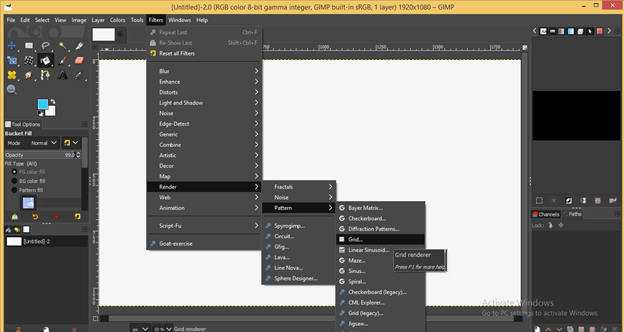
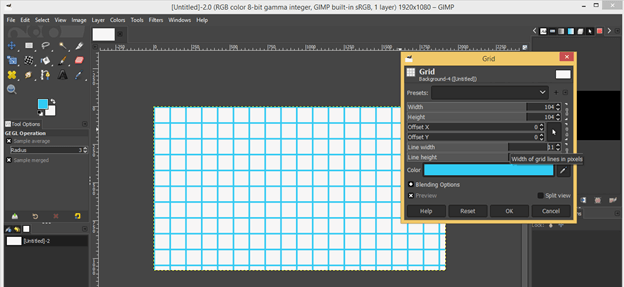
Now let us try another type of grid which we will export with our artwork. Now create a new image or document and then go to the Filter menu of the menu bar. Go to the Render option of a scroll-down list of Filter menu, then go to Pattern option and click on Grid option of new scroll down list.
Now you will have this type of grid on your document area. You can change the width and height of this grid by changing the values of width and height options from the Grid dialog box.
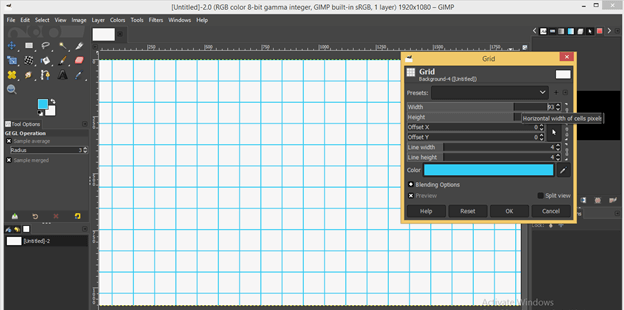
You can increase or decrease the thickness of the gridline by changing the values of Line width and Line height options of this dialog box.
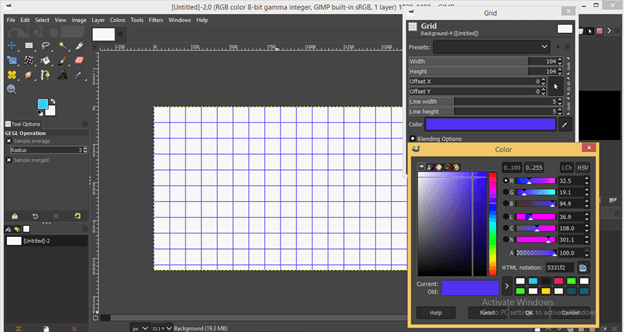
You can also change the color of this grid by changing the color from the Grid dialogue box’s colour option. Just click on the color box of this dialogue box’s colour option, choose your desired color from the Color dialog box, and hit on the Ok button box.
Now again, draw a rectangle on this grid by using the Rectangle select tool of the tool panel and fill it with your desired color by using the Bucket tool of the tool panel. When you fill this rectangle, you will notice bucket tool will fill one block off the grid in one click. It is happening just because this type of grid’s blockwork is an object on the document of GIMP.
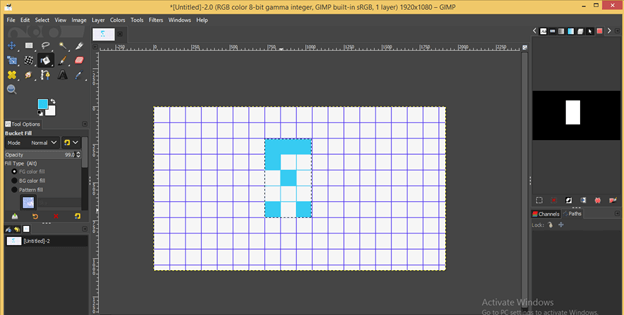
Fill this rectangle fully and go to the Export option of the File menu of the menu bar, then save it at your desired location with your desired name.
Now open png fill of your saved artwork. Here you can see we have a grid also in our final output.
Conclusion
Now you are free to use any type of grid which we discussed above according to your work. After this article grid of GIMP is a totally understandable feature of GIMP for you; you can easily manipulate its parameter to get the best result in your artwork.
Recommended Articles
This is a guide to the GIMP grid. Here we discuss How to use Grid in GIMP and the understandable features of GIMP so you can easily manipulate its parameter. You may also have a look at the following articles to learn more –
