Updated August 25, 2023
Introduction to Warp Image Photoshop
Photoshop is raster image editing software that is widely used by the editing professional for their editing work and was developed by Adobe Systems. We have a wide variety of features in this software for making different types of changes in our image. Warp image is one of those features, and by this feature, we can adjust our image on any shape just as we can set our image on the curved surface of any object. So in this article, we will discuss the features of this software and understand how we can handle its parameters to get the best result in our editing work. So let us start our discussion.
How to Use Warp Image Feature in Photoshop?
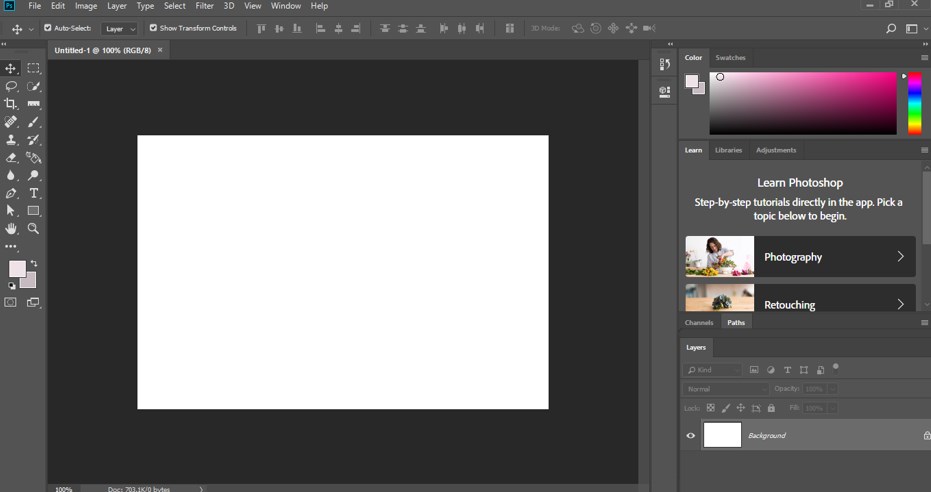
We can use these features of Photoshop in a very simple manner by following a few simple steps. But before starting, let us have a look at the working screen of this software so that there will be no problem occur during learning of this topic throughout this article.
Step 1: At the top of the working screen, there is a Menu bar which has a number of the different menu for handling different type of parameters of this software; below this menu bar we have property bar of the active tool through which we can make a change in the parameters of the active tool during our work, below this property bar we have three sections that are, at the left side we have tool panel which has the number of tools which we use for making the change in our editing work, at the center of this sections we have display window in which we can see our current work, at the right side of this section we have some tabs such as color tab, layer panel and some others which helps in managing of the different task in this software. You can replace all these sections at any other place in this software as per your requirement.
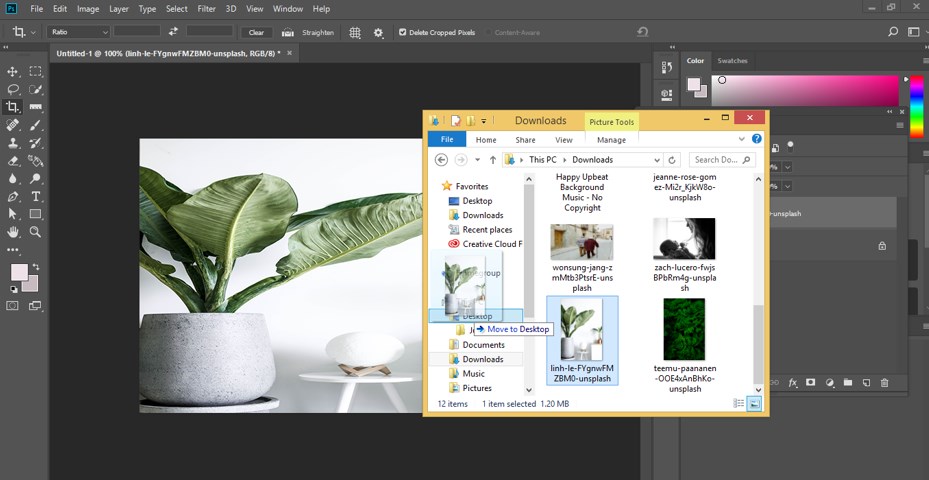
Step 2: Now, for our learning, let us take an image in this software. For placing an image in this software, go to that folder of your personal computer where you have saved it, then open it, pick your desired image from there with the mouse left button, and then drop it in the display window area.
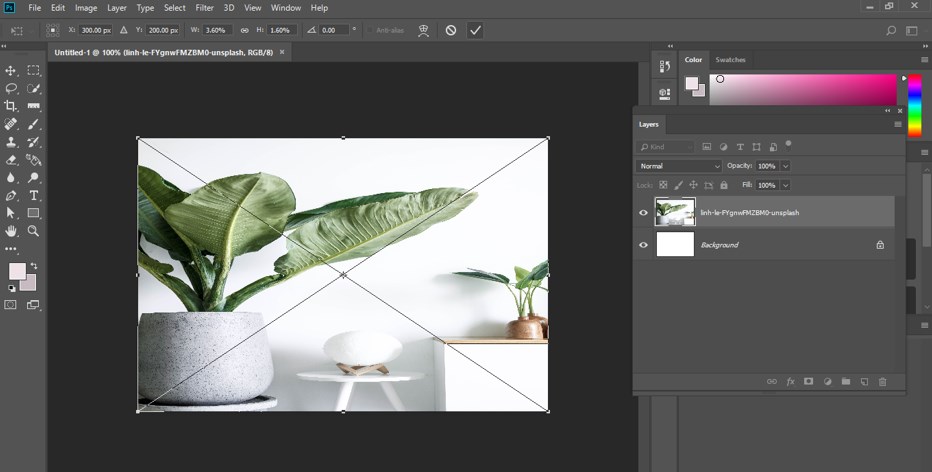
Step 3: Now adjust the size of your image according to you and click on the Tick mark or press the enter button of the keyboard for applying your settings.
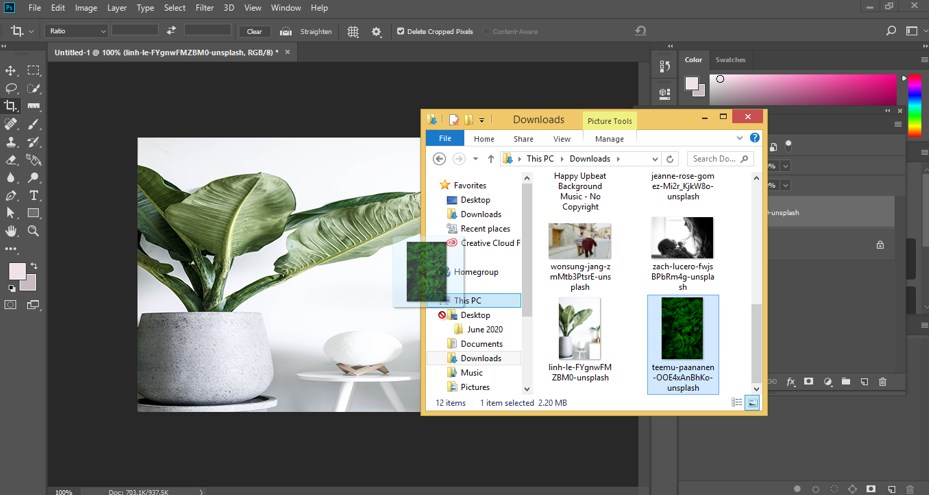
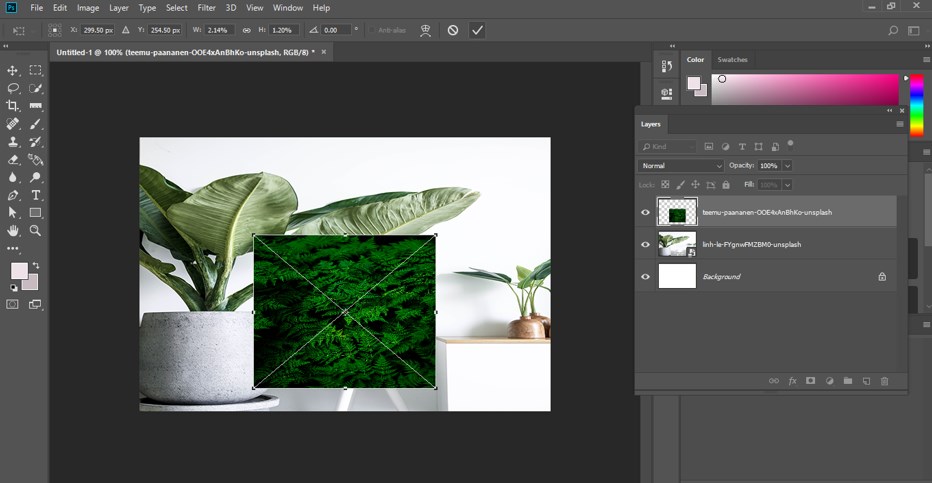
Step 4: I will again place another image in this software by the same method.
Step 5: Now adjust the size of this image and press the Tick mark or press the enter button of the keyboard to apply the settings on your image.
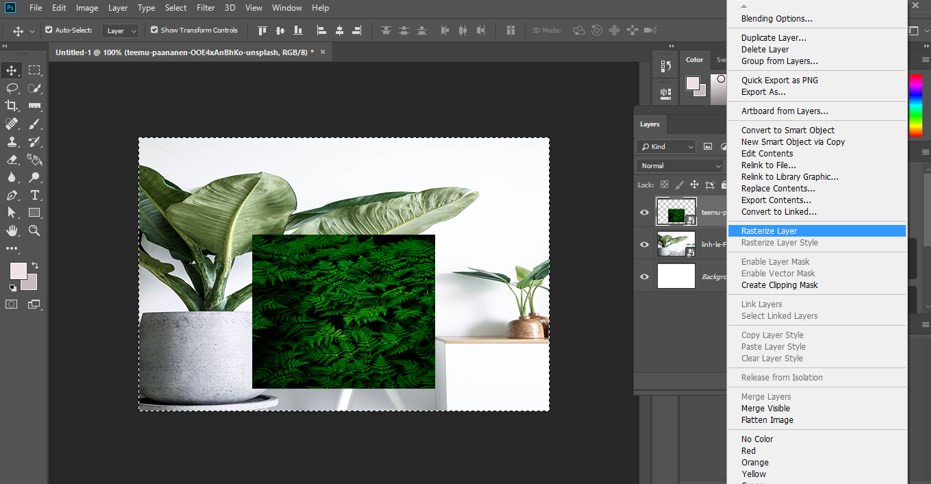
Step 6: Now go to the layer panel of this software, select this green leaf image layer by click on it, and then make right-click on this layer with the mouse right button. A drop-down list will be open to choosing the Rasterize layer option from here by click on it.
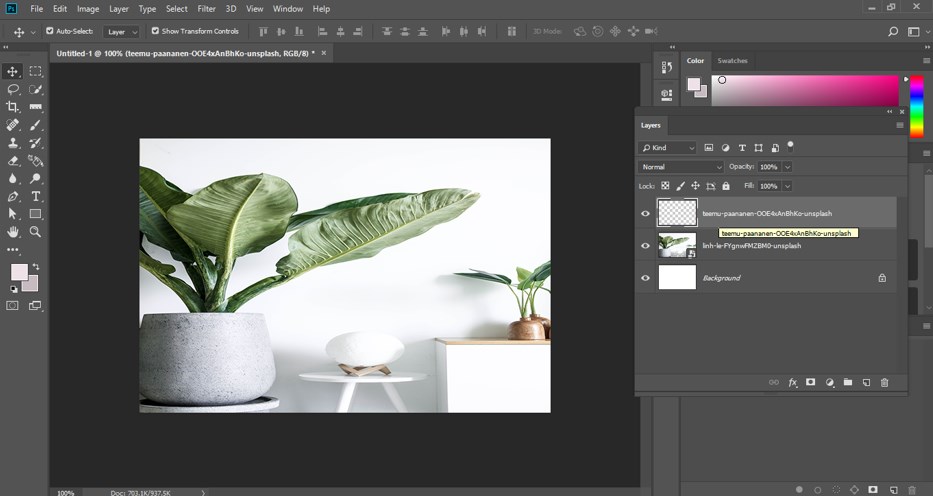
Step 7: Now press Ctrl + A button to select all options, and then press Ctrl + X button from the keyboard to cut this image from this layer.
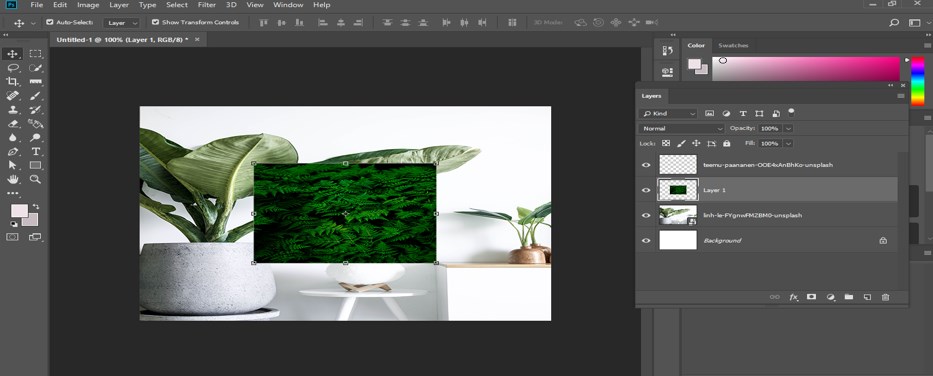
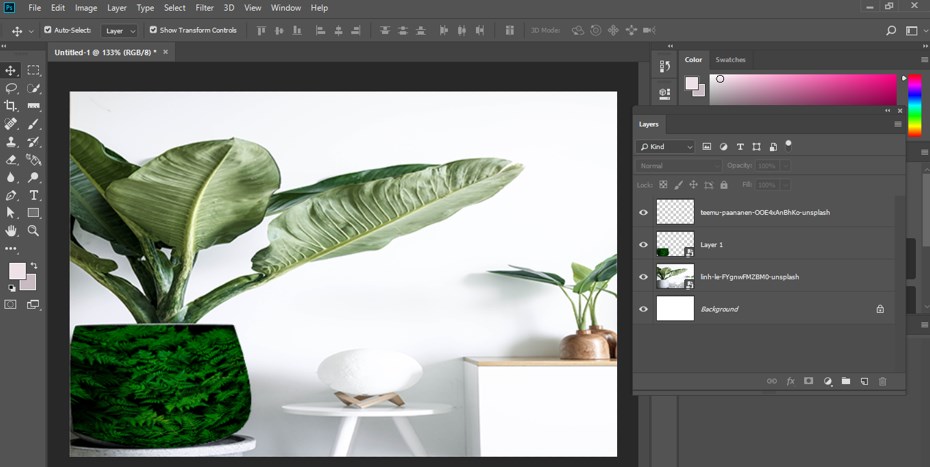
Step 8: Now click on this pot layer with the mouse left button for selecting it, then press the Ctrl + V button from the keyboard to paste the green leaf image on this pot layer.
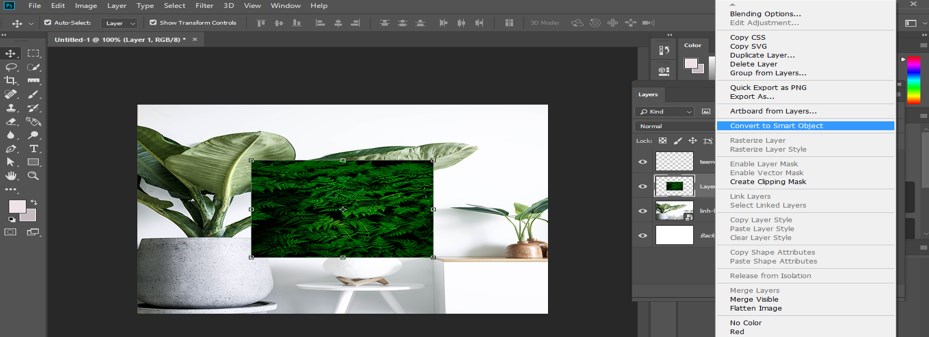
Step 9: Now, make right-click on this pasted image, and a drop-down list will be open; choose the Convert to Smart Object option from the list because we will make different types of transformation in this layer.
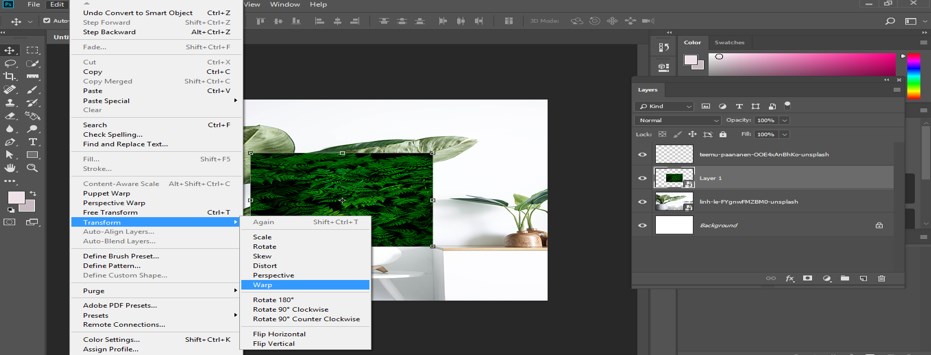
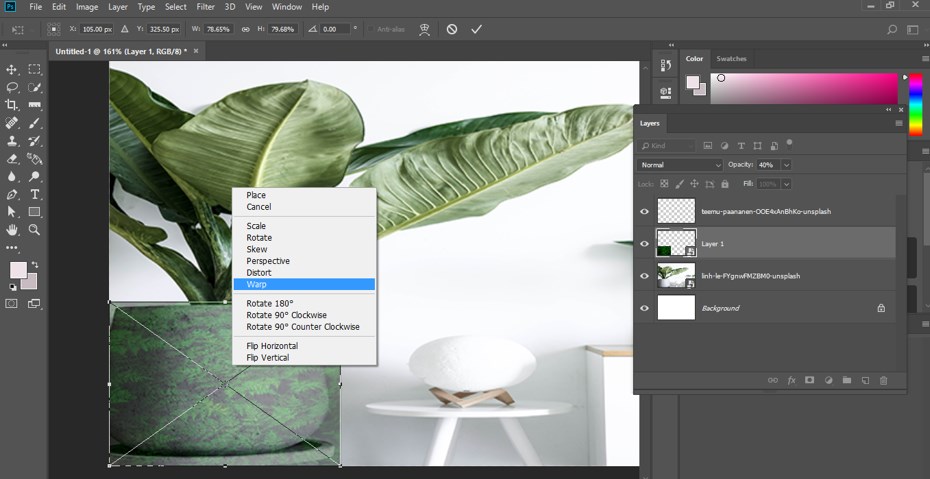
Step 10: Now, for the Warp option, go to the Edit menu of the menu bar of this software. A drop-down list will be the open to go to the Transform option; then, you can choose the Warp option from the new drop-down list by click on it.
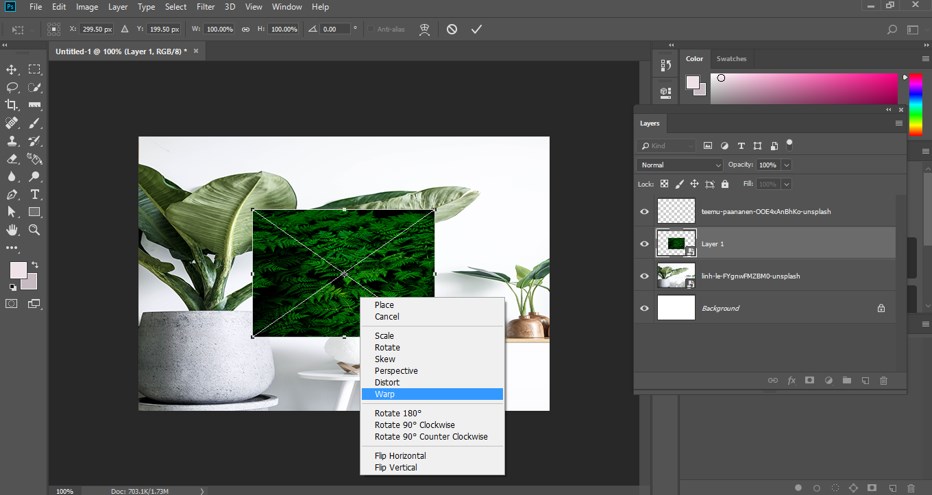
Step 11: Or you can press Ctrl + T button for the transform box on this layer, and once you see the transform box on the image, make right-click on this image, and a drop-down list will be open to choosing the Warp option from the list.
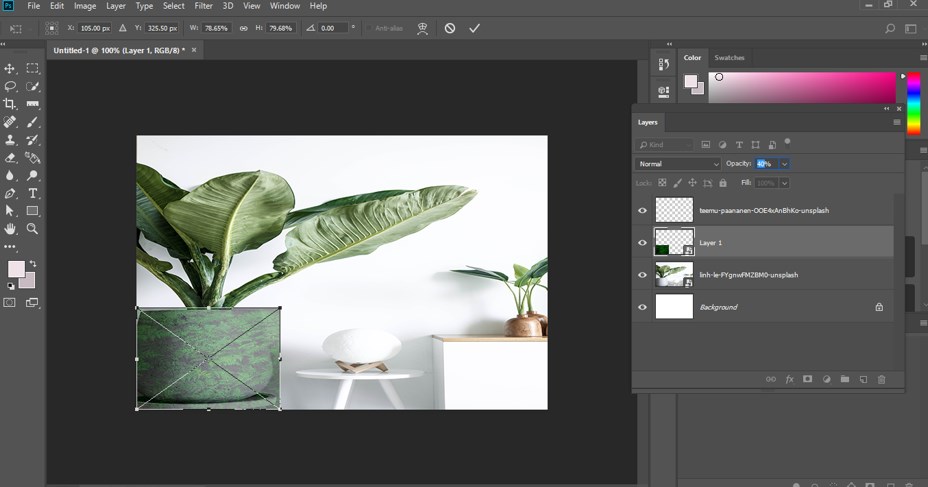
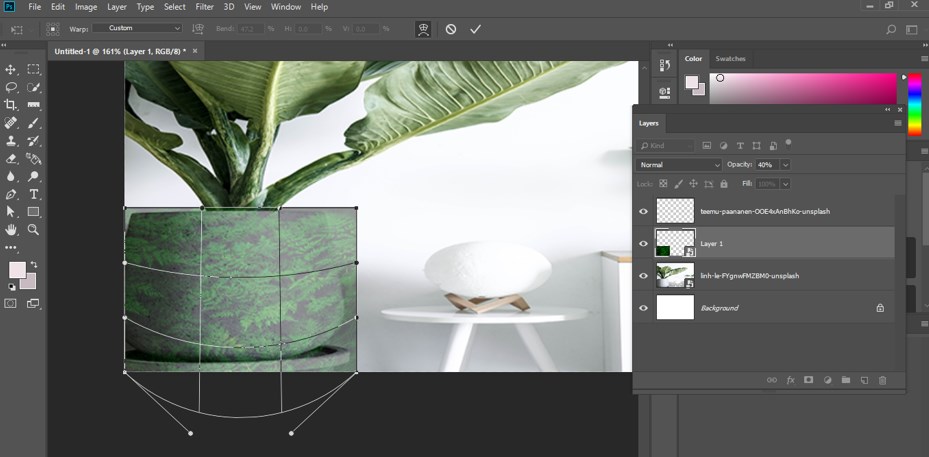
Step 12: Before choosing the warp option, down the opacity of your image so that you can properly place your image on your desired section of another image. I will place my image on the pot area because it wants to wrap my image on this pot.
Step 13: Now, choose the Warp option by any of the two options which we discuss above.
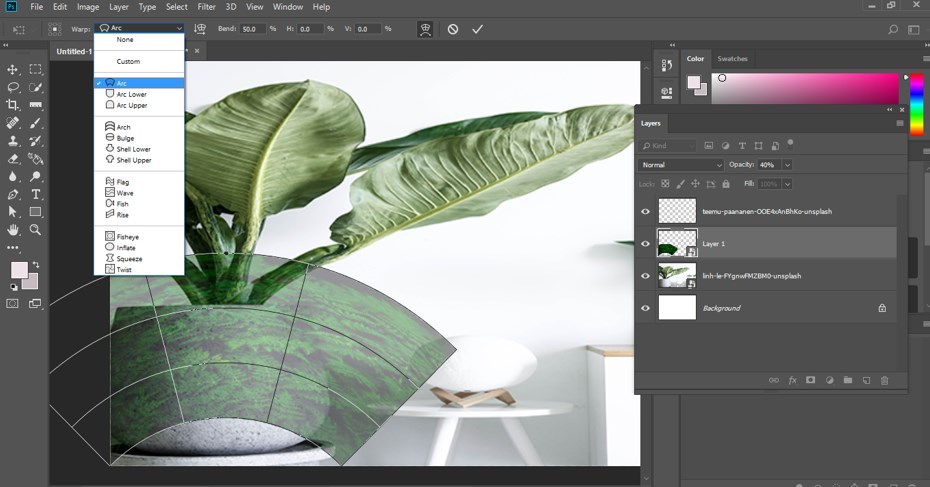
Step 14: Now, warp properties will be open in the property bar of this software. Here we have different types of pre-defined warp shapes, which makes our work easy. You can choose any one of this list, such as if you choose the Arc option, then it will convert the image in arc shape like this.
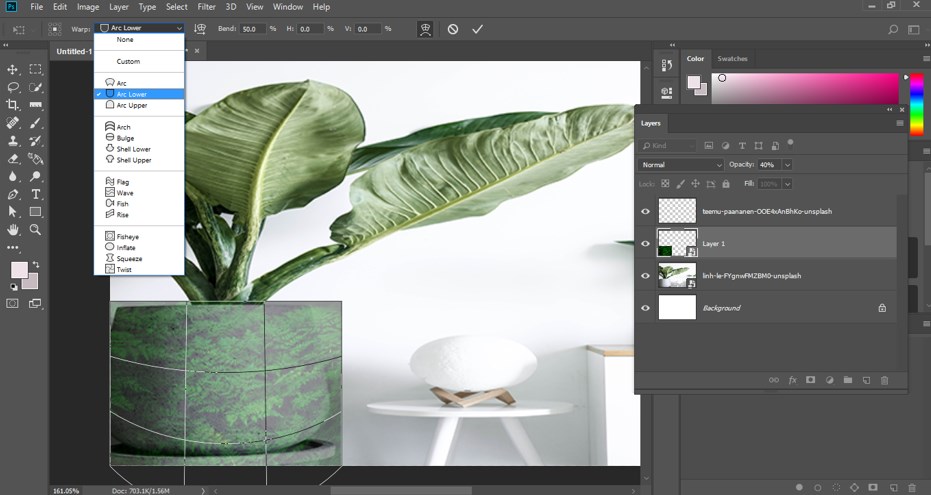
Step 15: You can choose any one of the options according to your object on which you want to paste your image. I will choose the Arc Lower option according to the pot shape.
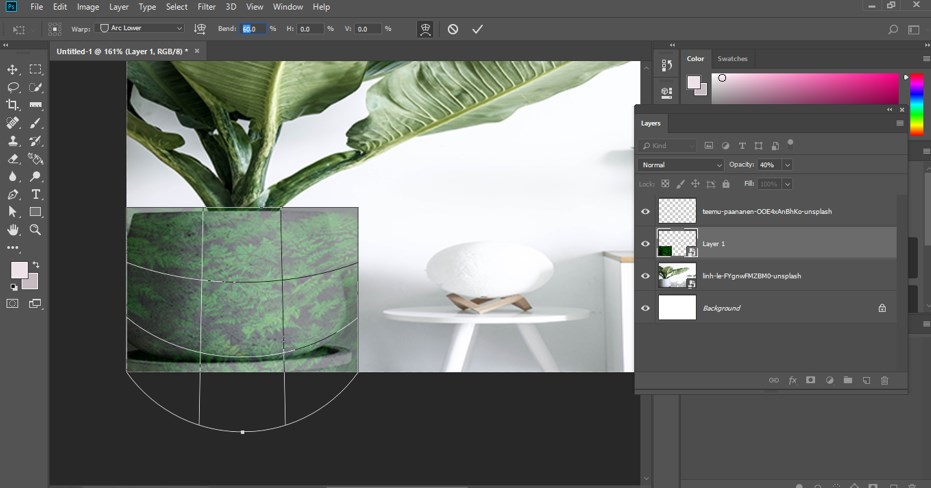
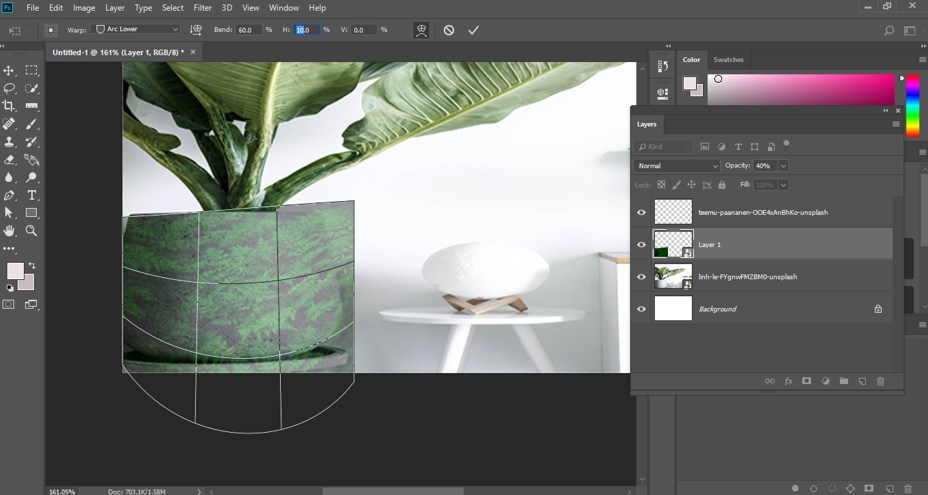
Step 16: You can change the bend of this warp by changing the value of the bend option.
Step 17: You can change the height of this warp by changing the value of the height option.
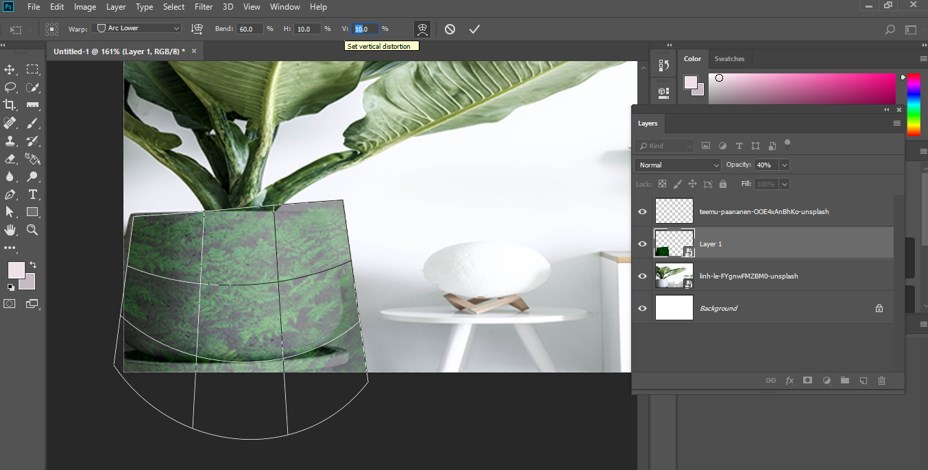
Step 18: You can change the vertical proportion of this warp by changing the value of a vertical option.
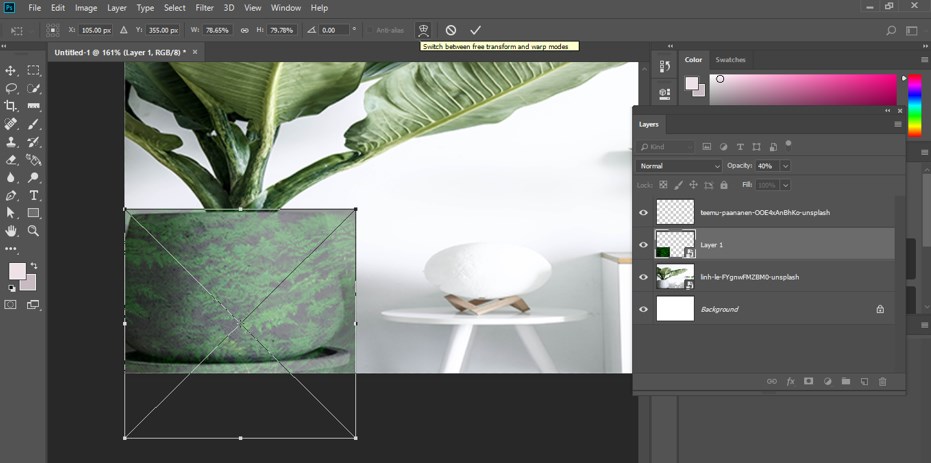
Step 19: By click on this option, you can change warp into a simple transform bounding box for changing the size of your image at any time of warping work.
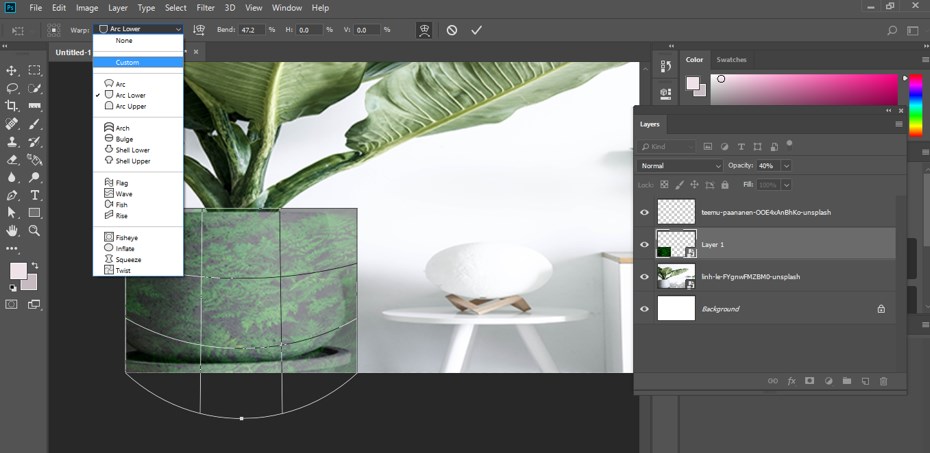
Step 20: Now go to the warp option again and click on the Custom option for making changes in the anchor points of this warp.
Step 21: Once you click on the custom option, the handle of the different point of warp will come on your chosen warp.
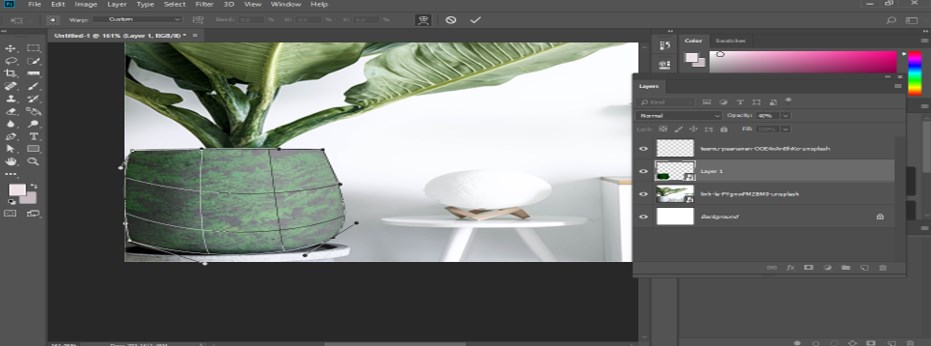
Step 22: Now, you can set your image on your desired shape by managing anchor points of warp like this.
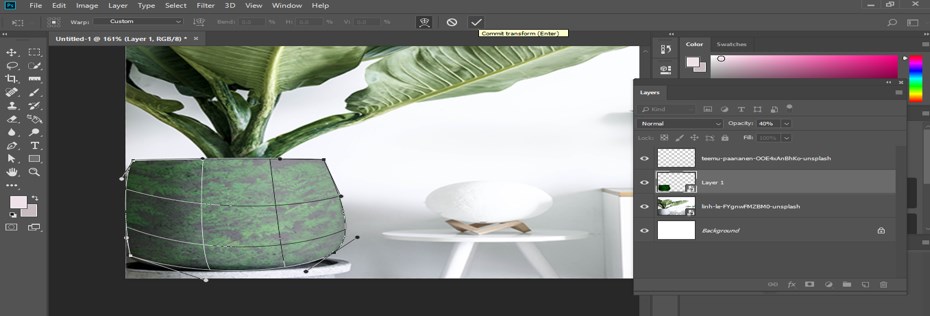
Step 23: Once you did make click on the Tick mark or press enter button on the keyboard to apply your warp.
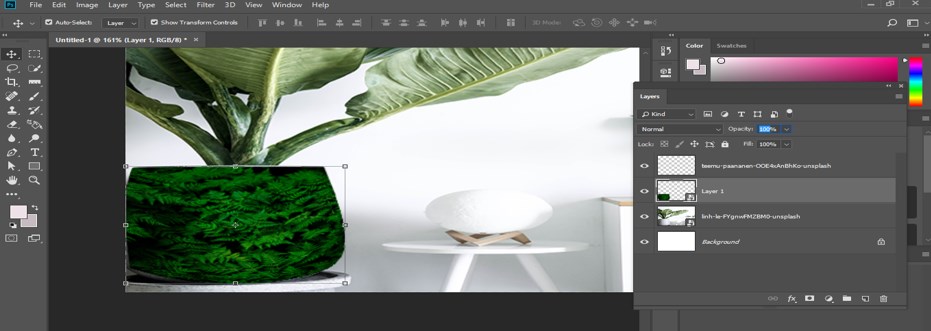
Step 24: Now increase the opacity of your image at 100 %.
Step 25: And your image will look like this.
Conclusion
Now, after this article, you can understand what image warp is and how you can handle its parameters for getting the best result in your project work. You can have a good command of this feature after practicing on different parameters of it.
Recommended Articles
This is a guide to Warp Image Photoshop. Here we discuss an introduction, how to use Warp Image in Photoshop in a step by step manner. You can also go through our other related articles to learn more –


