Introduction to GIMP Floating Selection
Floating Selection can be understand as a step which comes in layers panel of gimp when we copy and paste something on new layer. There is something more fact about floating selection option of this gimp which we will discuss today by making selection around an object of an image and paste it in the layers panel. We will discuss both short cut methods as well as traditional way of doing a thing and after getting knowledge about both of the way you can go with any one of them. Floating selection comes in the form of a layer so you can place it above to any layer of layers panel. So let us have look on these things.
How to perform floating selection in gimp?
For this purpose, you can take a new document and make any artwork then can use copy and paste process for learning about floating selection. But today we learn floating selection by doing this process on an image. So we will open an image first. For opening an image you have to go to Menu bar and then click on File menu of it. Click on Open option of drop-down list of this menu or you can press Ctrl + O as shortcut key for quick access of this command.
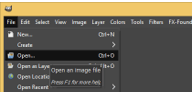
An ‘Open Image’ dialog box will be open like this. Here you can choose your desired image from its saved location and can also see the preview of your chosen image with its dimensions so that you can clarify whether the section is right or not. Once you have done click on Open button of this dialog box.

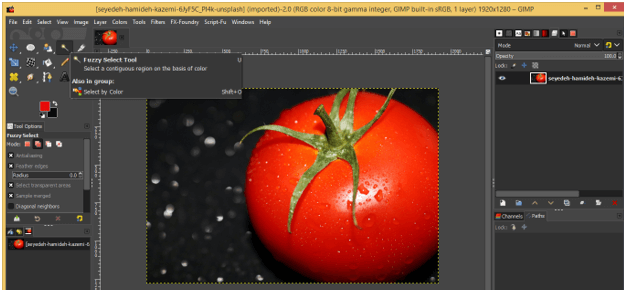
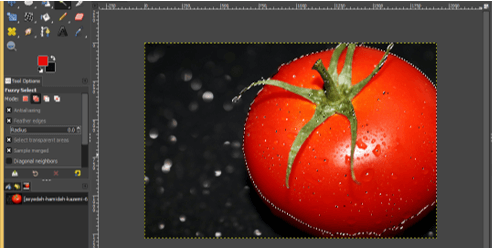
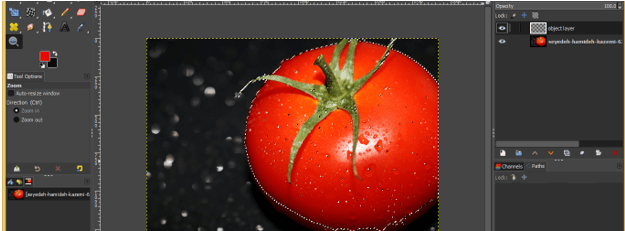
I use this tomato image for this purpose. I will make selection around this tomato and copy it then paste it on new layer for learning about floating selection. So go to Tool panel of gimp which is at the left side of User screen of gimp and take Fuzzy select tool or you can press U as short cut key for quick selection of this tool.
Now make click on this tomato with fuzzy select tool and you will have a highlighted area around it. This highlighted area will have magenta color. You will have this color only if you enable Draw Mask option in the parameters panel of this tool. You can make multiple clicks for making proper selection.
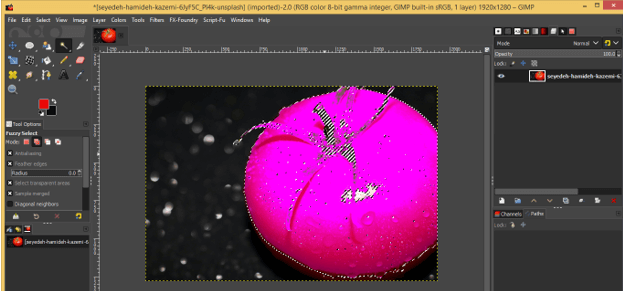
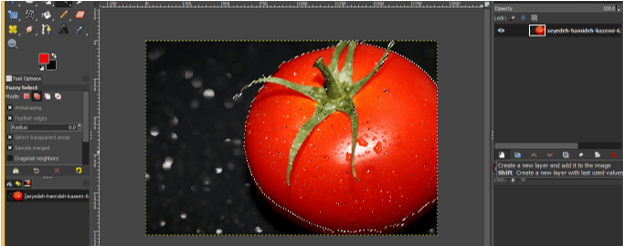
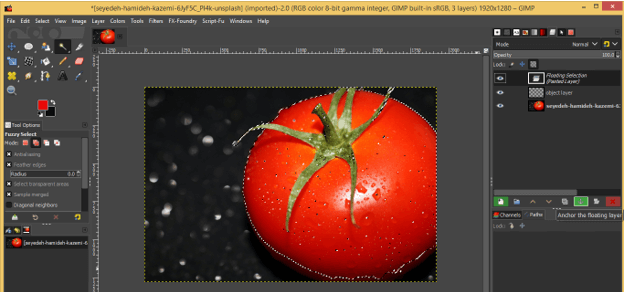
When you release mouse button you selection will become ready around this tomato like this.
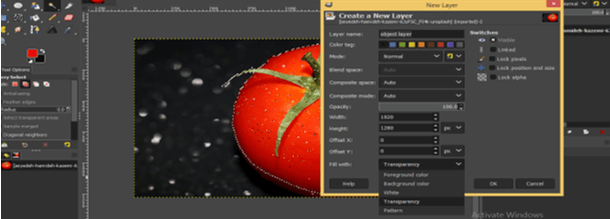
Now go to bottom of layers panel and click on Create new button for creating a new layer.
We will create a transparent layer for this purpose so choose Transparency as fill for this layer in ‘Fill with’ option then hit on Ok button of this dialog box.
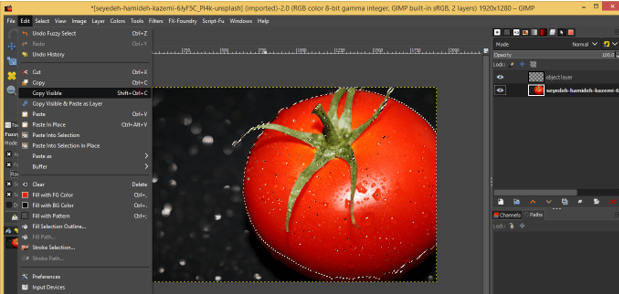
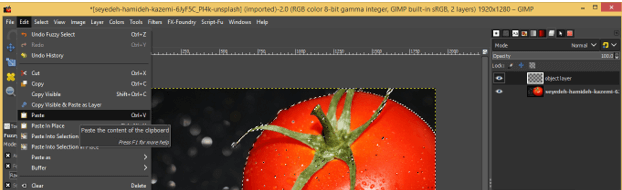
Now copy this selection. You have two methods for copying this selection. You can press Ctrl + C as copy command for this selection or you can go to Edit menu of menu bar then click on Copy or Copy Visible option of this drop-down list. Make sure you have this image layer selected in the layers panel.
Now go to layers panel and select transparent layer then again go to Edit menu and click on it. Then click on Paste option of drop-down list or you can go with second and quick way which is press Ctrl + V as short cut key.
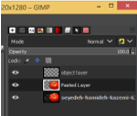
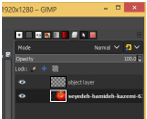
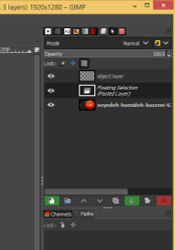
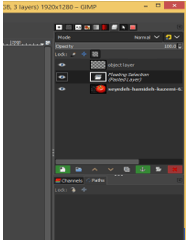
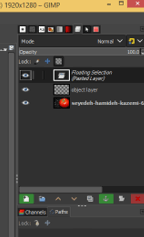
Once you click on paste option you will notice a layer will come in layers panel which is our floating selection layer. This layer work as container for our pasted work and it will become an original layer on which we can work only if we combined it with other layer by using some other option.
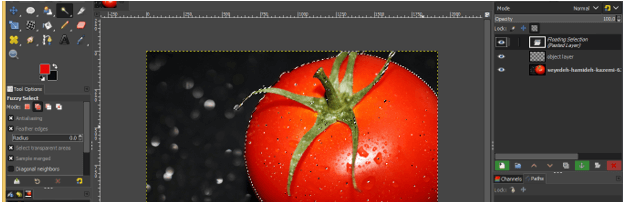
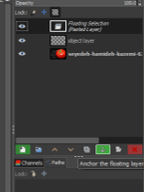
You can see when there Floating selection layer comes there are two button become active at the bottom of the layers panel. One is for ‘Creating new’ layer for this floating layer.
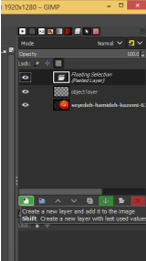
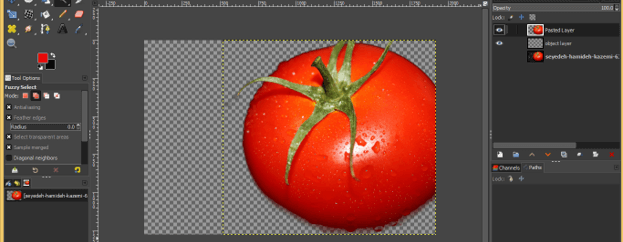
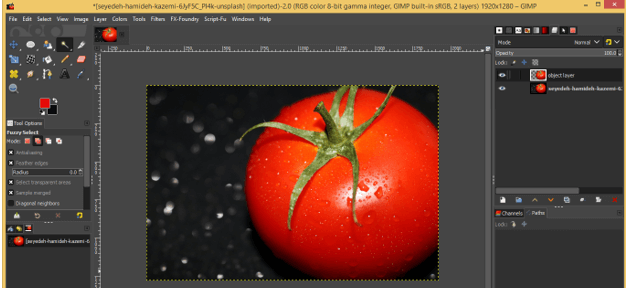
And when you click on this button floating selection layer will combine with new layer and you will have your copied selected object paste on new layer in layers panel like this.
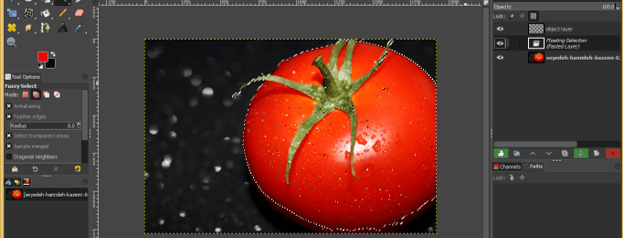
The other option is Anchor the floating layer.
That means when you click on this option. Floating selection layer will combined with the below layer and your copied object will past on the below layer.
You can choose location where you want to have floating layer. Just make that layer active in layers panel by click on that layer above which you want floating layer. This time I want floating layer above to our original layer so I will select this layer before pasting this selection and when I past it floating layer will come above to this layer.
And you can go with any one of the method through which you can combine floating selectin layer with other layer which we discussed above.
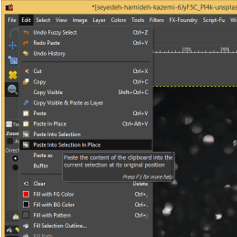
You can also go with Paste-In Selection option of drop-down list of Edit menu for pasting your copied selection.
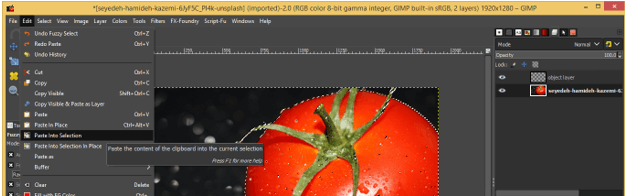
And when you click on this option you will have same floating selection layer in layers panel.
You can also go with Paste in Place option of same menu for do the same work.
One thing you must rememer when you copy your made selection make sure you are on original layer in layers panel of that image on which you have made selection. If you our on transparent layer and copy it.
Then when you past it you will have floating layer as we have in previous.
But when you make this floating layer as layer by any of two methods.
Then you will have nothing on the new layer because you have copied pixel of transparent layer not your selection. So during copy and paste process be aware about this.
Conclusion
Here we have good discussion on the Floating selection layer of gimp and analyze all the parameters and shortcuts for learning about this option of gimp. Now you can use this without any problem and have good handling on it.
Recommended Articles
This is a guide to GIMP Floating Selection. Here we discuss the introduction and How to perform floating selection in GIMP?. You can also go through our other related articles to learn more –
