
Introduction to GIMP batch processing
In this article, we are going to learn how to perform batch processing in GIMP. Batch processing is a use case that is helpful if you want to do the same operation, which can be a single step or multi-step procedure repetitively on multiple images. Some common task includes resizing and optimizing images for web or mail, some basic color corrections and sharpening or blurring the images. We can even rename multiple images at once by using a pattern or any other operation imaginable inside GIMP using batch processing with the help of a plugin name BIMP which is available free to download.
Steps of GIMP batch processing
Here are the following steps mention below
Step 1: First, we will need some stock images which you can download from any stock image sites like Unsplash or pixels. Download around 5 to 7 images which we will need for bulk processing. You can also work with your own images from your camera or mobile.
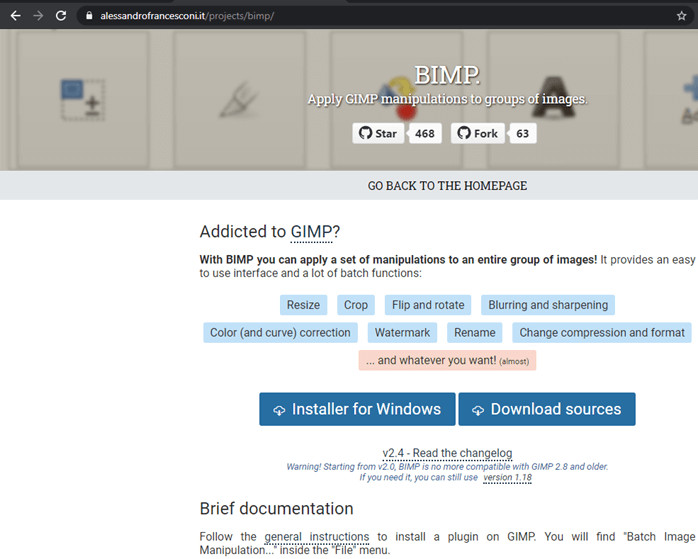
Step 2: Next, we will go to https://alessandrofrancesconi.it/projects/bimp/ to download a GIMP plugin as batch processing is not supported in GIMP by default
Step 3: Double click on it and install it like any other application on windows.
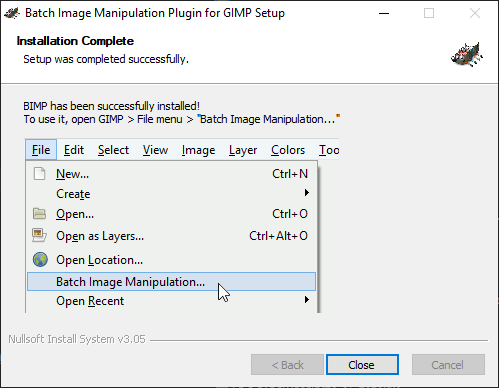
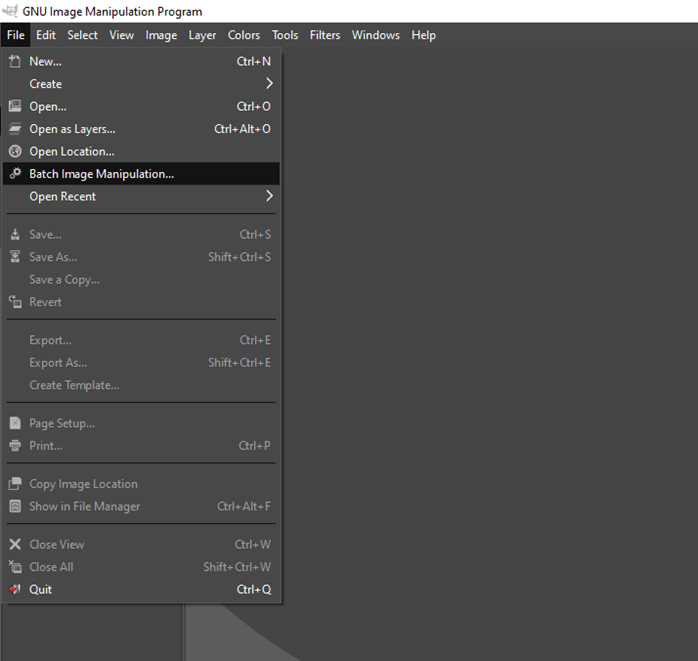
Step 4: BIMP plugin can be found under the file menu and select Batch Image Manipulation
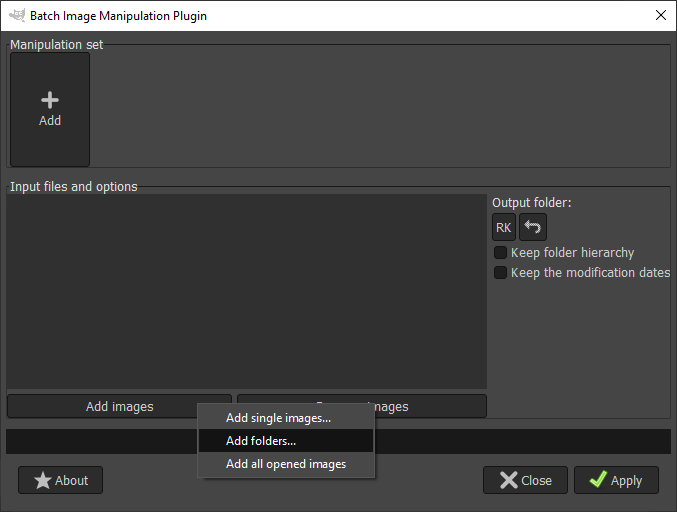
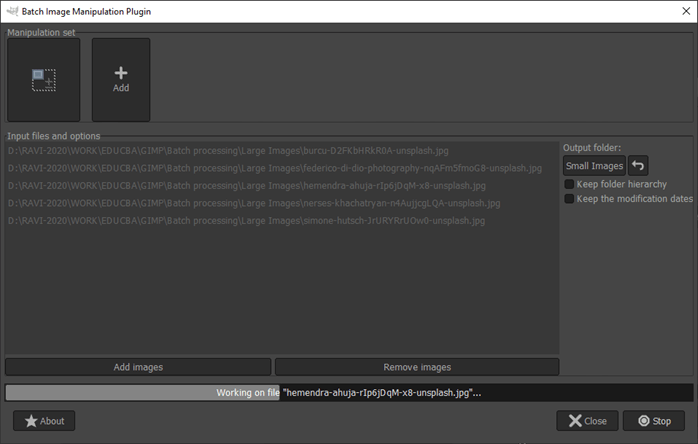
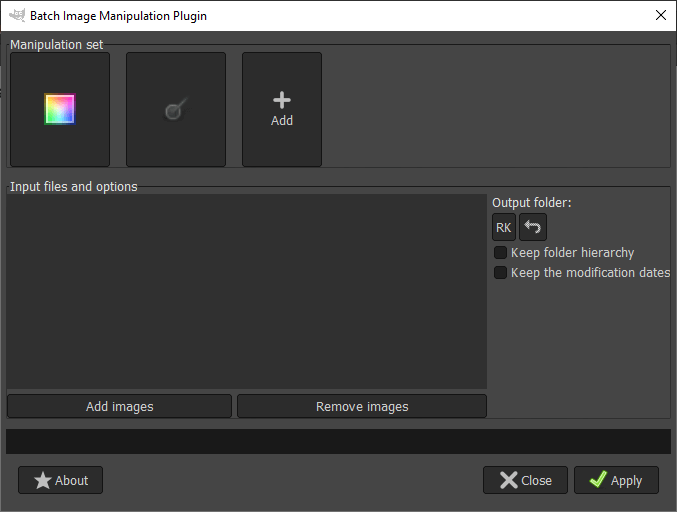
Step 5: Then, you will be greeted with the following plugin dialog where first we will add images where; there are 3 options to add a single image, or add a folder, or add all currently opened image in GIMP. We will add a folder.
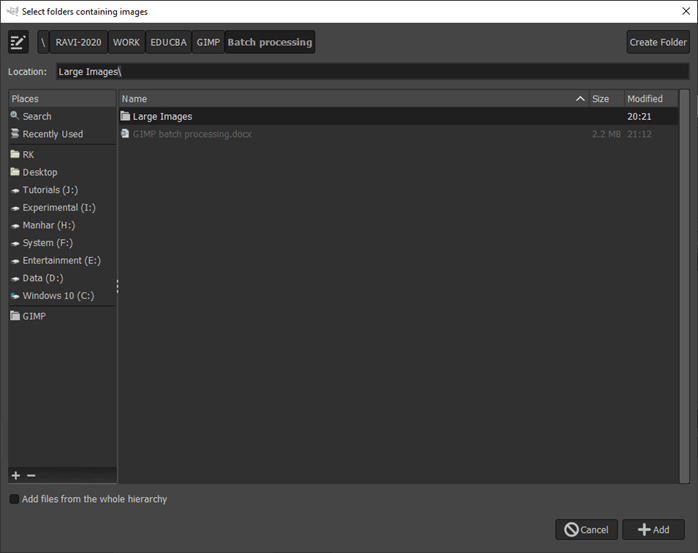
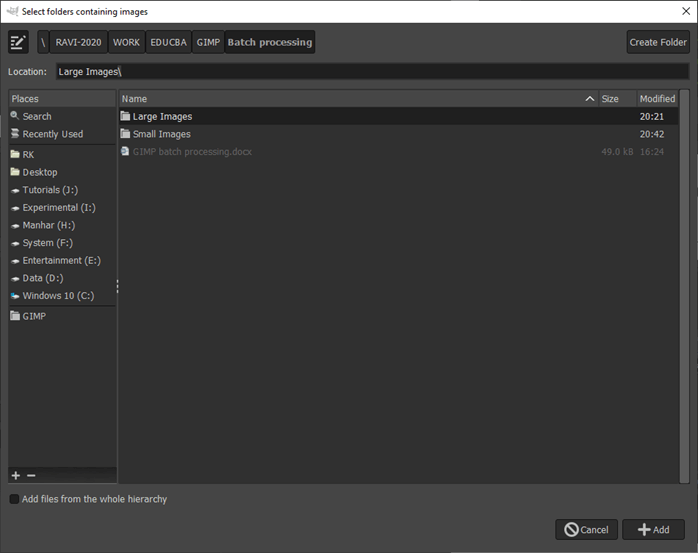
Step 6: These are all the high-resolution images that we have downloaded from the stock website and kept in In Large Images folder.

Step 7: Then, we will navigate to this folder of Large Images.
Step 8: Once the images are added, you can see them in the list of input files; you can remove files or add any files to the list. Now we will add some manipulations from the manipulation set. First, we will look at resizing. You can also set the output folder where you want; in our case, we have set it to Small Images. There is an option to keep the same folder hierarchy as well as the modification dates as original files if you want it.

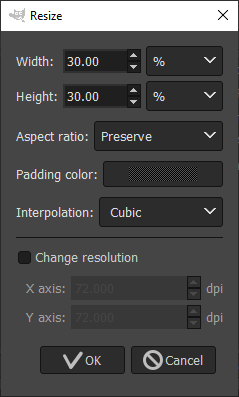
Step 9: In this, we will resize the width and height to 30% of the original dimensions. We will preserve the aspect ratio and interpolation to cubic and keep the resolution unchanged and click OK.
Step 10: You can see the progress bar of the files being processed. At any point, if you want to stop the processing, you can click Stop.
Step 11: Once all files have been processed, the status will indicate if there is an error, and then you can click close and quit GIMP.

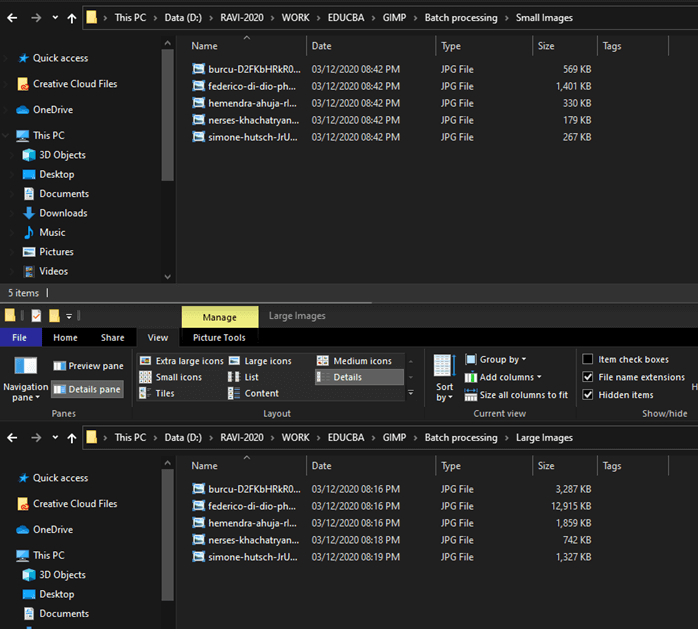
Step 12: Now we can compare the small and large images, and we can see the dimensions, which is the width and height of the image is reduced by 30%
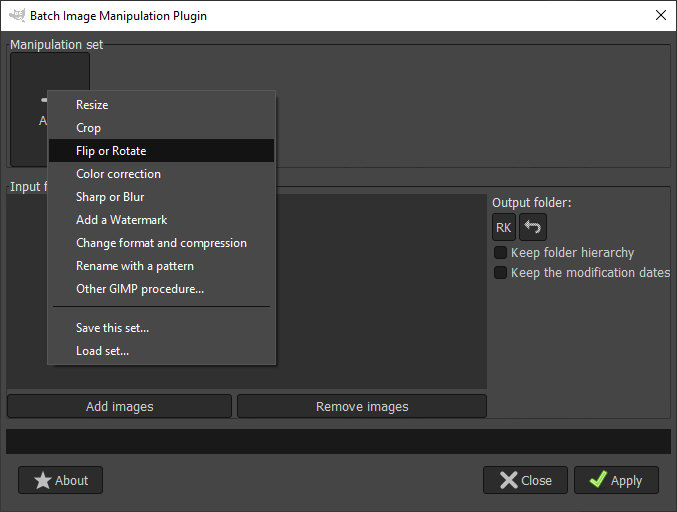
Step 13: Again, we will open the batch image manipulation plugin, and new we will do Flip or Rotate manipulation.
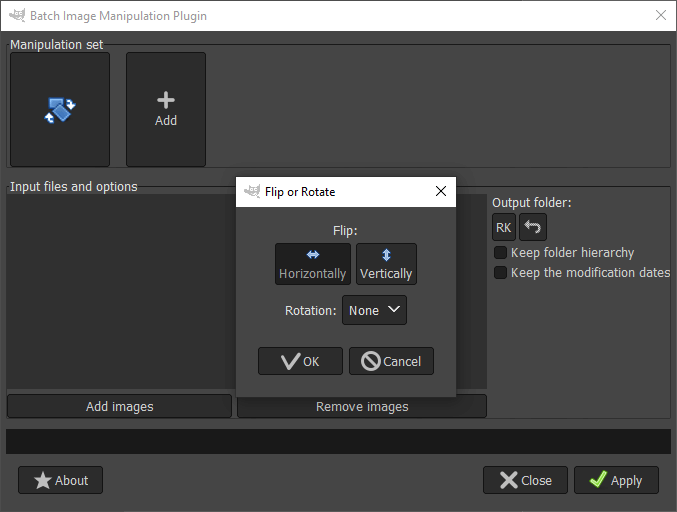
Step 14: In this, we will flip the image horizontally, and no rotation will be done.
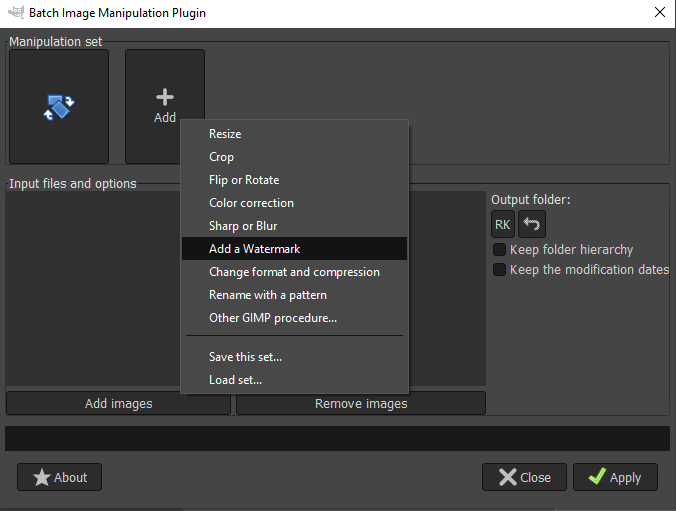
Step 15: One cool thing about this plugin is that we can chain multiple manipulations in a single batch operation, so we will add a watermark to our images after we flip.
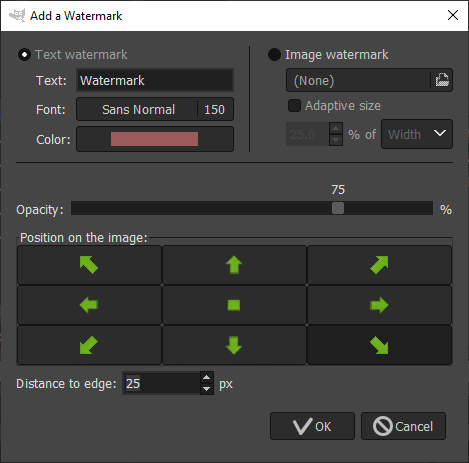
Step 16: Let’s add a text watermark where you can set the font type and size as well as color. Change the opacity if you want it to see-through and change the position of the watermark relative to the image by clicking any of the direction buttons, and there is an option to set the distance to edges.
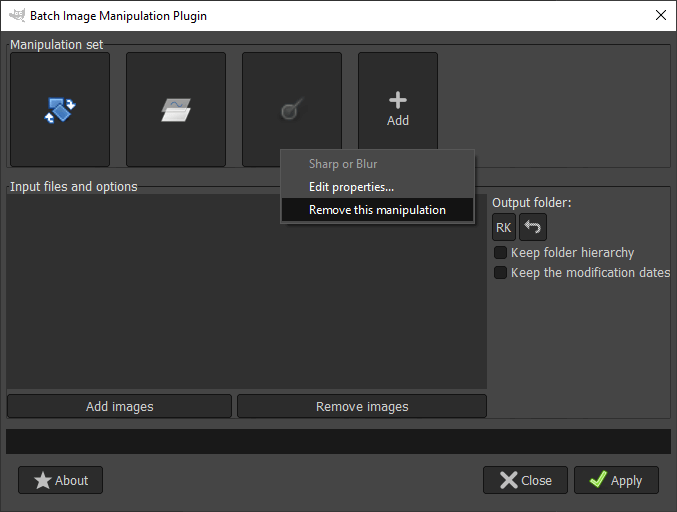
Step 17: Suppose you add any manipulation by mistake like sharp or blur in this case when you can click it and remove this manipulation or if you want to change any existing manipulation change edit its properties.
Step 18: Then, we will add images again by choosing the Large image folder.
Step 19: Then, we will create a new folder and name it Rotate and Watermark.

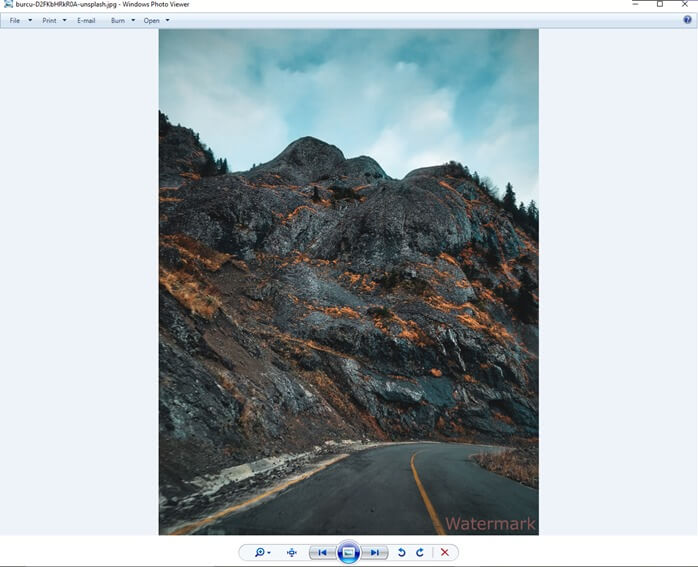
Step 20: And then, we will run our batch processing, and you will see that our images are flipped, and a watermark is added at the bottom right corner.
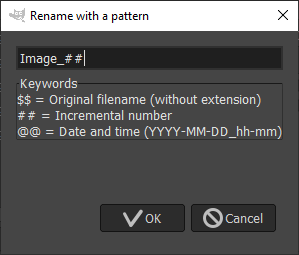
Step 21: Next, we will see rename with a pattern manipulation.
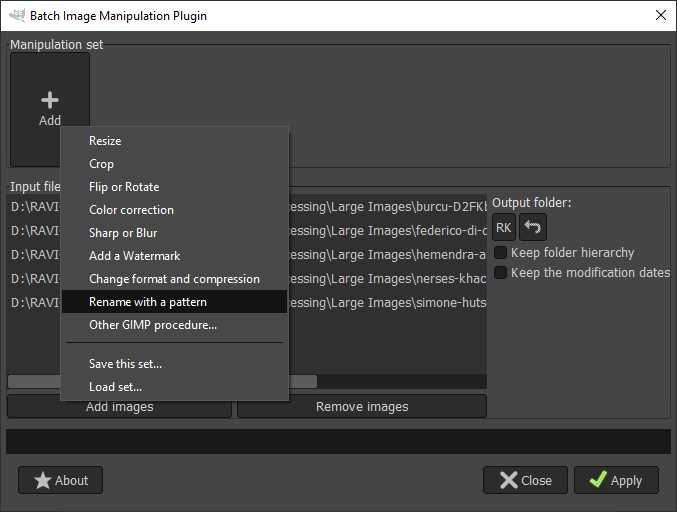
Step 22: Here $$ represent original filename, ## represent Incremental number and @@ represent date-time. So, we will rename with pattern Image_##, which will give the result of Image_1, Image_2, and so on.
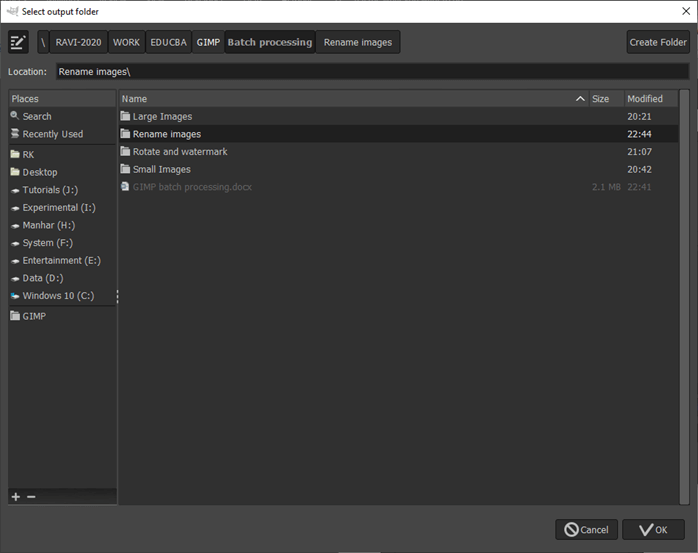
Step 23: Select the output folder to Rename Images.
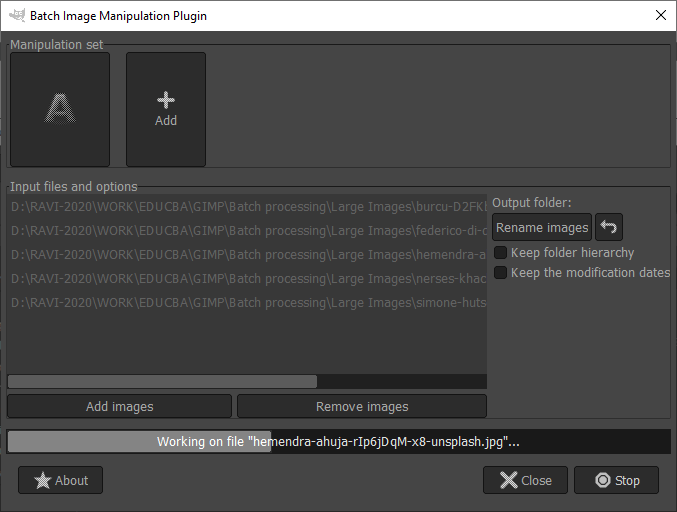
Step 24: Then, we can see the renaming in action.
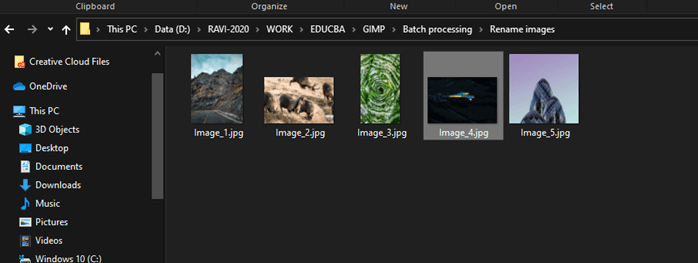
Step 25: As we can see, all the images are renamed with the pattern Image_##
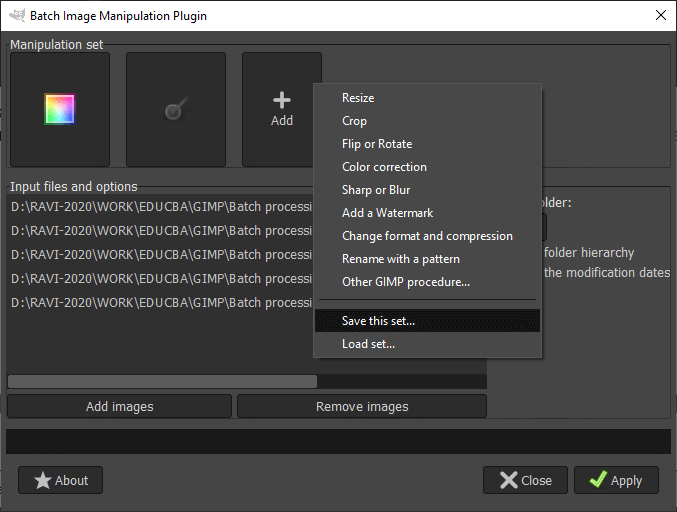
Step 26: Now suppose we have performed a batch operation with series of manipulation like in this case, color correction and sharp or blur, and we have to perform this exact sequence later then we can save this set
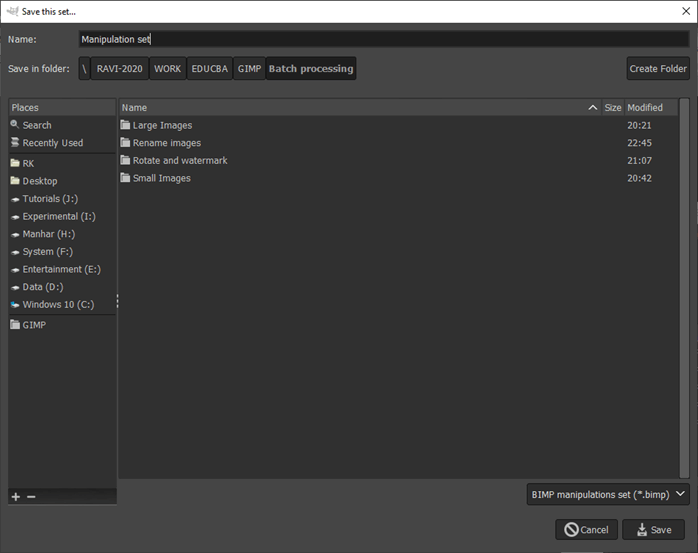
Step 27: Then, we can choose a location to save the set and give it a name which will save a file with the .bimp extension.
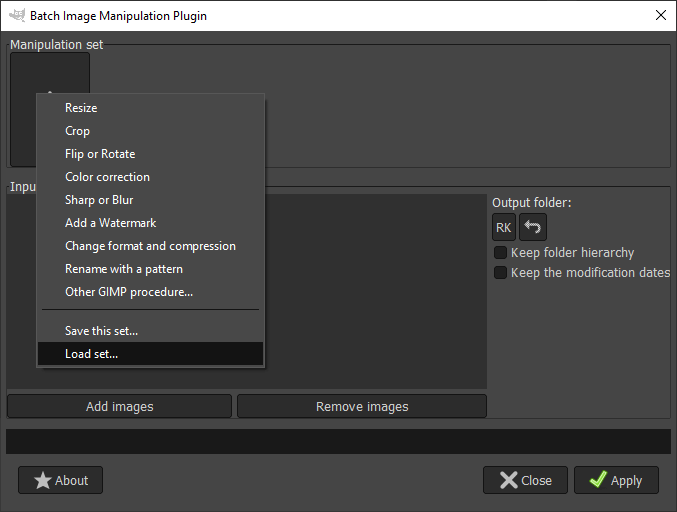
Step 28: Now, suppose some other time we need to load the exact manipulation sequence, then we can load the saved set.
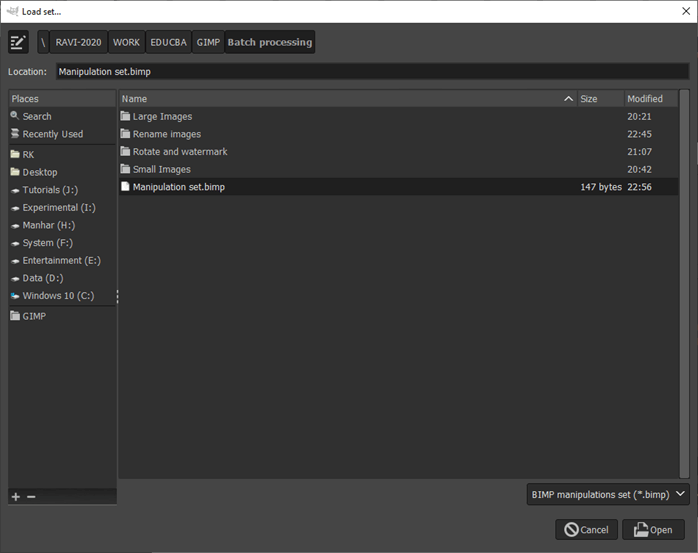
Step 29: Navigate to the location and open a file with the .bimp extension
Step 30: As we can see that the exact sequence is loaded, and now, we can add the input files and set the output folder and carry on this batch operation.
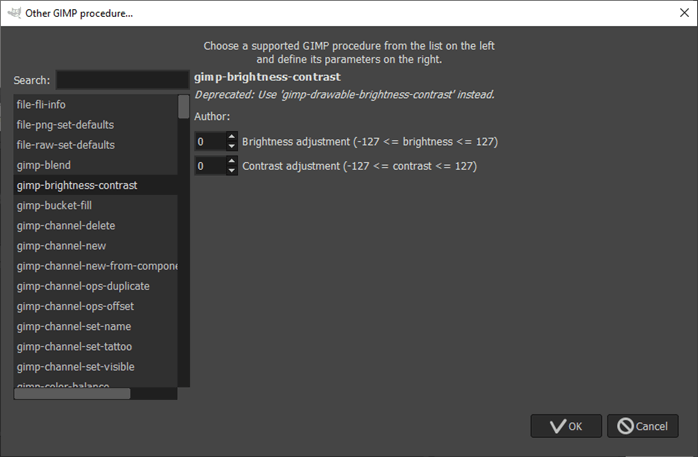
Step 31: Now, if you find that the manipulation in the list is limited, then you can select other GIMP procedure where you can find almost all the operations in GIMP with their respective parameters.
Conclusion
In this article, we have seen how we can perform batch processing in GIMP. First, we have seen how to install the BIMP plugin and then do some basic operations like resizing images in batch. Then we have seen how we can do multiple manipulations in a single batch operation. Apart from that, we have seen how to save and load the manipulation sequence.
Recommended Articles
This is a guide to GIMP batch processing. Here we discuss how we can perform batch processing in GIMP and how to install the BIMP plugin. You may also have a look at the following articles to learn more –
