Updated July 7, 2023
Introduction to Blur Effect in GIMP
Blur Effect in GIMP works as an effect that we create by taking photos with a DSLR camera which means the camera makes the background blur except our main object or focal point. In GIMP, you can create a blur effect by using different tools and features of this software, which give you an image with a blurred background without disturbing your main object. Blur out any area in any image totally depends on you, which means you are free to choose which area you want to make blur and which area you want to focus on. So let us find out how we can do this.
How to create Blur Effect in GIMP?
Creating a blur effect in GIMP is not a very difficult task for us because after learning the steps of doing this from this article, it will become very handy for you. So what are you waiting for? Let us go through it.
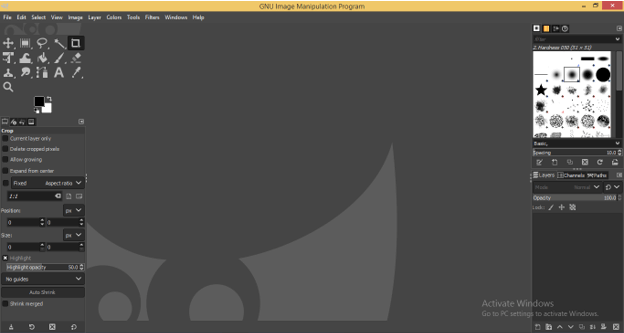
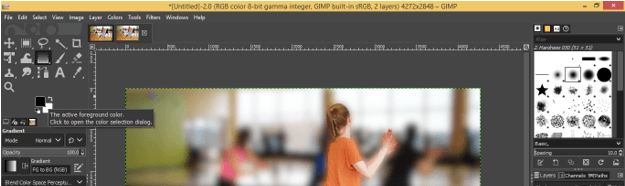
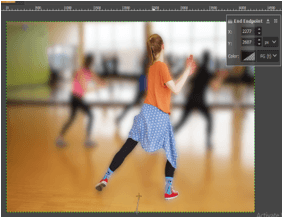
This is the User screen of the GIMP 2.10 version in which, at the top, we have a Menu bar with some menu tabs such as File, Edit, and so on. Below this, you will find the tool panel on the left side and their properties section below it. At the center, there is a display window that shows us our work, and next to this window, on the right side, we have a layer panel with some other tabs.
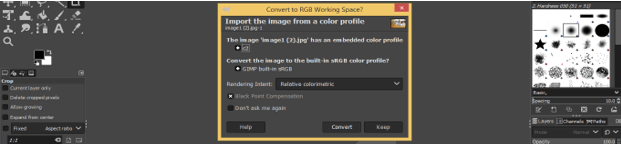
Now let us place an image on which we create a blur effect, so open the saved folder of your desired image and pick it from there, then drag it to the icon of GIMP at the taskbar of your computer screen.

And release the mouse button after coming into the GIMP software. Once you release the button, this dialog box will open. It is asking if you, will you want to work with RGB color working space and then hit on the convert button, or otherwise, you can go with the keep option. Here I will hit on the Convert button.
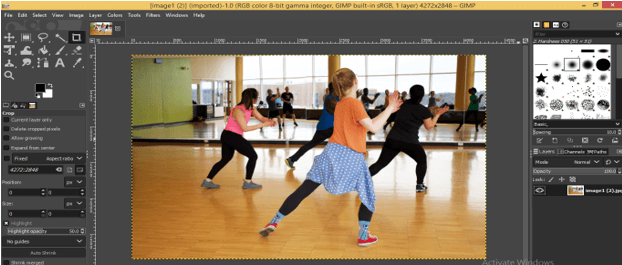
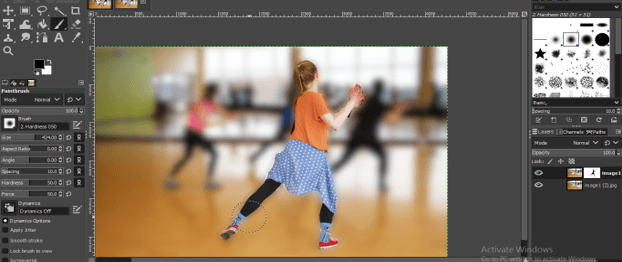
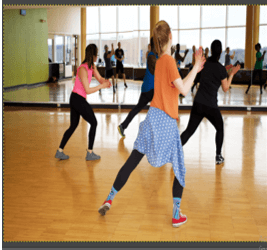
This is our image, and here, my main focus is the front girl, and I will make the background blur except this girl. Now Select the original layer and hit on the duplicate button for making a duplicate layer of this layer.
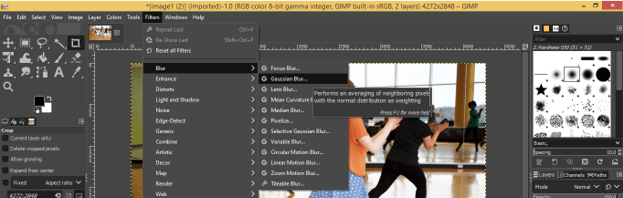
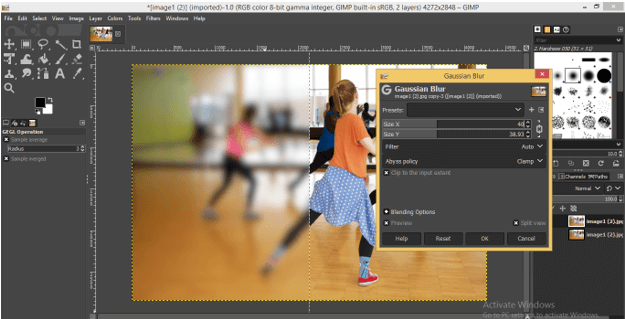
Now select a duplicate layer by clicking on it and go to the Filters menu of the Menu bar, then click on it. Go to the Blur option of scroll down the list, then choose the Gaussian Blur option from the new scroll down the list of Blur options.
For setting parameters of blur intensity, a dialog box of Gaussian blur will be open. If you have a preset, then you can choose it directly from the preset option.
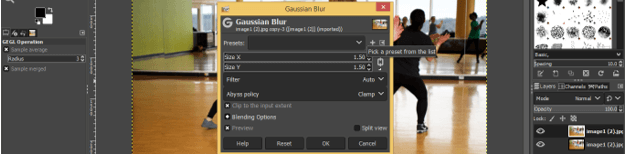
Make click on the Split View button of this dialog box so you can compare your original and blur image.
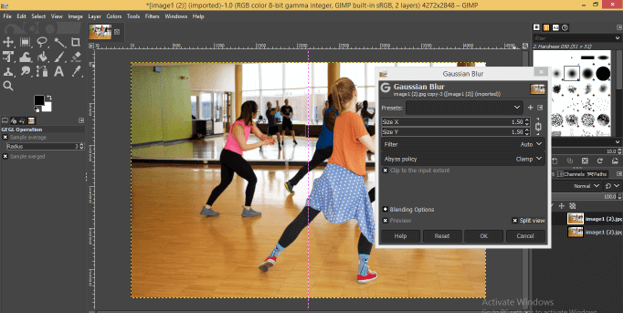
Now move the slider cursor on the Size X option for blurring pixels in the x-direction. Due to the link button being On your chosen value for the x-direction will automatically fill in the y-direction (Size Y option).
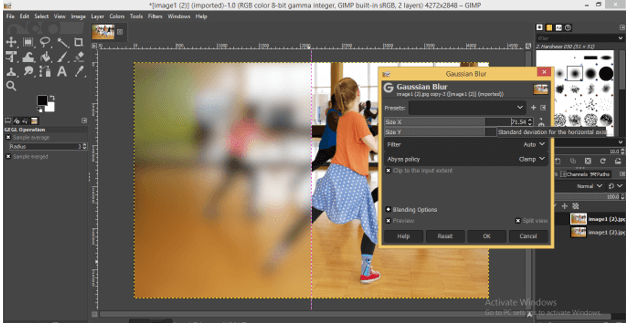
You can enter the value by keyboard also. I will set 40 as their value, and you can see the effect of blur on the split window of the image.
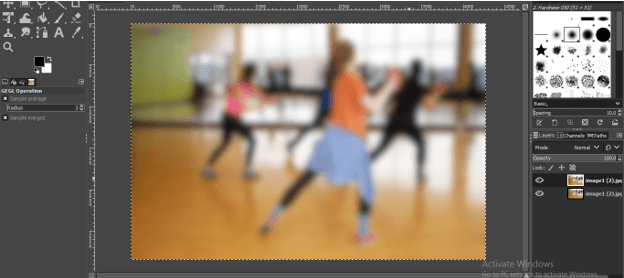
This is our blur image. Now click on the eye button of this layer for hiding it.
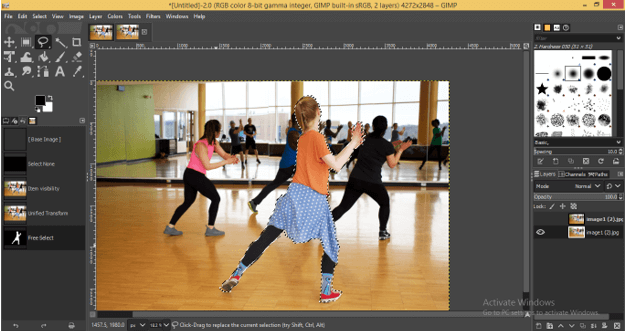
We will make a selection around this girl on the original layer with the Free Select Tool of the tool panel.
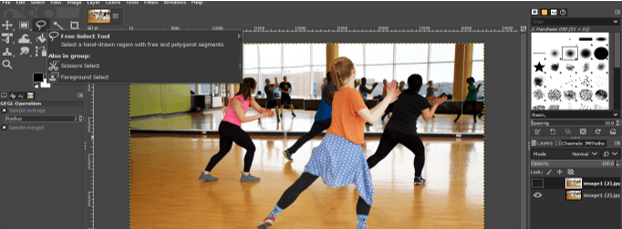
Make a selection like this. If you make a proper selection, then it will be good, and if there is some requirement of improving in selection for perfect selection, then we will do that in a later step.
Once you close the path with this tool then, your made selection will be active around this girl like this.
For soft selection, add some feathers to it. Go to the Select menu and click on the Feather option.
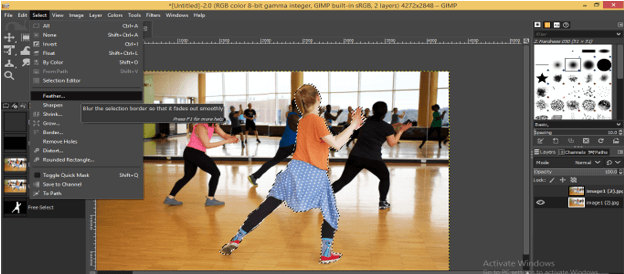
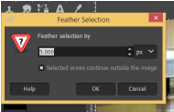
Give the value of the feather in this box. I will give 5 as its value.
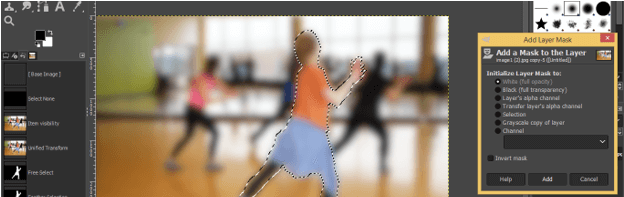
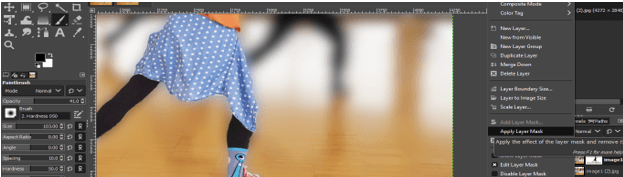
Now again, click on the eye button of the blur layer of this image to un-hiding it, then make right-click on this layer then click on the Add Layer Mask option for adding a mask to this layer.

Now click on the Add button of the opened dialog box without disturbing other options in this box.
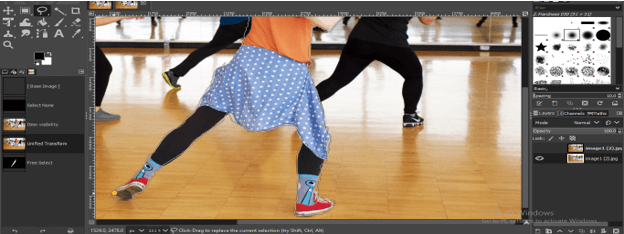
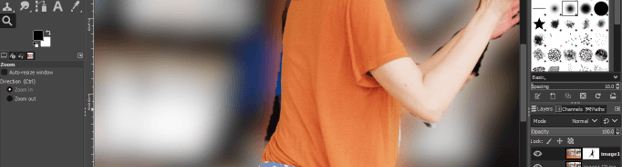
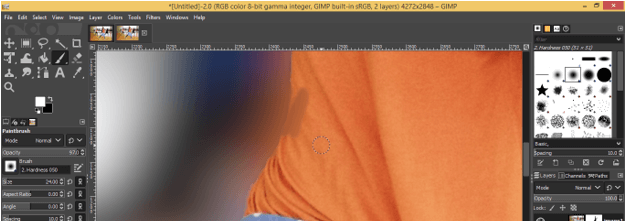
Now creating a mask of the selected area takes the Paint Brush tool from the tool panel.
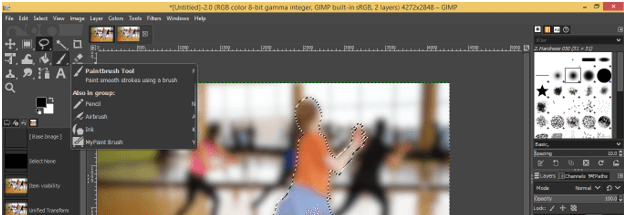
Take a brush of Hardness 050.

Increase brush size according to your selected object.
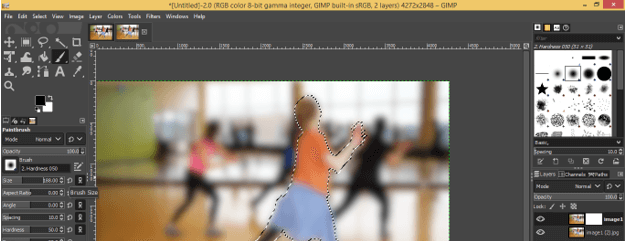
Opacity should be 100%.
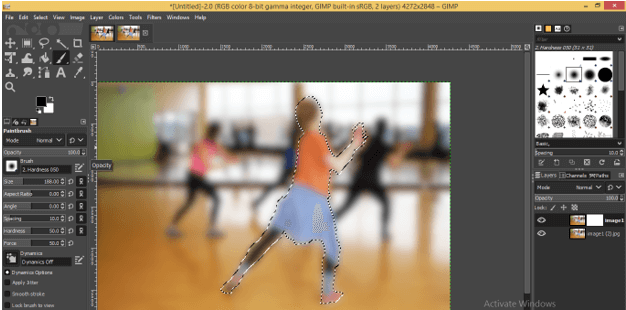
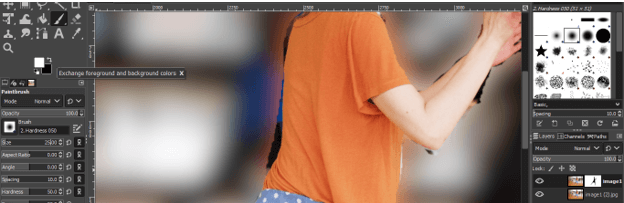
Now paint on the selected area with this brush. Don’t worry about areas beyond selection because brush only works on selected areas.
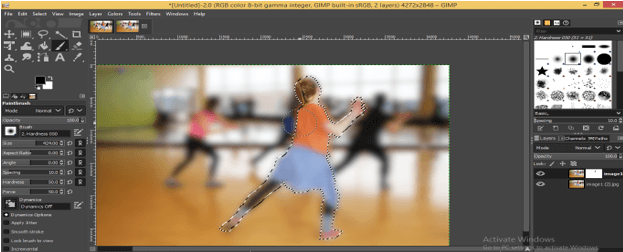
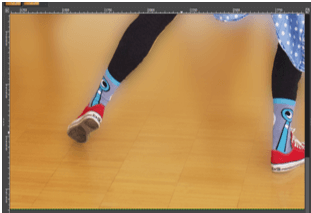
And you will get this type of un-blur area on your selection.
Now click on ‘None’ option of the Select menu for deselecting selection.

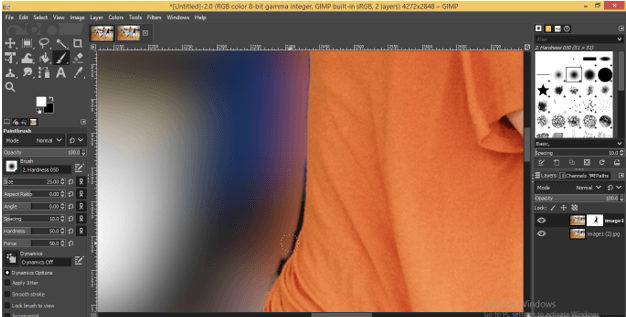
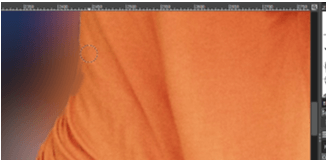
If you have this type of problem with your masked area, then don’t worry.
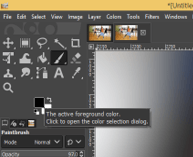
Take the brush tool, set its size according to the area which you want to correct, and switch to white color as foreground color.
Now paint with a brush at an undesired area like this.
If you disturb some area on your main object during this work, then don’t worry again.
Switch to black color as the foreground color and paint out disturbed areas.
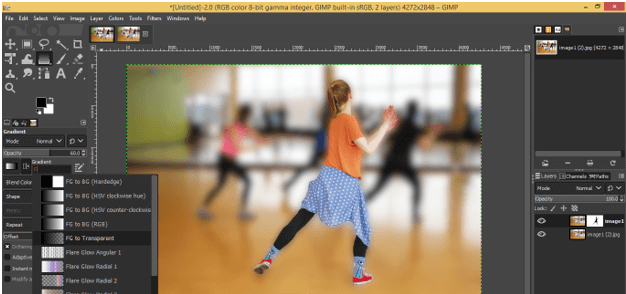
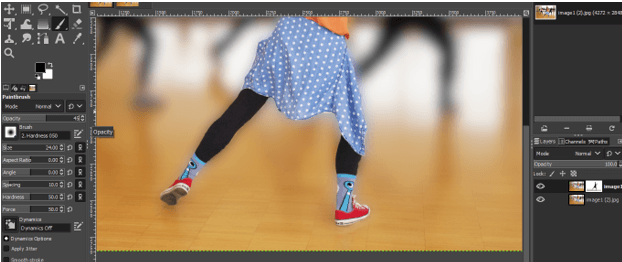
Now for adding a more natural look to this blur effect image, we have to make a nearby area of this girl clearly visible, not blurry. So select the Gradient tool.
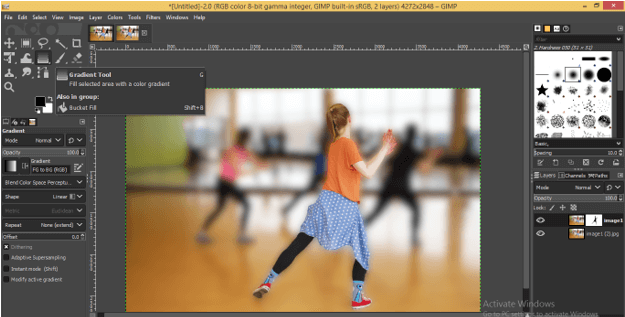
Take black color as the foreground color.
Opacity at 60%.
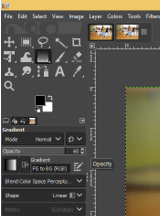
Choose Foreground to Transparent option from this list.
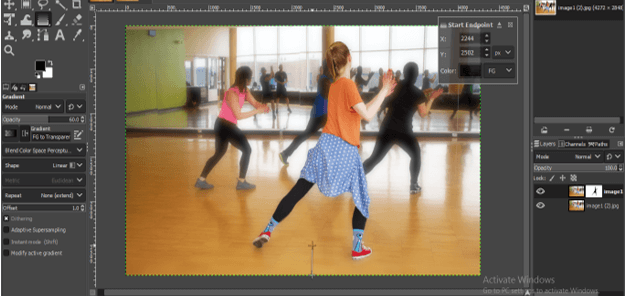
Drag gradient cursor from bottom to top direction.
Choose the Foreground color (transparent) option from this list also.

Now you will have a clear area on the floor of this image.
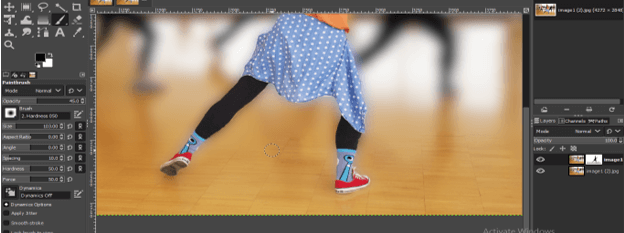
If you want to add more clarity to the floor area, then again, take the brush tool and set the opacity to 45%.
And move out the brush on the floor area which you want to make clear.
Now make, right-click on the blur layer and choose the Apply mask layer option for applying this mask to your image.
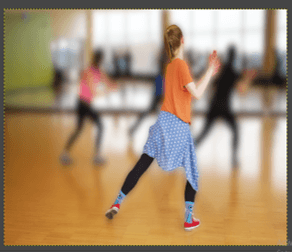
Now you can see the difference between both images.
Before
After
Conclusion
So what is your opinion about the learning blur effect from this article? I think your experience with learning this topic was good, and now you can do this with your image with lots of fun and precision. Use blur options and analyze its parameters for better results.
Recommended Articles
This is a guide to Blur Effect in GIMP. Here we discuss the introduction and How to create Blur Effect in GIMP?. You can also go through our other related articles to learn more –
