Updated August 25, 2023
Definition of Photoshop Glow Effects
Glow effects can be defined as an effect that graphic editors use for applying glowing texture in any object, text, or image with the help of some important tools and techniques of this software and also for enhancing the light effect on that object. The glow Effect is one of the exciting features of this software and can make your work more effective.
How to Apply Glow Effects in Photoshop?
In this article, we will learn how to apply the Glow Effect on any object or image and understand its parameter in very easy steps. So let us start our learning for this task.
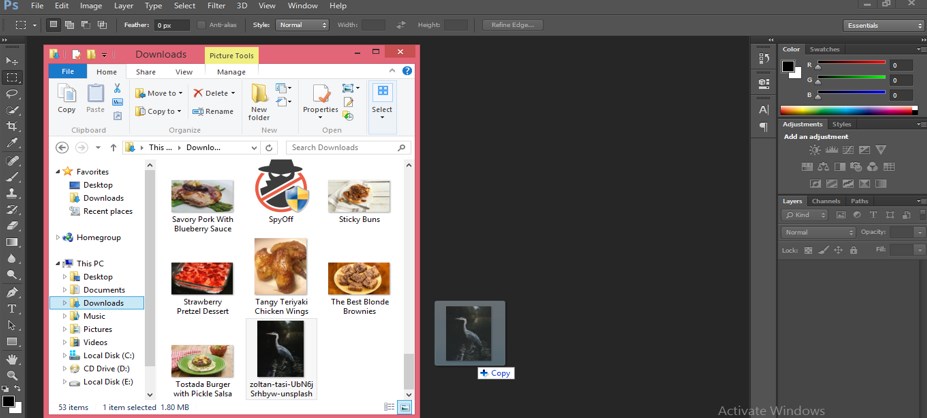
Step 1: First of all, place an image in Photoshop. You can take any image, whether your own or downloaded from the internet. Now open the folder where you have saved your image. Pick an image from that folder and drop it in Photoshop software as I did.
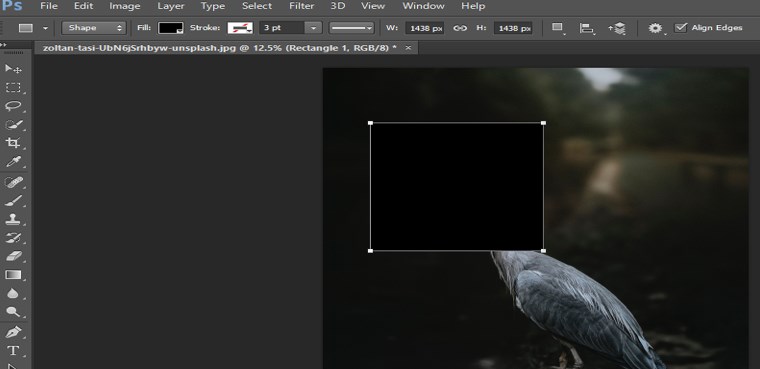
Step 2: After adjusting the image to its proper place, take the Rectangle tool from the tool panel of this software at the bottom end of the tool panel.

Step 3: Now, make a rectangle of any size like this.
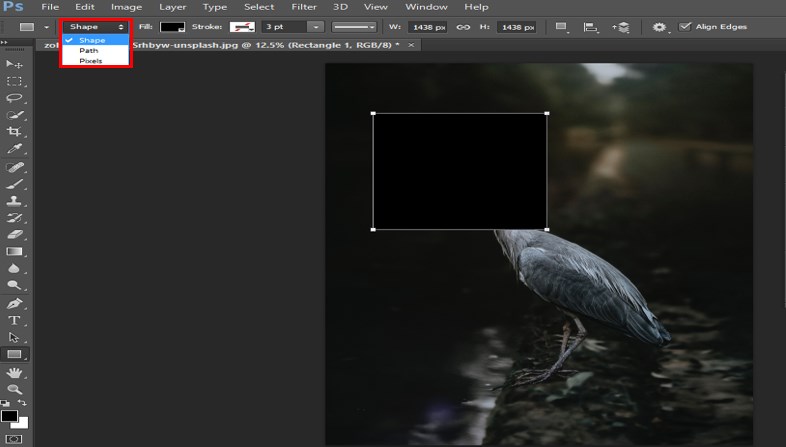
Step 4: Select the shape in this property of a rectangle.
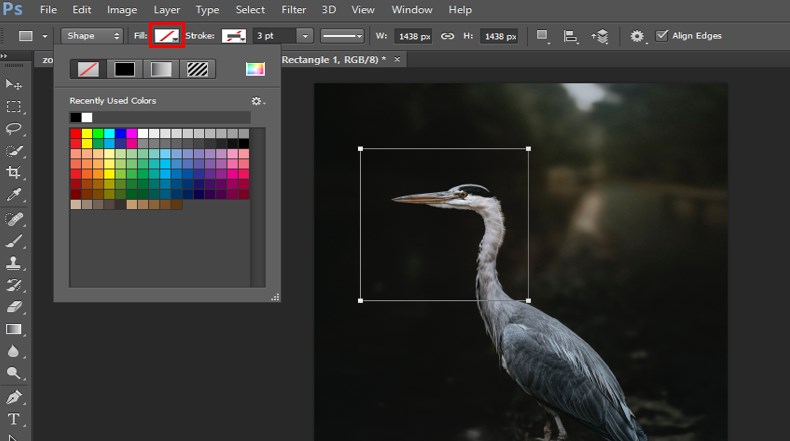
Step 5: Turn off the Fill option. For that, go to the Property bar of the rectangle at the top and click on the Fill option, then select the cross mark icon of the color box.
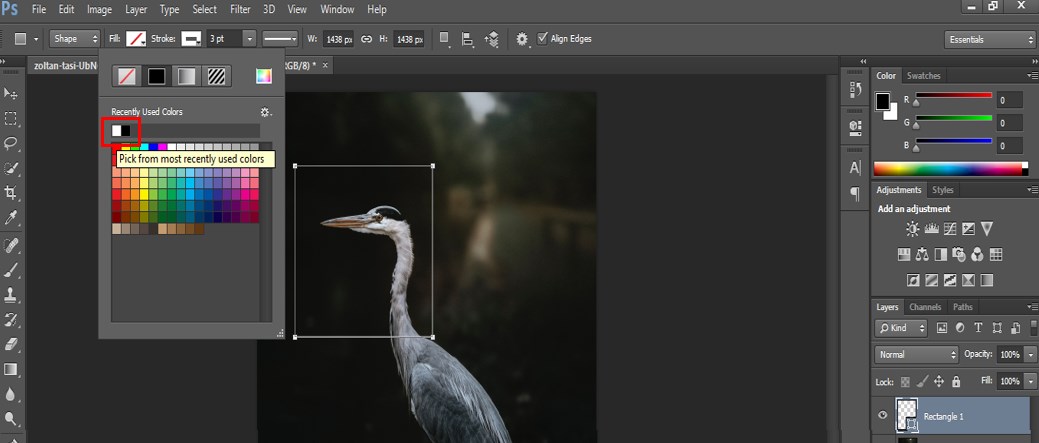
Step 6: There is also a Stroke option in the property of a rectangle. Choose the color of the stroke by clicking on the box of stroke. I will choose white color. You can choose any color you want in the Glow Effect.
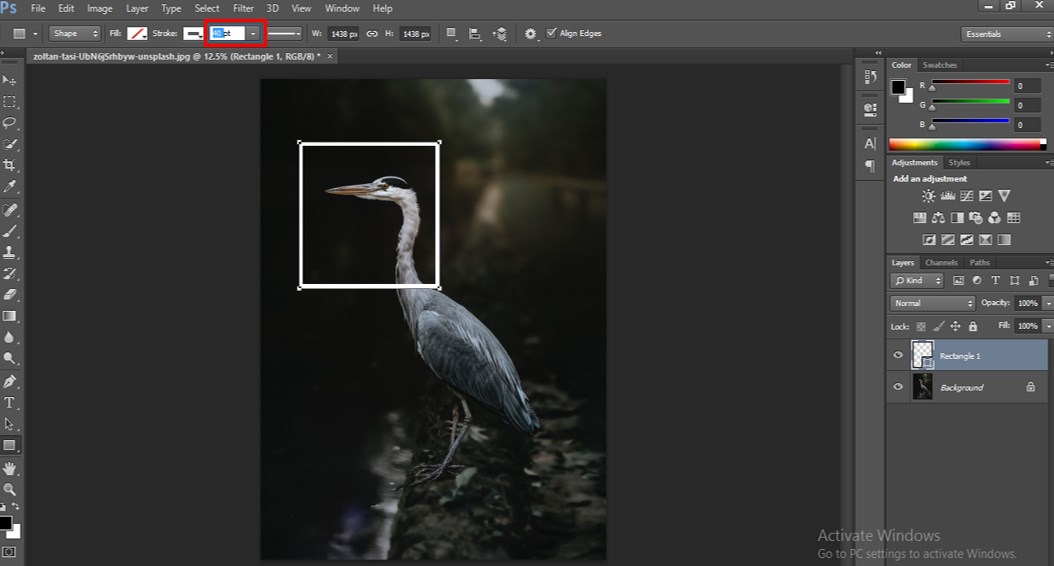
Step 7: Now increase the thickness of the stroke from this box. You can choose the thickness of the stroke according to you. I will set 40 pt as the thickness of the stroke of my rectangle.
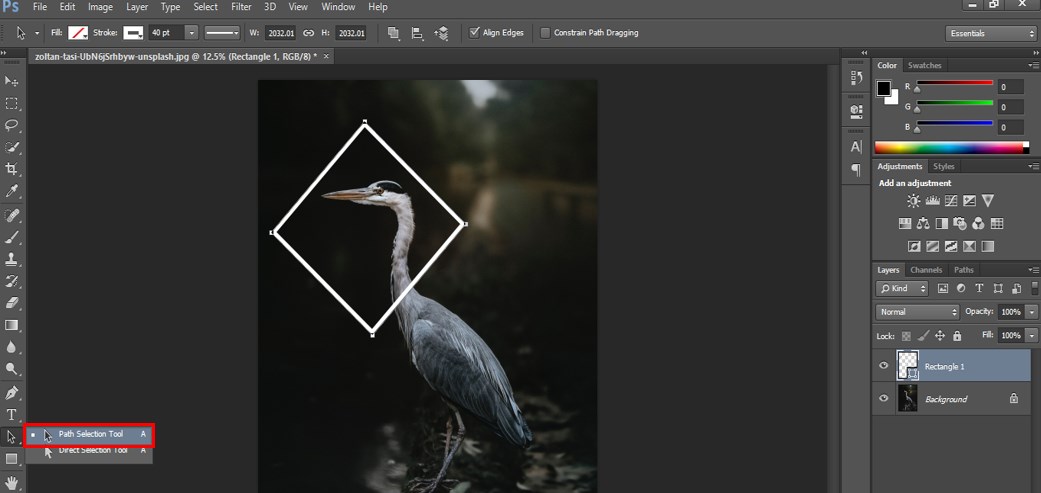
Step 8: Now press Ctrl + T keys to active transformation selection on the rectangle and rotate it according to you.
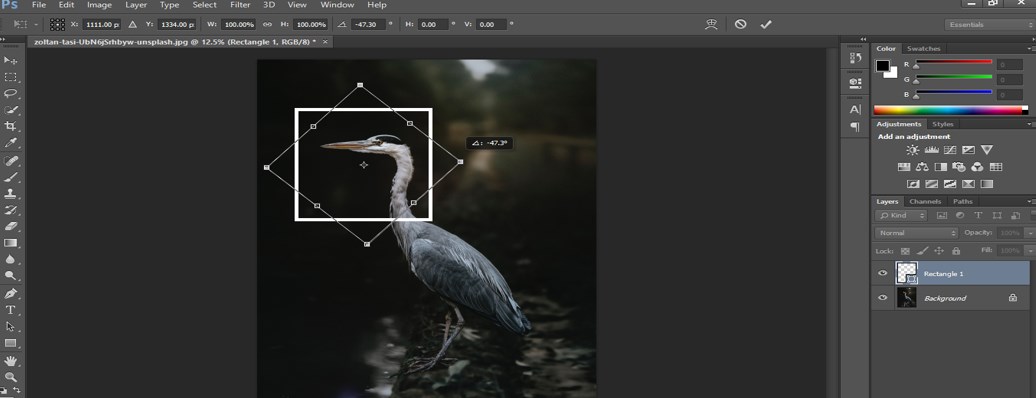
Step 9: I will adjust it like this. Now take the Path selection tool from the tool panel, which is at the bottom end of the tool panel.
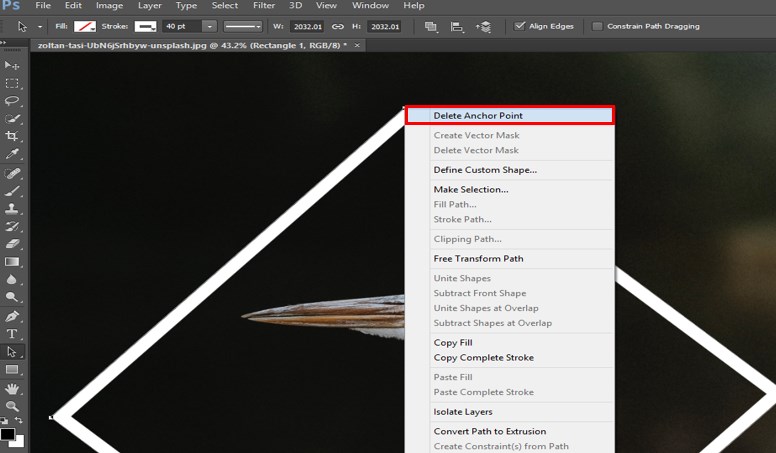
Step 10: Right-click on the anchor point of any one corner of the rectangle. A drop-down list will open. Choose the Delete Anchor Point option from here. I am doing this to make a Triangle shape. You can use this rectangle as it is for your glow effect purpose.
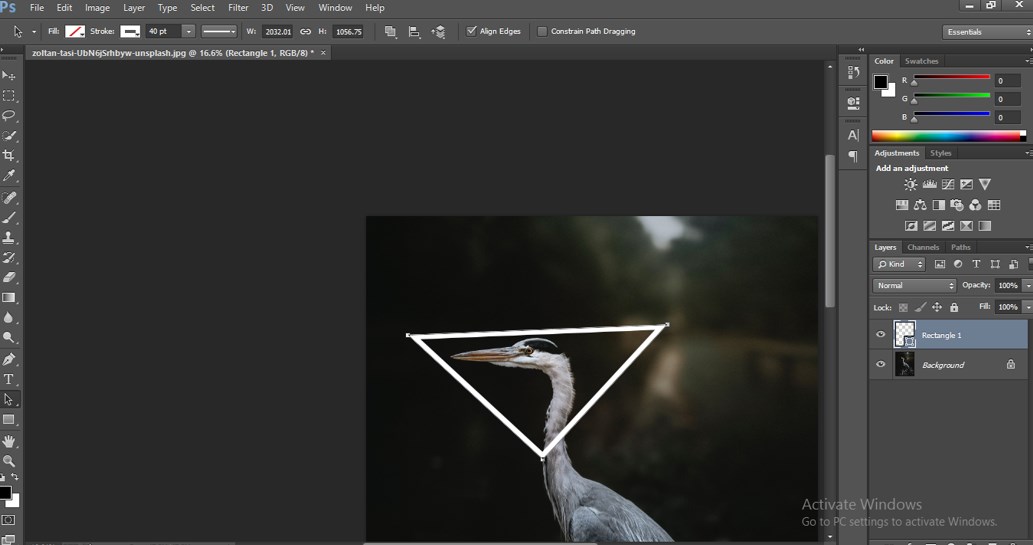
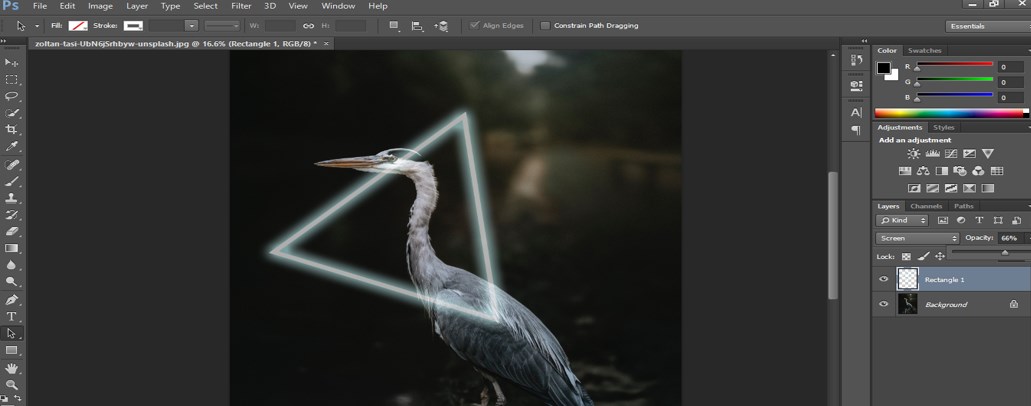
Step 11: Now adjust this triangle according to your image. We will adapt this triangle to match the image’s glow effect.
Step 12: Go to the layer section at the right-hand side of the working screen and right-click on the rectangle layer. A drop-down list will open. Choose ‘Blending Options’ from here.

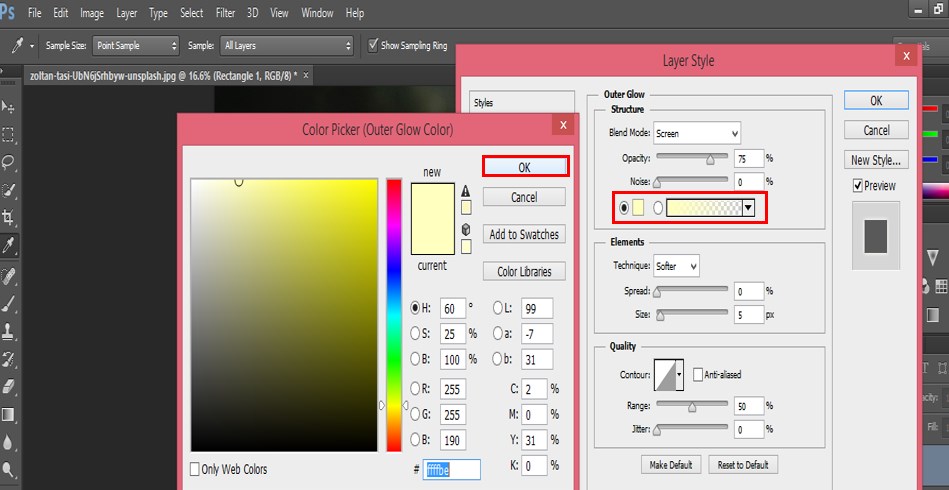
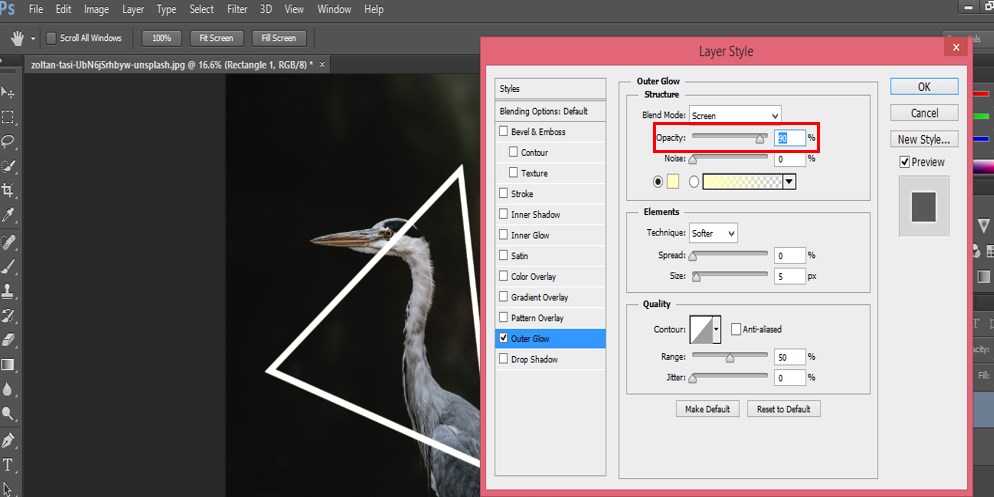
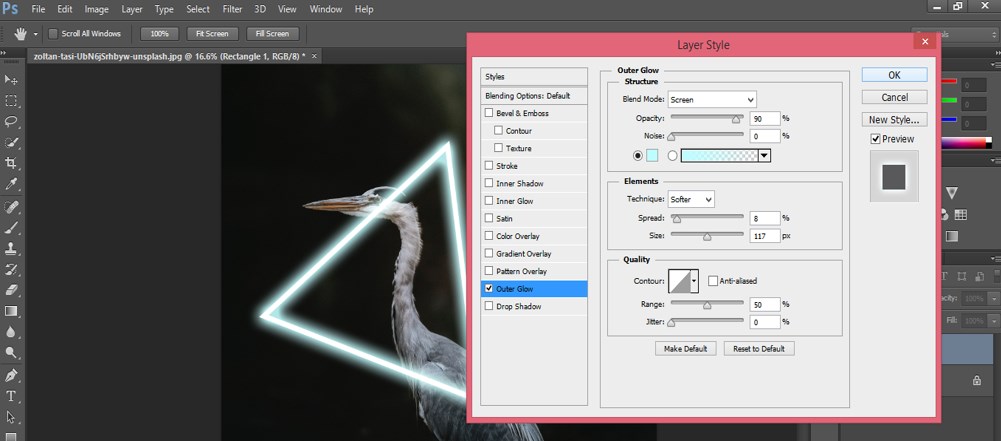
Step 13: A layer-style box will open when you click on the ‘Blending options’ of the drop-down list. Choose the Outer Glow effect option from this box by clicking on it and make the checkmark ‘On’ of the Outer Glow effect.

Step 14: Now click on the color box of this effect. When you click on this box, a Color picker box of Outer Glow will be open. Choose your desired color from here. I will choose this color.
Step 15: Now, make the opacity of this effect up to 90%.
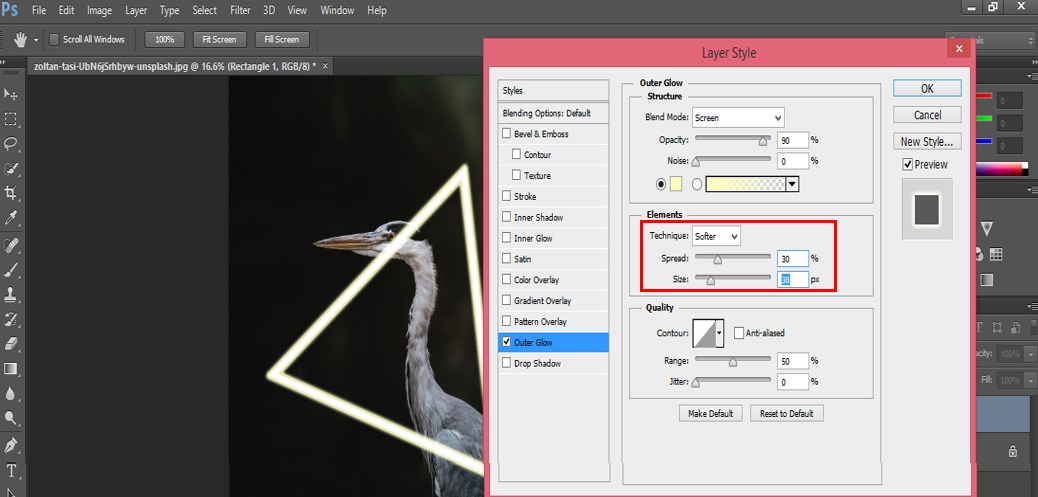
Step 16: Now go to the Elements section of this effect. Make changes in the spread value and size value of the glow effect. When I take a 30% spread value and size value of about 40 px, the effect will look like this.
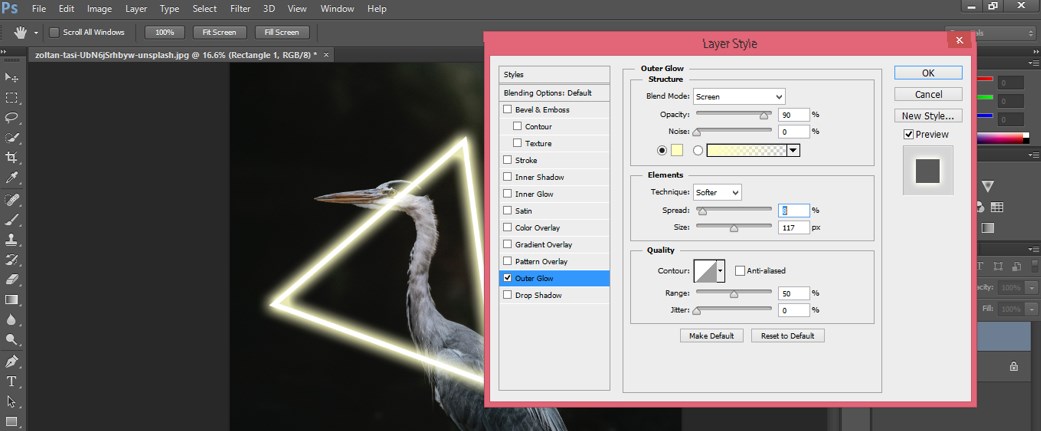
Step 17: When I decrease the spread value and increase the size value, the effect will look like this. You can check the effect by changing the values of these two properties. I will go with the second set.
Step 18: If the color is irrelevant to your image, change the color by clicking on the color box.
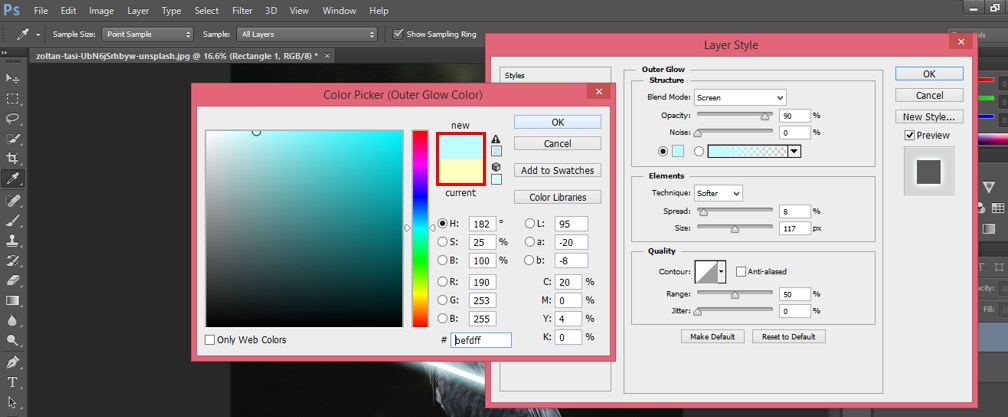
Step 19: You can change the glow color anytime and analyze which color suits your image better.
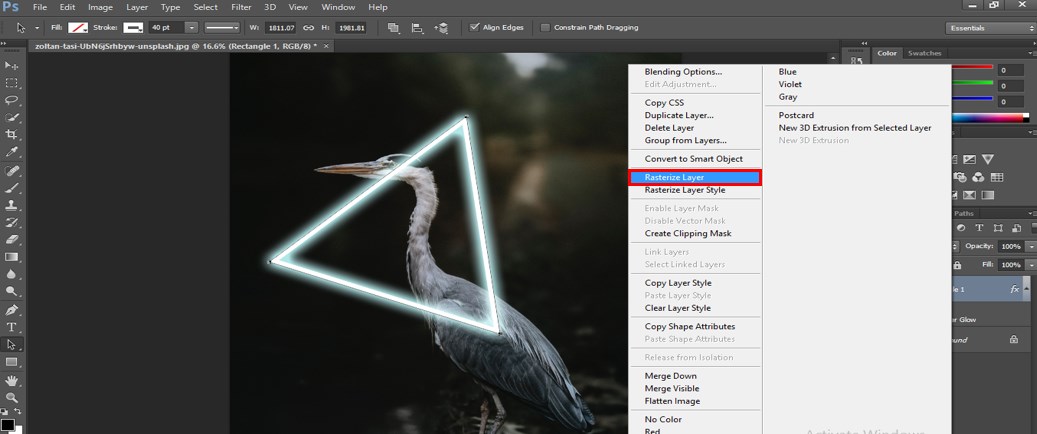
Step 20: We will now make this rectangle a raster image. Because this shape is in vector form, to make it faster, make right-click on the rectangle layer. A drop-down list will be open. Choose the Rasterize Layer option from here.
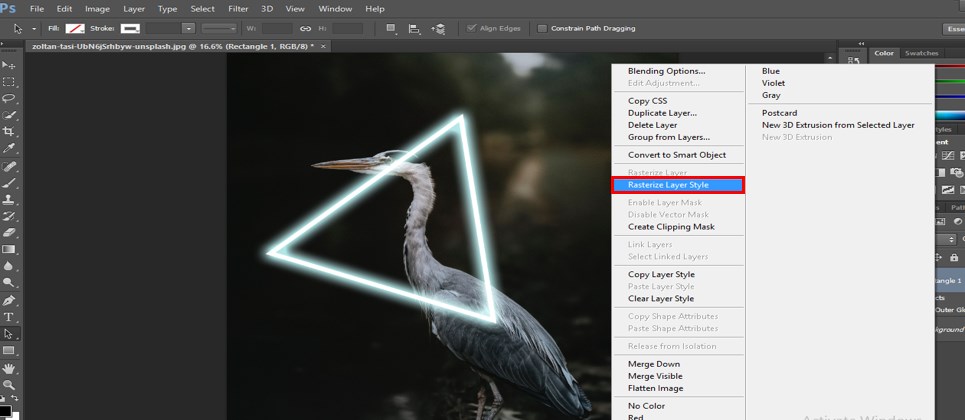
Step 21: Now, we will make the style of this layer also as a raster image. Again make, right-click on this rectangle layer and choose ‘Rasterize Layer Style’ from the drop-down list.
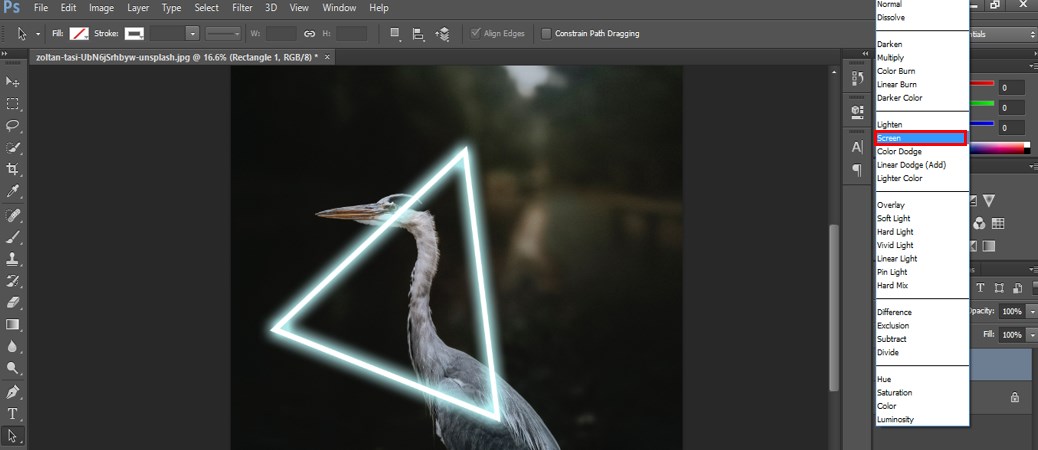
Step 22: After this, you can see the rectangle’s border becomes sharp. So Choose the ‘Screen’ option from the drop-down list of properties of this layer.
Step 23: Now, decrease this rectangle’s opacity from the rectangle’s property, which is above the rectangle layer.
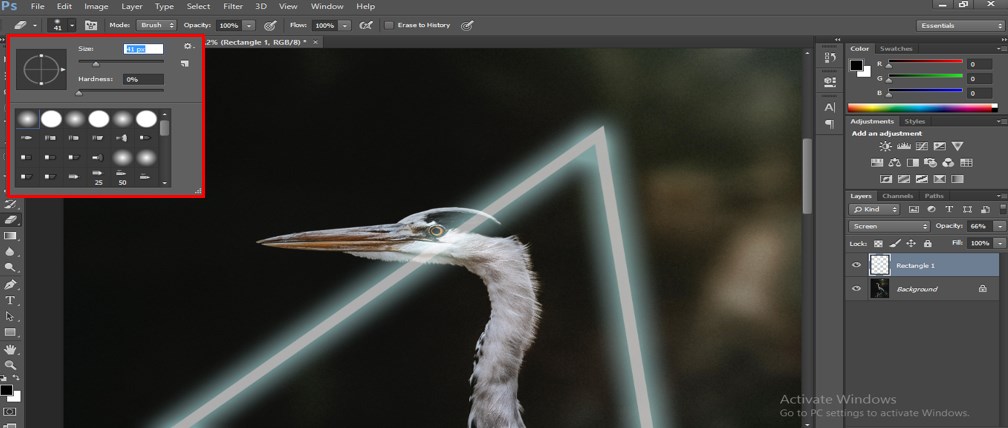
Step 24: Now, we will erase the unwanted area of this rectangle. Take the Eraser Tool from the tool panel of this software. Set the size of the Eraser according to your requirement from the property bar of this eraser tool.
Step 25: Now erase the unwanted section of the rectangle according to your. I will erase this section.
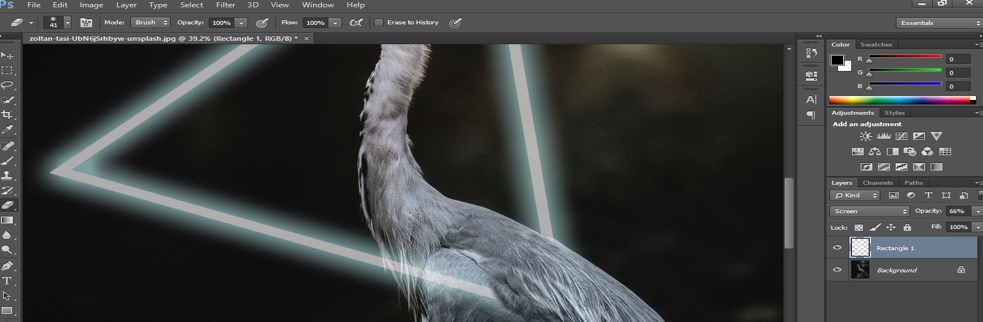
Step 26: And this section also.
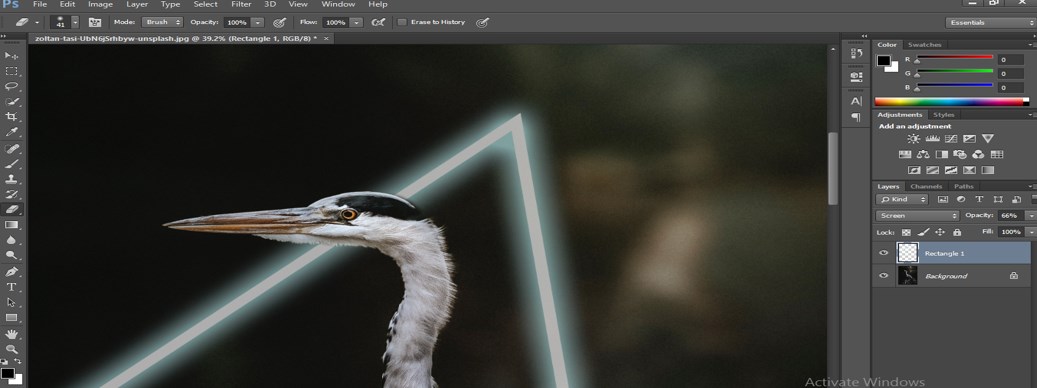
- In this way, you can add a glow effect to any object.
Step 27: You can also use an ellipse shape to give a glowing effect in this image or any shape you like. Just make an ellipse shape by using a shape tool.
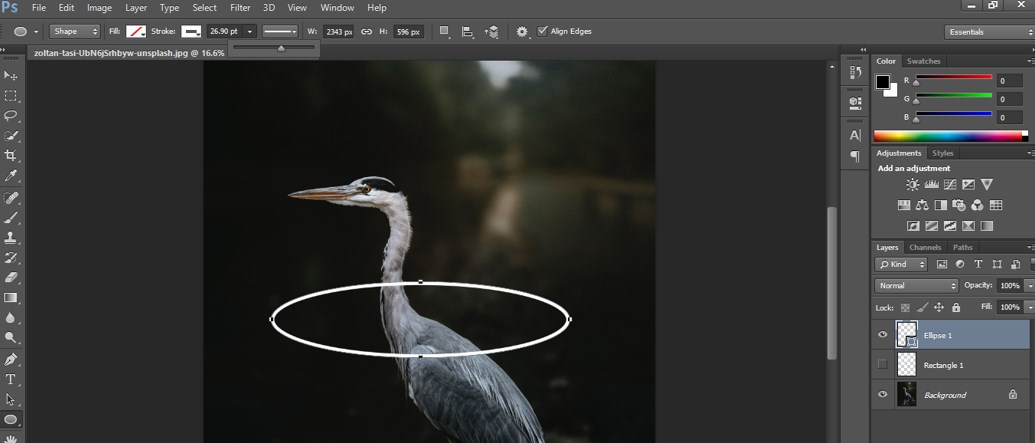
Step 28: Then follow the same step as the previous one and adjust this according to you.
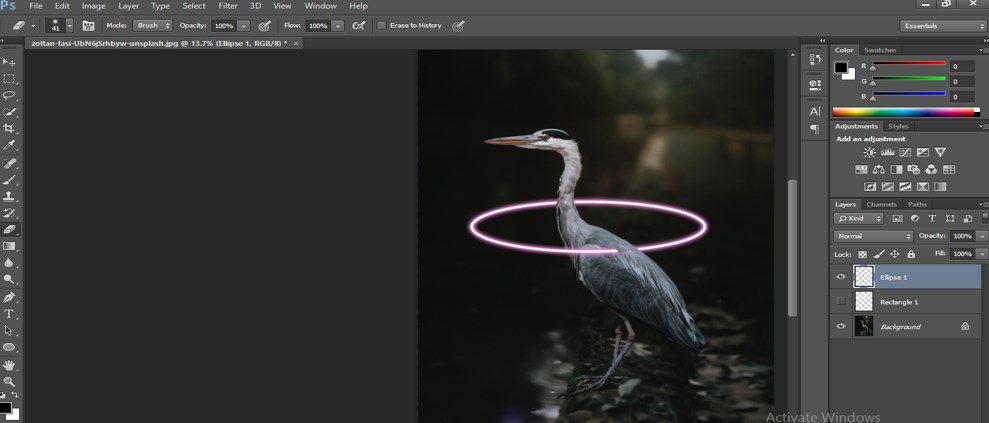
- Like this, you can add glow effects to any object or image.
Conclusion
Now, after this article, you can learn about Glow Effects in Photoshop software and use it in your project work without any difficulties. You can make the variation in the Glow effect by adding some other features of this software and utilize this effect as a good means of presentation of any project.
Recommended Articles
We hope that this EDUCBA information on “Glow Effects in Photoshop” was beneficial to you. You can view EDUCBA’s recommended articles for more information,
