Updated September 13, 2023
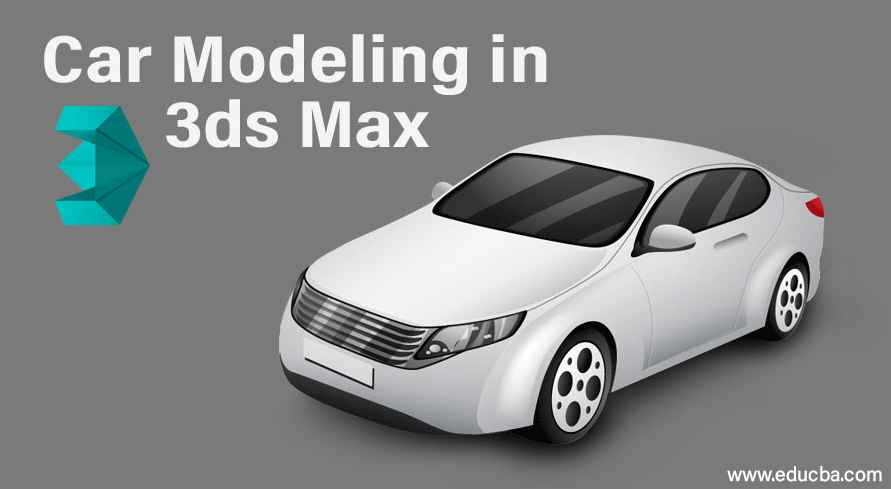
Introduction to Car Modeling in 3ds Max
3D Max is a professional 3D computer designing software used to create 3D animation, games, models, images, etc. Car modeling in 3D Max is an interesting and basic part of this software. Once we gain knowledge in car modeling, we will be able to create a different type of car model.
How to Set the Unit in Car Modeling in 3ds Max?
Following are the steps to set units for car modeling:
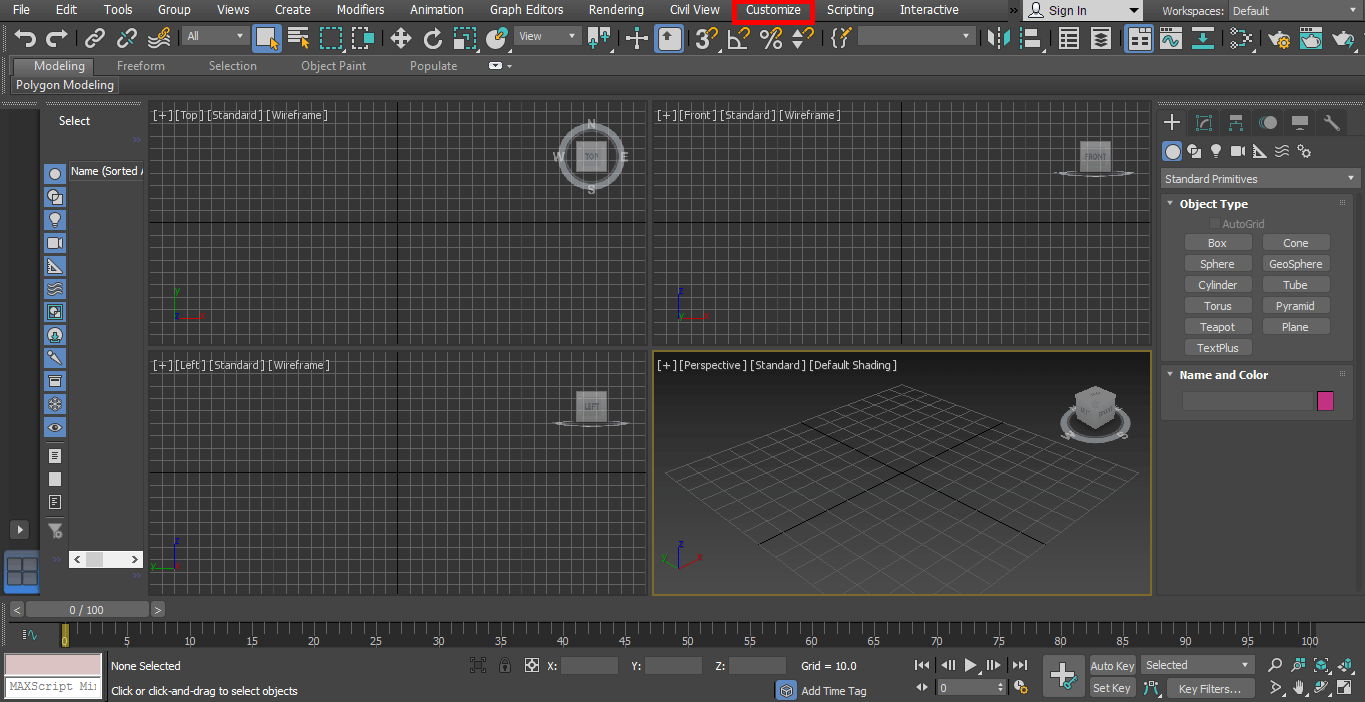
Step 1: First of all, we will set units according to our requirements. For setting units. Go to the customize button on the top corner.
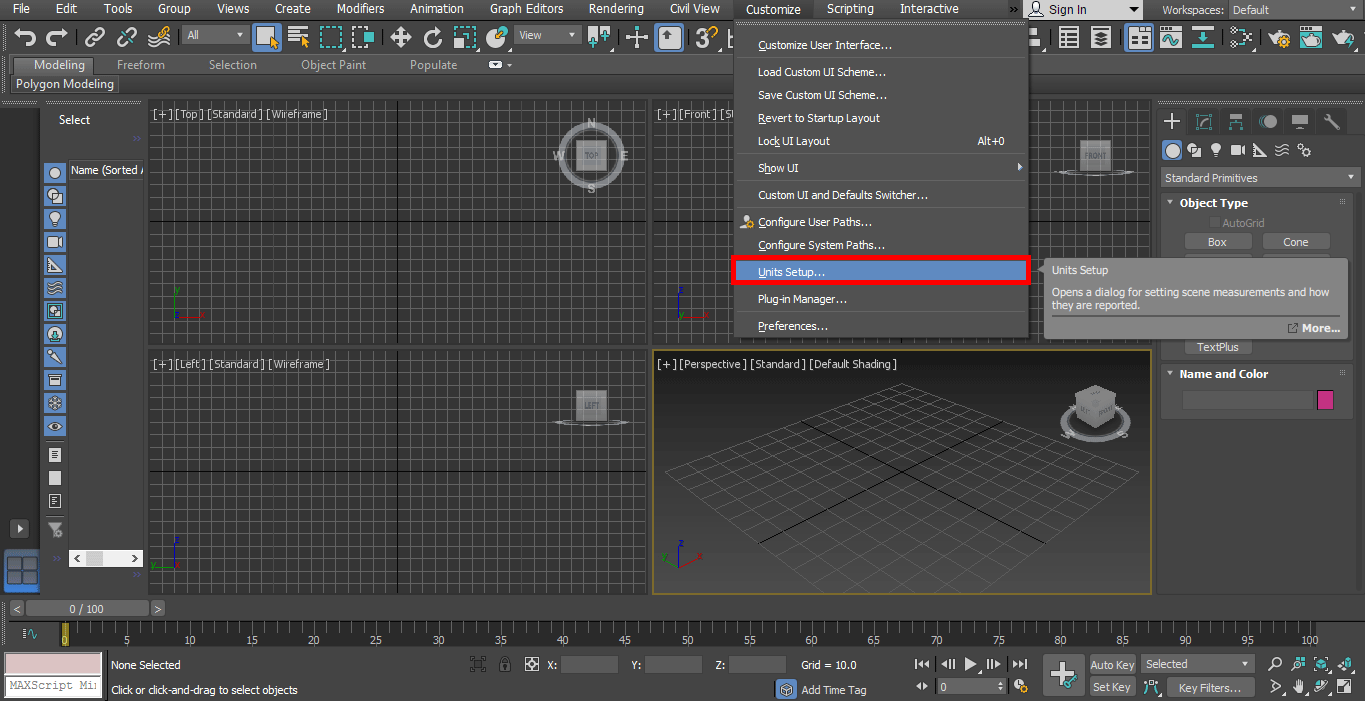
Step 2: Click on the Units Setup option.
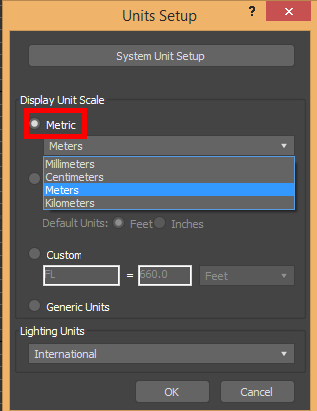
Step 3: A dialog box will open, which has two options for setting the unit.
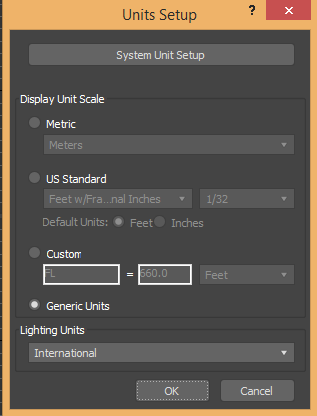
Step 4: Metric, for setting unit in Meter, Centimeter, etc.
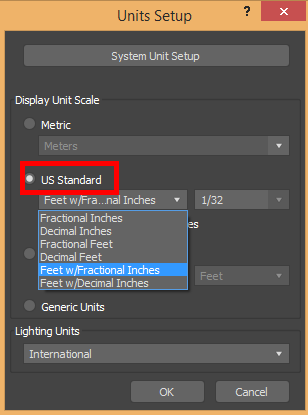
Step 5: And the other one is the US standard for setting units in Feet and Inches.
Step 6: We have a system unit step option here. We generally take its unit in inches because when we import any other model in or project, then there will be no changes occurring in the unit of the imported model. Now press Ok to set unit.

Creating a Car Model
Car Modeling gives a realistic view of our Car Design. Let’s learn how to create a car model step by step.
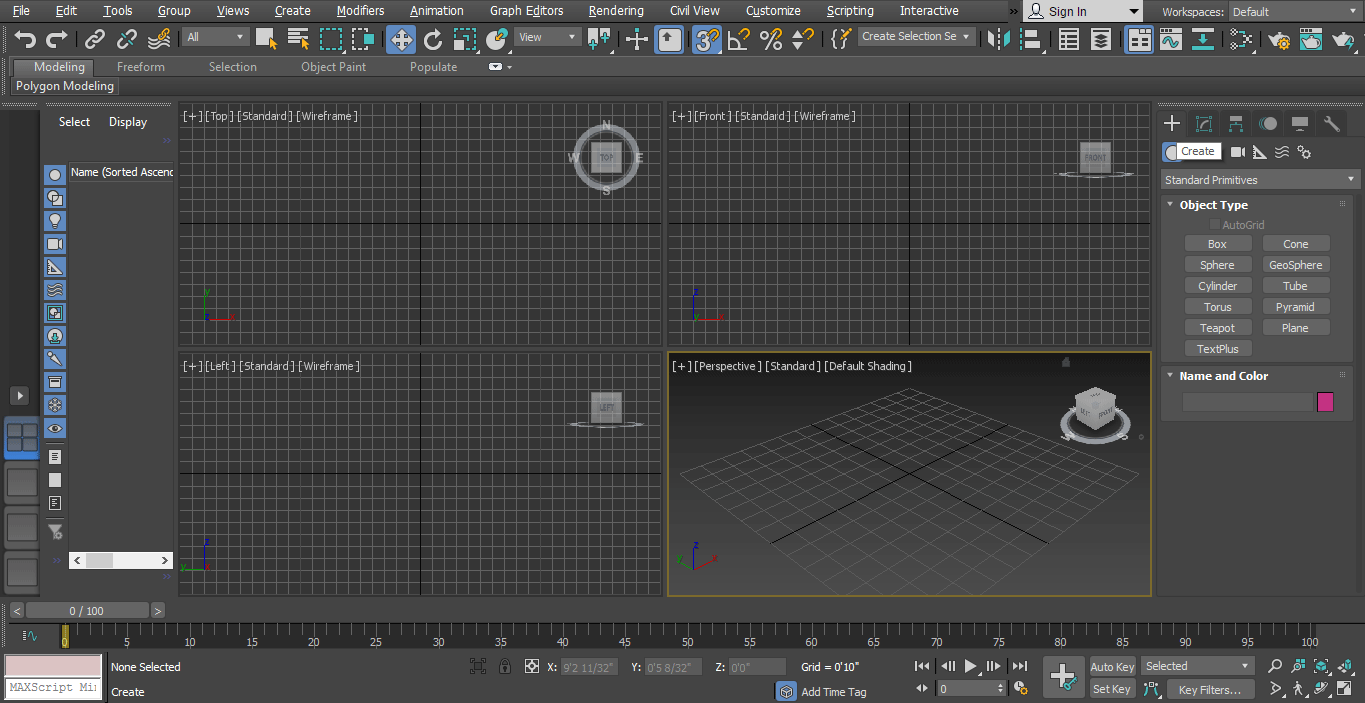
Step 1: There are four viewports working areas in 3D max software that are Top viewport, Front viewport, Left viewport, and the last one is Perspective viewport. We can choose any one of them for drawing your model at any time.
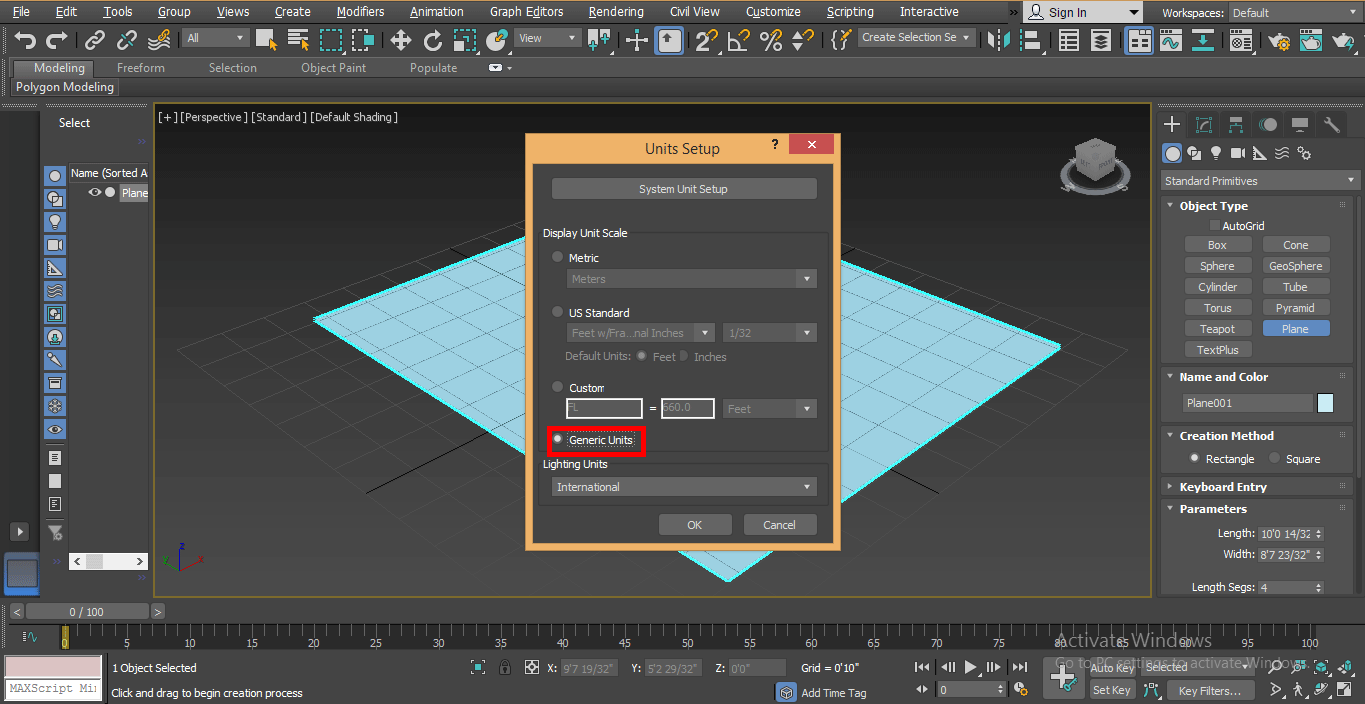
Step 2: First of all, we need a blueprint of the car model for car modelling. Download it from the internet, now set tick mark on the generic unit in the unit set up so that there will be no issue of units.
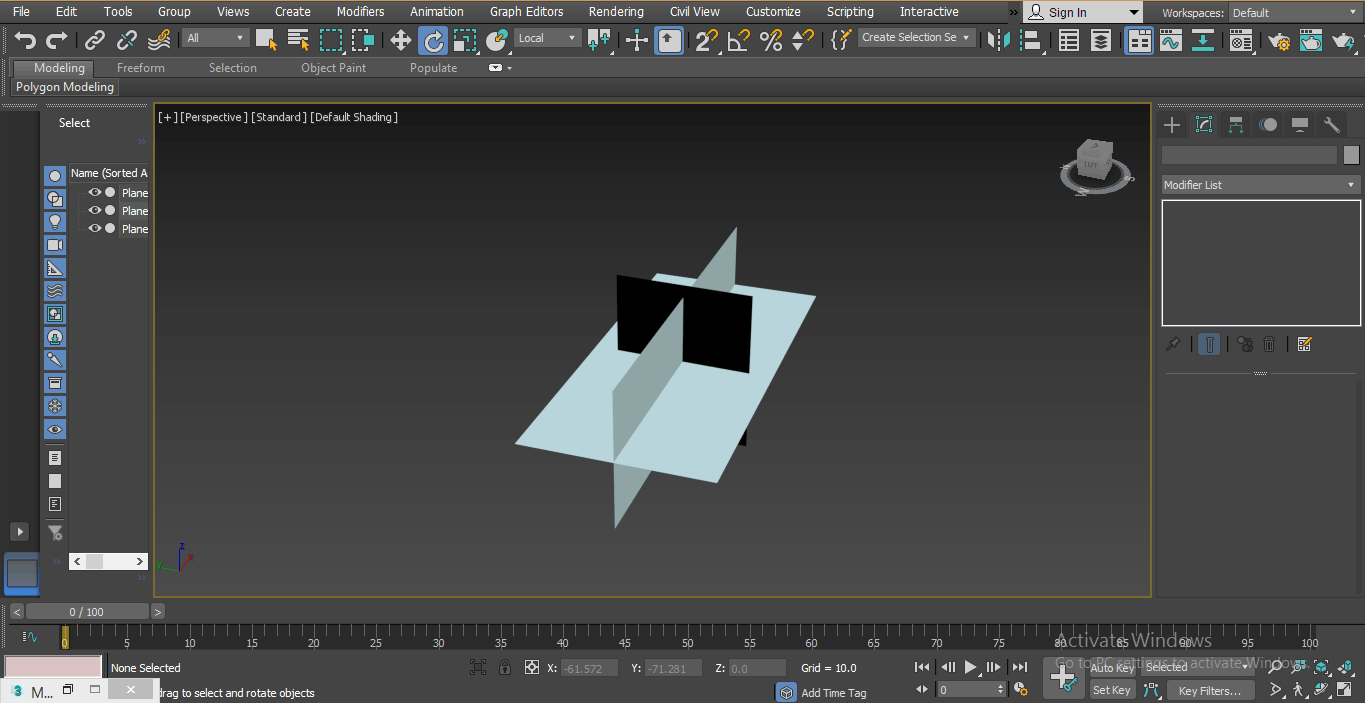
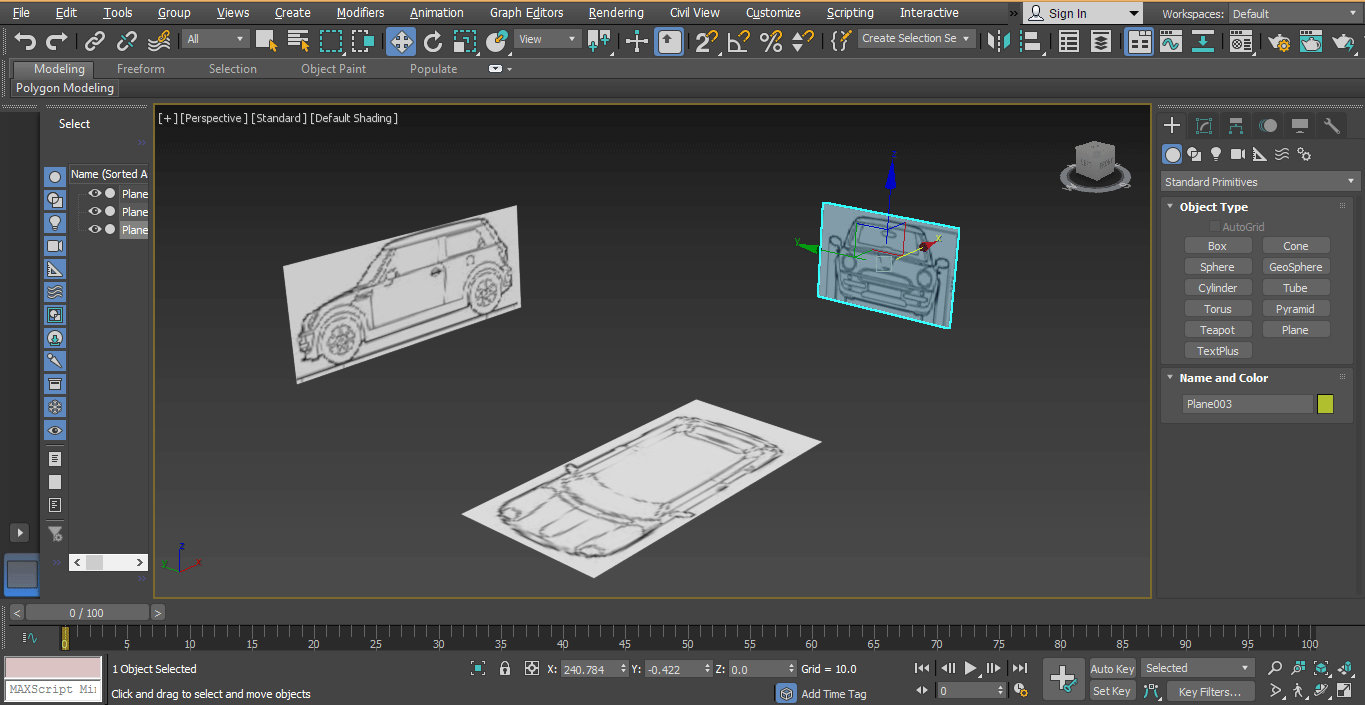
Step 3: Now take the plane from a common panel of the same size of blueprint off the gird by pressing the G button on the keyboard. We will make three planes perpendicular to each other. Setting them at 90 degrees makes a copy of the drawing plane and rotates it at 90 degrees; for giving 90 degrees, right-click on the rotation icon. A dialog box will open, give 90 as the angle of the axis of that plane.
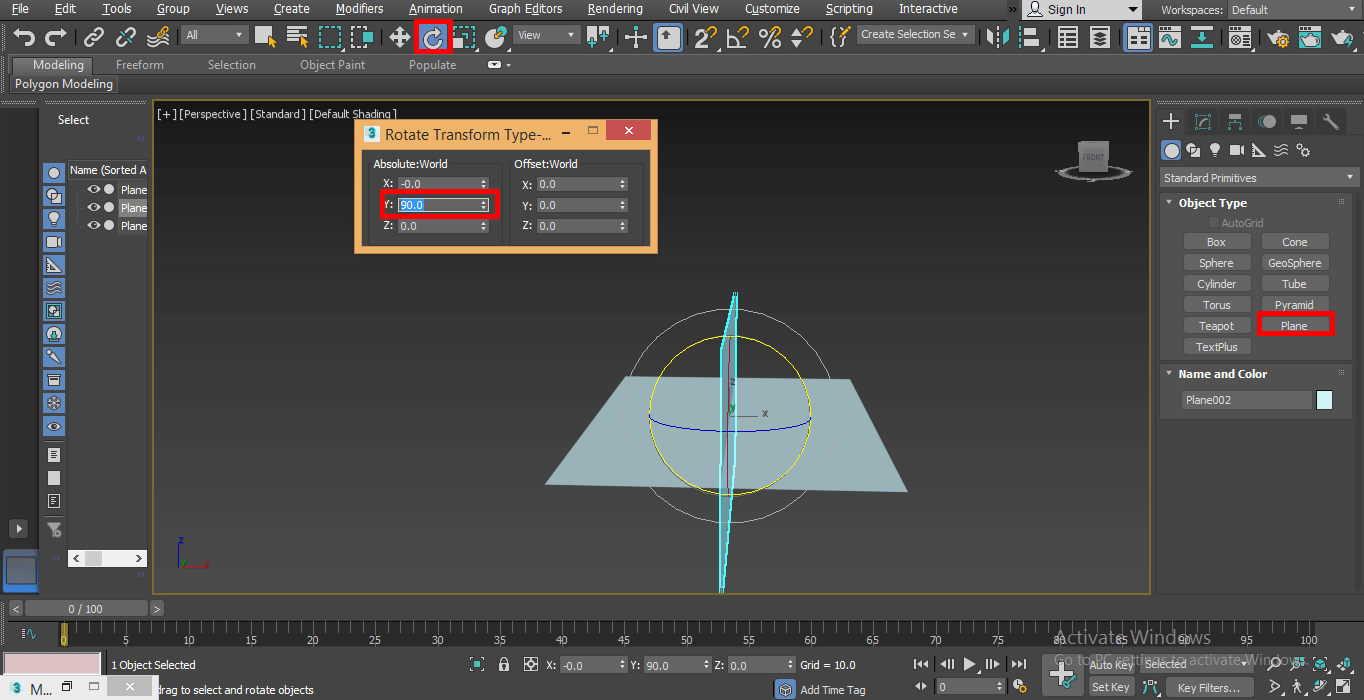
Step 4: Repeat it for other planes.
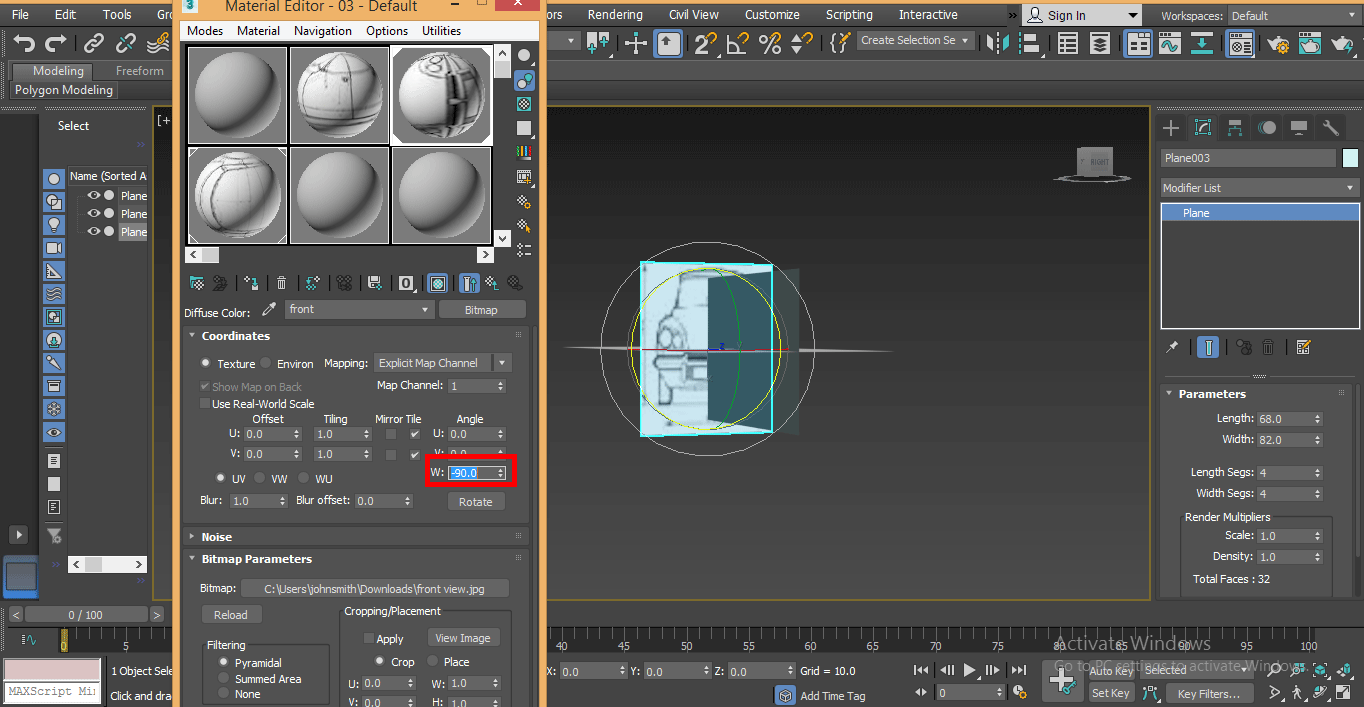
Step 5: Press M to assign blueprint to this plane; select circle for assign blueprint here. Click on the None tab option of the diffuse tab.
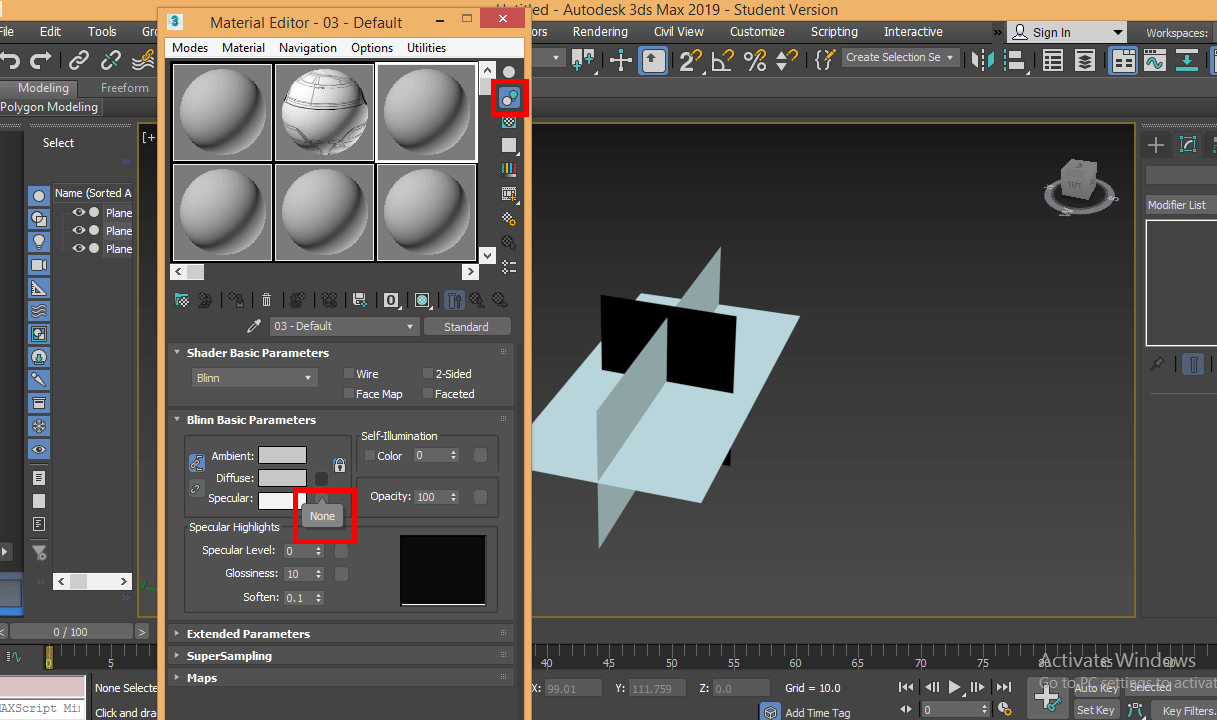
Step 6: A dialog box will open. Click on Bitmap, press ok by the ok tab button of this dialog box.
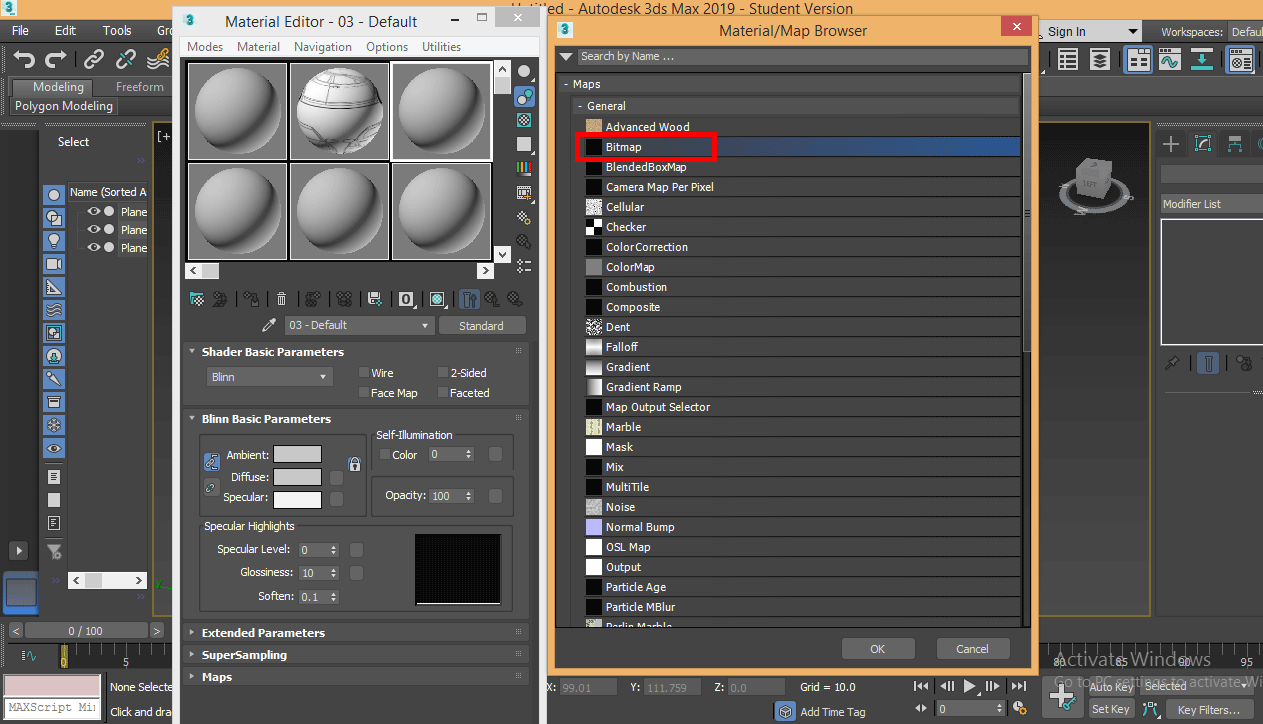
Step 7: A dialog box will be open to choosing all views of the blueprint: the top view, front view left view from here one by one.
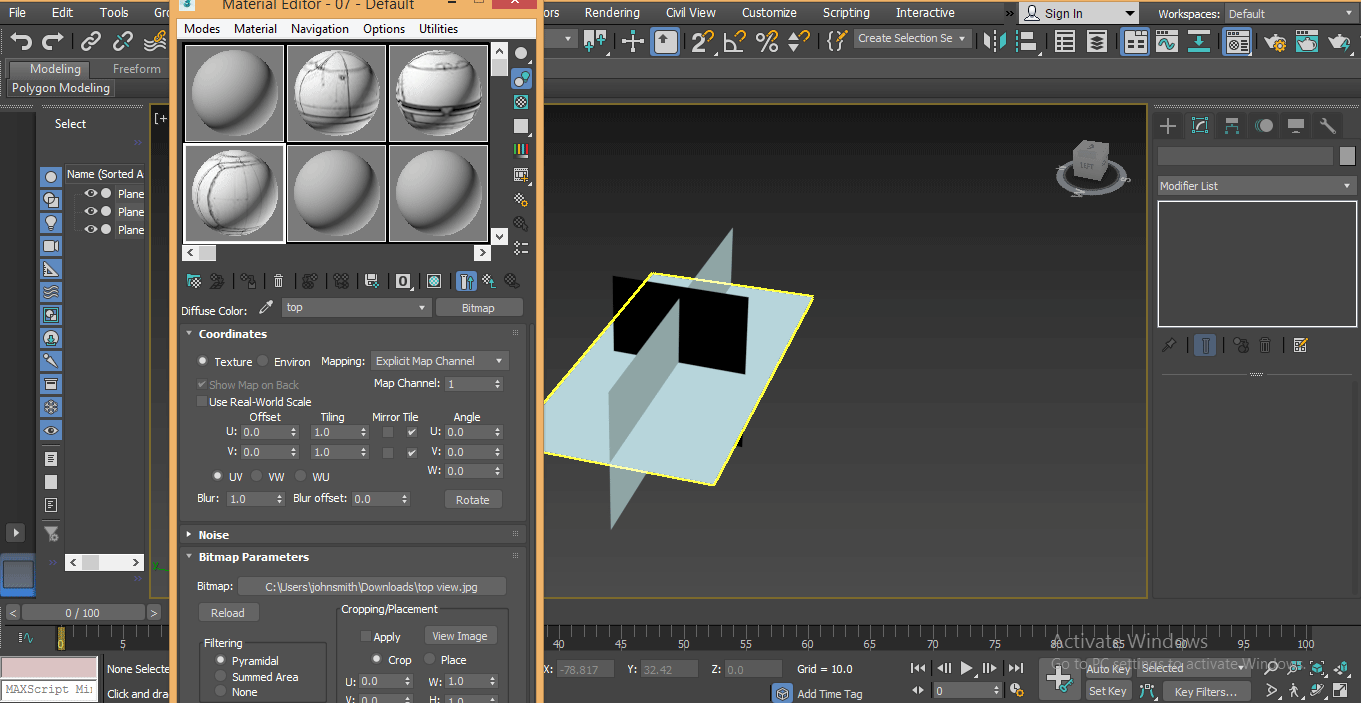
Step 8: Now assign this blueprint in all planes one by one. Here I will show how to assign a blueprint to the planes. First of all, I will assign a top view blueprint. select top plane by click on it.
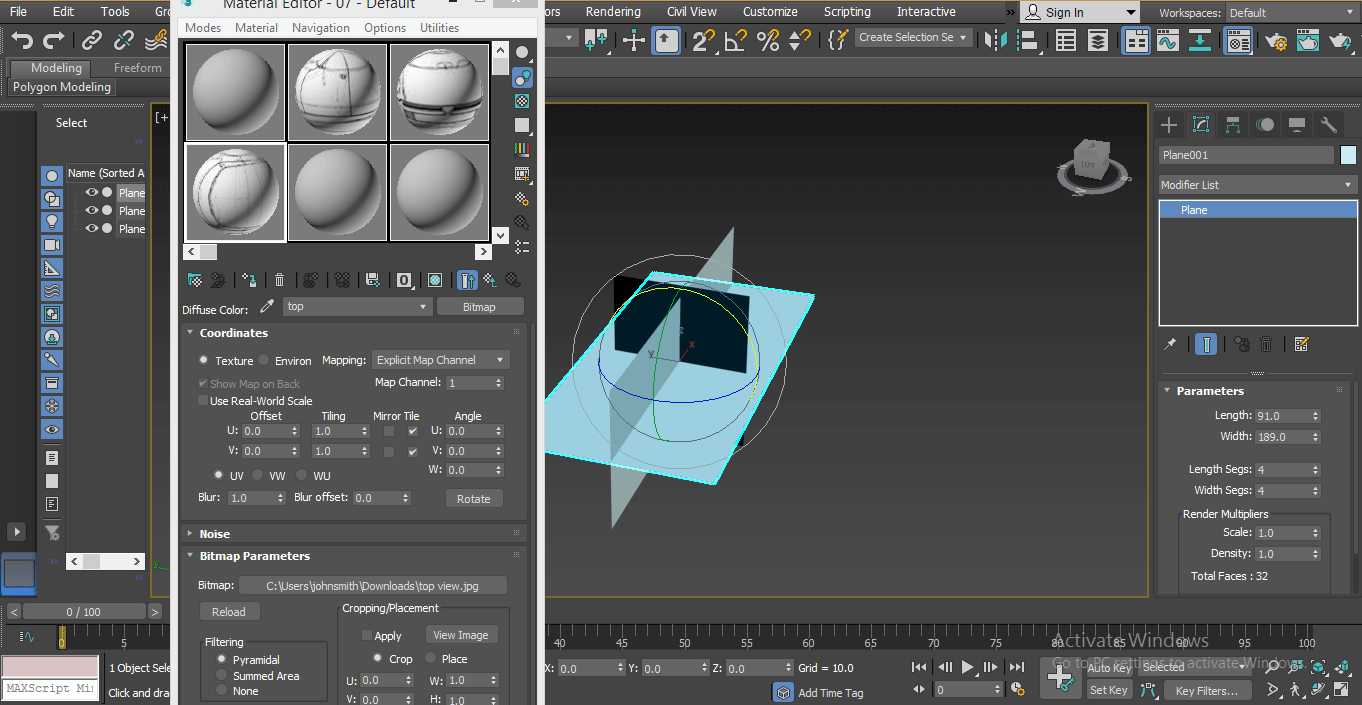
Step 9: Click on the top view blueprint in the Material editor box; click on the assign selection tab of this box to assign a blueprint in this plane.
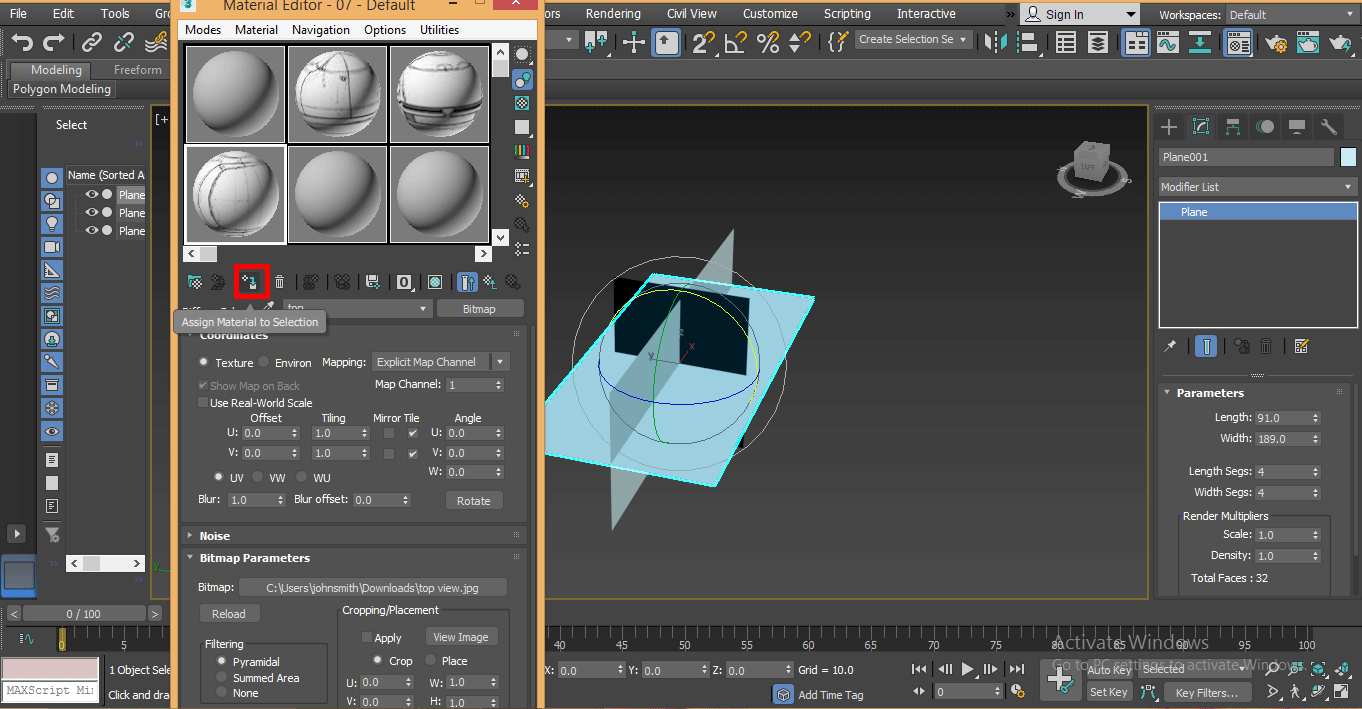
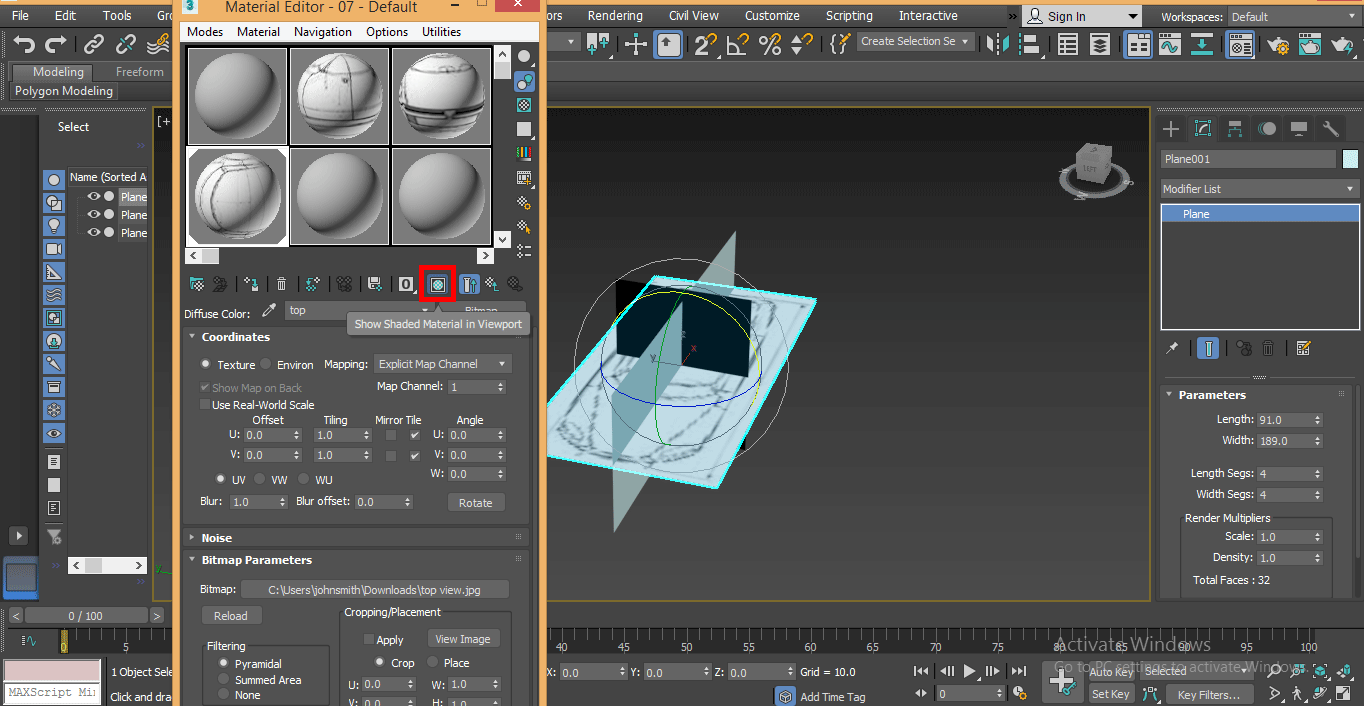
Step 10: Then click on Shaded material on the viewport tab of this box.
Follow the same steps for applying another to views of the blueprint.
Step 11: If the blueprint is not on the right angle to the plane, set its angle according to the plane. I will give it 90 degrees to set it on my plane.
Step 12: Now, set back all blueprints in their axis as I did.
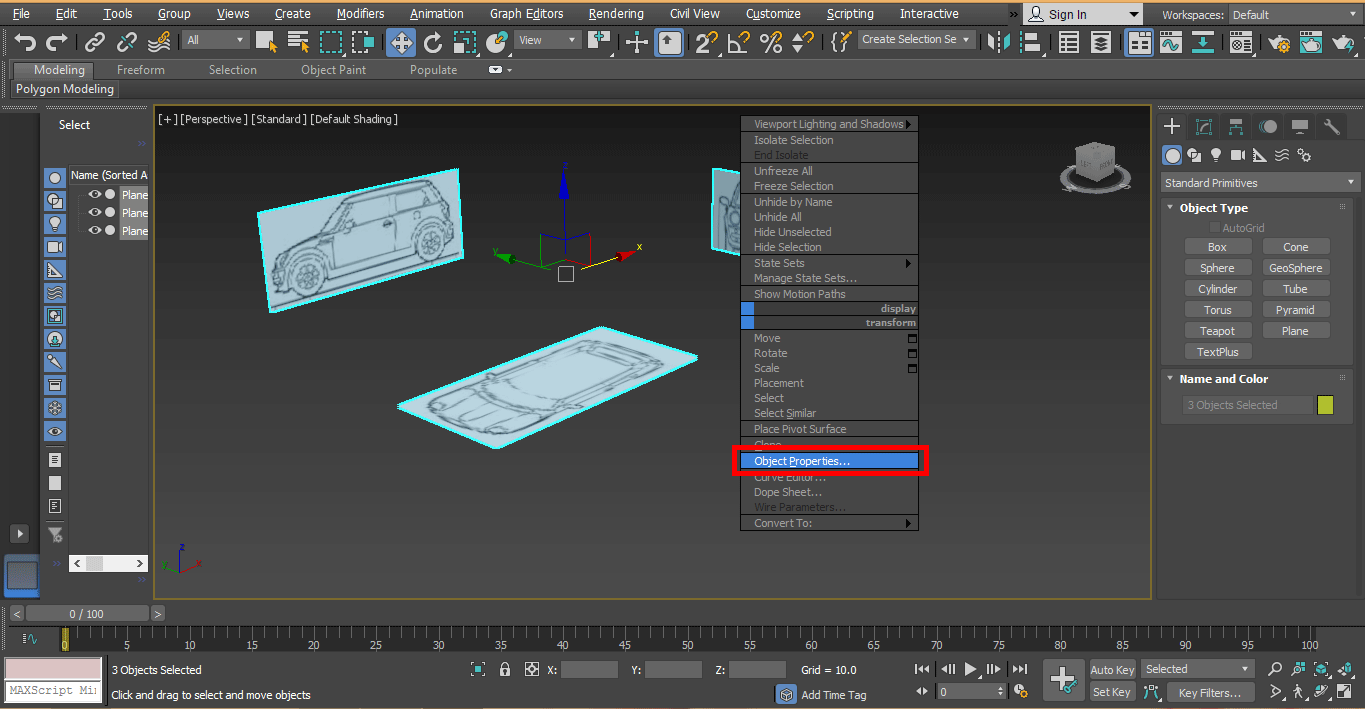
Step 13: Now select all blueprints and right-click from the mouse button anywhere in the workspace. A drop-down list will be open. Click on object property.
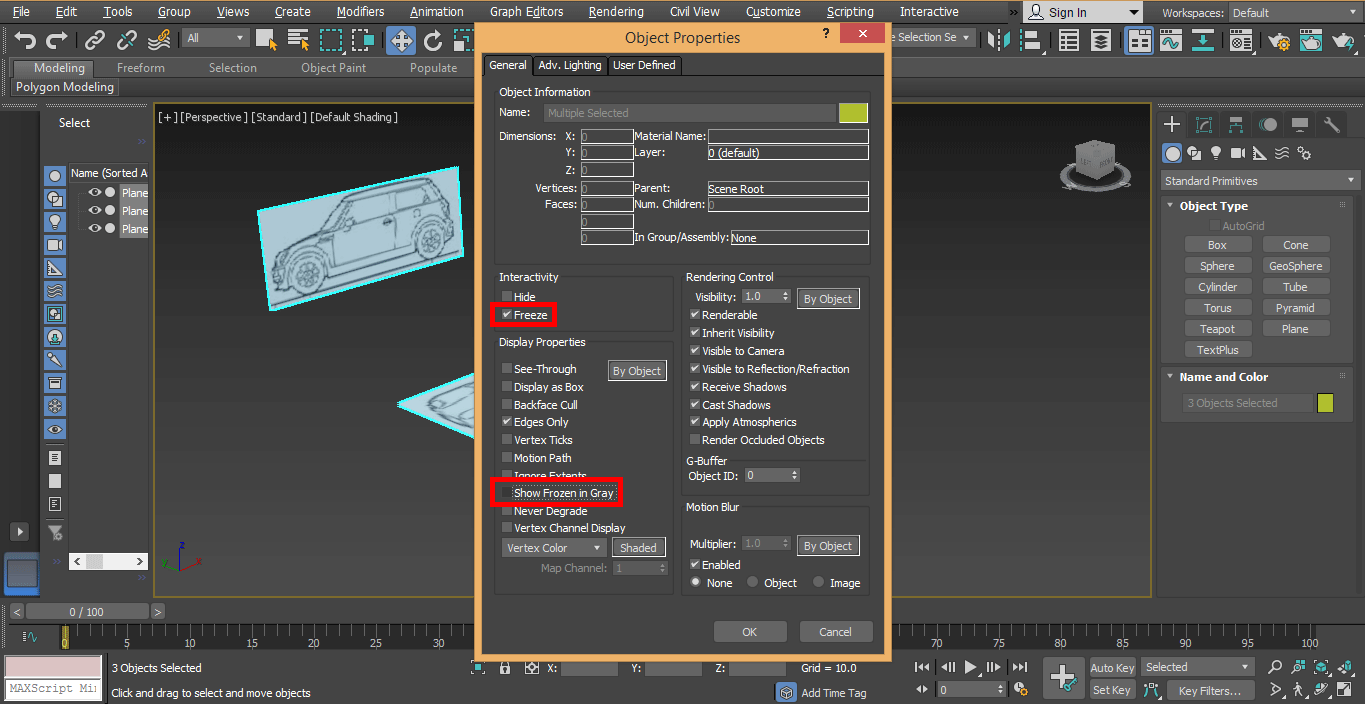
Step 14: Again, a dialog box will be open click on the Freeze box to freeze all blueprints at their place so that it will not create any problem modeling make a tick mark off of Show frozen in Gray option box; otherwise, the blueprint will not visible.
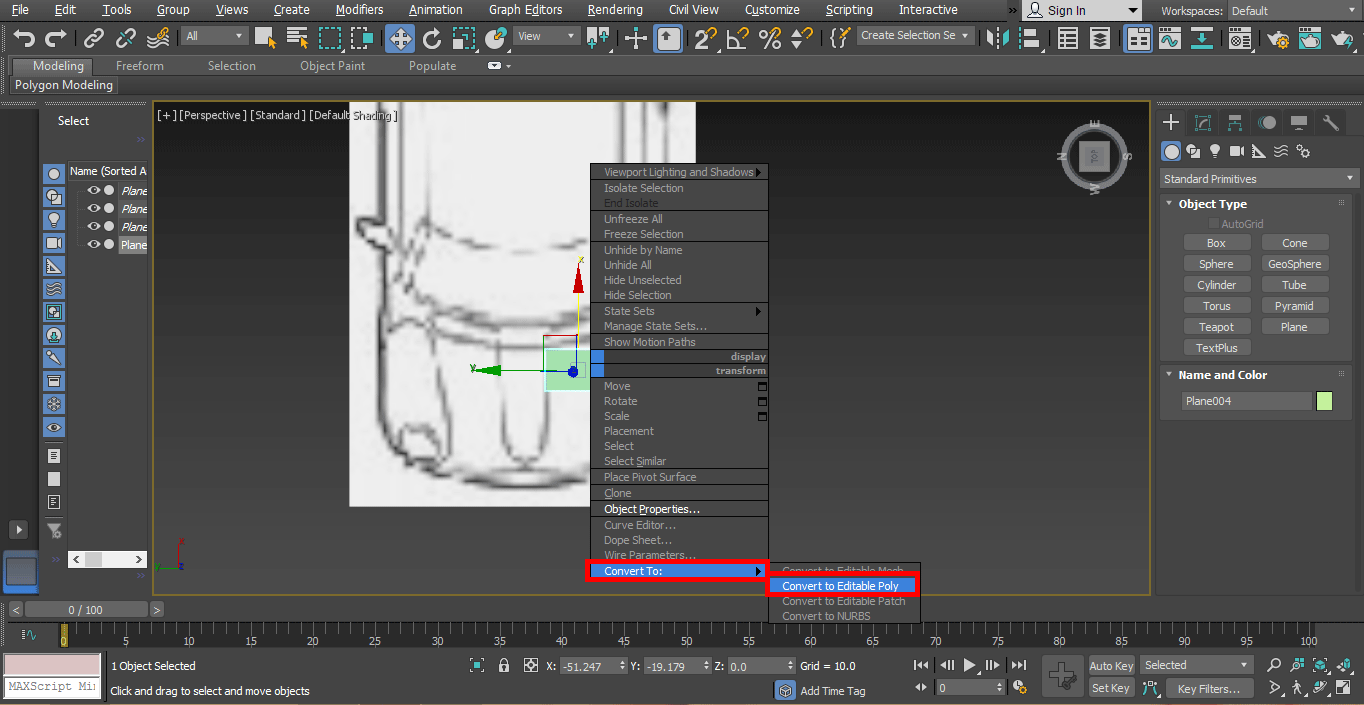
Step 15: Take a plane in the top view and convert it into poly. For converting it into poly right click on the drawn plan; a drop-down list will be open, convert to option, and choose to convert to poly option here.
Step 16: Press Alt + X on the keyboard to see through the plane for better understanding; see-through means make the plane transparent.
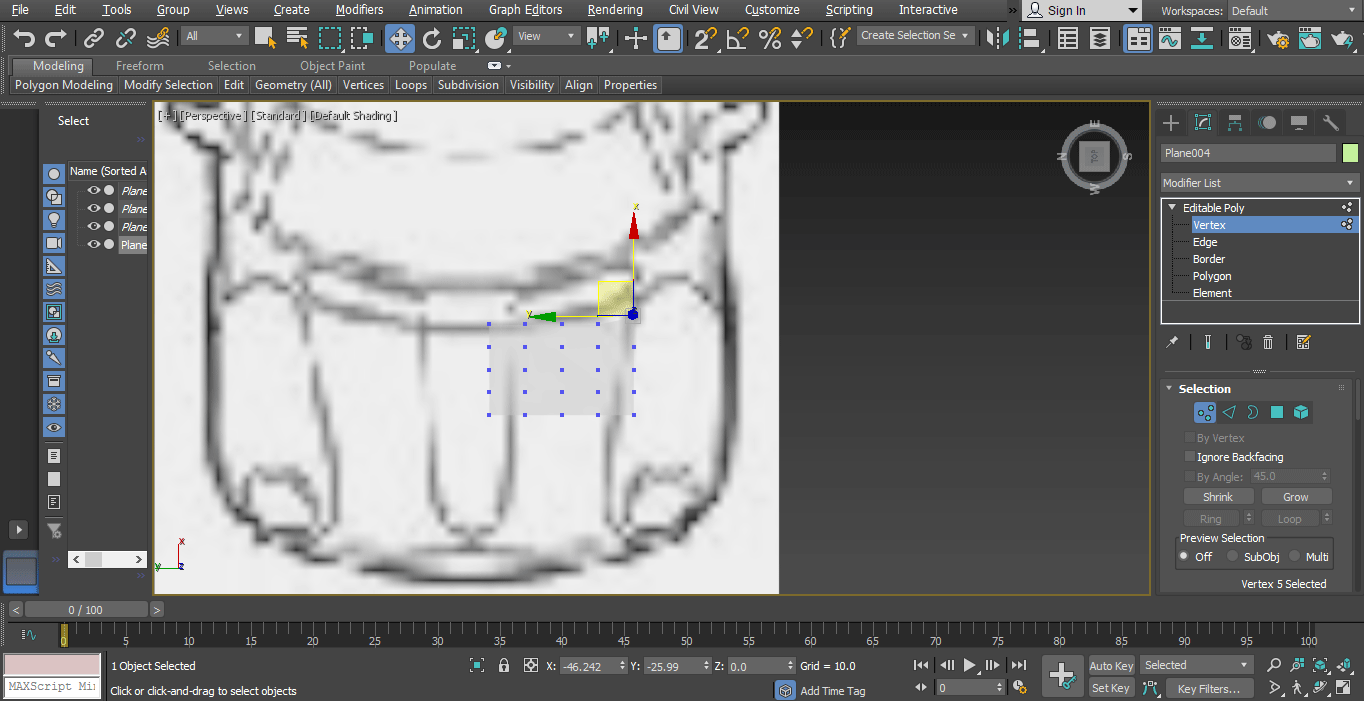
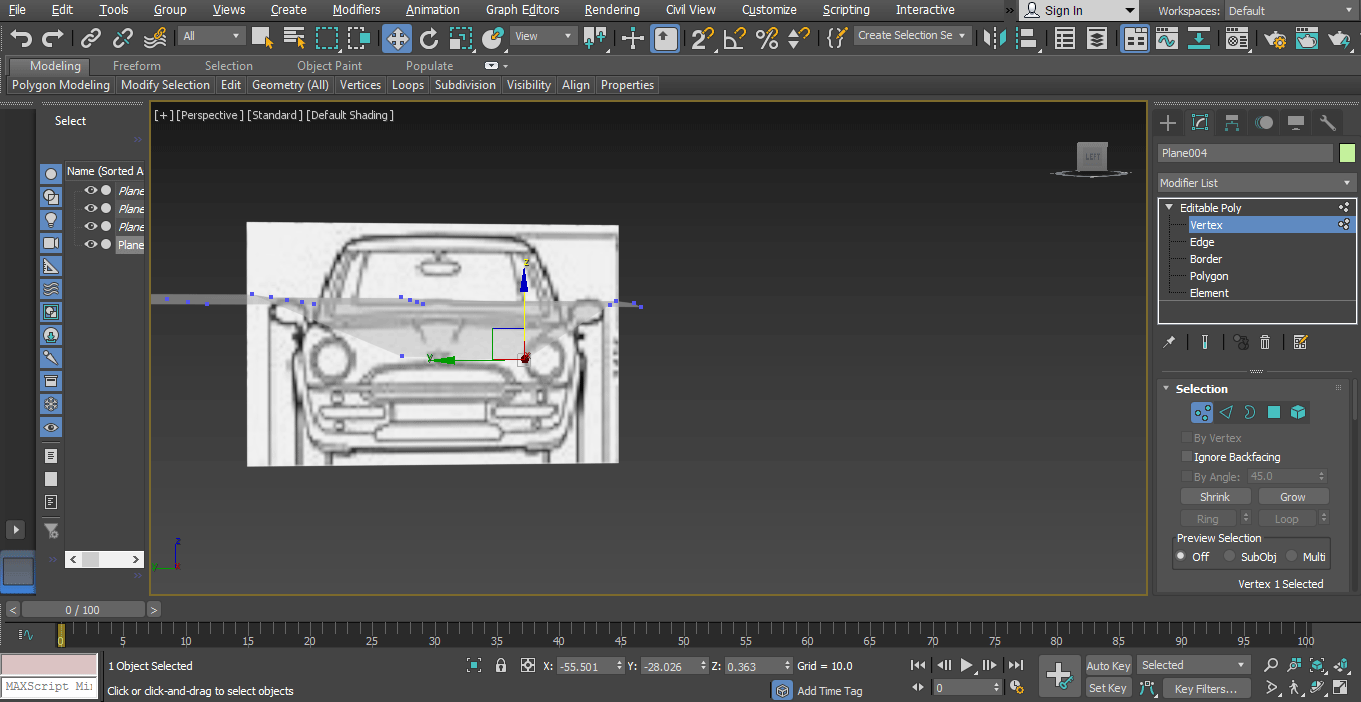
Step 17: Now click on Vertex from here and set the plan according to a blueprint by and In the top view, I am moving pivot in the left-right direction for setting the plane according to a blueprint.
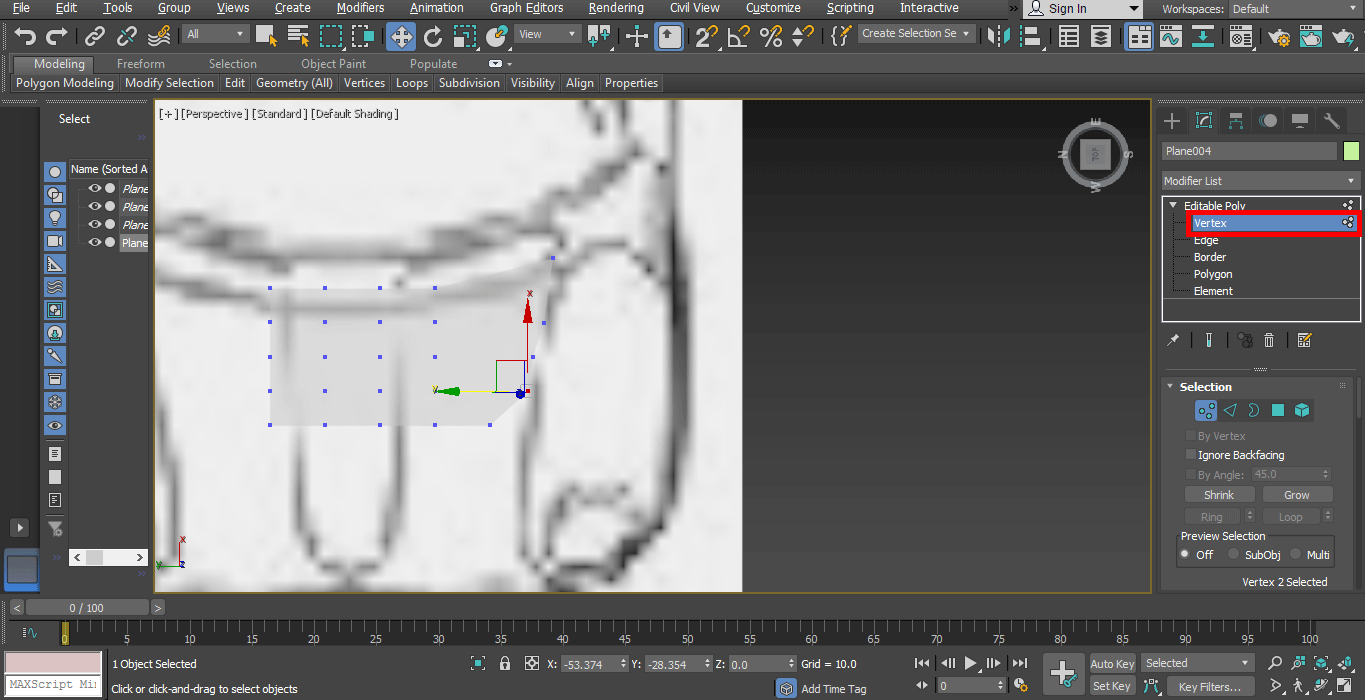
Step 18: So you should move pivot points in the up-down direction to give the shape of the plane in the left view otherwise it will create a problem in modeling.
Step 19: Now, we will give a segment in the plane so that it can be curved to select the plane and choose the edge option from here.
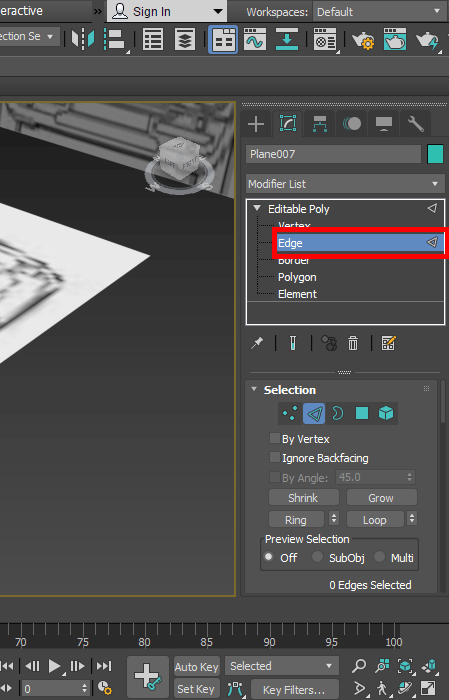
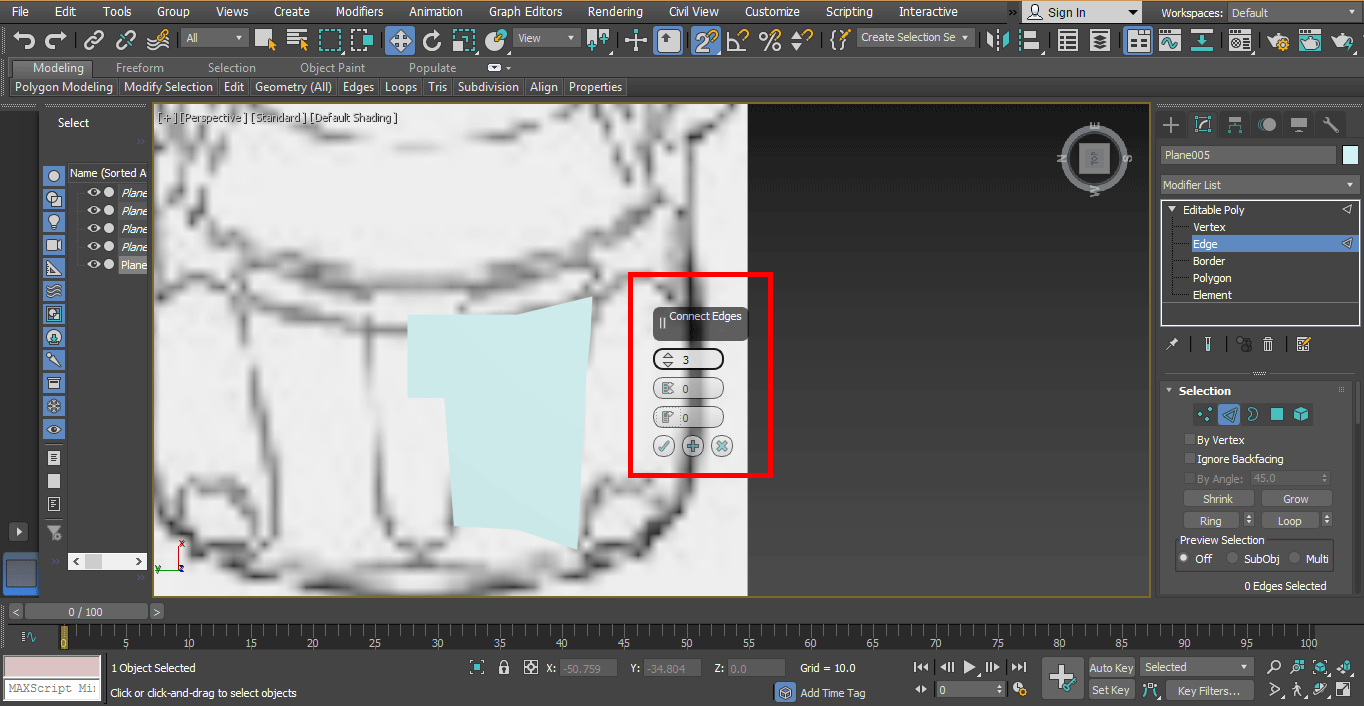
Step 20: Now right-click on the working area click on the connect option from here.
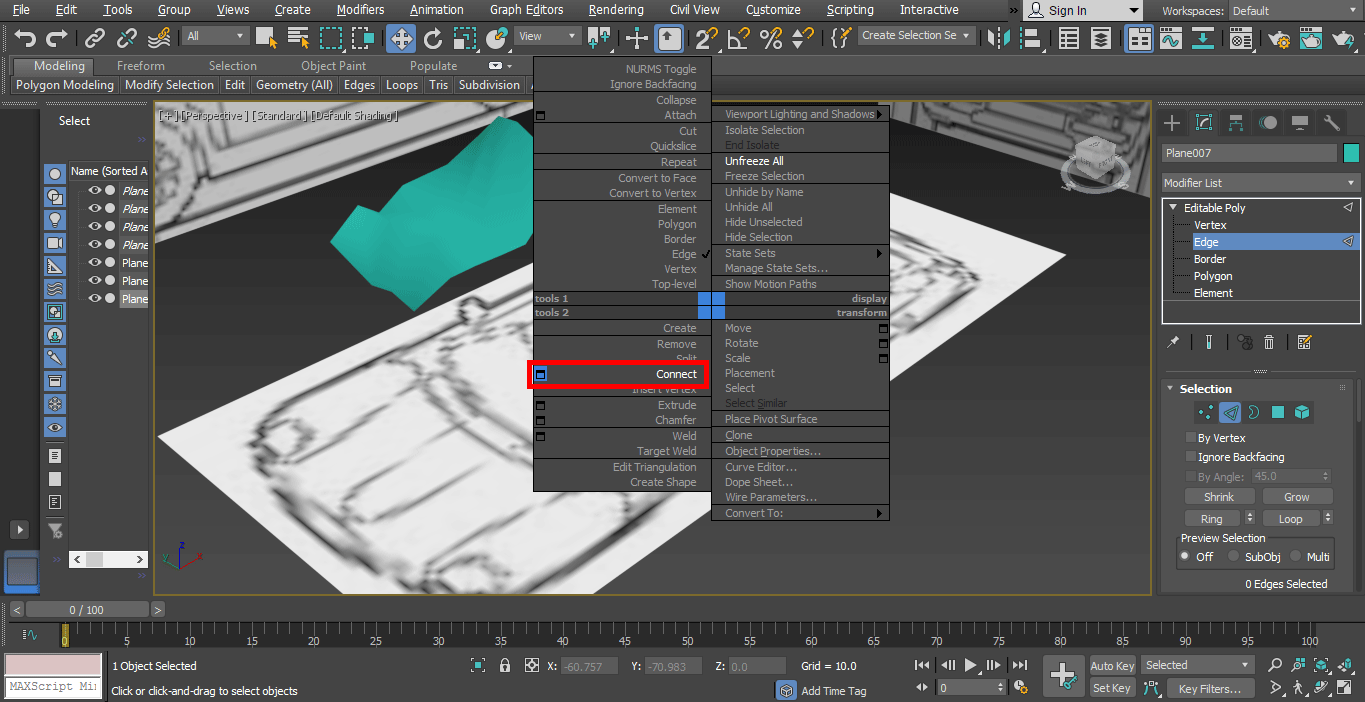
Step 21: Now give a segment from here.
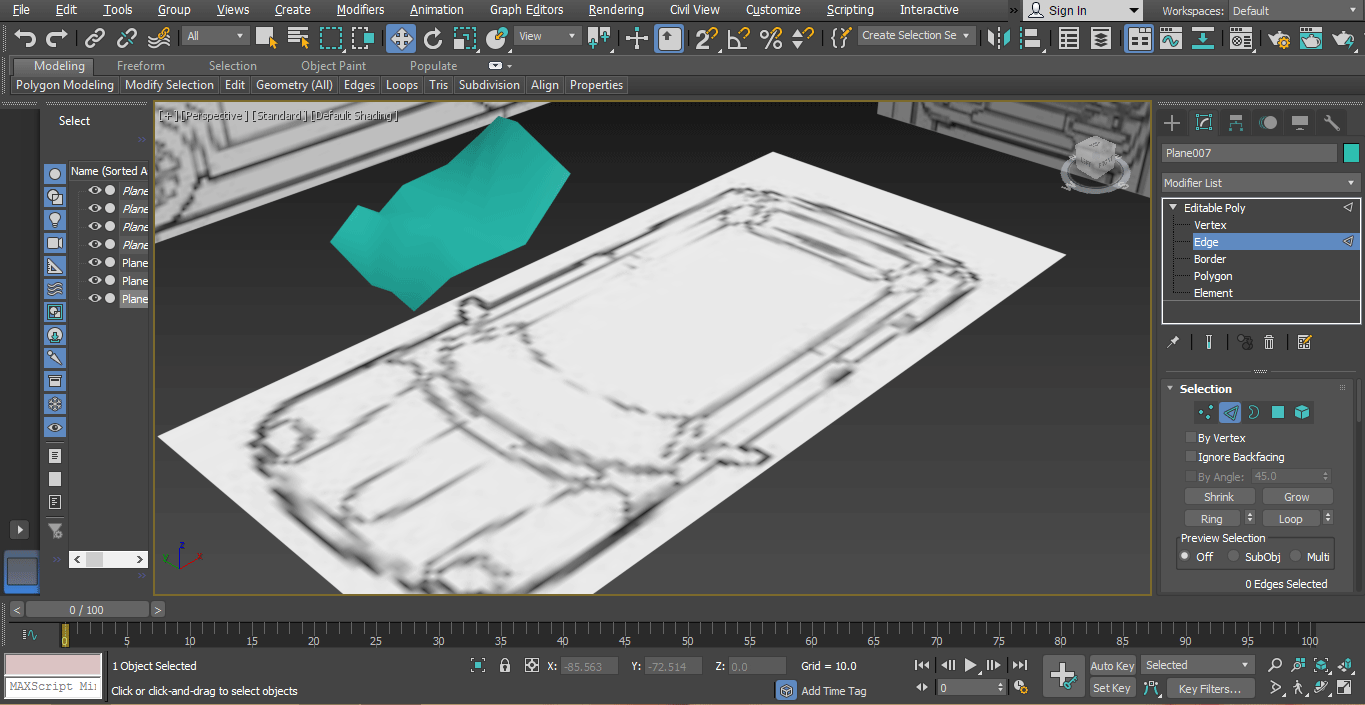
Step 22: In this way, you can design all parts of the car.
Conclusion
Take a look at you, you have basic knowledge of car modeling in 3D max software, and your base is clear now. You can easily make any type of car model after having little practice on it by following our tutorial steps. Now getting expertise in this topic becomes an easy task for you.
Recommended Articles
This is a guide to Car Modeling in 3ds Max. Here we discuss how to set units and designing a car model in 3ds max. You can also go through our other related articles to learn more-
