Introduction to Animation in 3ds Max
3D Max is a professional 3D computer designing software, which is used in making 3D animation, games, models, images, etc. and plays a major role in the work of Video Game developers, Film and TV Studios. Animation is the basic part of 3D max software. Animation gives a moving appearance to your object and connects it to the real world. With the Animation command, we can check the result of our model working in the real world, and we can make changes many times until we get the best result of our model in our project or according to client requirement.
Animating Objets in 3ds Max
Animation gives a realistic view of our model. Here you will learn how to animate in your project with me in step by step manner. Let’s start our tutorial in a very interesting way.
Step 1: There are four viewports working areas in 3D max software that are Top viewport, Front viewport, Left viewport, and the last one is Perspective viewport. We can choose any one of them for drawing our model at any time.
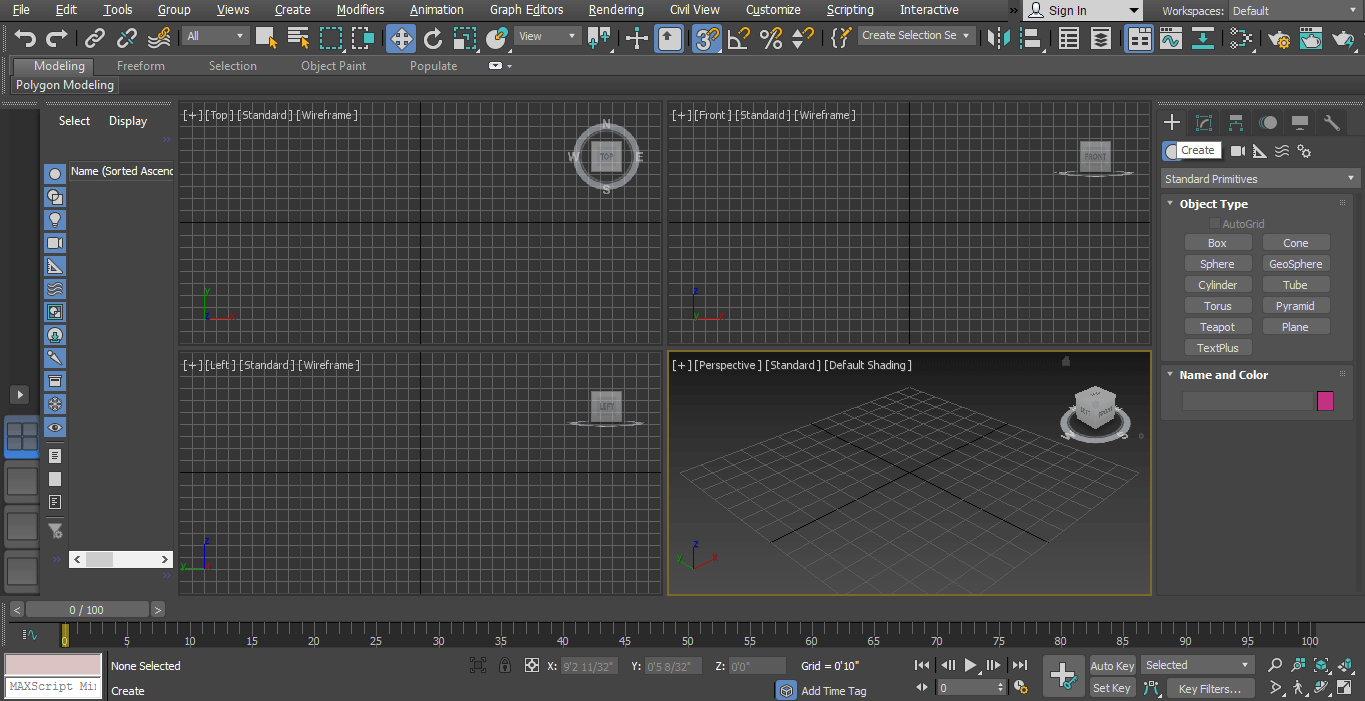
Step 2: Here, we will see our animation effect on the simple Gate model.
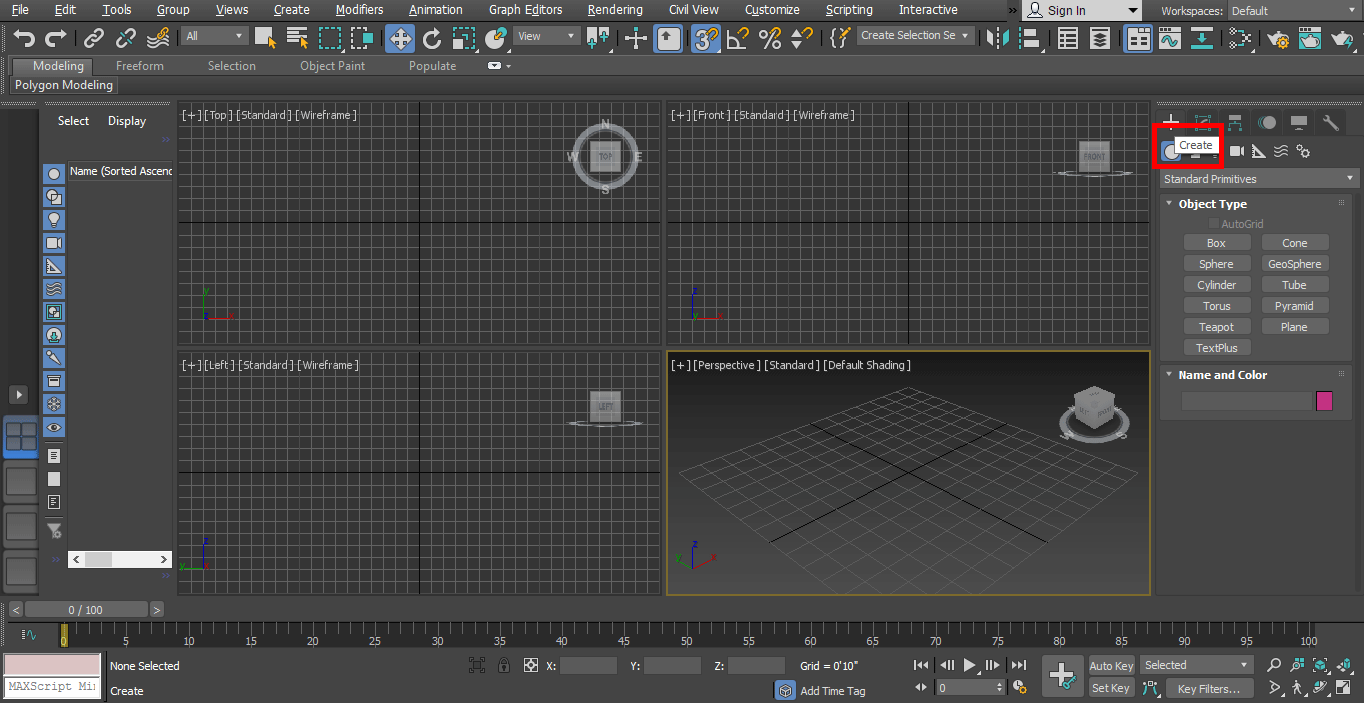
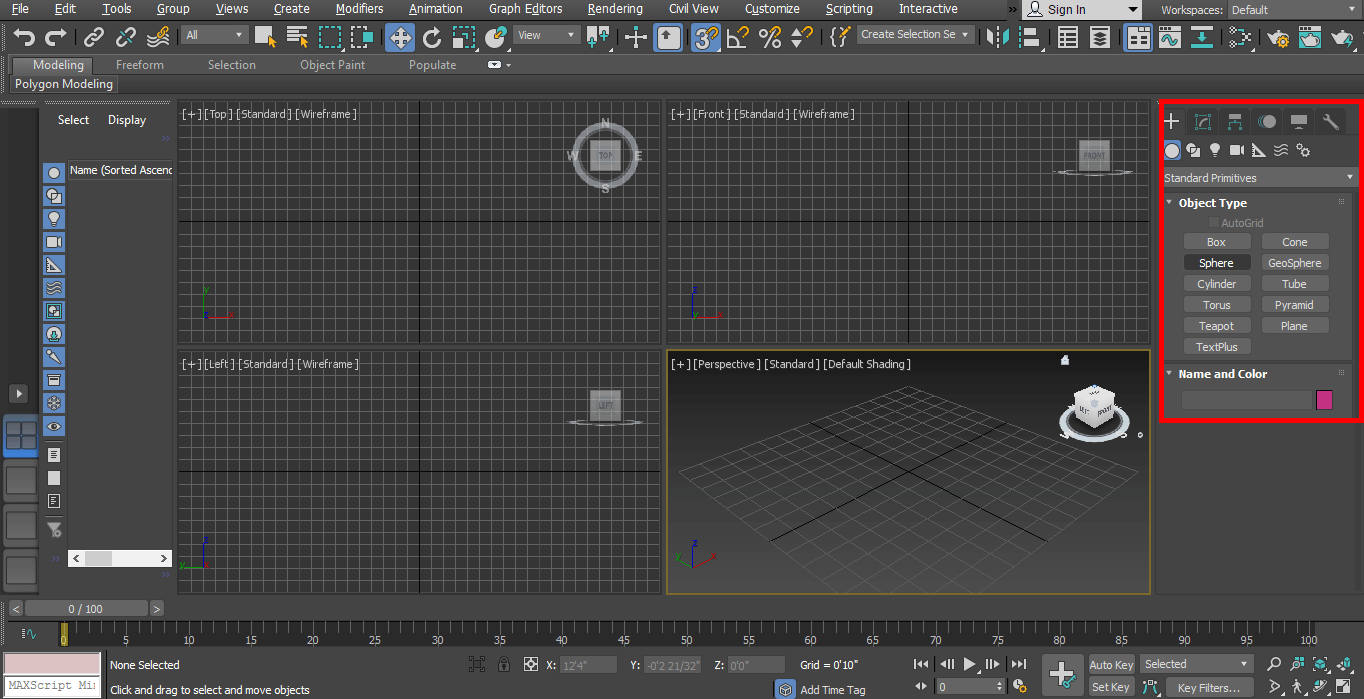
Step 3: For creating a simple gate, just follow some steps as I am doing; first of all, we will draw from the common panel.
Step 4: Click on create the tab.
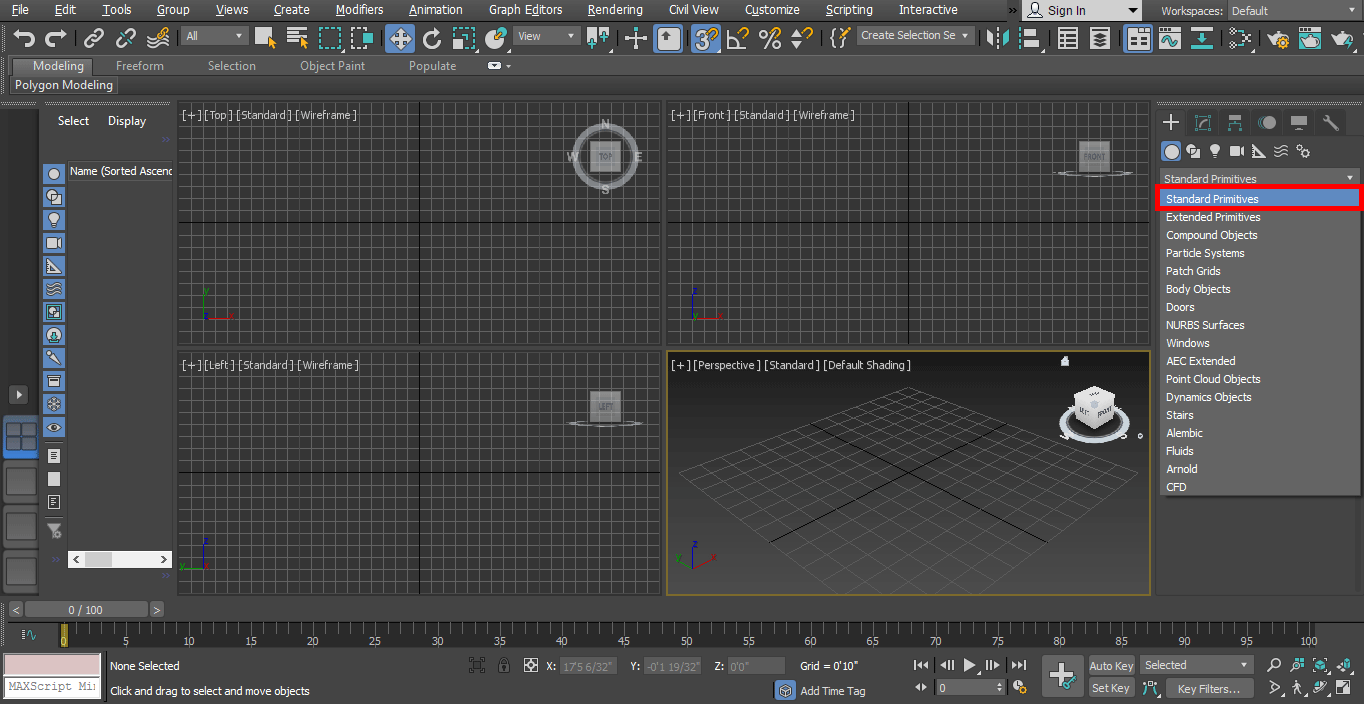
Step 5: Click on the standard primitive option of the common panel.
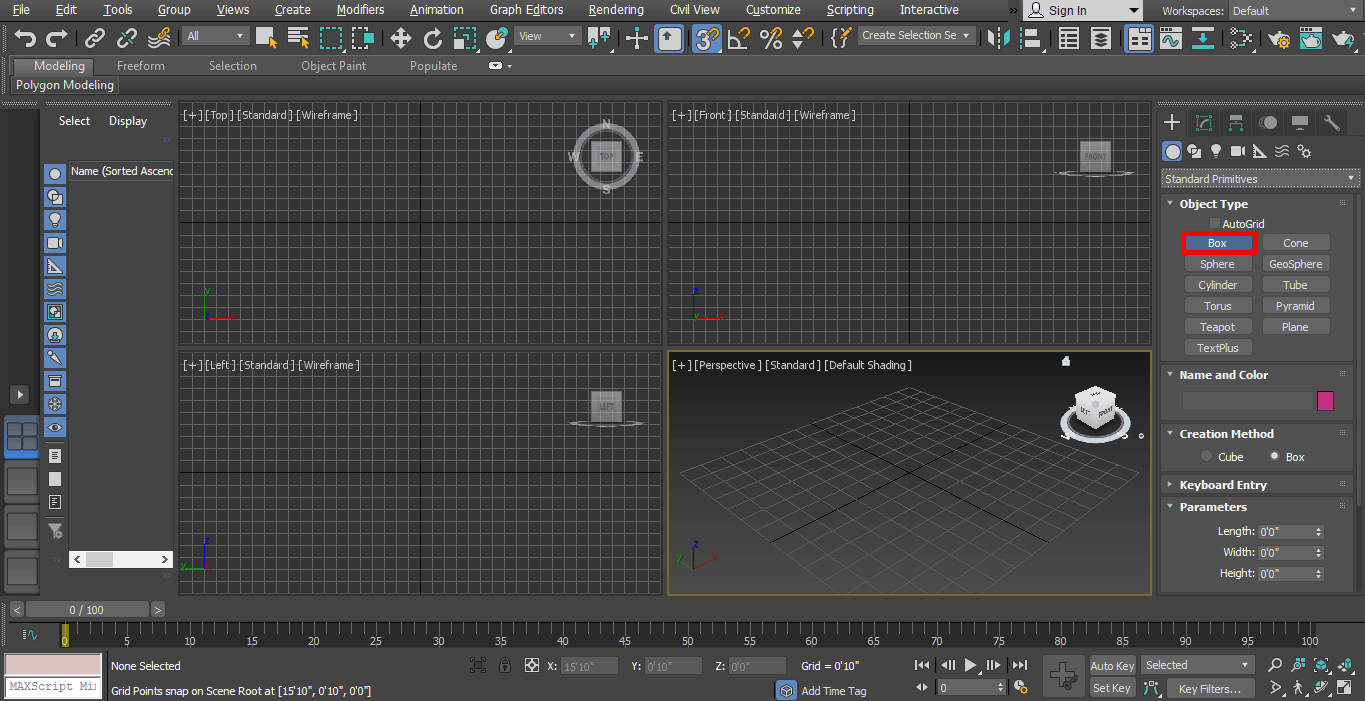
Step 6: Take the Box command by clicking on the Box tab of the common panel.
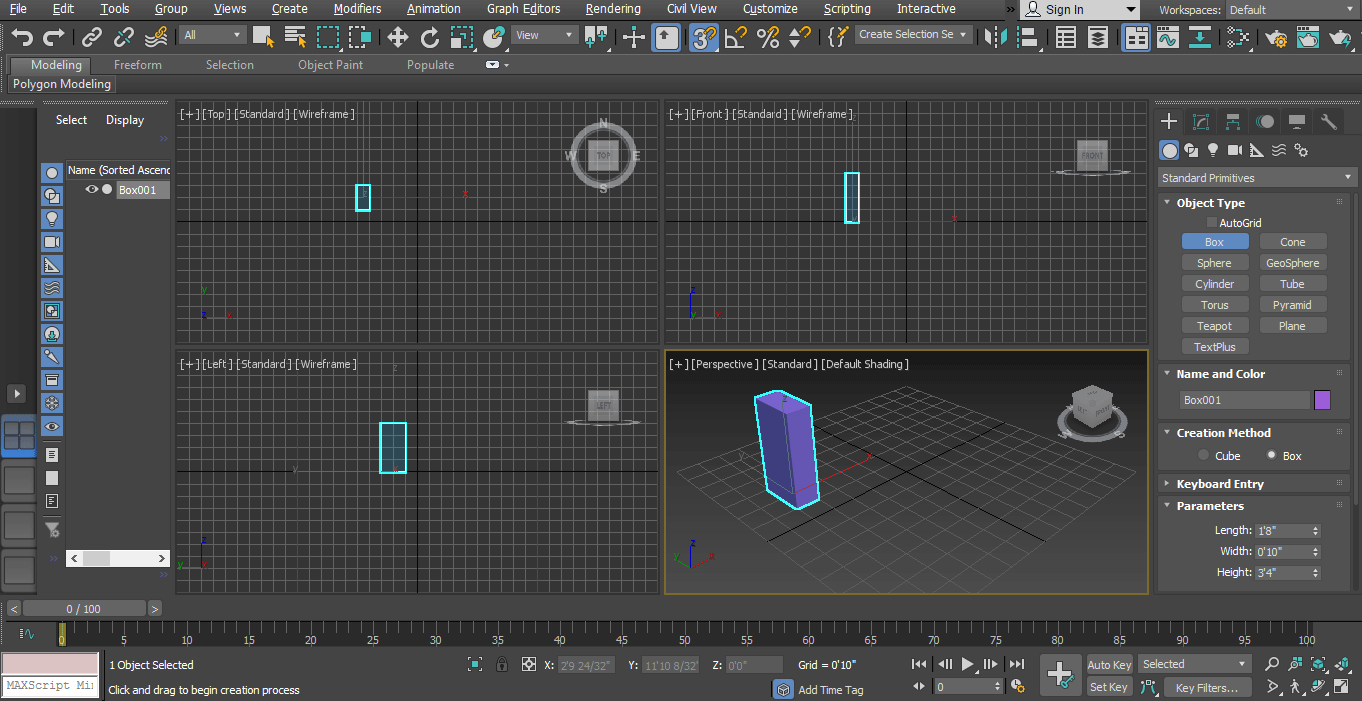
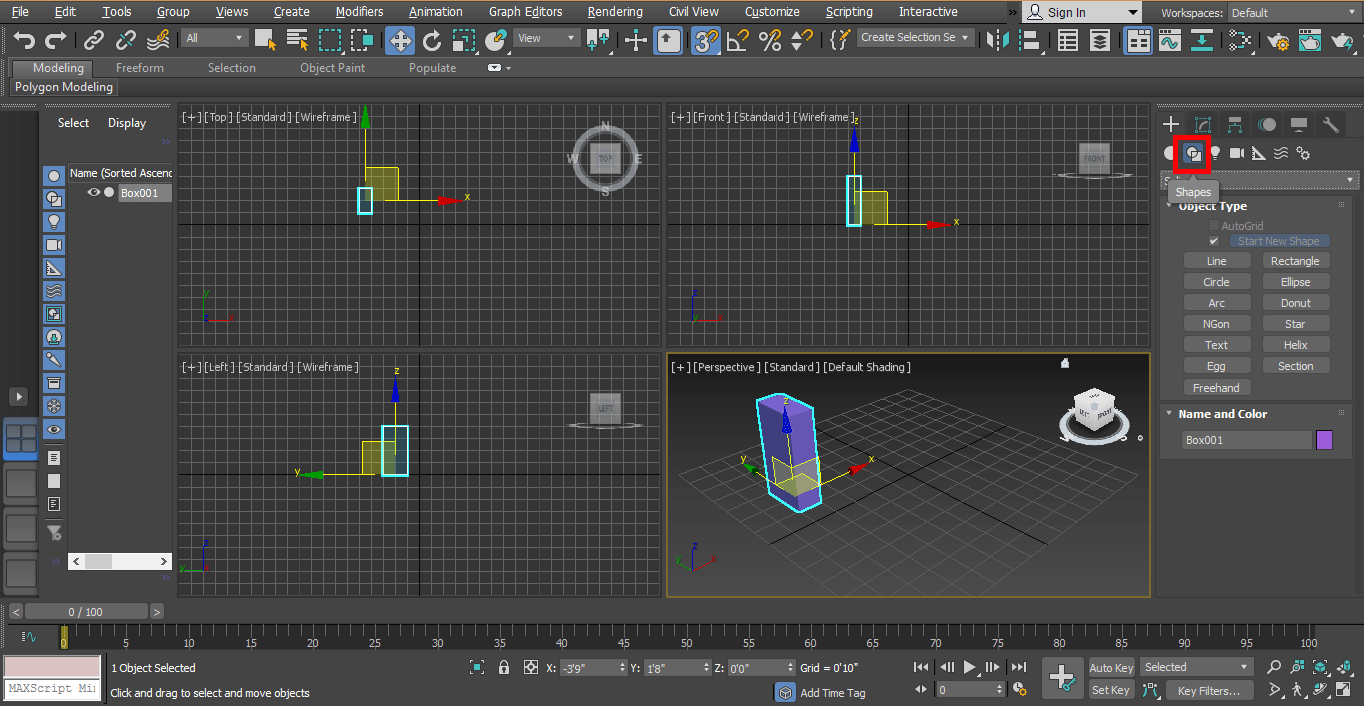
Step 7: I will click anywhere on the grid of the top viewport; you can click on the gird or out of the gird to draw your object and drag the mouse pointer to give length and width to the box, left click to leave and then drag the mouse pointer in an upward direction to give the height of the box and right-click to exit from the command. We will make a pillar-like shape with this box.
Step 8: Now again, I will go to the common panel.
Step 9: Click on shapes here.
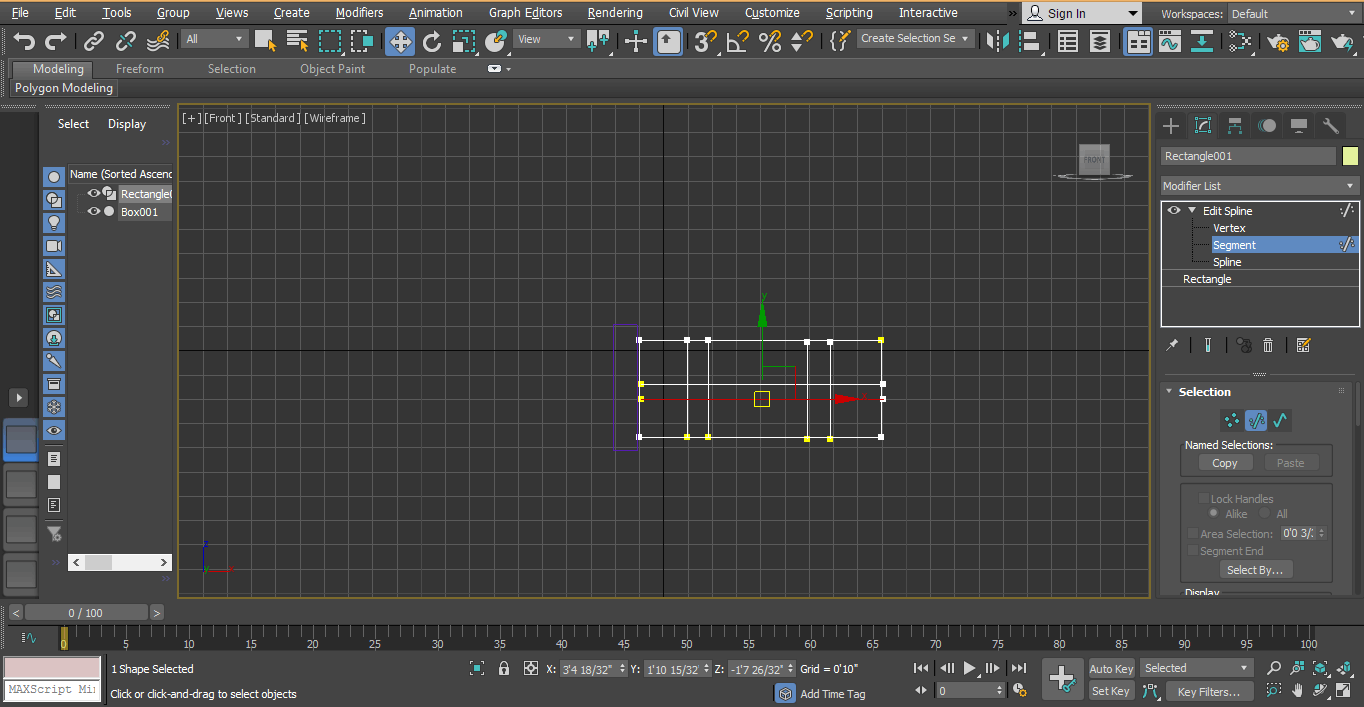
Step 10: Click on the Rectangle tab of the common panel.
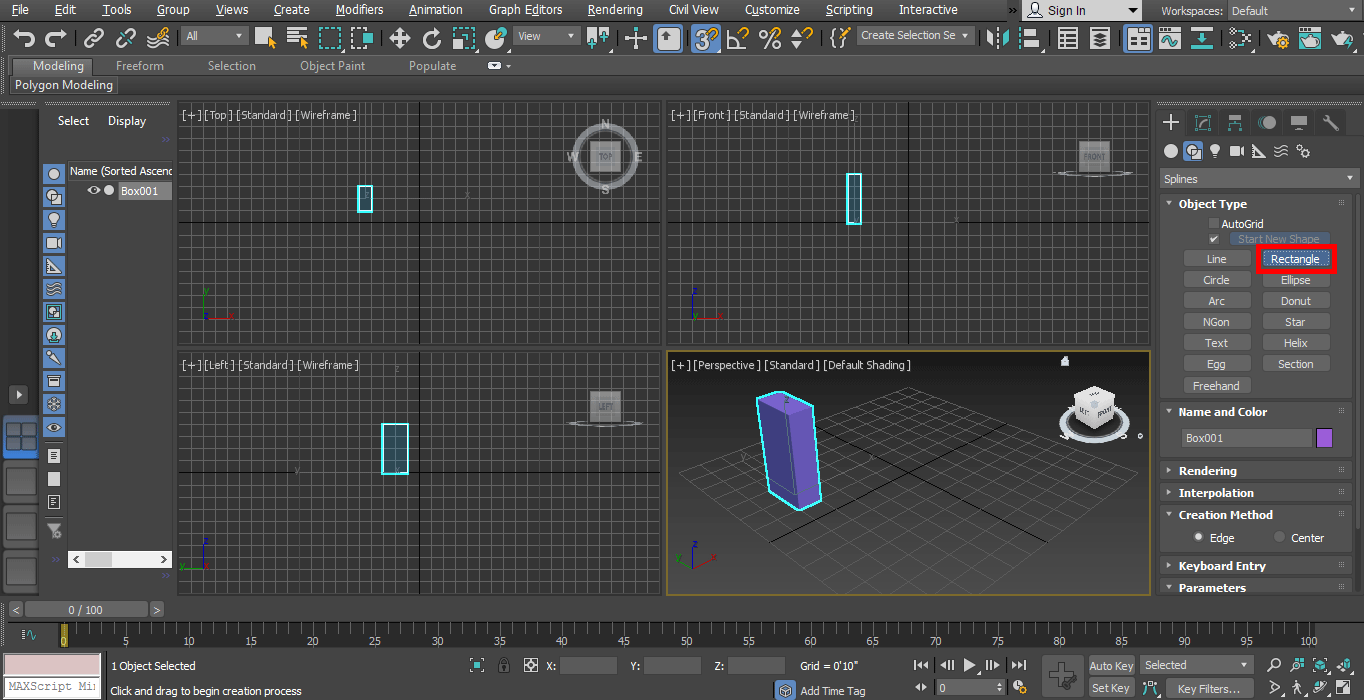
Step 11: I will click on the gird of the front viewport; you can draw in any viewport according to suitability and drag the mouse pointer to draw a rectangle.
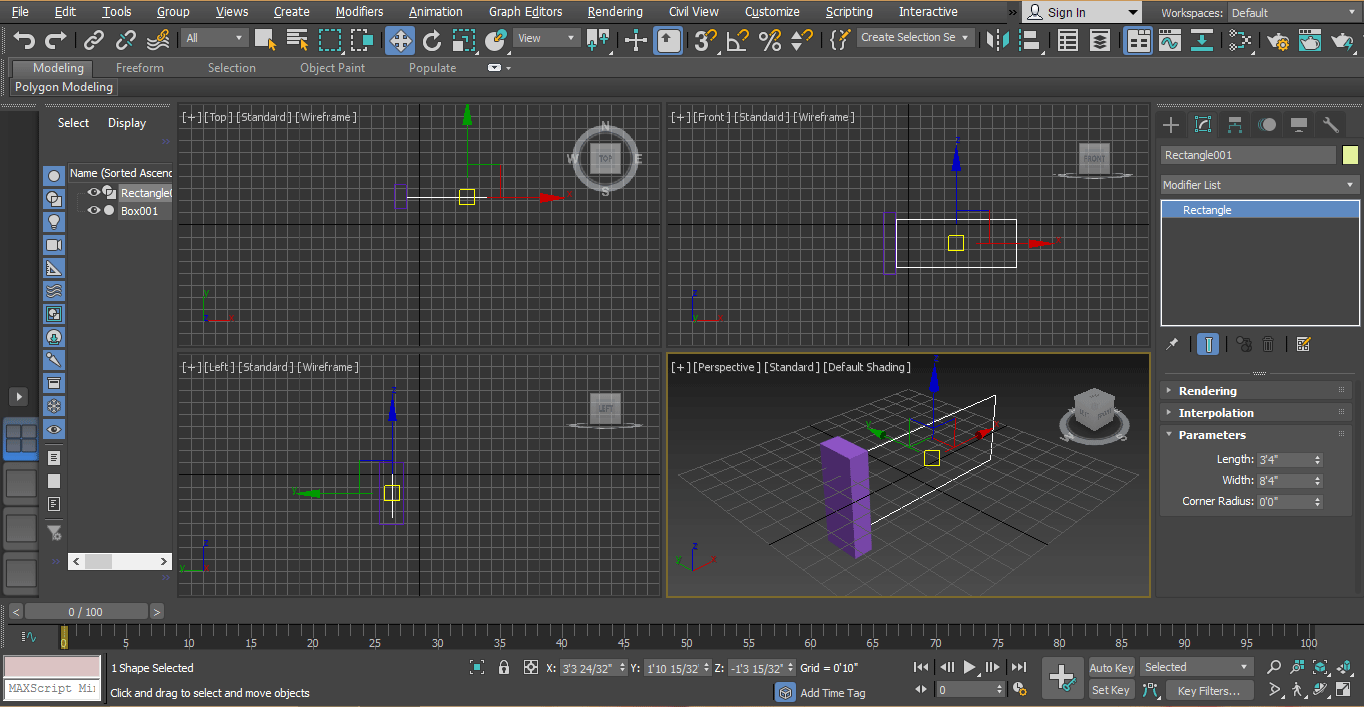
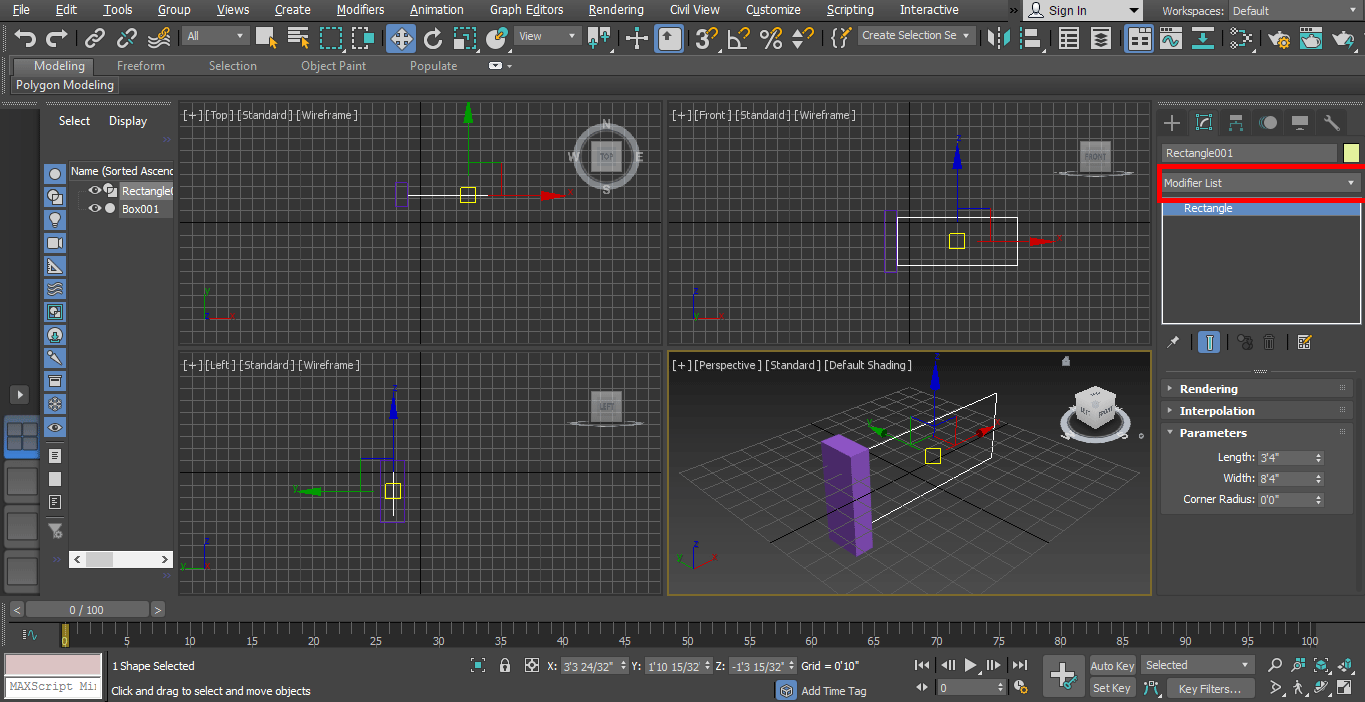
Step 12: Select the rectangle by clicking on it. Go to the modifier list point.
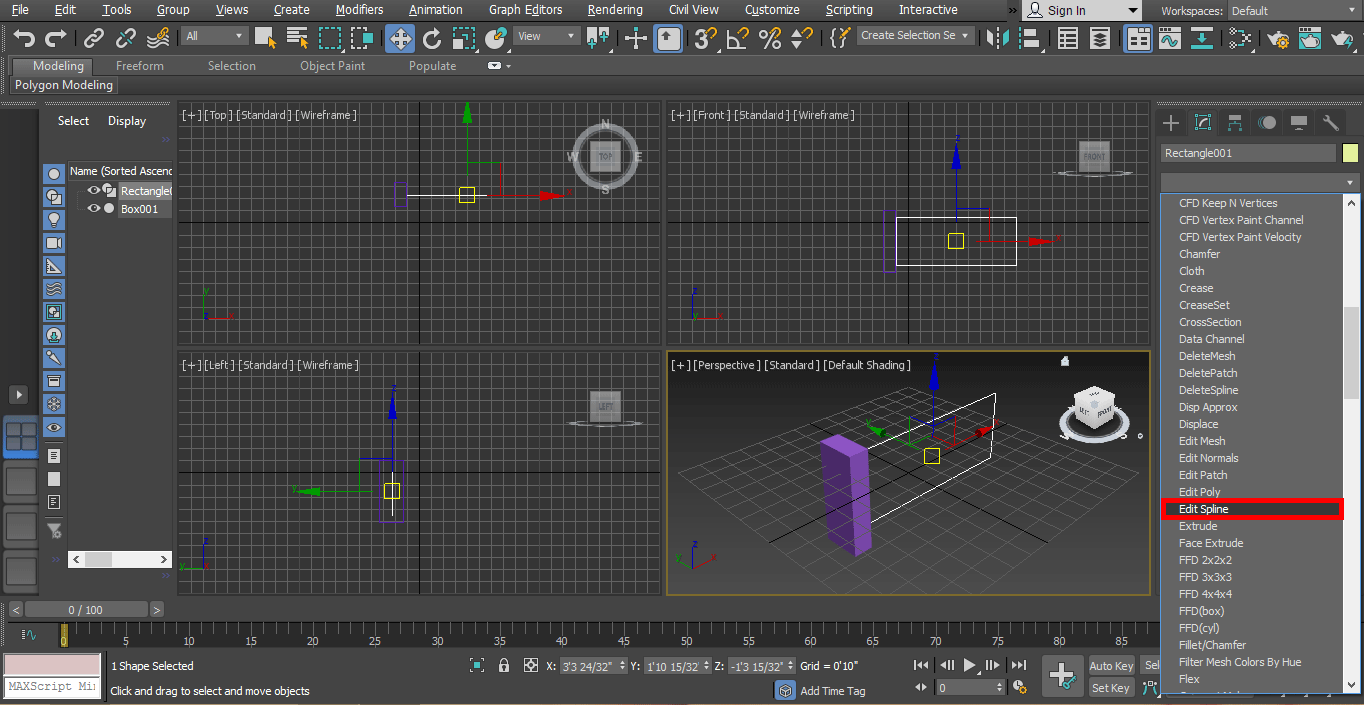
Step 13: Click on the Edit Spline option.
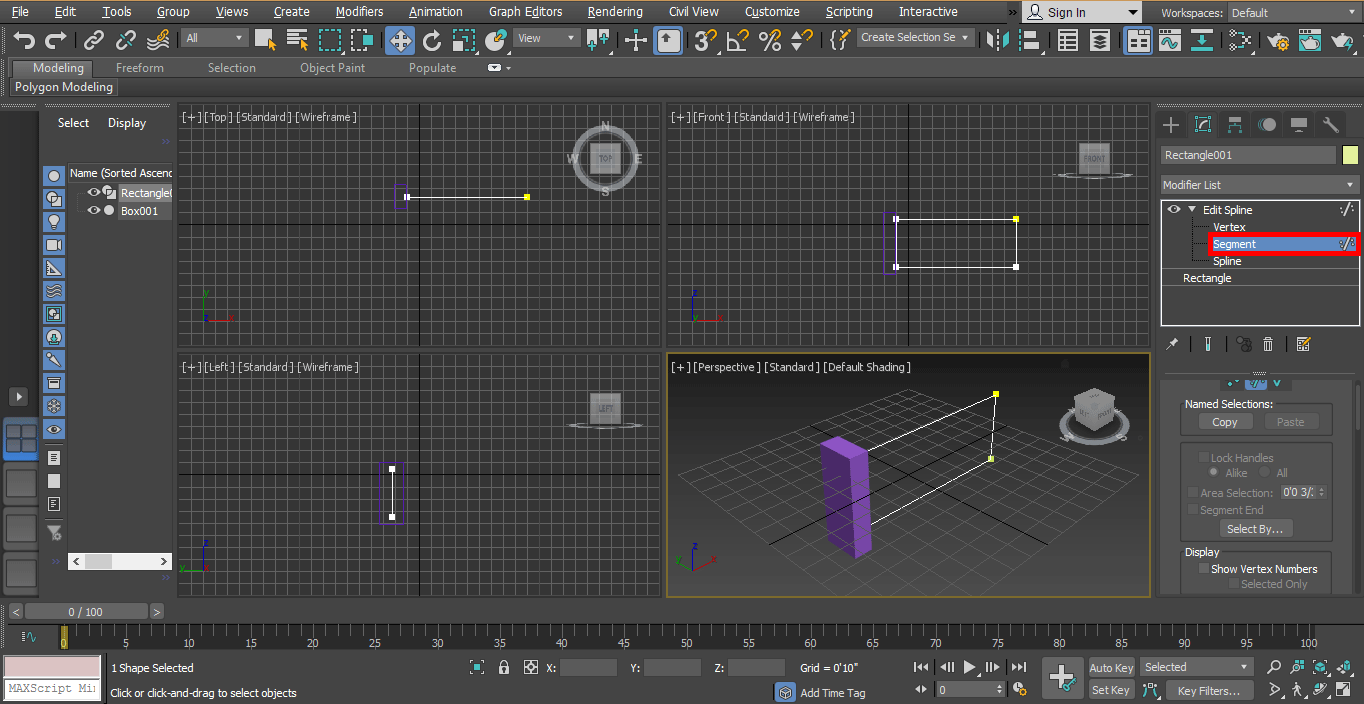
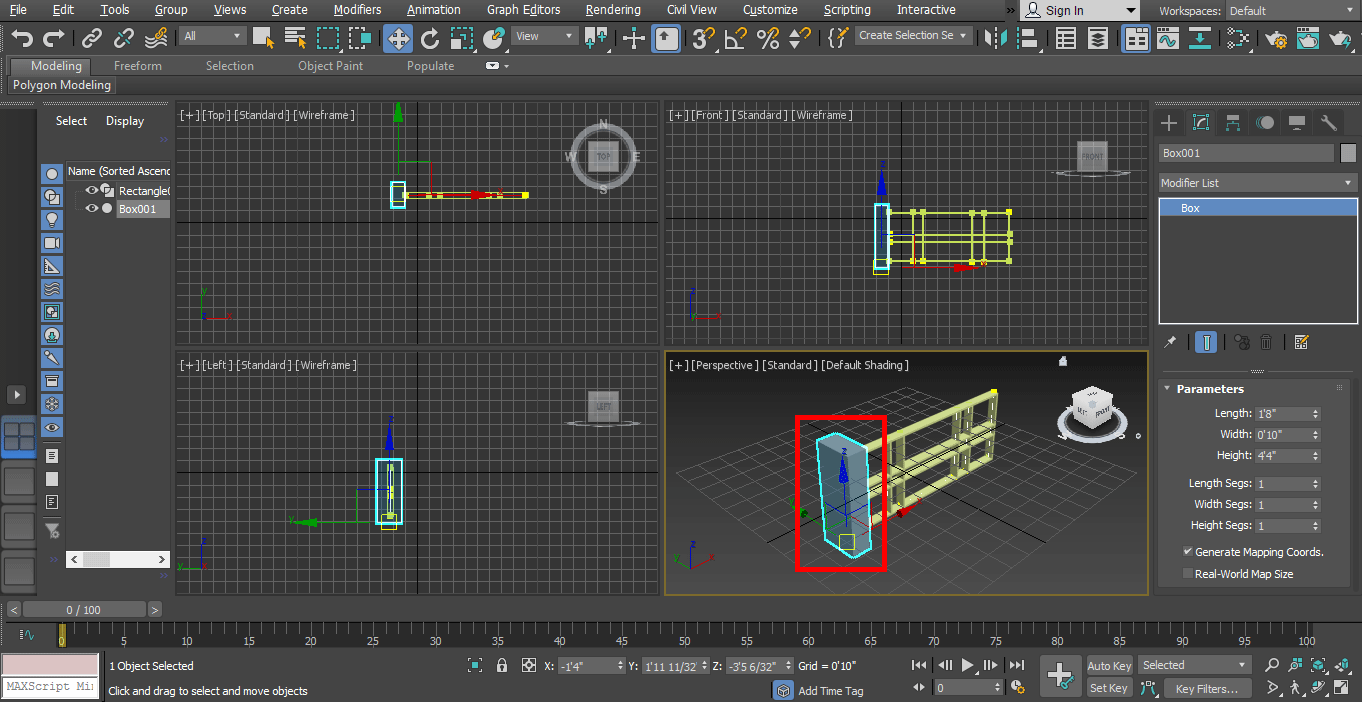
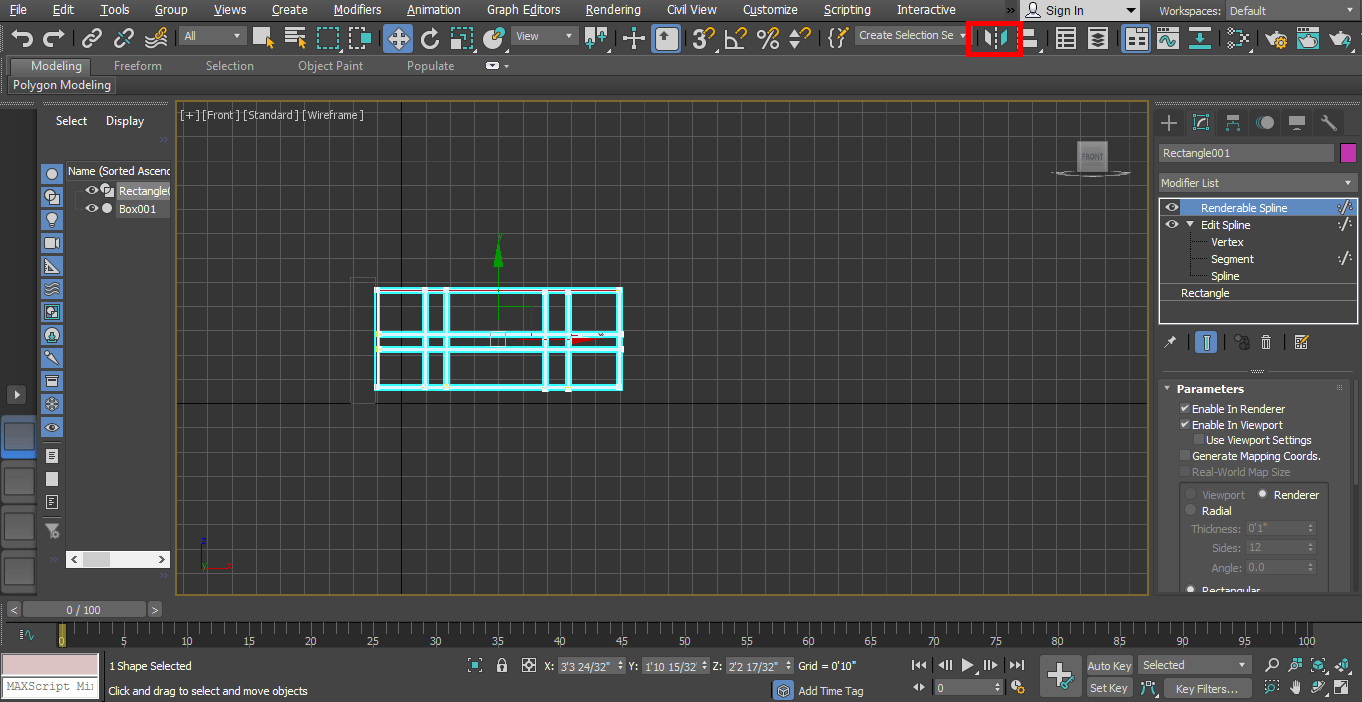
Step 14: Click on Segment to give a segment in the rectangle. We are giving segment in the rectangle for creating a gate-like structure.
Step 15: I will click on the breadth of the rectangle and drag it by holding the click and shift key both at the same time in the horizontal direction to copy it and give a rod-like structure between the gate. I will follow this step four times to give two rods in the gate.
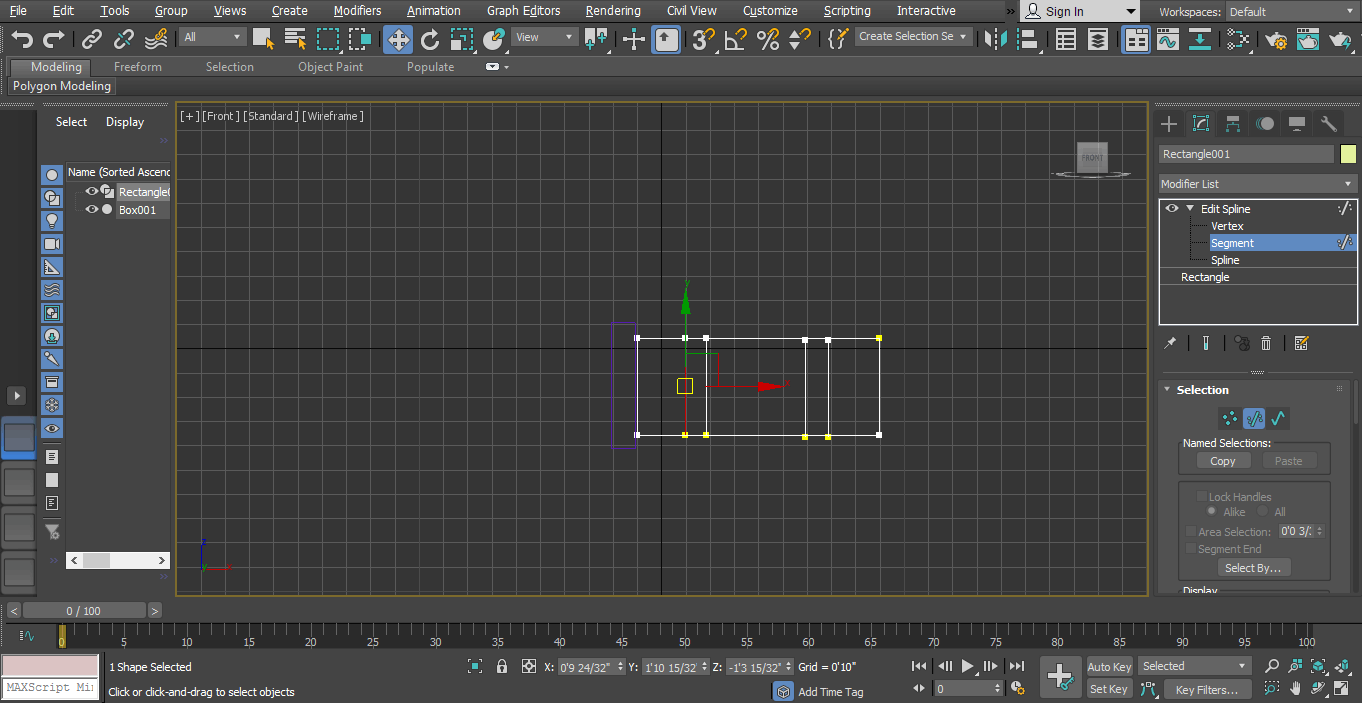
Step 16: Again, I will click on the length of the rectangle and drag by holding the click in the vertical direction to give the rod in the gate in this direction.
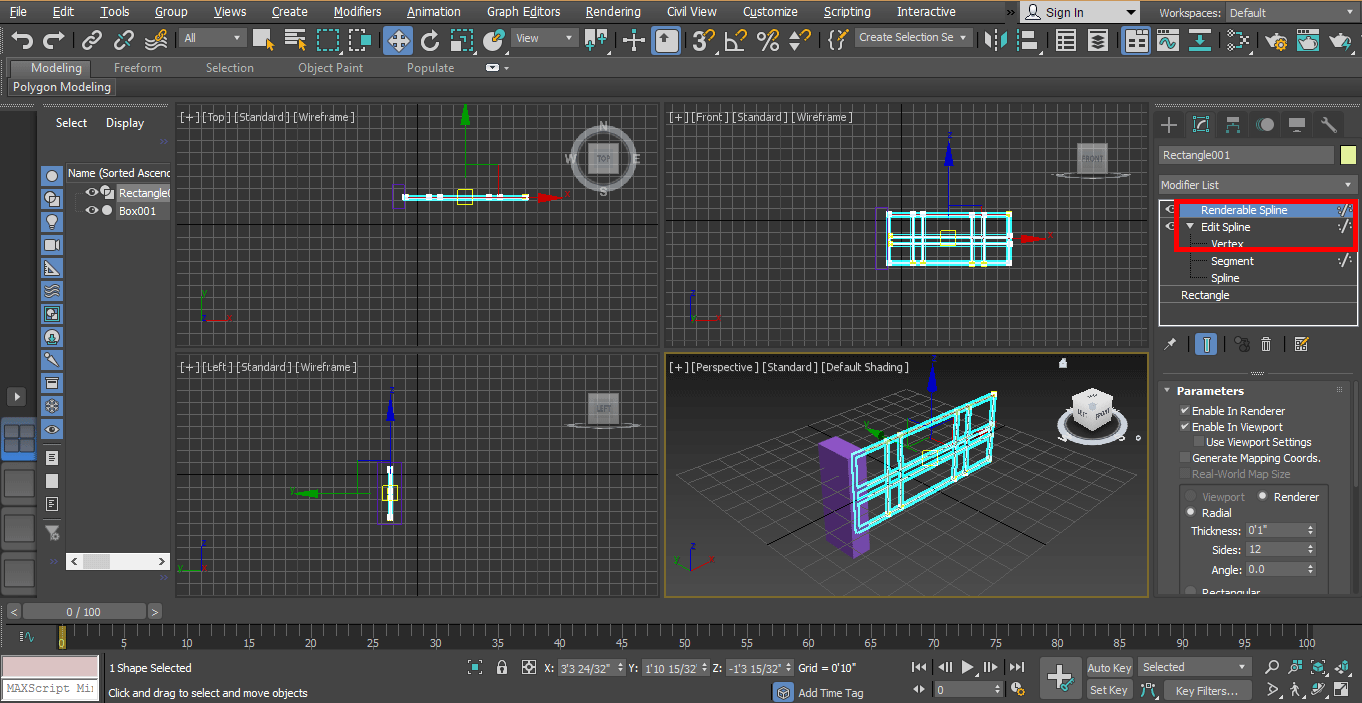
Step 17: Now, I will go to the rendering tab for seeing a render in the gate from modifying the list option.
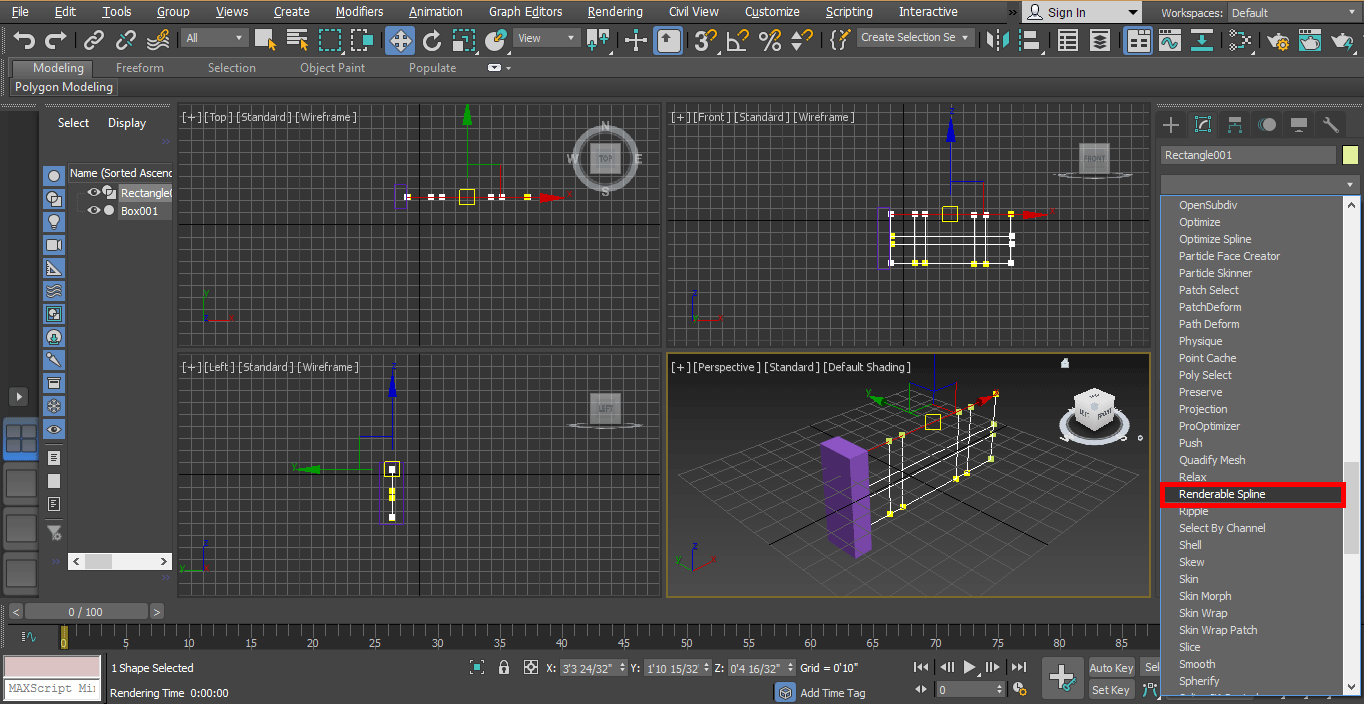
Step 18: Do a tick mark on two boxes that are enabled in the Render box and enable in the viewport box.
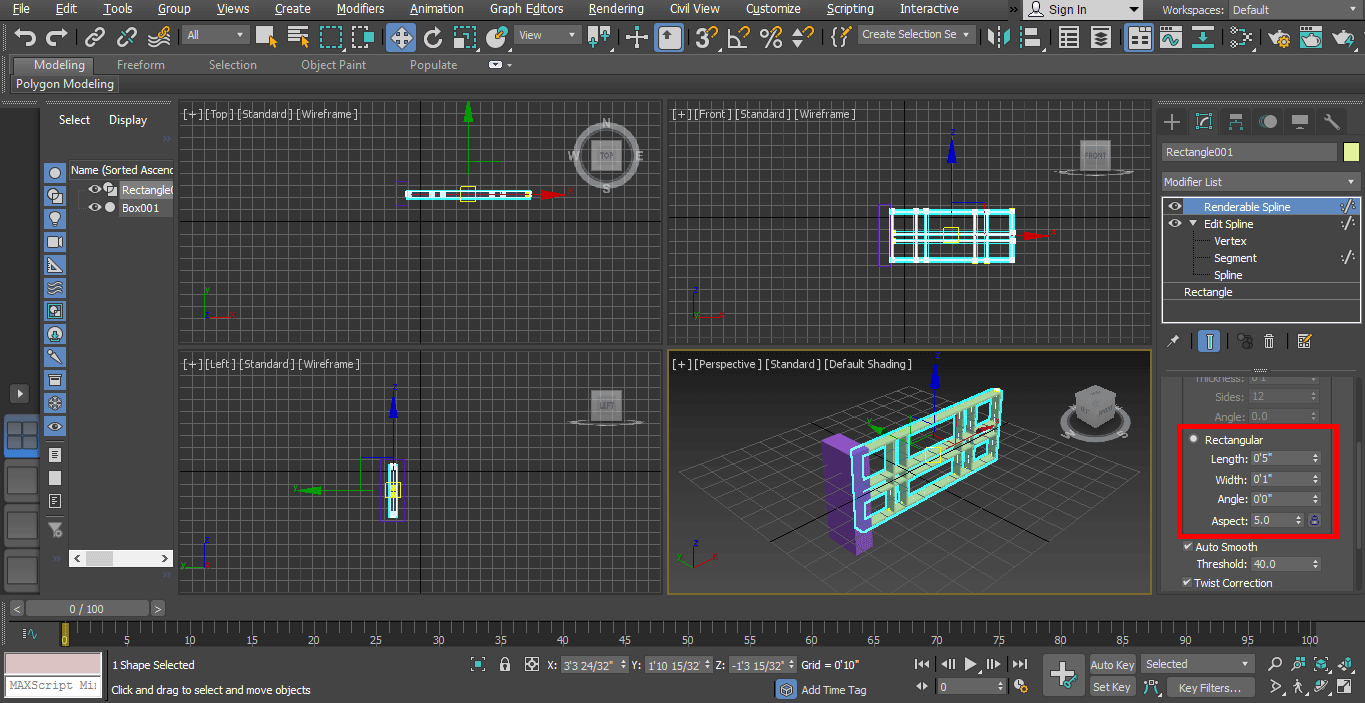
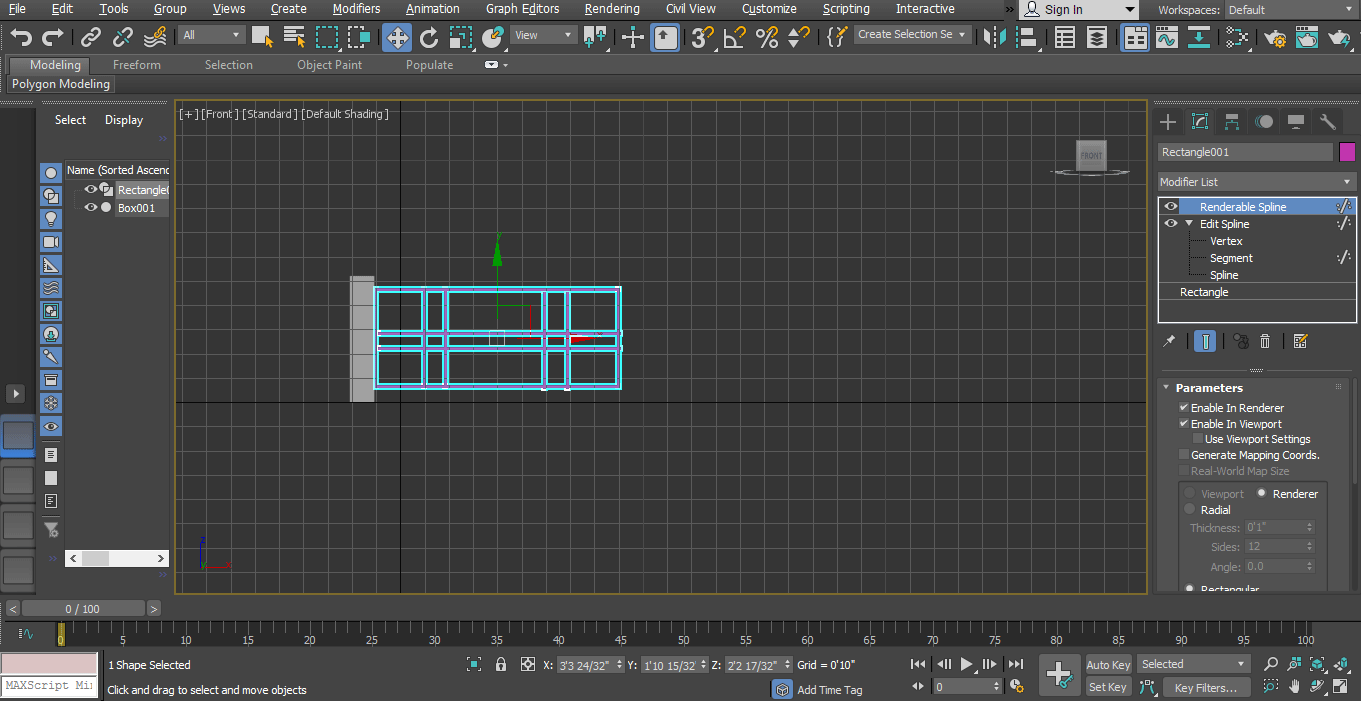
Step 19: Now, I will set the length and width of the rectangle to give it a look at the gate.
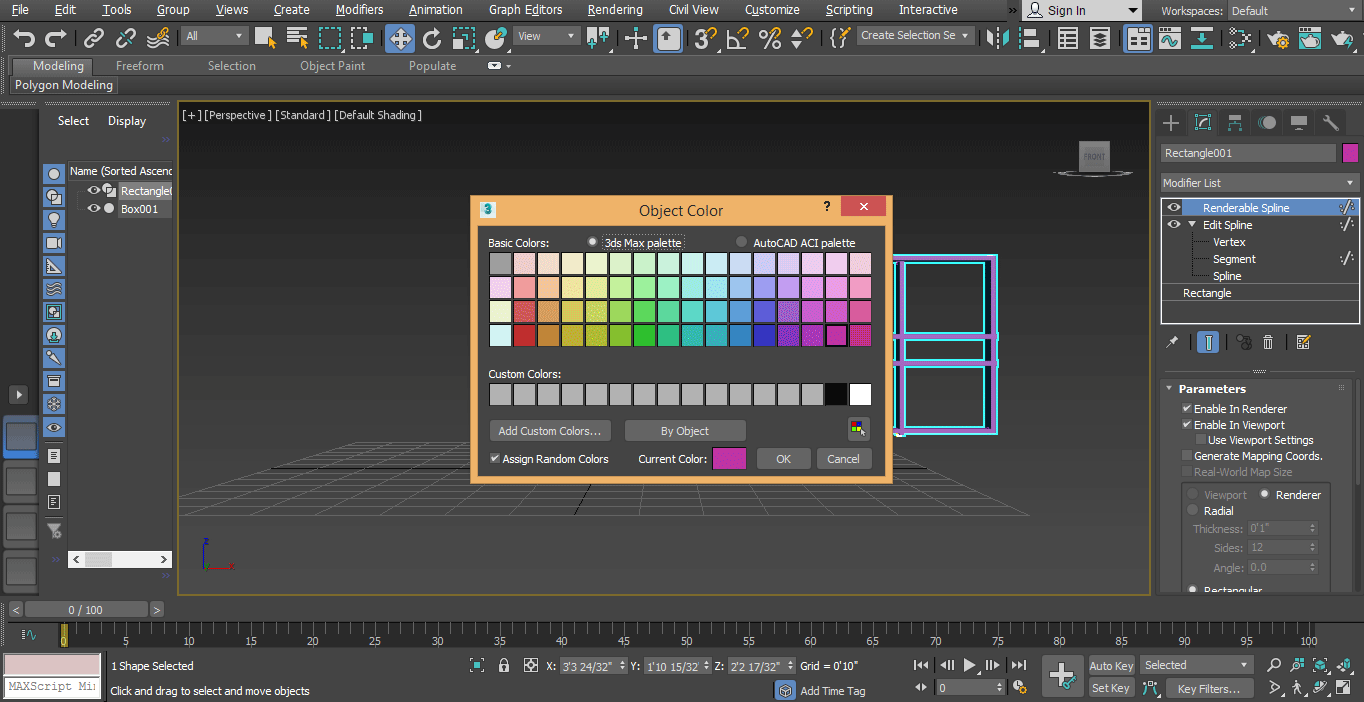
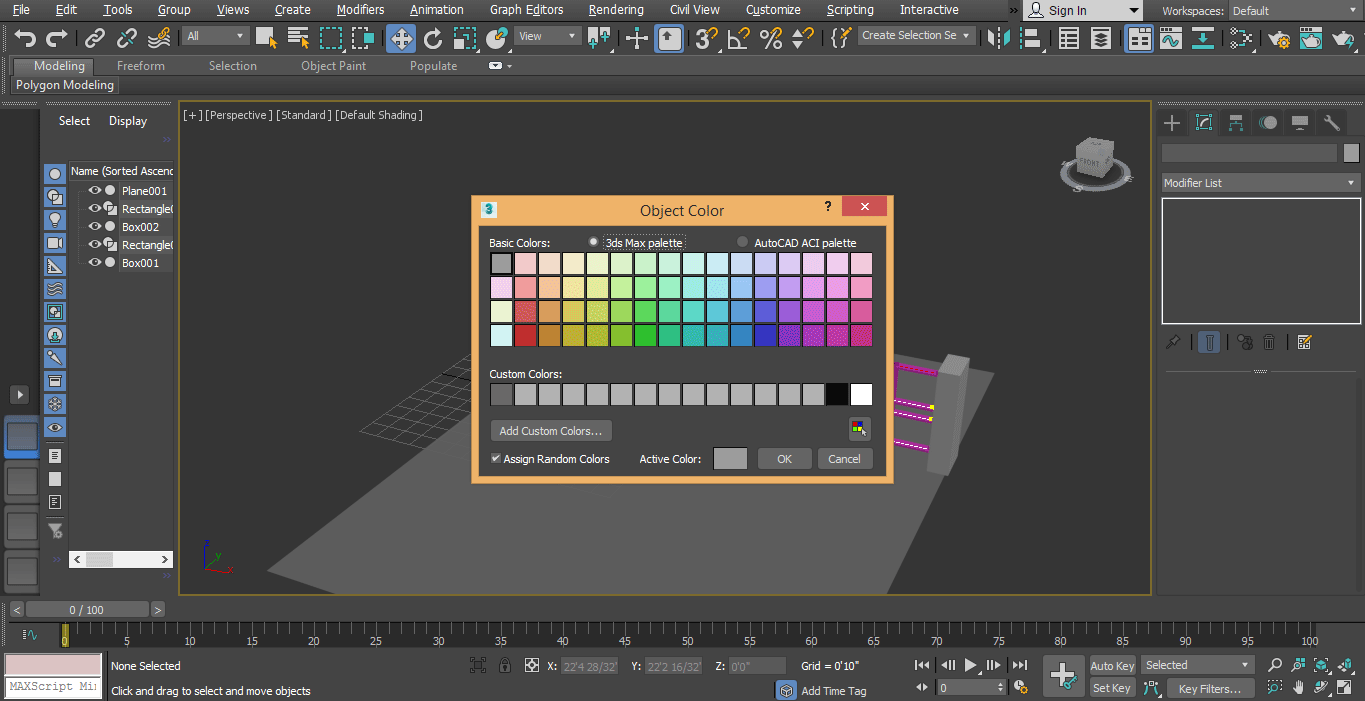
Step 20: Now, I will change the color of the pillar and gate one by one; for changing color, I selected the pillar by click on it.
Step 21: Go to the color option in the common panel. Choose a color from the open dialog box, click OK.
Step 22: Again, for changing the color, select the gate by clicking on it. Go to the color option on the common panel, choose a color from an open dialog box and click ok.

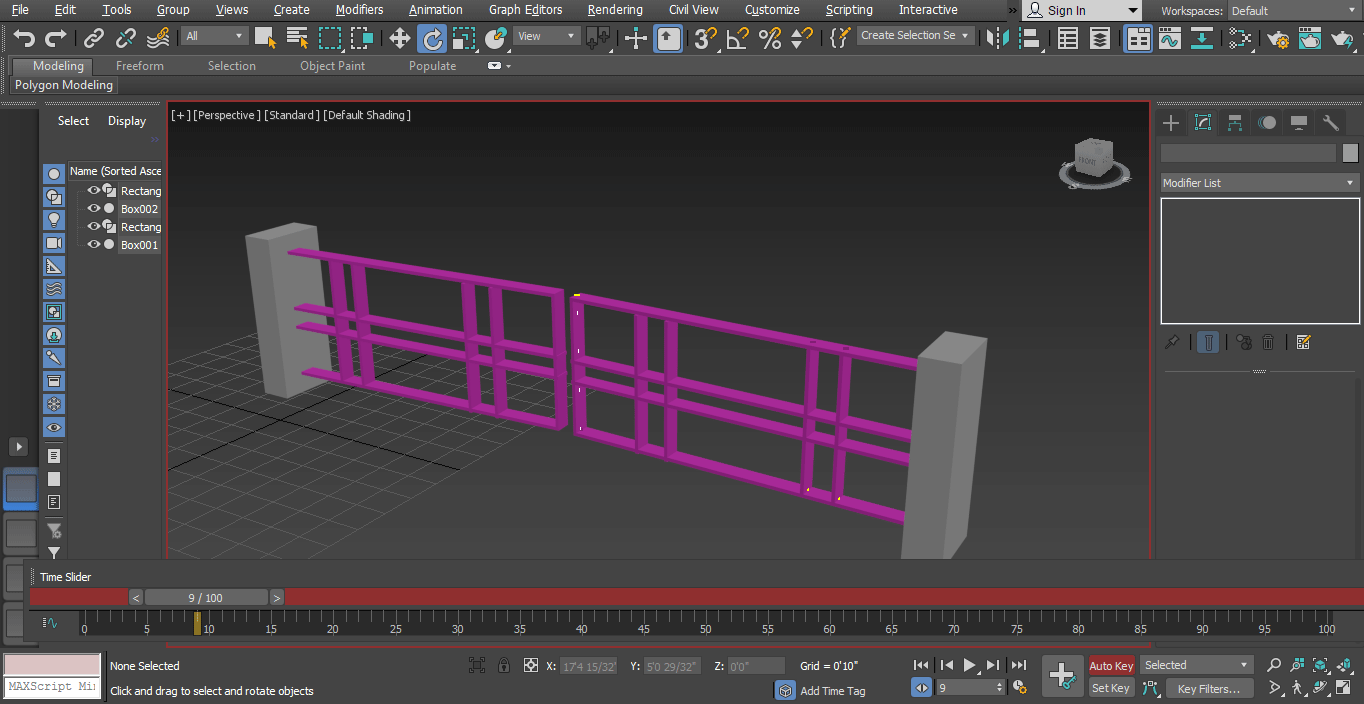
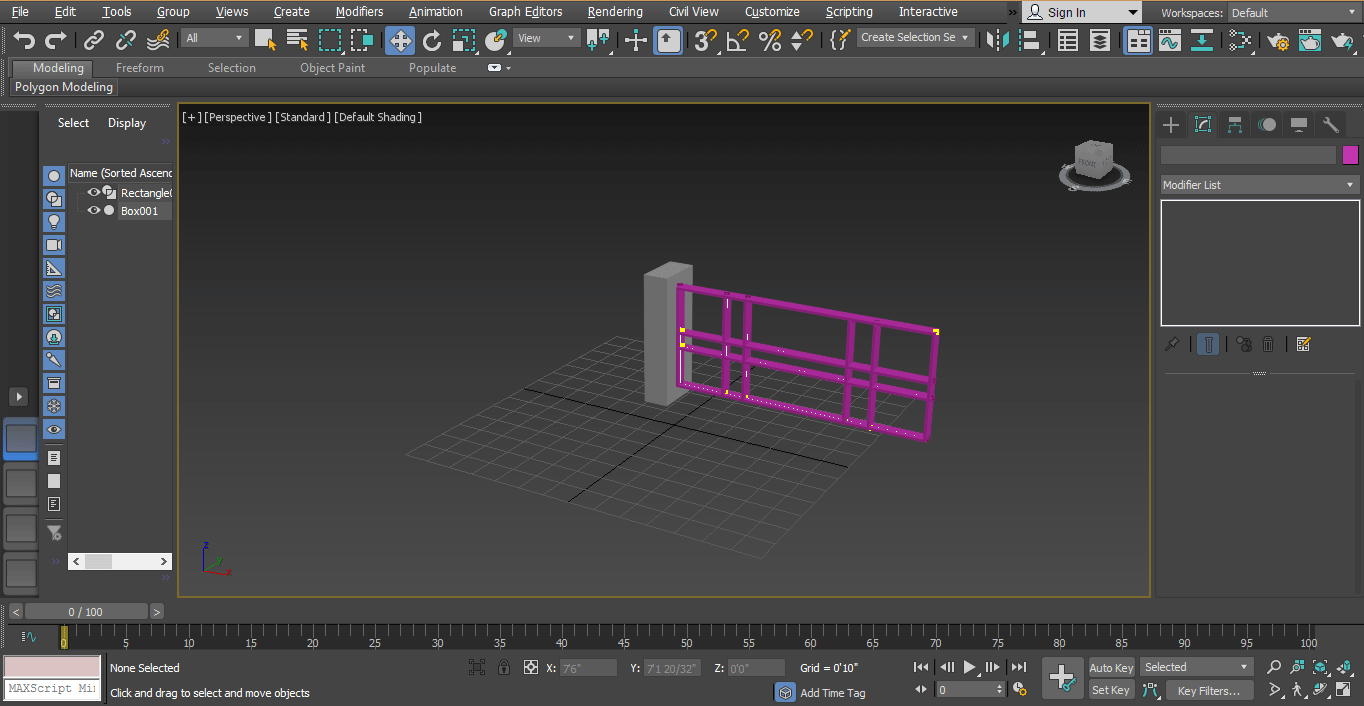
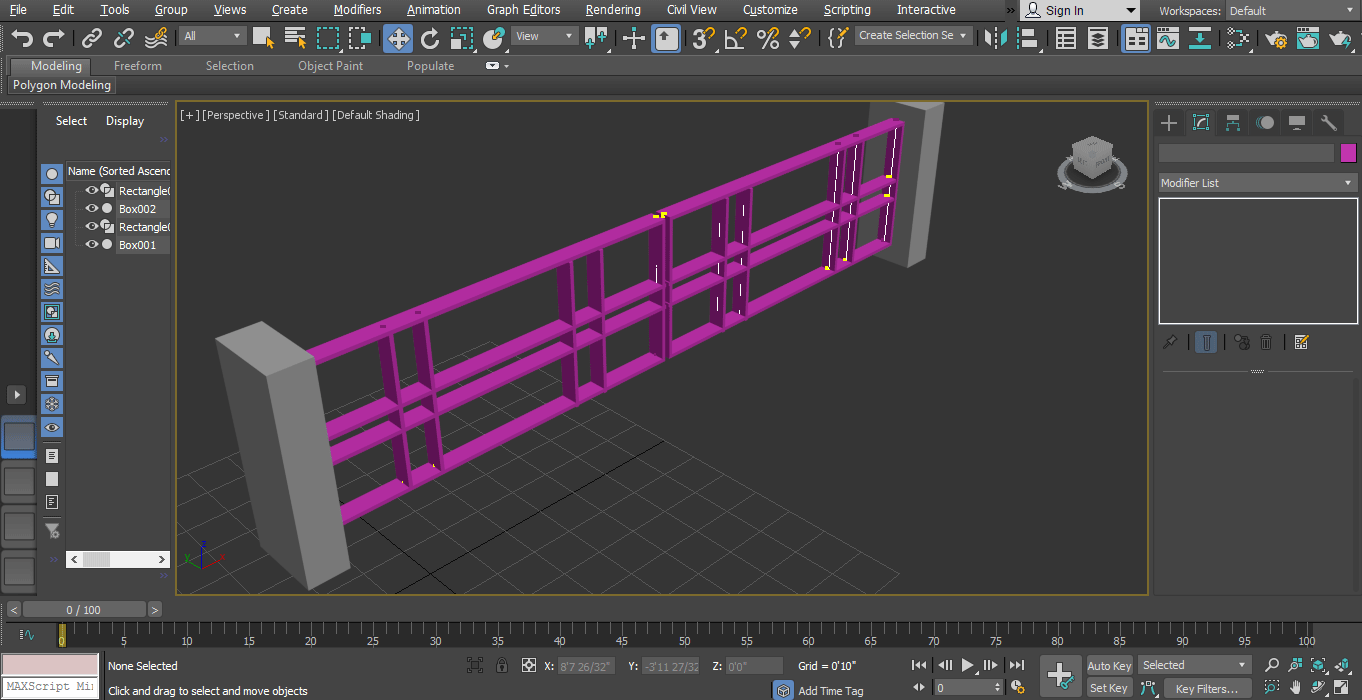
Step 23: You can apply color to both the objects according to you. Now one part of the gate is ready.
Step 24: For creating the second part of the gate, I will mirror it. For mirroring, select the gate and pillar.
Step 25: Choose the mirror option by clicking on it, which is present in the top right corner of the workspace.
Step 26: A dialog box will open.
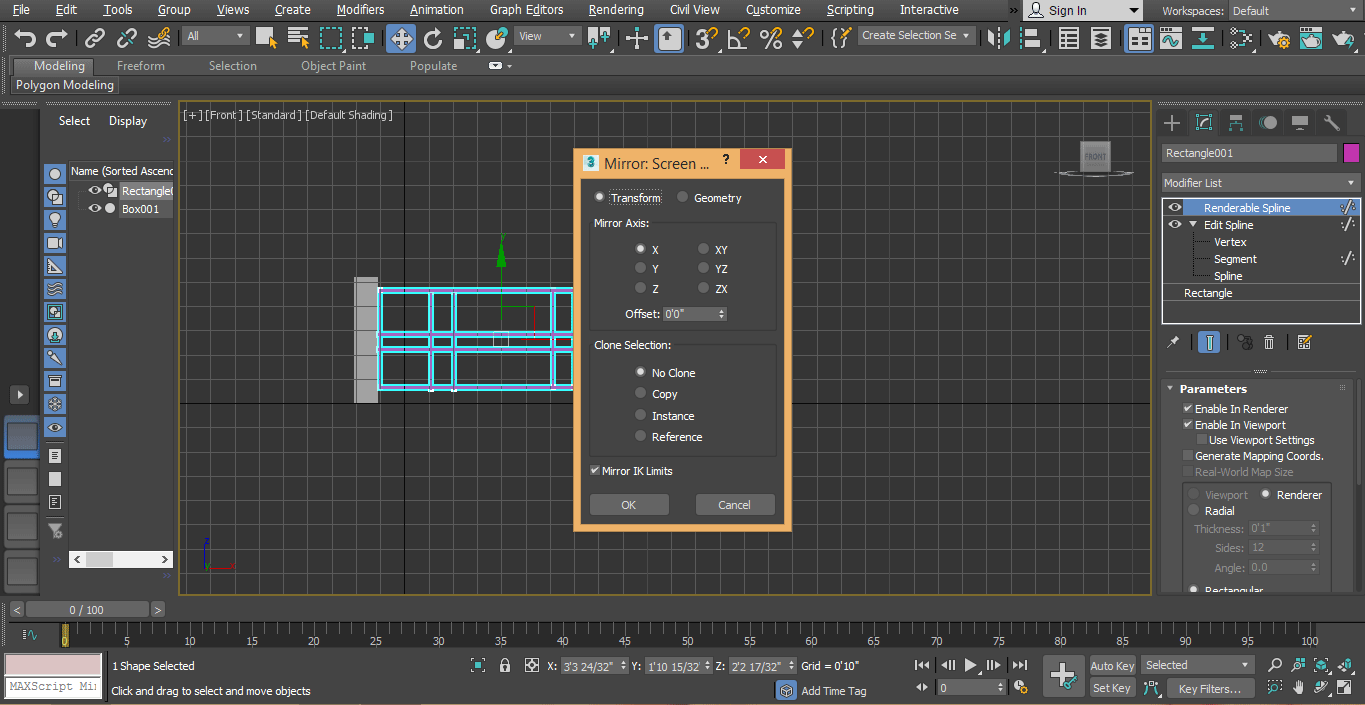
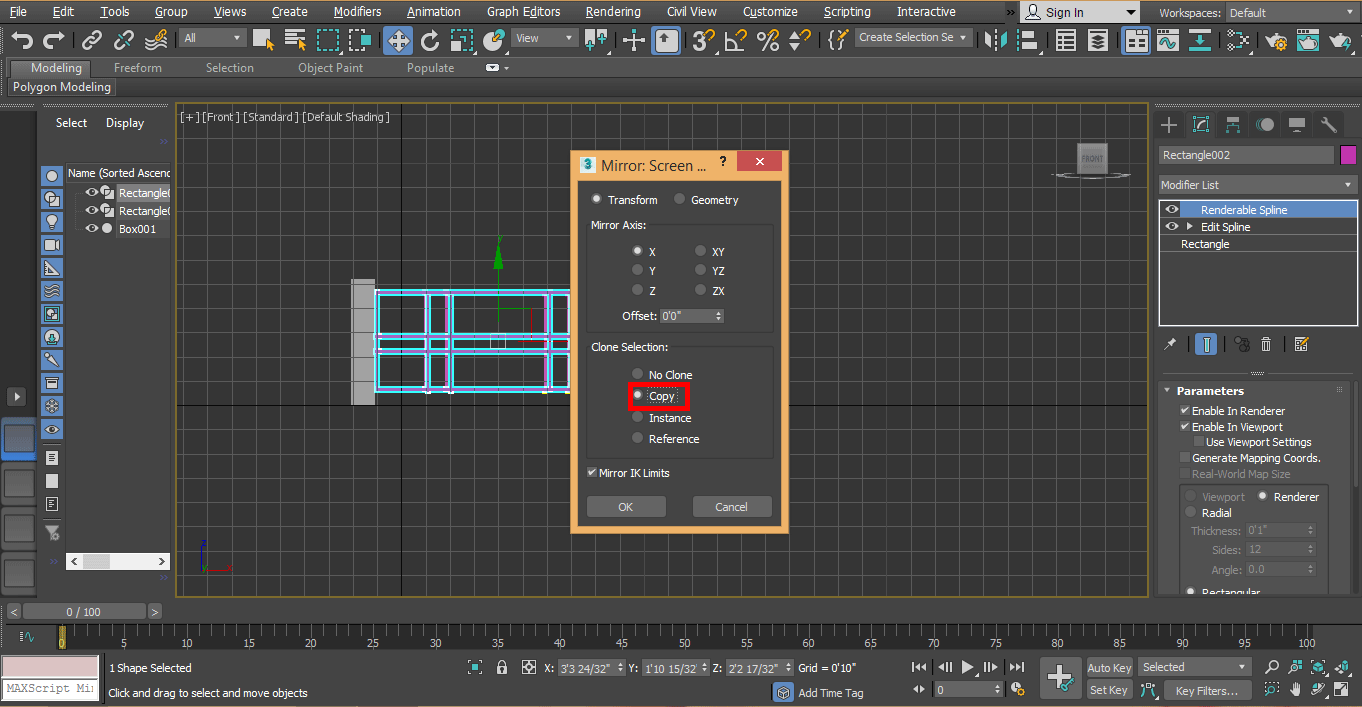
Step 27: Click on the copy radio button. Click on the Ok tab.
Step 28: Click on the copied object and drag it to the left by holding the click as I am dragging it.
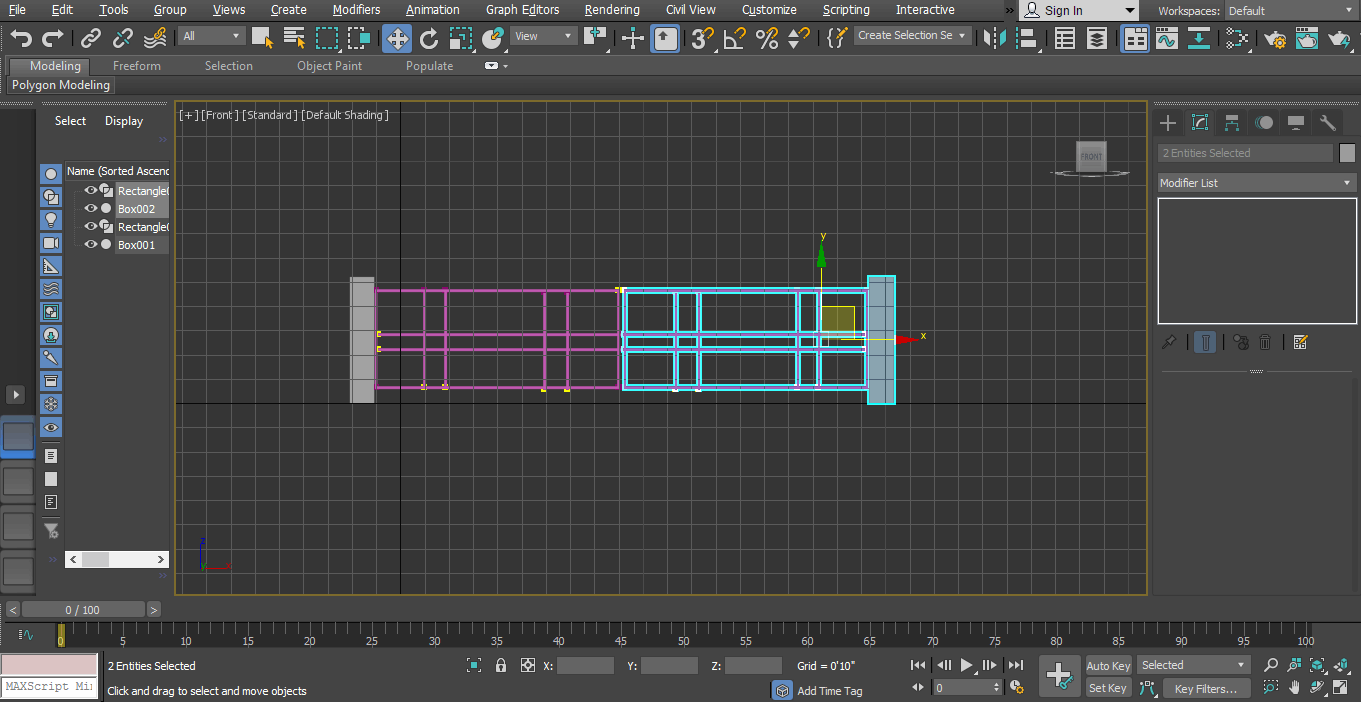
Step 29: Now it is looking like a simple gate.
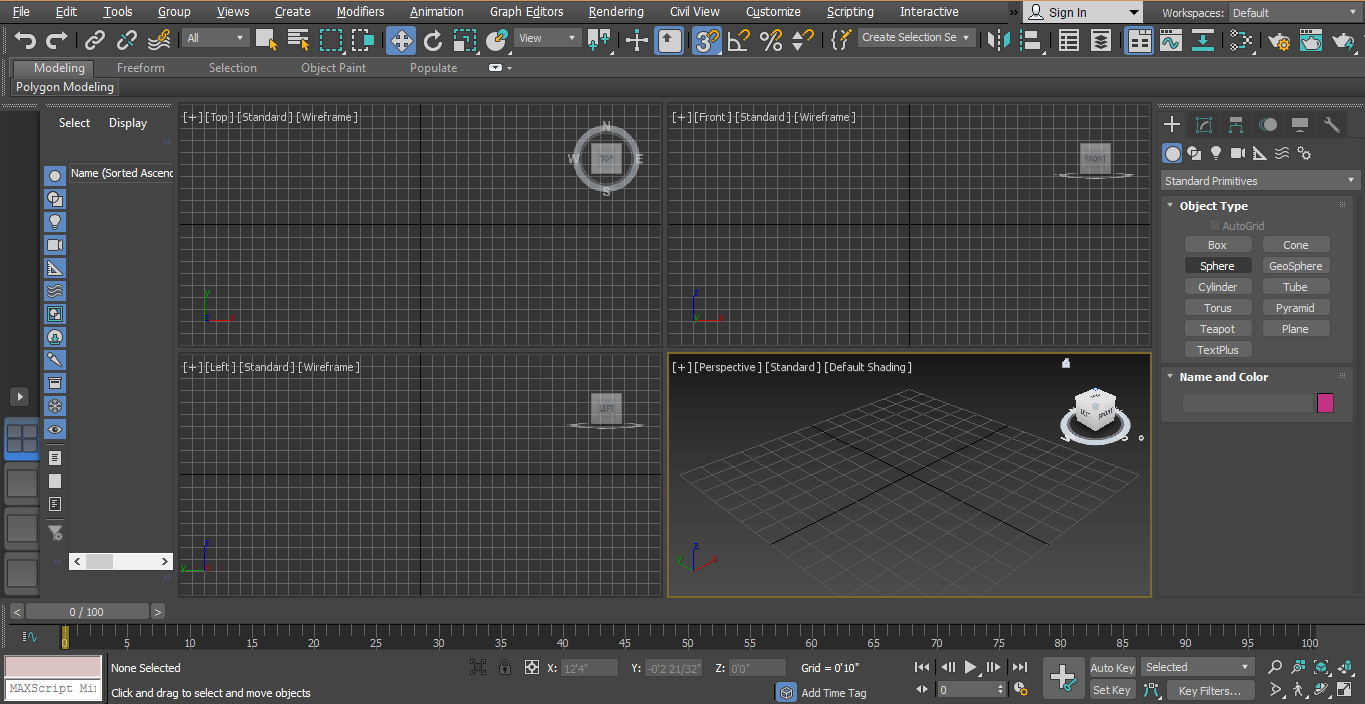
Step 30: Now, I will draw a box again as the road for giving my model a realistic look. For drawing, the road just follows the same steps of box drawing as I taught you previously.

Step 31: I will change its color in the same way as I did previously.
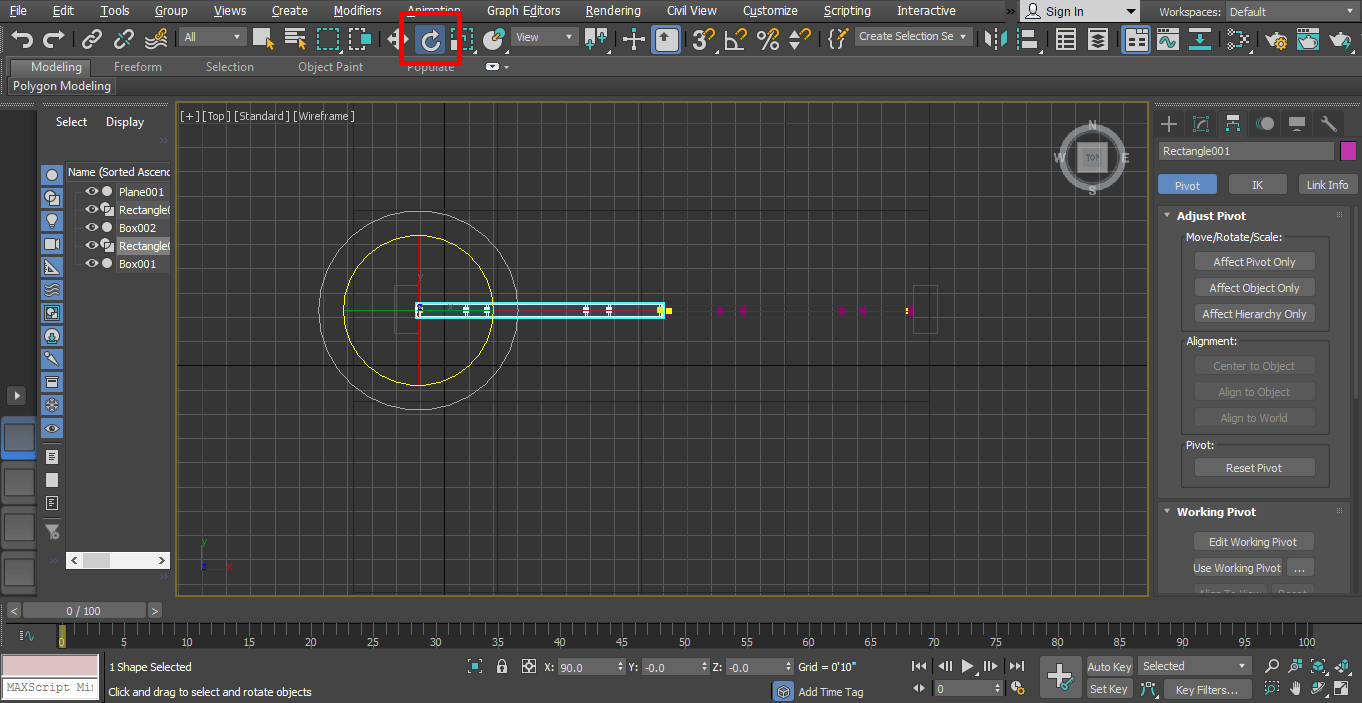
Step 32: Now, I will set a pivot of the gate for animation. For setting the pivot of the gate, click on this icon.
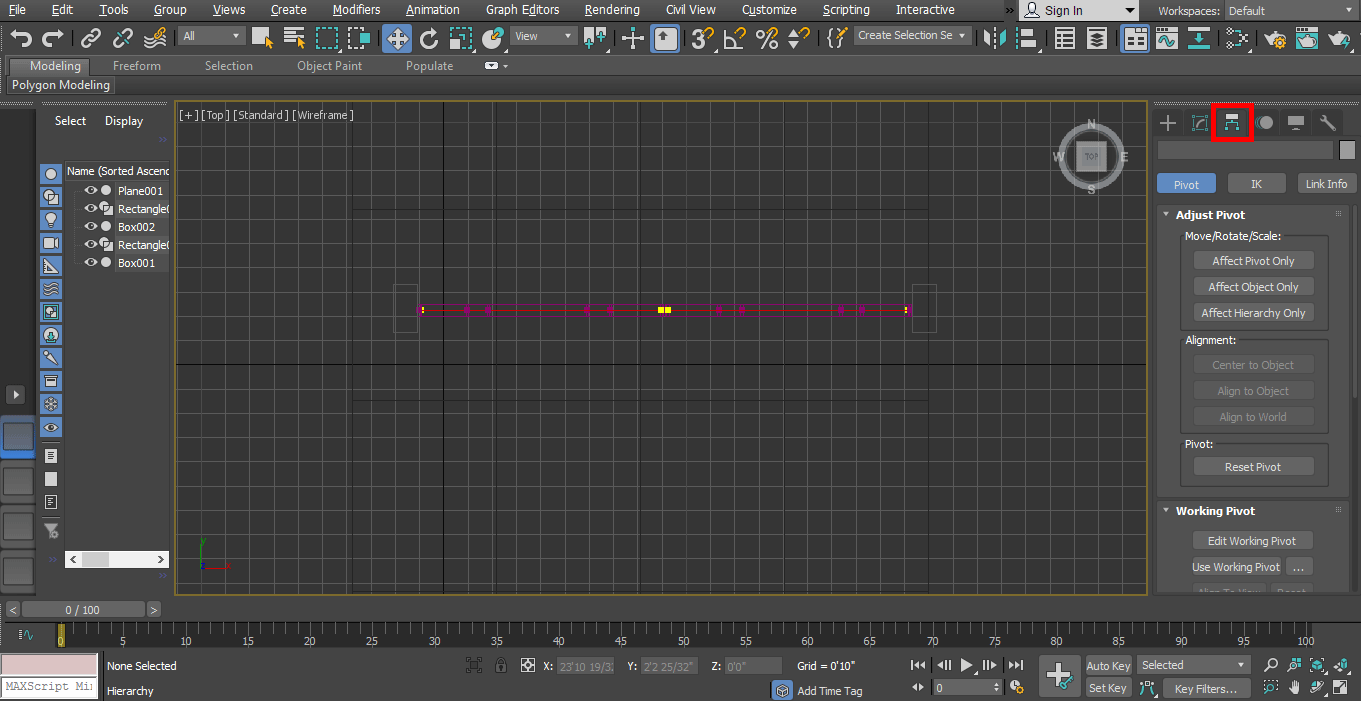
Step 33: Click on Affect pivot the only tab.
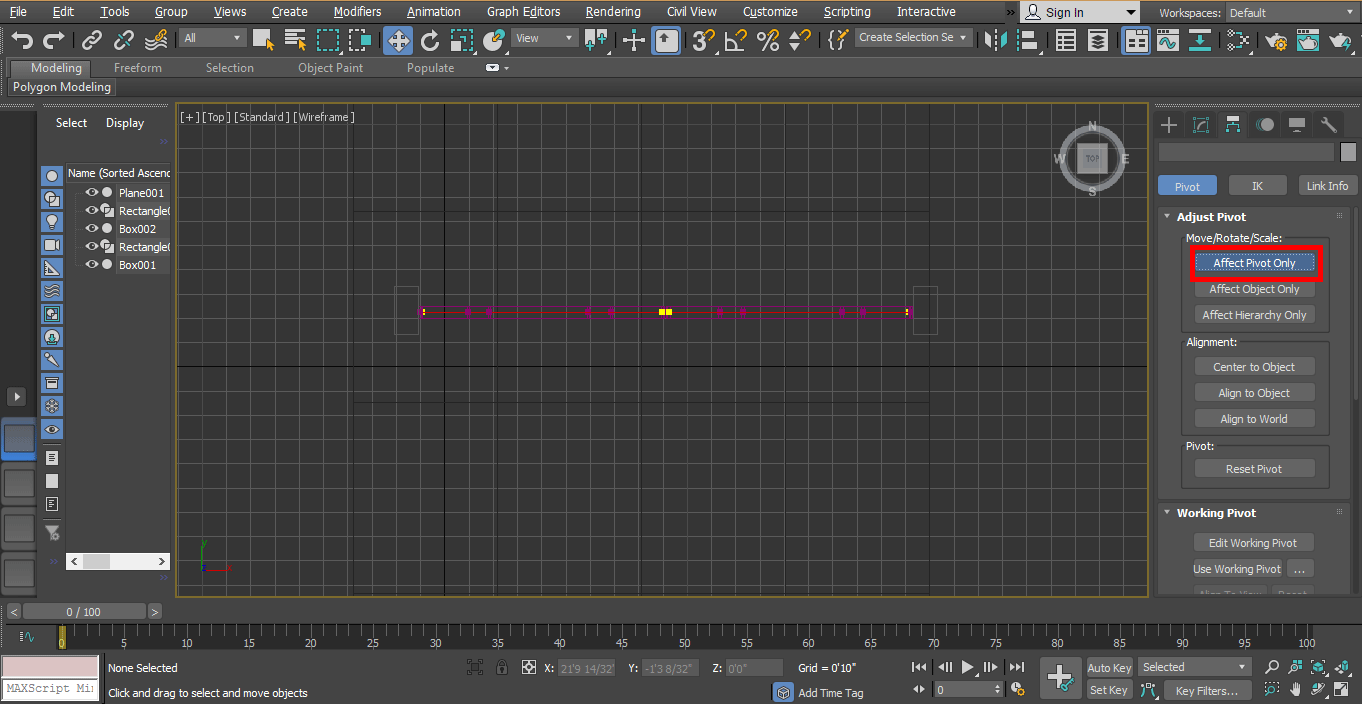
Step 34: Now click on the pivot symbol and drag it to that point around which you want to rotate your gate.

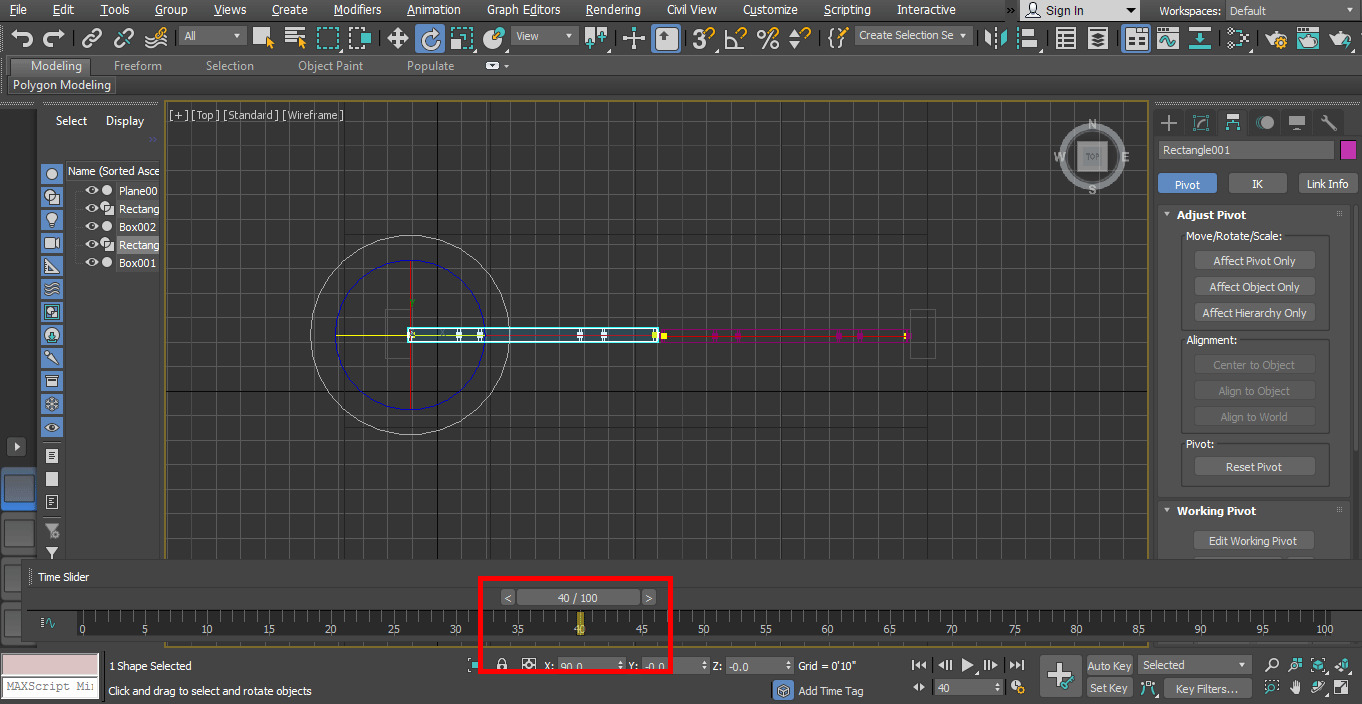
Step 35: Again, click on the Affect pivot only tab to exit and click on rotate command.
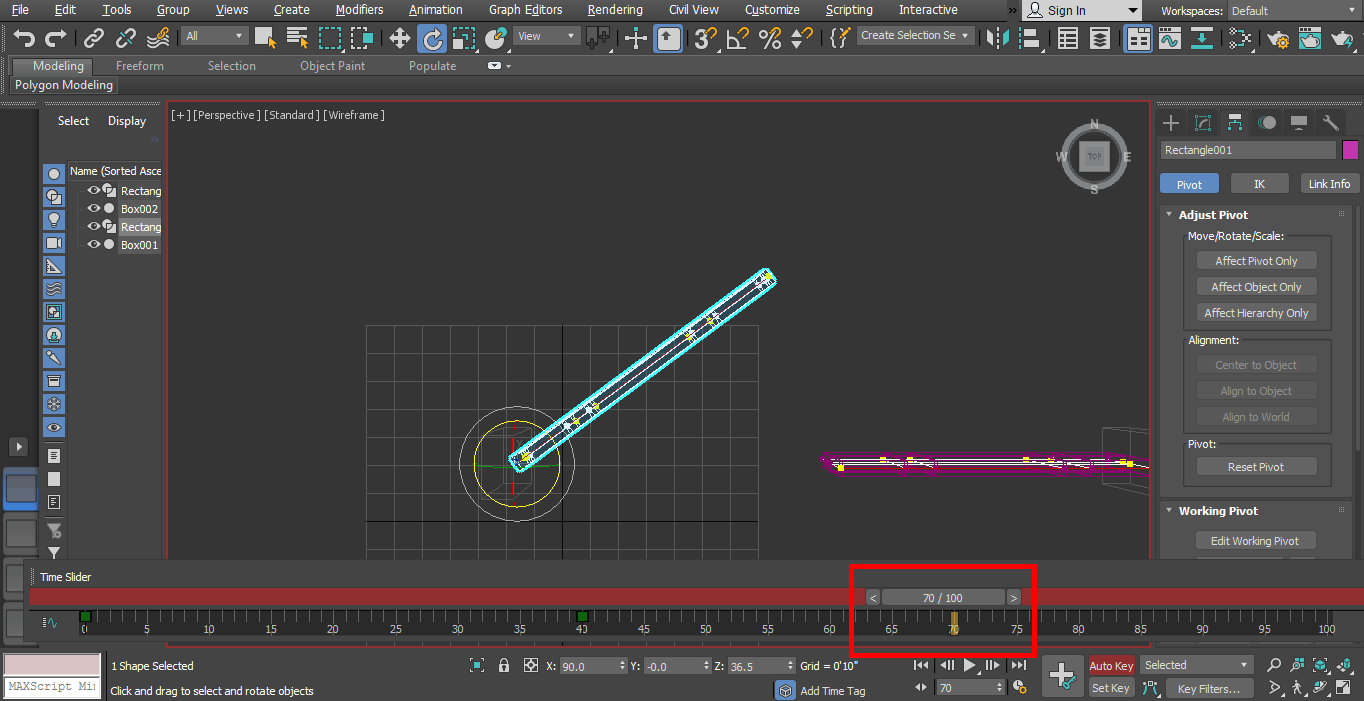
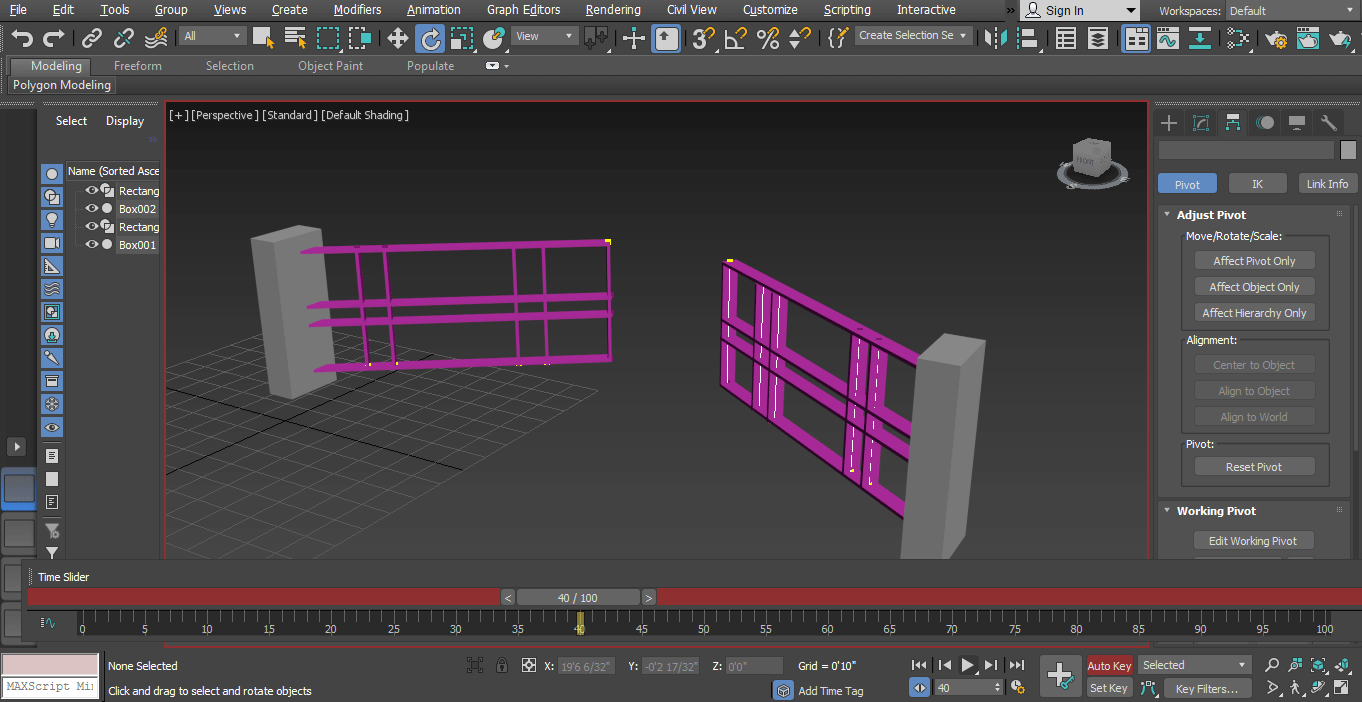
Step 36: To record our animation. Set the time slider frame at 40; you can set it 30 to 40.
Step 37: Click on the Autokey tab to record animation, which is present in the lower right corner of the scale.
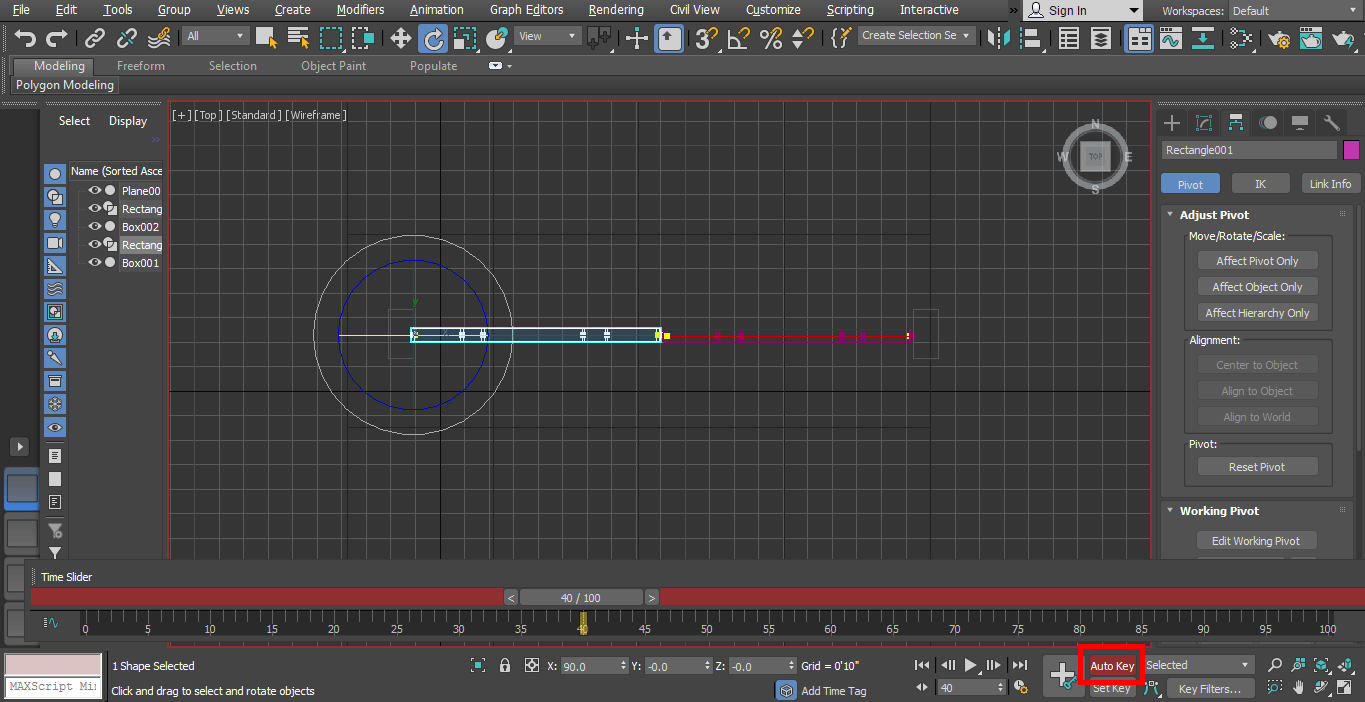
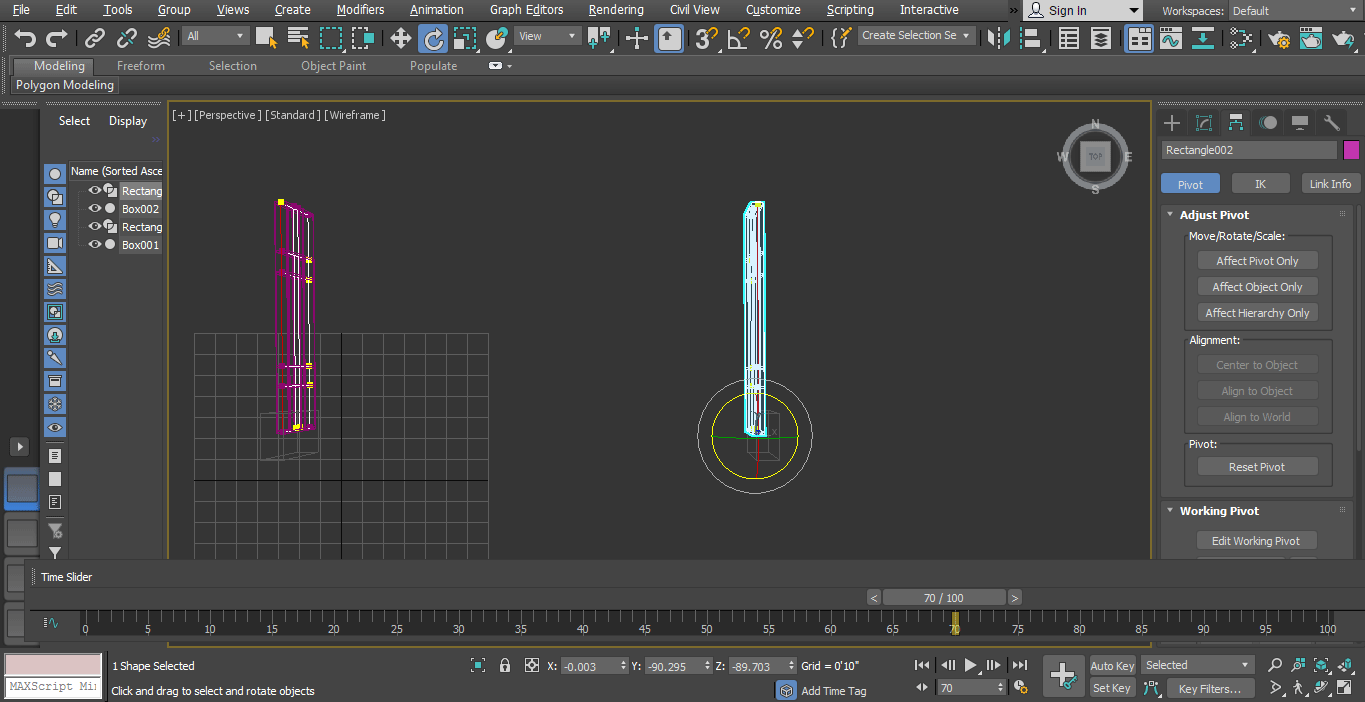
Step 38: Now rotate the gate at some angle by clicking and dragging it at that angle.
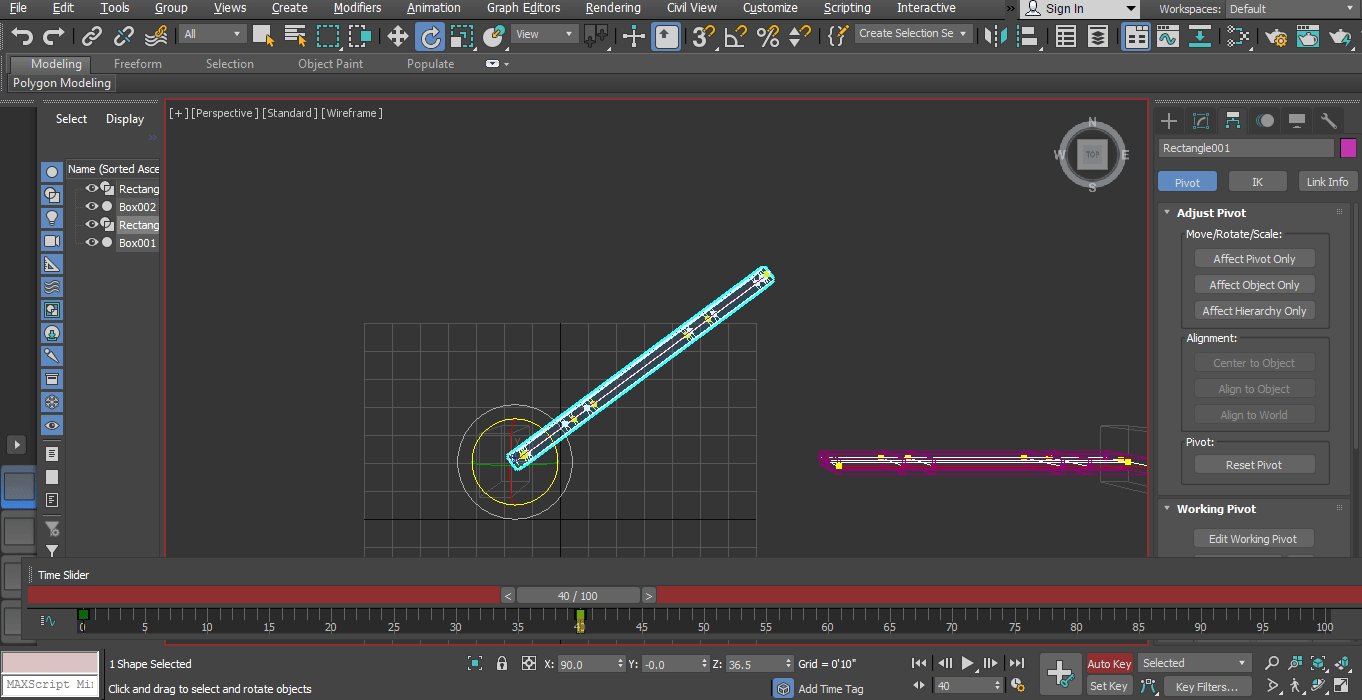
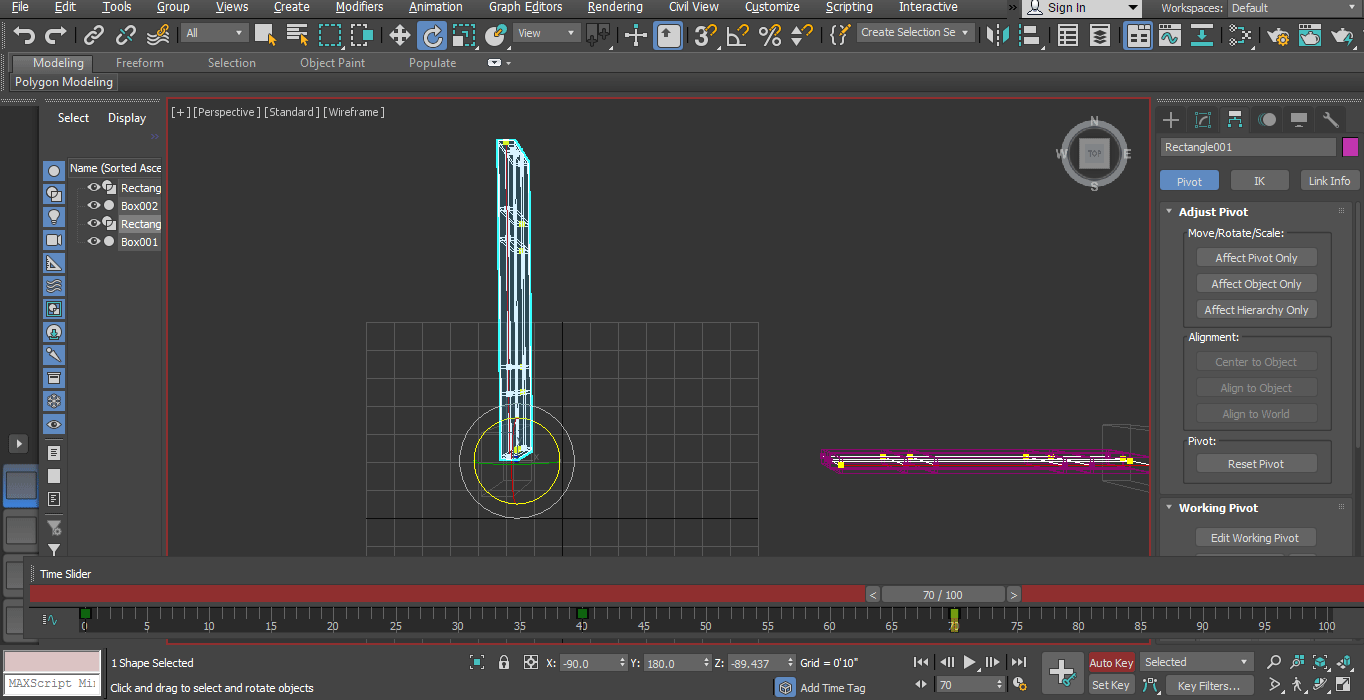
Step 39: Again, I will record the second step of rotation of our gate. Set the scale frame at 70.
Step 40: Now rotate the gate at an angle more than the previous by clicking and dragging it at that angle.
Step 41: Now, we will follow the same step for recording our animation for another part of the gate.
Step 42: Click on the Play button to see the animation.
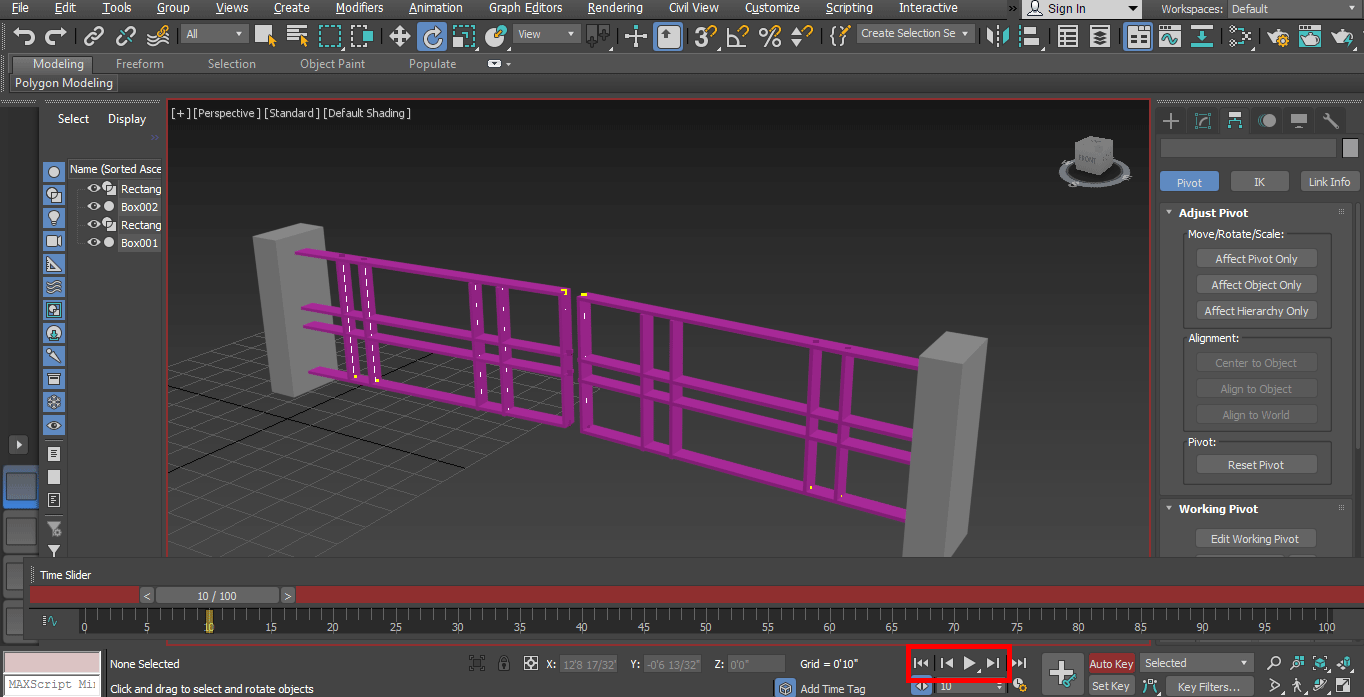
Step 43: This is the final animation of our gate shape structure.

Step 44: You can see the animation effect in video tutorials.
Conclusion
In this way, you can easily animate your model for any purpose. After having command of the animation, you will become more and will be able to apply your project in an effective and interesting view for the viewer. Animation in your project attracts the viewer and gives them a sense of your project in the real world.
Recommended Articles
This is a guide to Animation in 3ds Max. Here we discuss how to animate objects in 3ds max and steps to apply animation in your project. You can also go through our other related articles to learn more –
