Introduction to ZBrush ZRemesher
Zbrush ZRemesher can understand as arranging as well as calculating polygons for doing retopology of the visible portions of the chosen sub tool in this software. With ZRemesher, one can do retopology very quickly instead of doing it manually. Retopology is necessary for having a good number of polygons on the sub tool so that it can easily animate during the animation process. In Zbrush, we also have a ZRemesher brush that helps us locate sub-tool portions according to which we want to do retopology with the ZRemesher option.
How to Use ZRemesher?
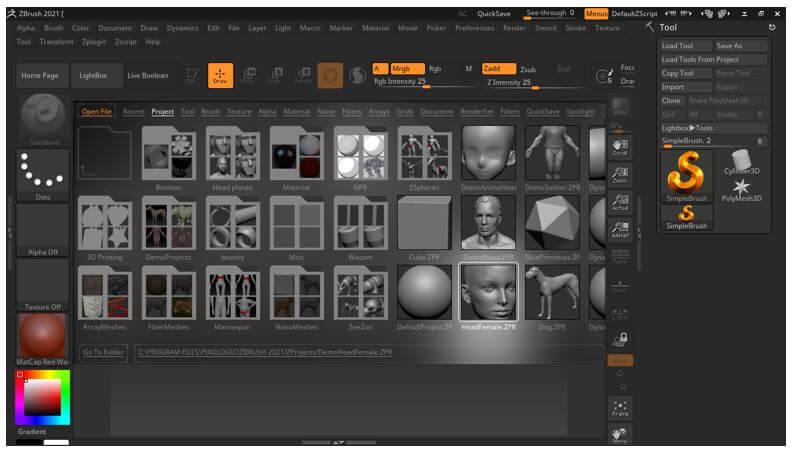
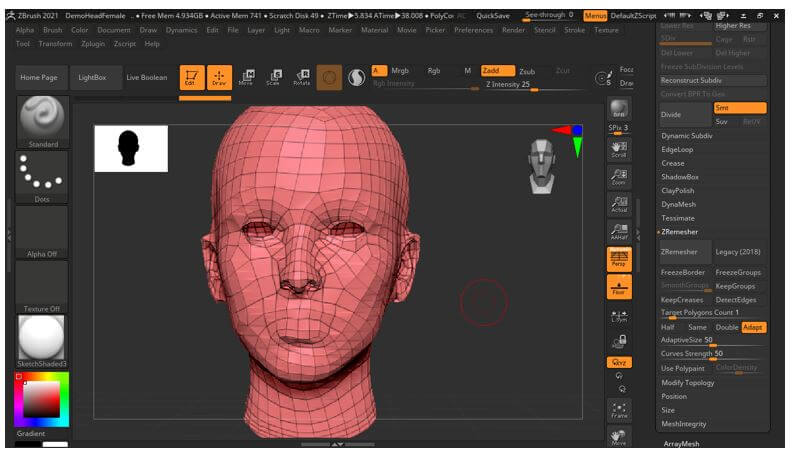
We use ZRemesher to minimize polygons on the selected sub tool of our model. So how you can use ZRemesher, let us have a model. We will go to the Light box of this software and choose this Female head from the list. You can use your own model for learning about this topic.
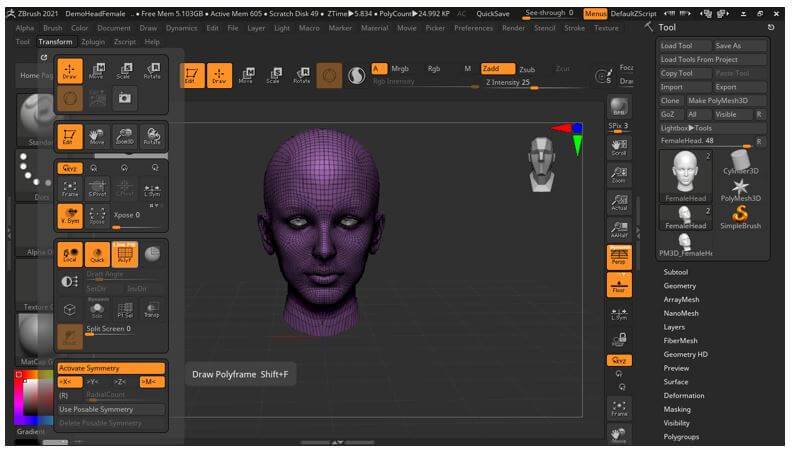
Now we will go to the transform menu of the menu bar, which is at the top of the working screen, and enable the Polyframe option so that we can see polygons on our selected sub tool, or you can press the Shift + F button of the keyboard as its short cut key.
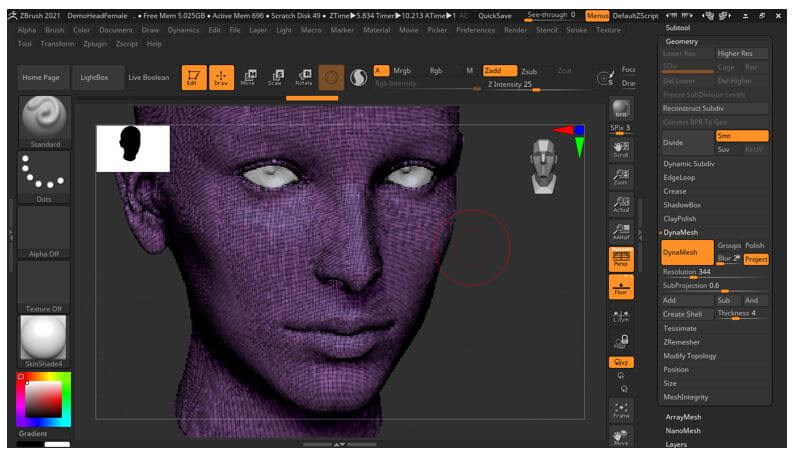
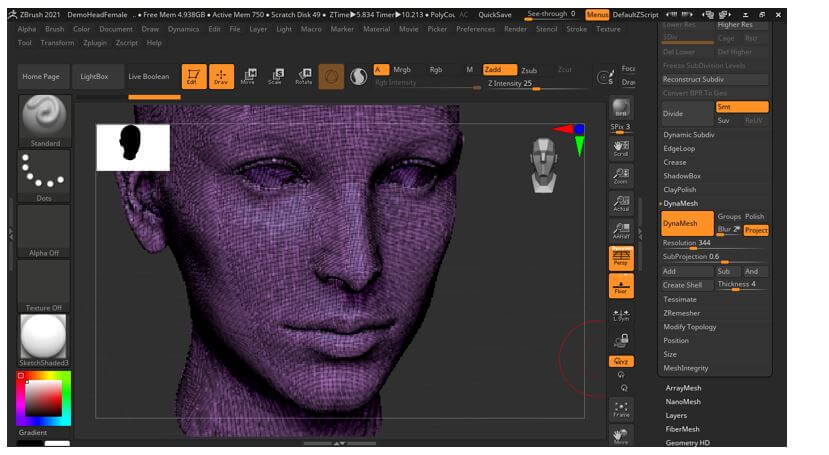
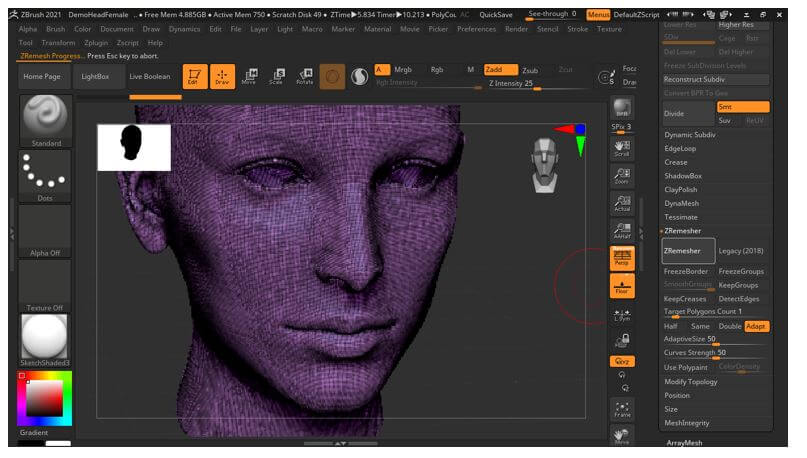
If we increase the DynaMesh value from the Dynamesh option of the Geometry panel for this model, you can see there are lots of polygons that are not good for animation purposes.
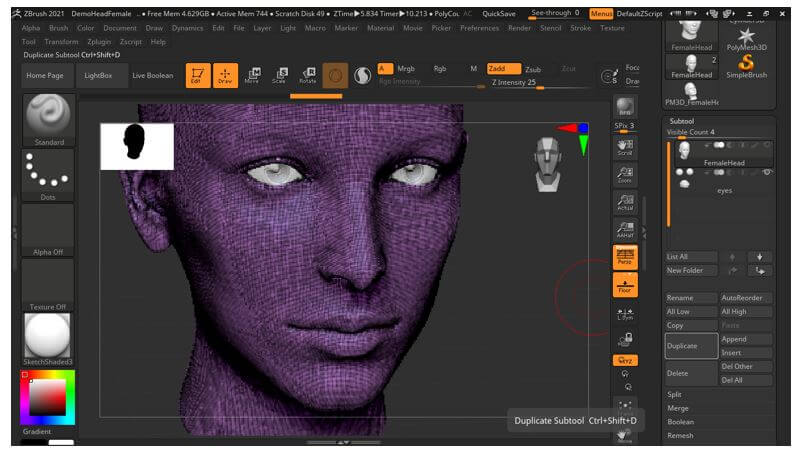
Before you start working with ZRemesher, make a duplicate copy of your subtool because ZRemesher will change the retopology of your sub tool completely but maintain shapes as much as possible.
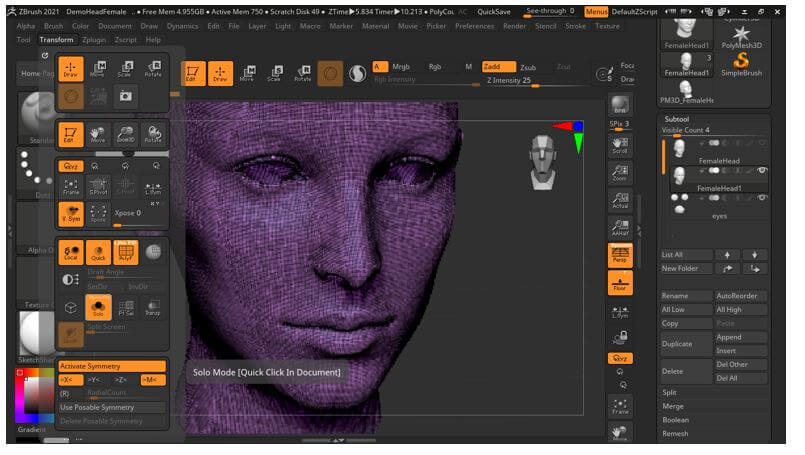
Now go to solo mode so that it can do retopology for selected sub tool; otherwise, it will mesh up with all the sub tools of your model. You can enable the Solo option from the Transform menu panel by click on its button.
Or there is a quick way to do this just go to the Preferences menu and click on it; in the Edit option, enable the ‘Click to switch solo mode’ option.
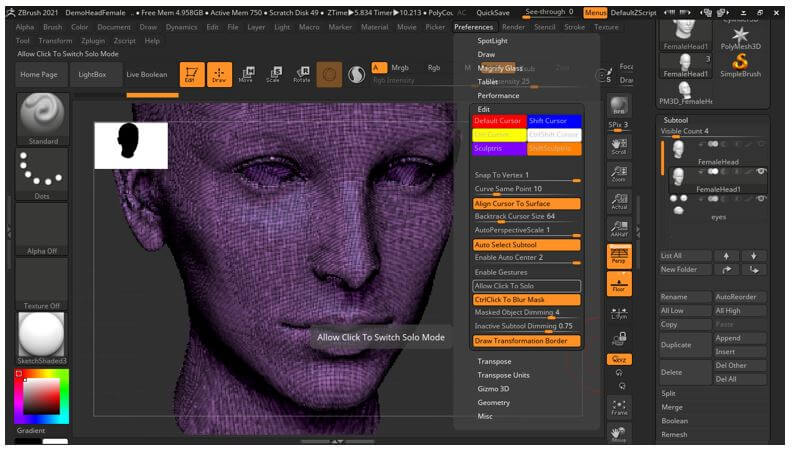
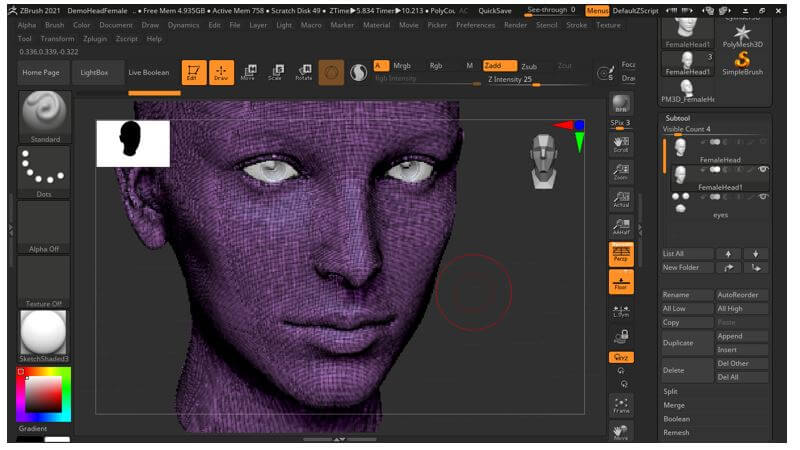
And once you make click on it anywhere on the floor area, it will switch between solo and normal mode.
Now go to the Tool bar section, which is at the right side of the working window, and click on the Geometry panel. Here in this panel, you will find the ZRemesher option.
Once you click on it, its panel will be open. Here in the panel of ZRemesher, the main option is ‘Target Polygons count’ that decides how much polygons will be there on your selected sub tool, and you can change its value for having different variations.
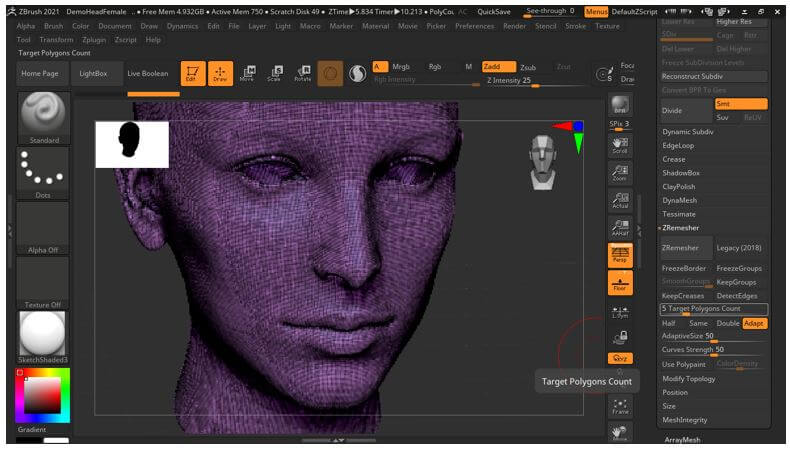
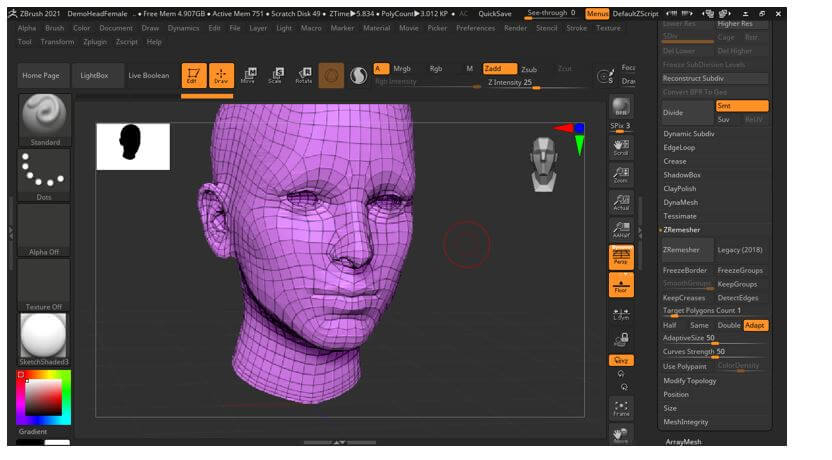
By default, its value is 5, but you can decrease it as per your requirement. Such as we will take its value as 1 by entering 1 in this option.
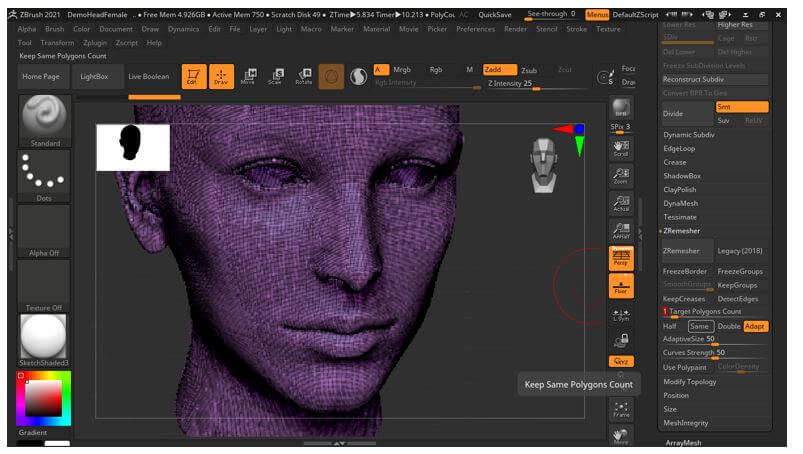
And click on the ZRemesher button of this panel.
Once you click on it, it will take some time to process poly counts and finishing them.
And you will have less polygons with the same shape.
Methods of ZRemesher
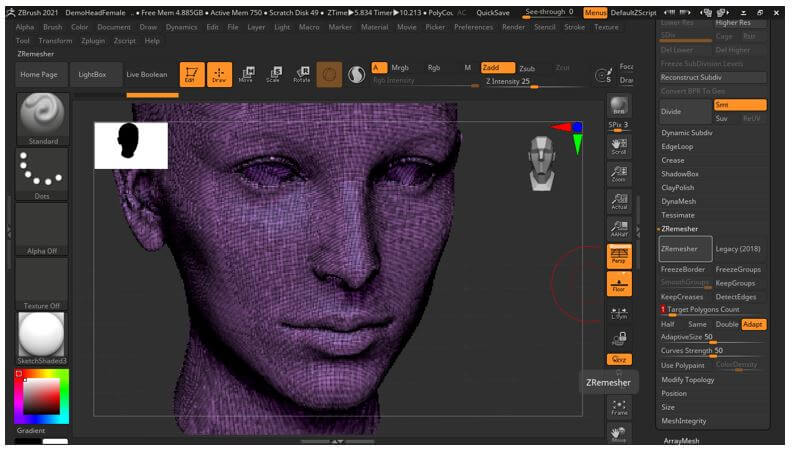
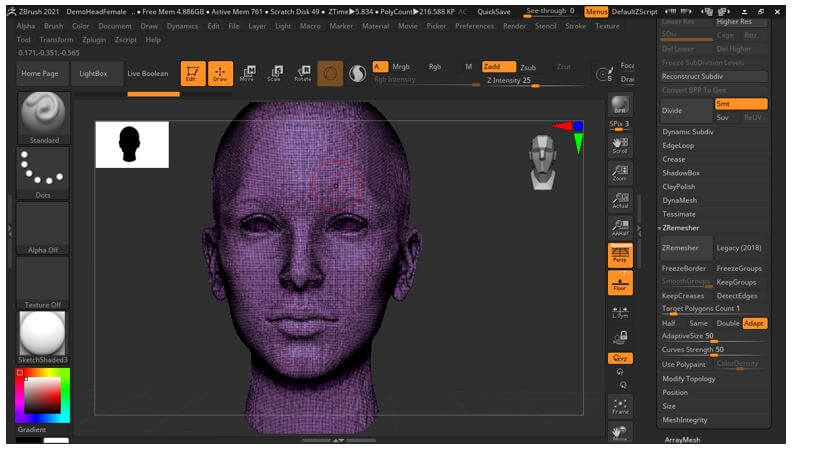
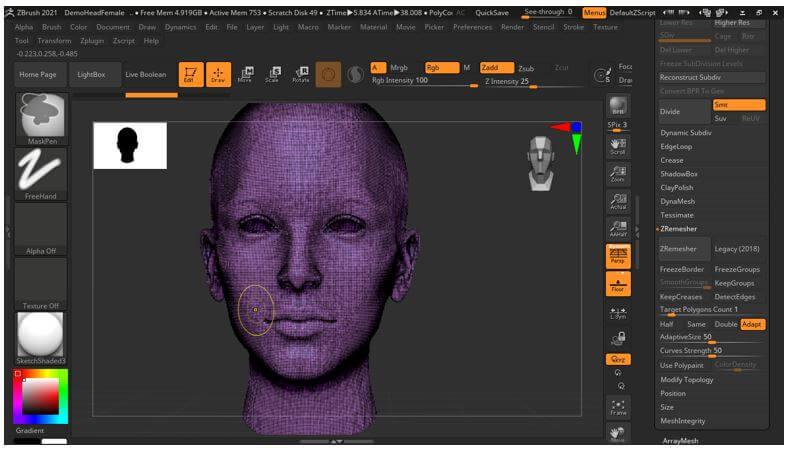
Using ZRemesher, you can go with some methods; the first one is you can go with symmetry mode, which gives you symmetrical polygons on your selected sub tool. So if your sub tool has symmetry, then make sure you have symmetry mode is on. So, for example, we had taken this sub tool through the ZRemesher process when my symmetry mode was on, and you can see there are equal polygons on both sides of the face.
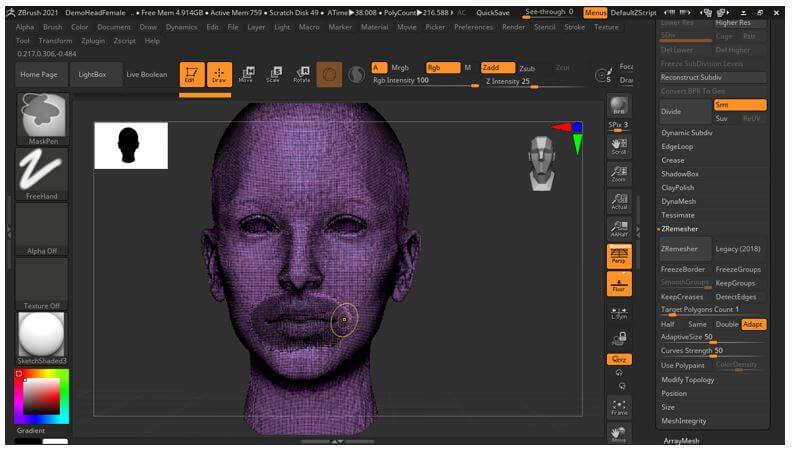
And the next method is non-symmetry mode so that we will press the X button on the keyboard.
And now, when you press the ZRemesher button of the ZRemesher panel, then you can see it will give you a result that has no symmetry for your sub tool. So you can use it with a non-symmetrical sub tool.
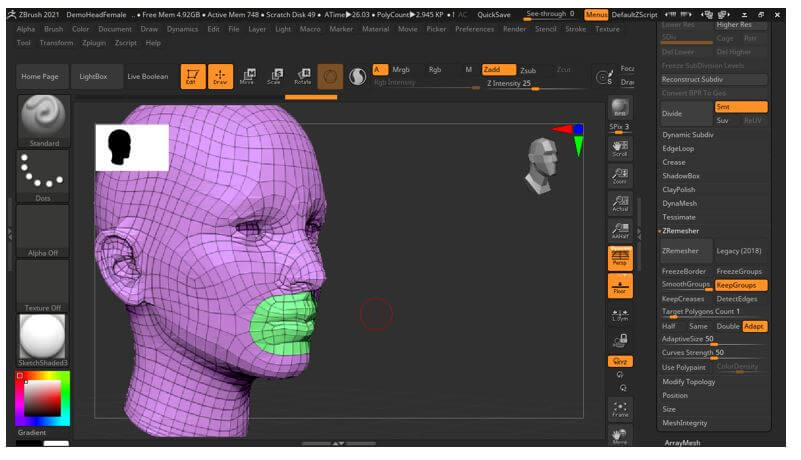
The other method which you can use for not disturbing your desired area. So for that, we make poly groups of our desired area. You can make more than two poly groups of your model, and for making poly groups, we will on Mask brush by holding the Ctrl button of the keyboard.
And we will mask this mouth area.
And press the Ctrl + W button of the keyboard to make this masked area a poly group.
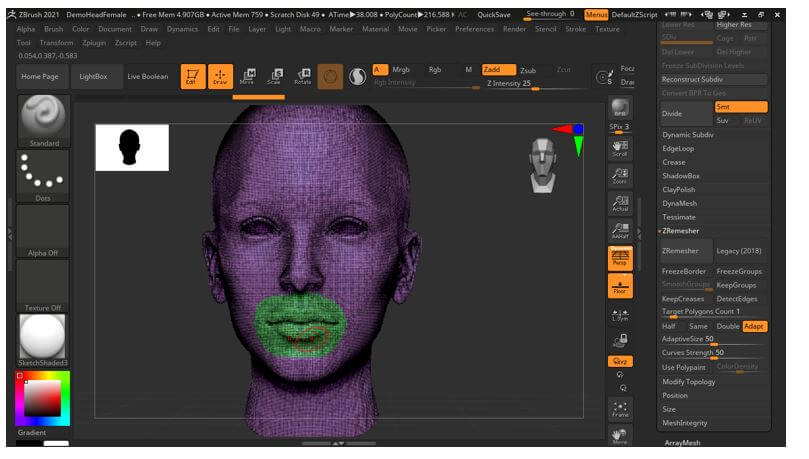
Now enable the “KeepGroups” option of the ZRemesher panel.

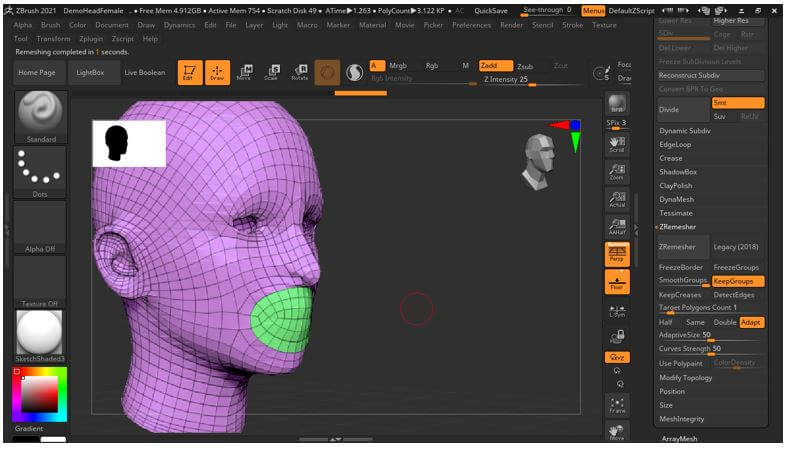
And you can see after retopology; it maintains the edges of the mouth very accurately.
If you want, you can press the ZRemesher button again to have smooth polygons.
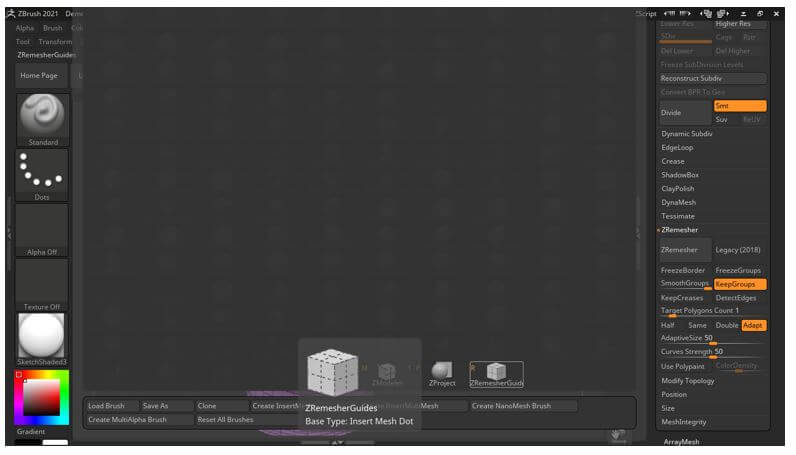
There is a ZRemesher brush also in the brushes panel, and you can use it for the same purpose as we use Mask brush. With ZRemesher brush, we can specify the area to ZRemesher option for having accurate results.
Go to the Brushes panel and press the Z button on the keyboard, and you will have all brushes; those names start with the Z letter. Here we have a ZRemesher brush, so click on it to choose it.
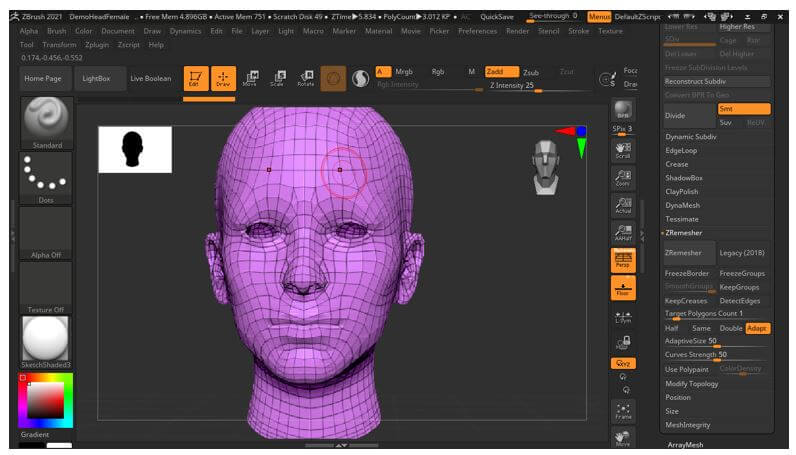
Now just move the cursor of the mouse around the area which you want to mark. For example, we will mark this eye area. My symmetry mode is On, so it will automatically mark the opposite eye.
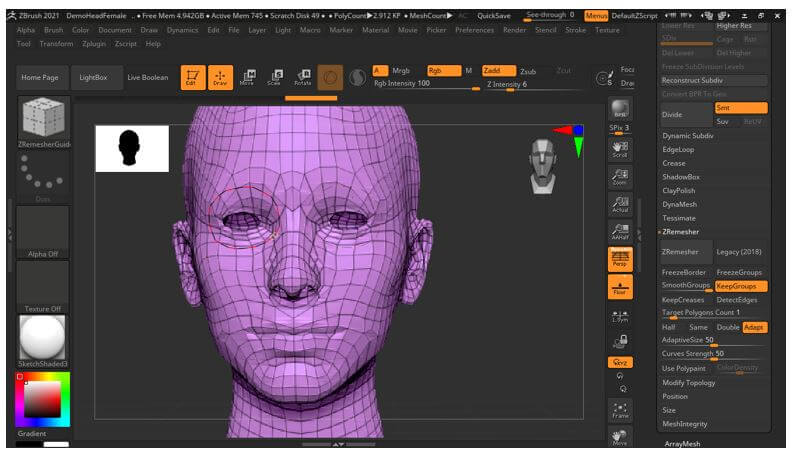
Now go to the Tool bar section and click on the ZRemesher button again, and it will give you smooth polygons for the retopology of this sub tool.

You can use any of the methods according to your requirement for having your desired result. You just have to maintain parameters accurately.
Conclusion – ZBrush ZRemesher
We have good information about the ZRemesher option of this software, and now we have an understanding about almost every aspect of this option. You can also use ZRemesher brushes for smooth retopology of the visible sub tool of your model. Now we will suggest you start practicing this method to have more and more command on it.
Recommended Articles
This is a guide to ZBrush ZRemesher. Here we discuss the introduction, how to use ZRemesher? And methods for better understanding. You may also have a look at the following articles to learn more –
