Introduction to ZBrush sculpting
In this article, we are going to learn about ZBrush sculpting. Sculpting in Zbrush is done primarily using brushes, but many modifiers affect the brushes and the way we sculpt. Brushes can be modified using several controls such as Gravity, Wrap Mode, Density, etc. Along with that, there is also alt mode that can change or reverse the brush’s behaviour, which can change the effect on sculpture. There are also many stroke modes which change the behaviour of the brush. In sculpture, when you have some jagged edges, you might want to smooth them, and there are various ways to smooth the geometry.\
Steps of ZBrush sculpting
Here are the following steps mention below
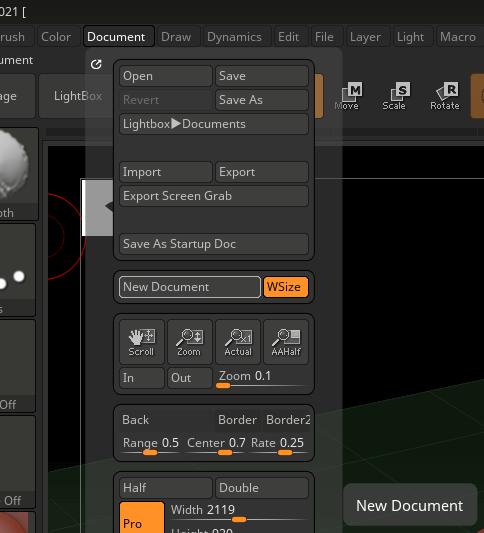
Step 1: Go to Document in the menu bar and then select New document with WSize on, which will make the canvas size the same as the viewport size.
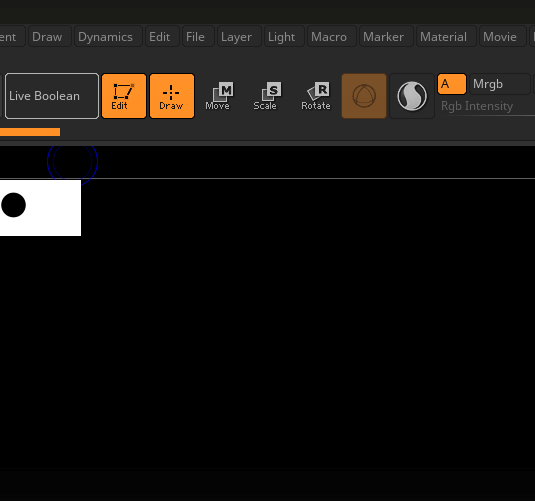
Step 2: Start with the A Load tool option.
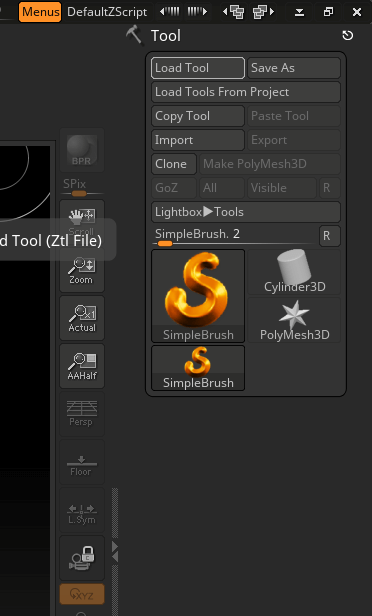
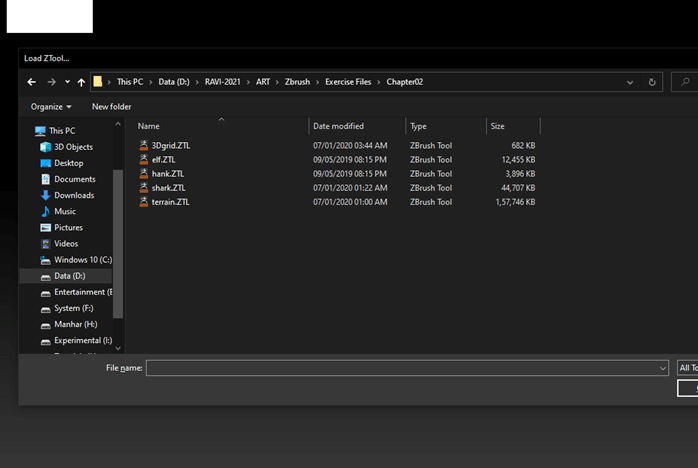
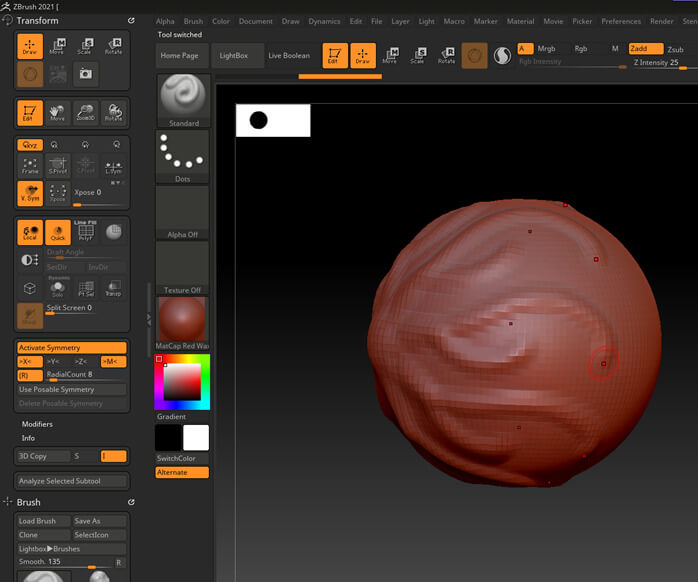
Step 3: Navigate to the stored tool if you have any, or you can select some primitive tools like a sphere as this tool will better demonstrate various brushes.
Step 4: Then drag the tool inside the viewport
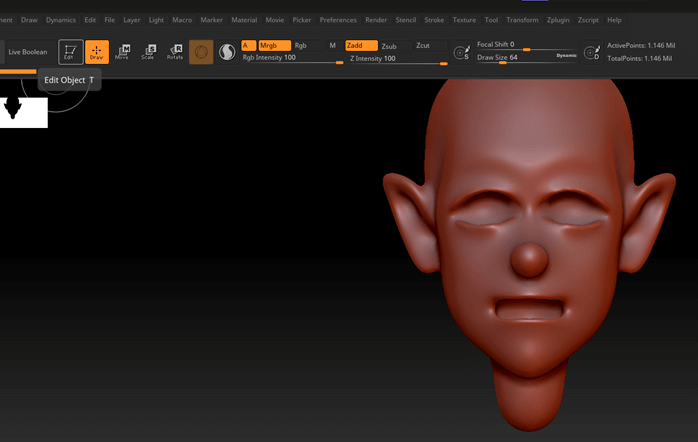
Step 5: After creating the sphere, go to edit mode. This mode will allow you to sculpt the 3D object. When you place a primitive 3D object in the edit mode, it will automatically be closed in the tool palette.
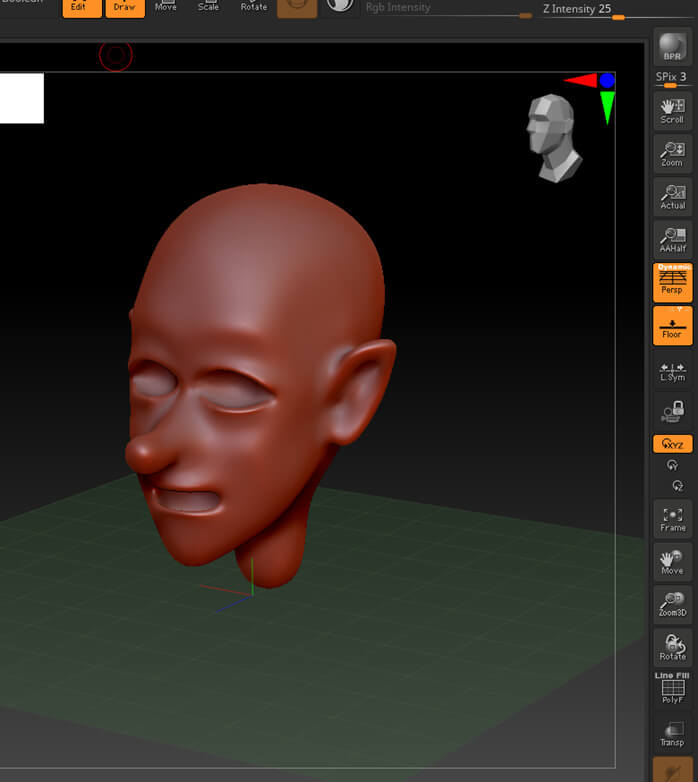
Step 6: Enable the perspective button to which will apply perspective foreshortening to a 3D object. Also, press Floor to activate the perspective floor grid, which can be activated per axis, and by default, Y-axis is enabled.
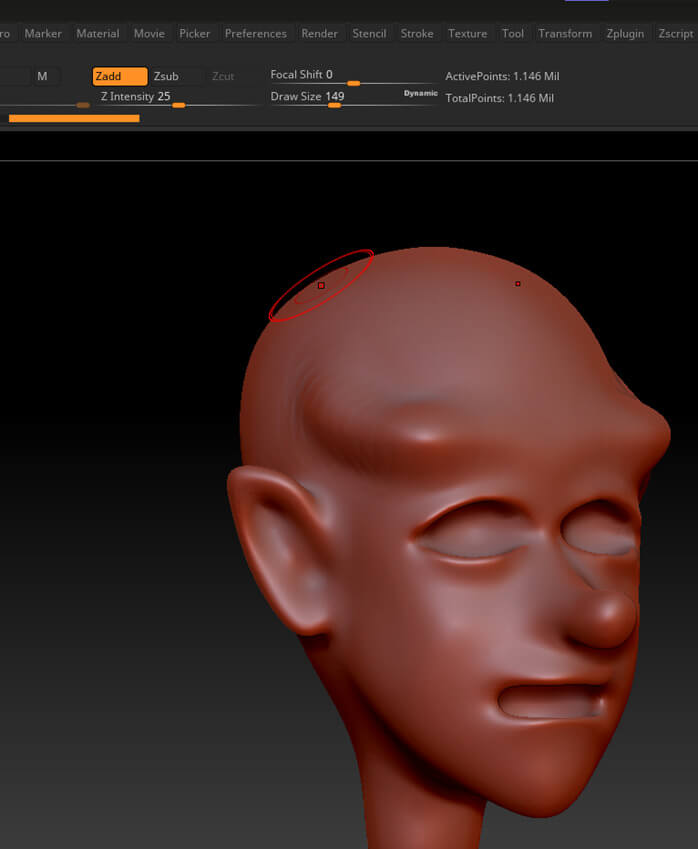
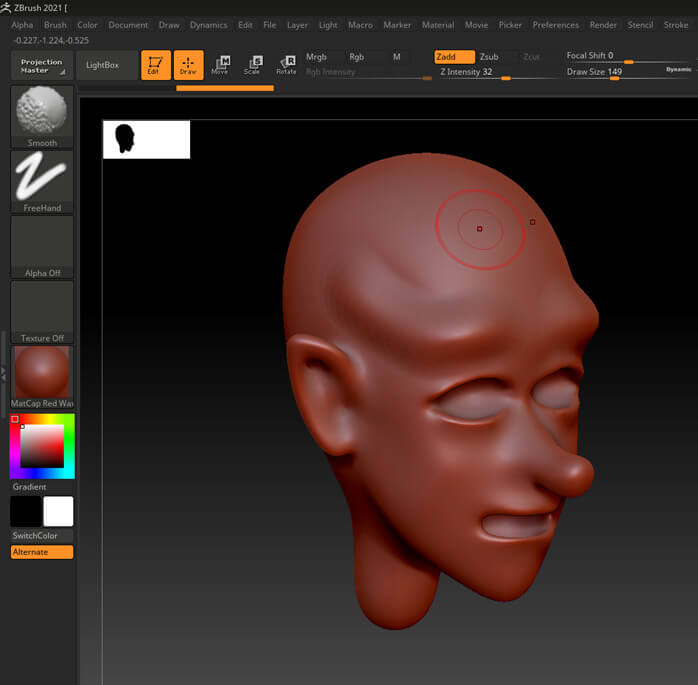
Step 7: By default, the standard brush is selected, so let’s start sculpting with it and look at some settings. Draw size determines how large the brush is. Z Intensity, on the other hand, determines the depth. While the focal shift determines the falloff of the brush
Step 8: Next is the stroke mode when we change to freehand though it is similar to dots mode by placing multiple instances, it also connects those instances by reducing the spacing between the dots, and it might be slower than the dots stroke.
Step 9: Spray stroke is used to apply a random pattern of different sizes and color intensity over the cursor drag path. Placement, scale, color, and flow parameters adjustment can be made depending on the look you want.
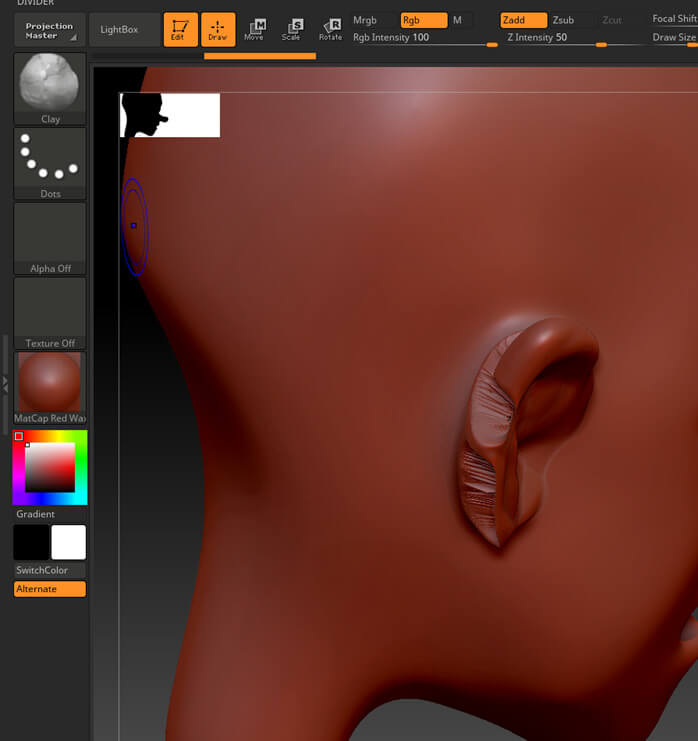
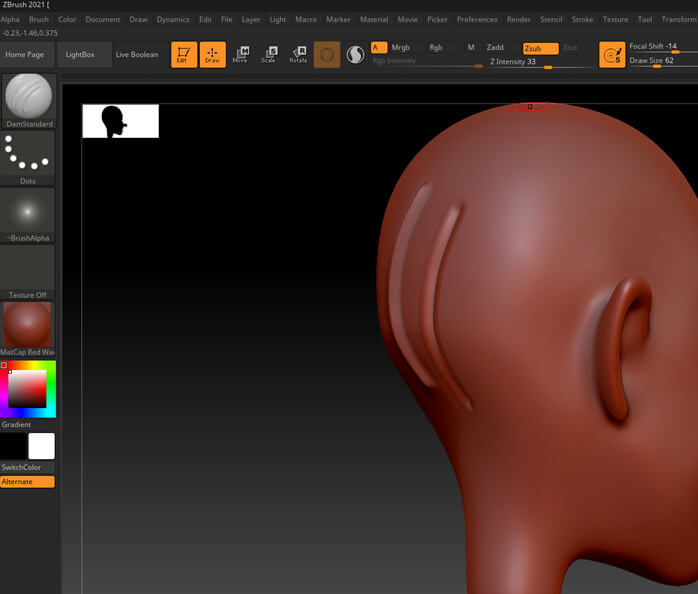
Step 10: Let’s switch to clay brush or press B – C – L, and when we fill the area near the ear, it gives us artifacts on the back.
Step 11: To avoid this problem, go to Brush -> Auto Masking and turn on BackfaceMask.
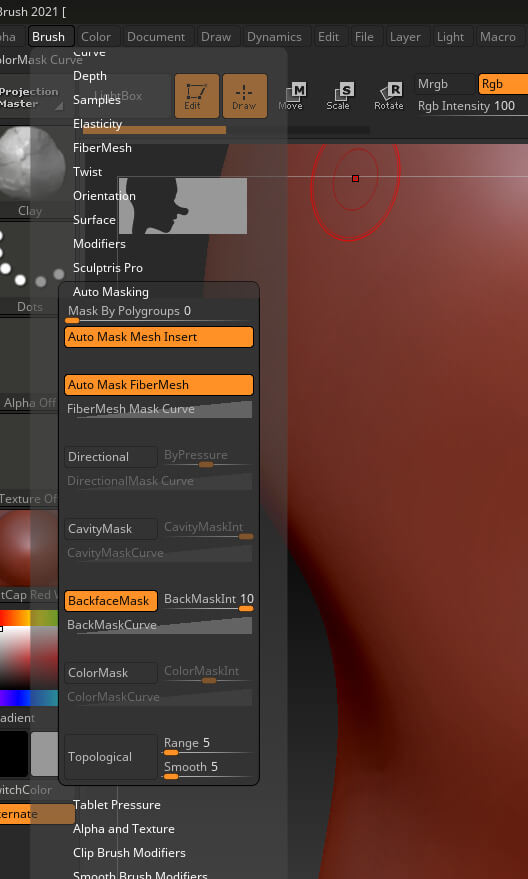
Step 12: Now, when we fill the ear, the problem is gone.
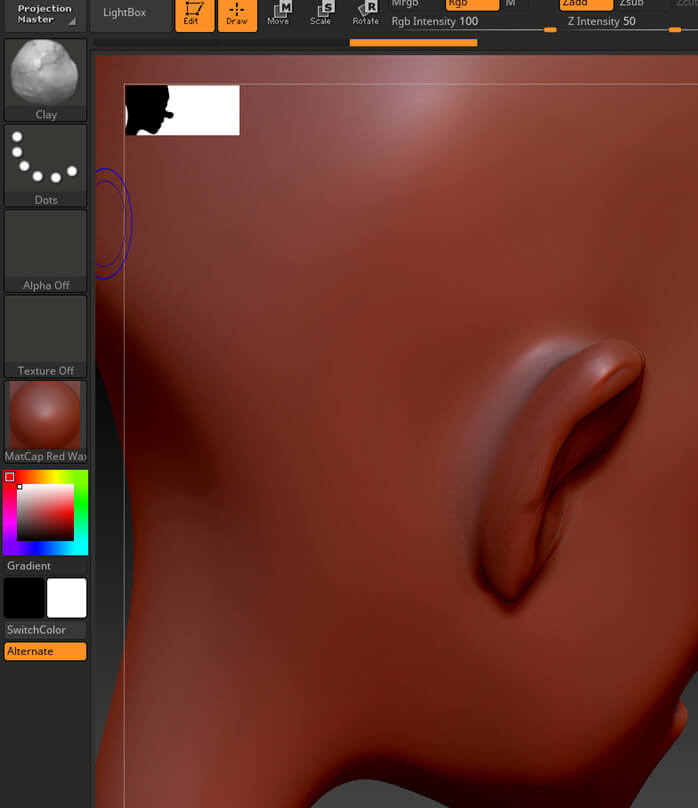
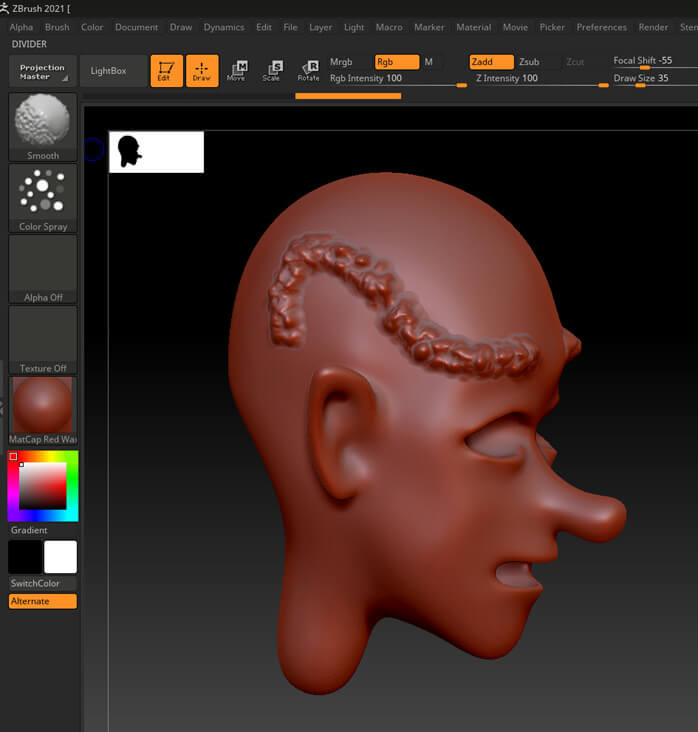
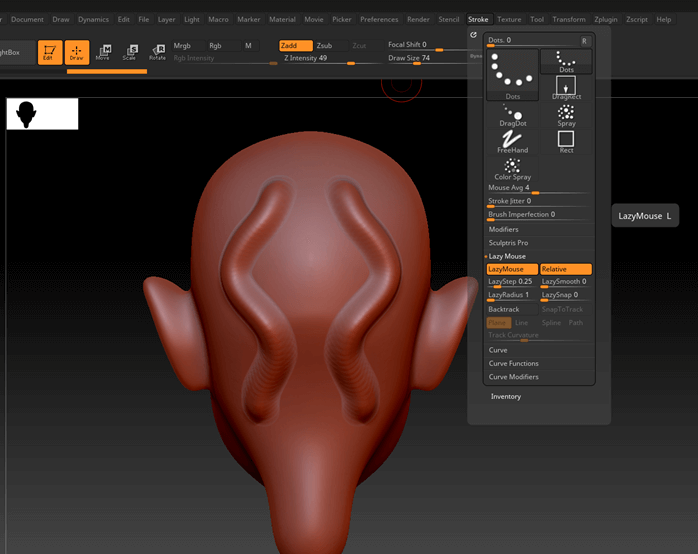
Step 13: In the Strokes menu, there is an option for Lazy Mouse, which enables you to created decorative shapes with less precision as you can see a line along the curve you draw. You can adjust the lazy radius to increase the effect.
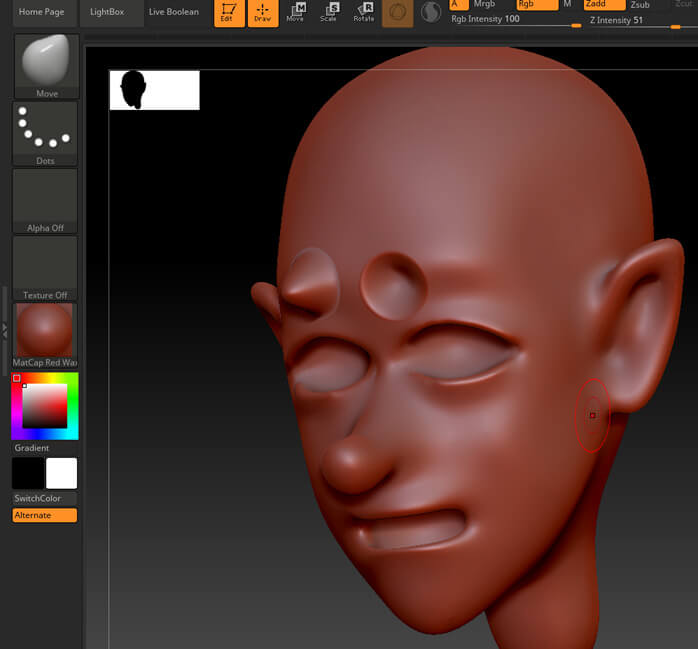
Step 14: Now, let’s see about brush symmetry which can be toggled on and off using the X key. If you want to know whether you are in symmetry mode or not without looking other side, then you can see that when we are in symmetry mode, there is a and extra circle inside of the main circle, and when symmetry mode is turned on, then that circle is gone.
Step 15: When we see in the transform palette, we can see that we can also activate symmetry along the Y and Z-axis.
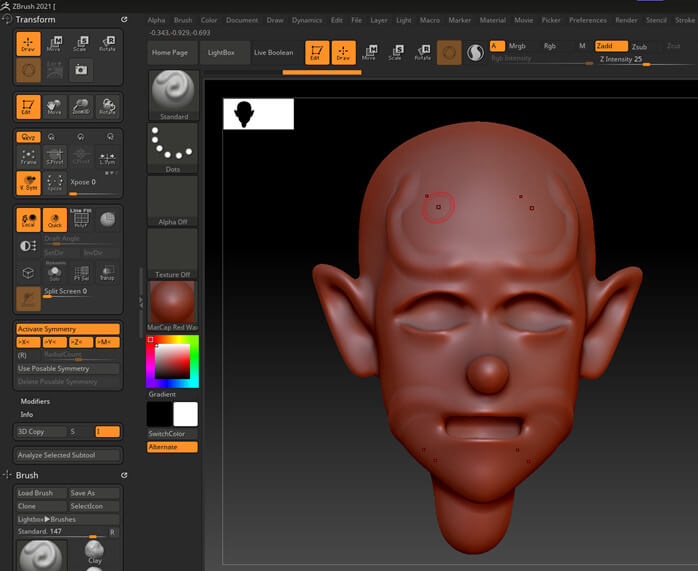
Step 16: To demonstrate radial symmetry, we can select a sphere tool and then activate radial symmetry with radial count on any of the axis to get some interesting effect.
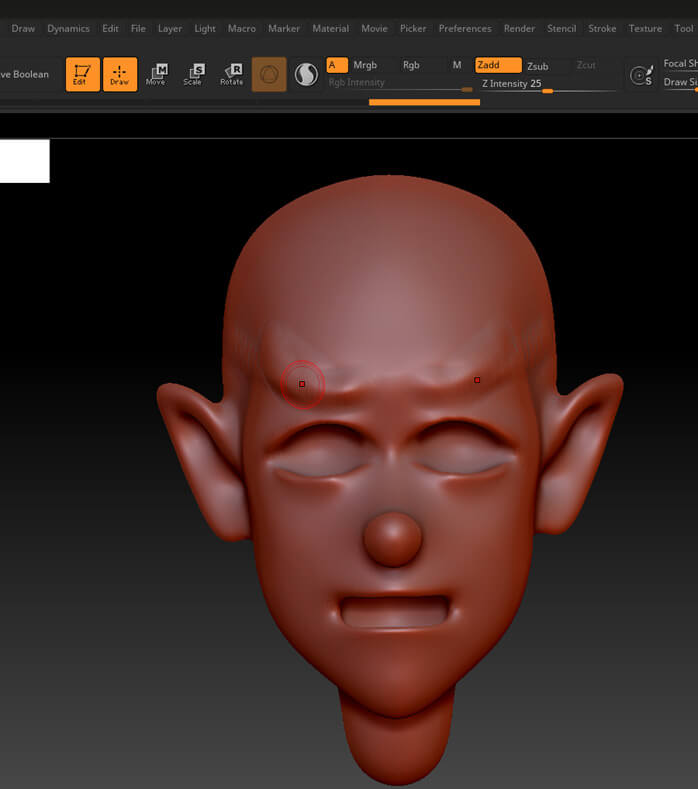
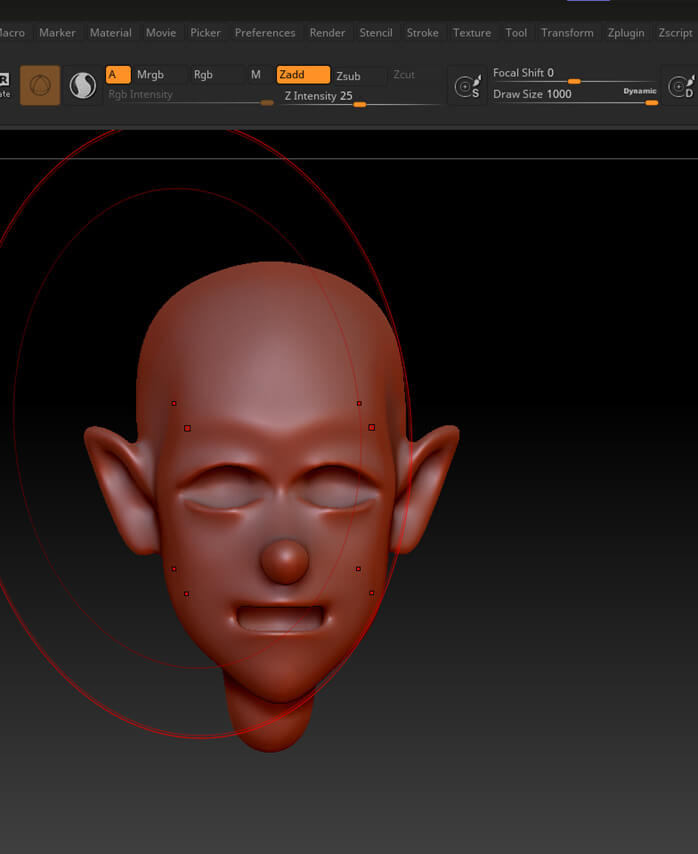
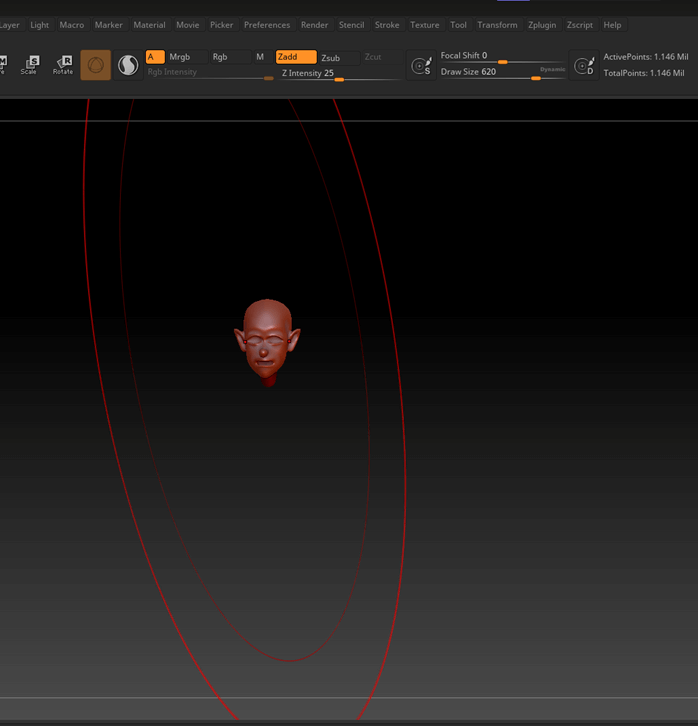
Step 17: Back to our face tool, when we look at the draw size, there is an option for dynamic. If it is on, then the brush will scale according to the model.
Step 18: If we double click the word dynamic, then it toggles it, then the size of the draw will depend on the screen, which is useful if we want to smooth parts of the models quickly.
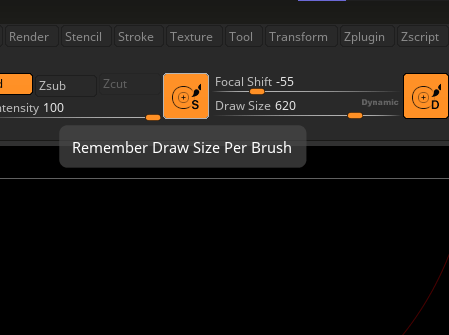
Step 19: There is also an option to turn on remember dynamic mode per brush, which will remember whether you have turned off or on the dynamic mode on that brush.
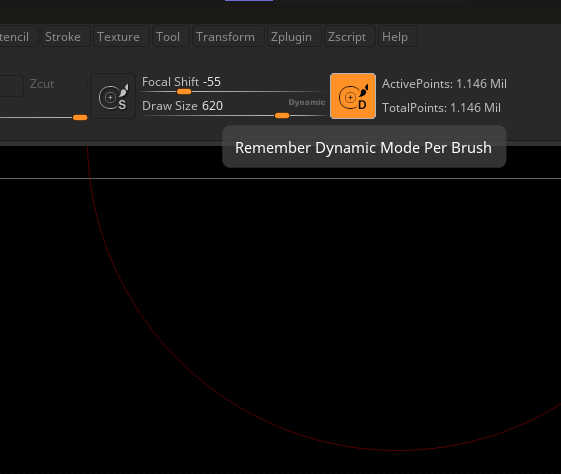
Step 20: Similarly, you can also remember to draw size per brush.
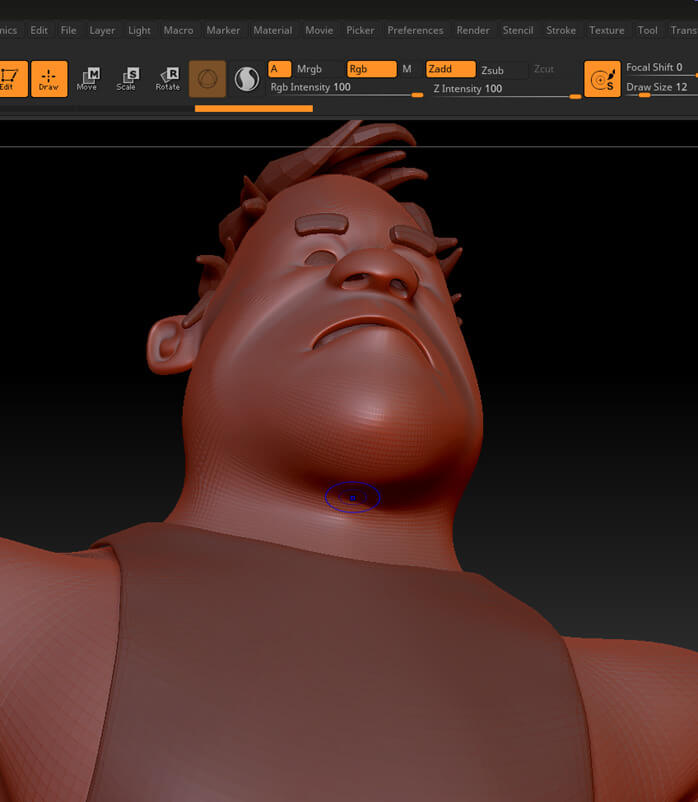
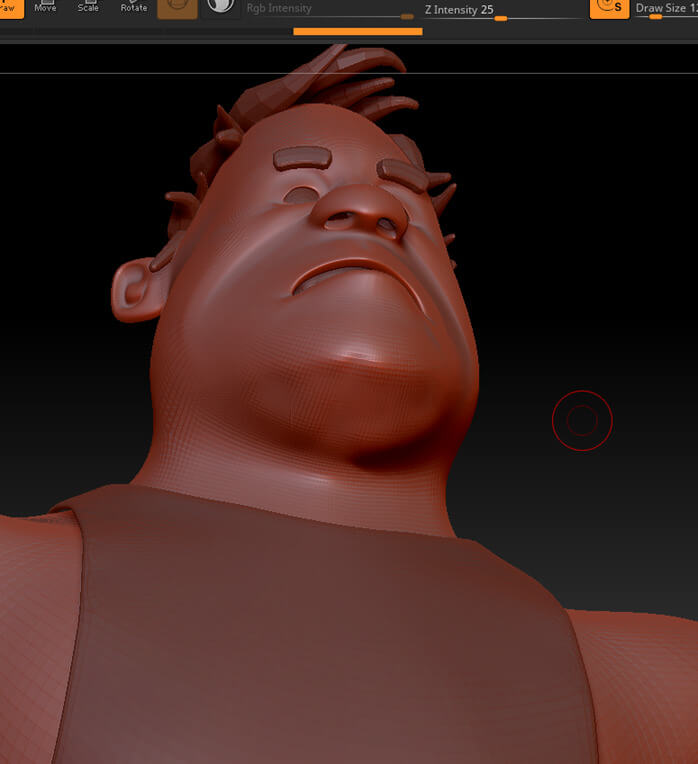
Step 21: Now we know that pressing shift while sculpting smooth the geometry, but we can change this brush. Let’s select smooth peaks brush or press B – S – P. There will be a warning, then skip it until restart. When we start smoothing on the neck, it does not work.
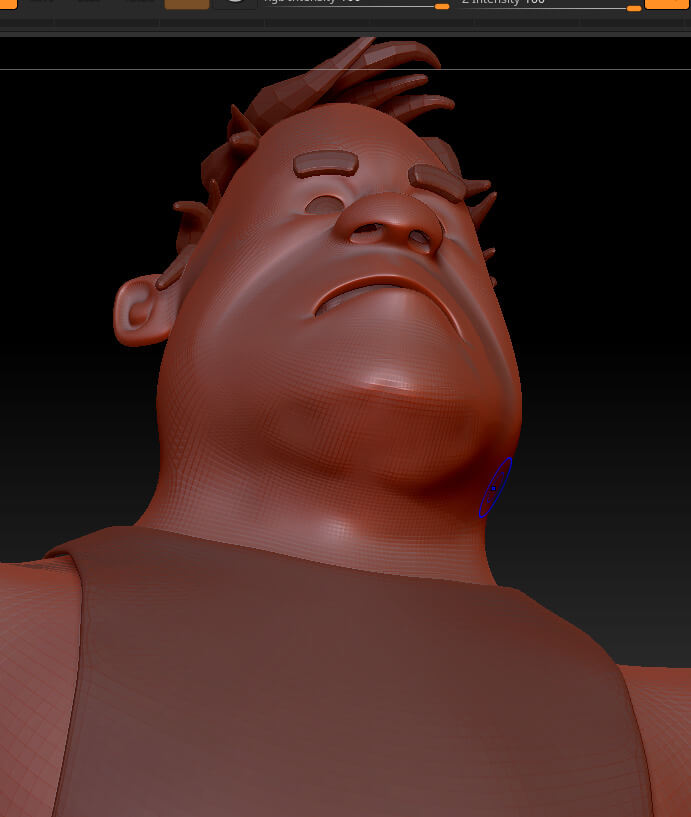
Step 22: But when we work on the chin, it works.
Step 23: Suppose if you want to smooth the neck, we can press alt while pressing. Pressing alt is also called inverting brush effect.
Step 24: Most brushes have an alt mode; as we can see in the standard brush when we draw, the first two-stroke is in normal mode, which build-up, and the third one is in alt mode, which removes.
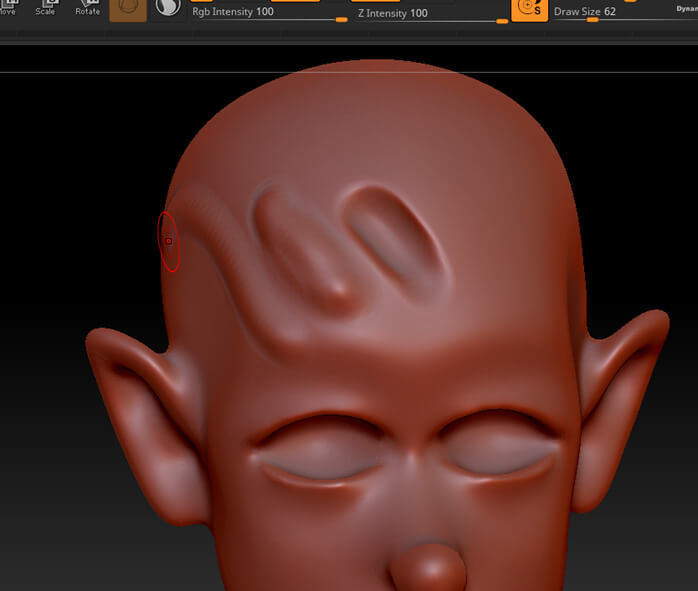
Step 25: But there are some exceptions like DamStandard, which by default digs in, and then in alt mode, it creates a crease in the opposite direction.
Step 26: When we use move brush in this alt mode, then it pulls the geometry directly from the surface instead of relative to the camera view.
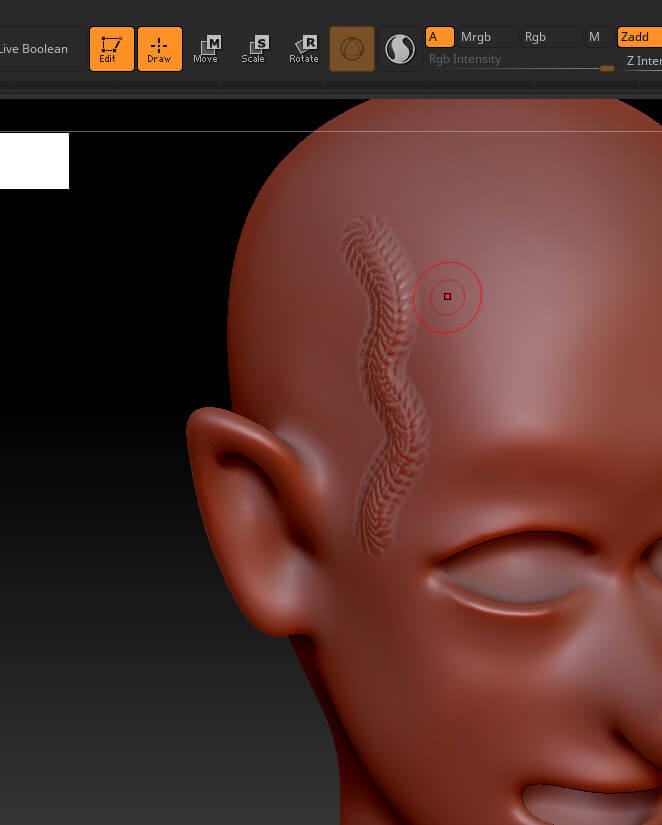
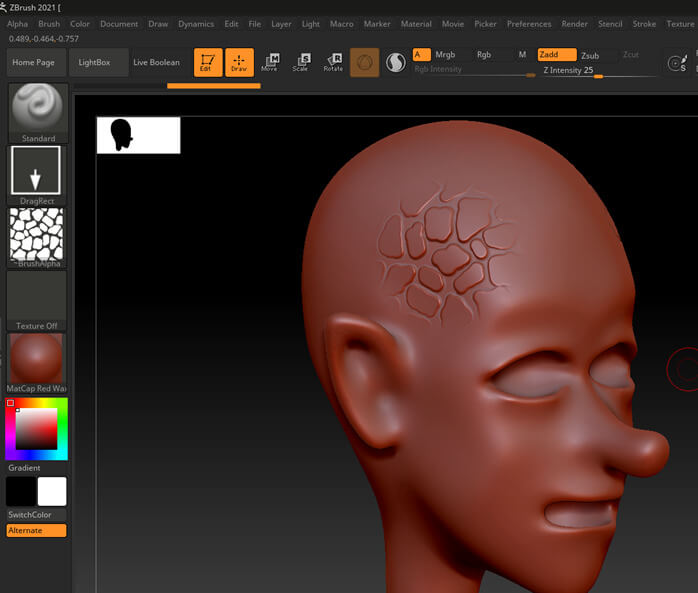
Step 27: Then, we select an alpha
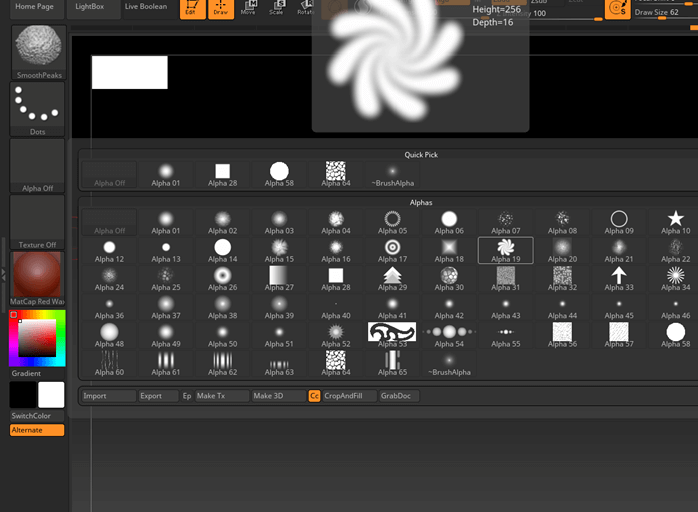
Step 28: Turning on alpha, it stamps the same image along the curve.
Step 29: Now turn on Roll in Stroke modifier
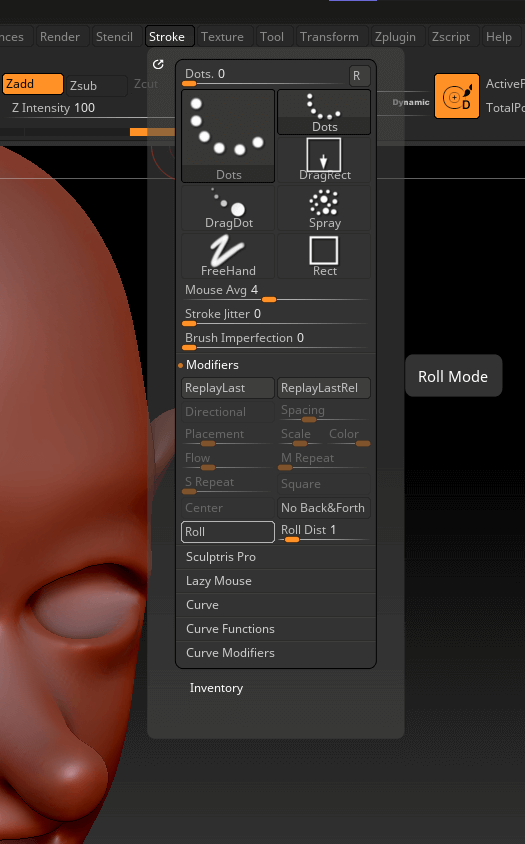
Step 30: So the brush finishes one copy before finishing the other copy.
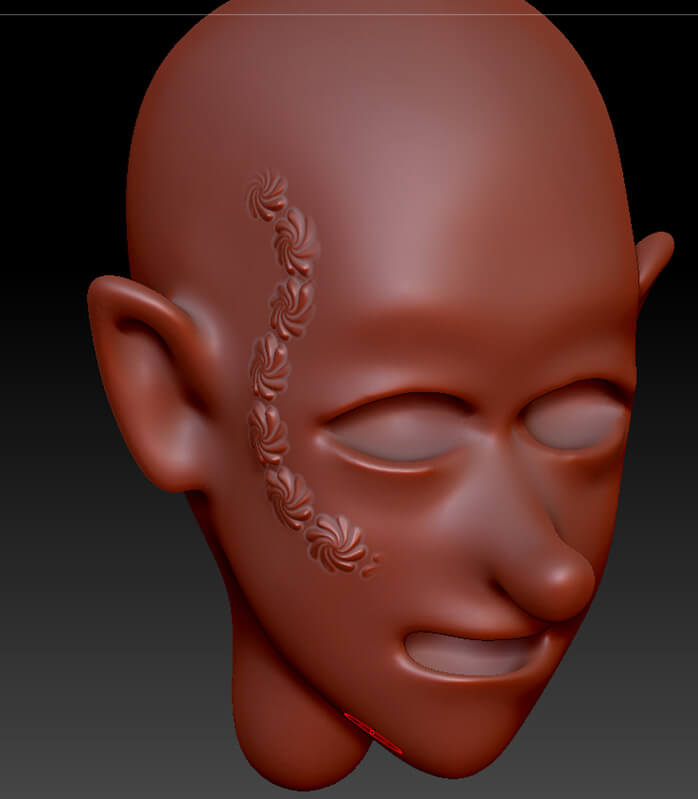
Step 31: The roll modifier works better with the brush, which has continuity, as shown.
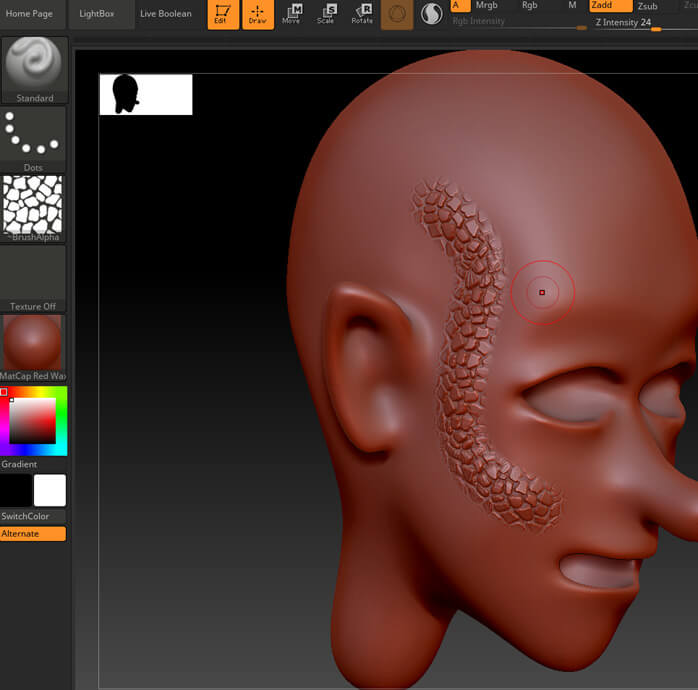
Step 32: Another way is to select the DragRect stroke type, which places one instance of the stroke, and you can control the size using the cursor.
Conclusion
In this article, we have learned how to sculpt in Zbrush. Firstly, we have started with loading a tool, then we starting working on various brush modifiers. We have also looked at symmetry and dynamic mode. Then we looked at how alpha and strokes affect the sculpture.
Recommended Articles
This is a guide to ZBrush sculpting. Here we discuss how to sculpt in Zbrush, and we have started with loading a tool, then we starting working on various brush modifiers. You may also have a look at the following articles to learn more –
