Updated July 5, 2023
VBA Transpose
Being a Microsoft Excel user, you may frequently have used transpose function which allows the swapping between rows and columns for an array. Converting rows into column and columns into rows is what a transpose function does for you in excel. The number of rows becomes a number of columns and vice versa. Means, if you have 2 rows and 3 columns in your array, after transposing it will change to an array with 3 rows and 2 columns. In this tutorial, we will go through VBA Transpose which will allow you to automate the transpose method you to use in Excel.
Syntax of Transpose in Excel VBA
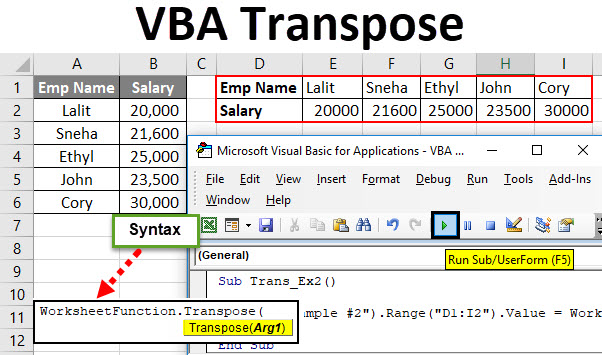
VBA Transpose has the following syntax:
![]()
Where,
Arg1: It is a required argument which is nothing but a range of cells we wanted to transpose (i.e. array).
The first part of the syntax is nothing but an expression under which Transpose function can be used. For example, WorksheetFunction.
How to Use Excel VBA Transpose?
We will learn how to use a Transpose with few examples in Excel VBA.
Example #1 – VBA Transpose of One-dimensional Array
Suppose you are working on a data with lists (which is a one-dimensional array) like names of an employee given (“Lalit”, “Sneha”, “Ethyl”, “John”, “Cory”) and you want this list to be pasted in excel cell wise. Let’s see how we can do this.
Follow the below steps to use Transpose in VBA.
Step 1: Insert a new module and define a new sub-procedure to create a macro in VBA.
Code:
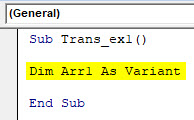
Sub Trans_ex1()

End Sub

Step 2: Define a new variable which can hold your one-dimensional array.
Code:
Sub Trans_ex1()

Dim Arr1 As Variant

End Sub
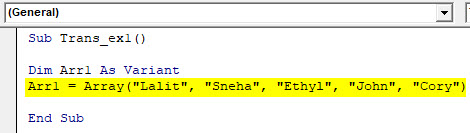
Step 3: Define the list as an array using the Array function. This would be the list you wanted to paste in your excel sheet.
Code:
Sub Trans_ex1()

Dim Arr1 As Variant
Arr1 = Array("Lalit", "Sneha", "Ethyl", "John", "Cory")

End Sub
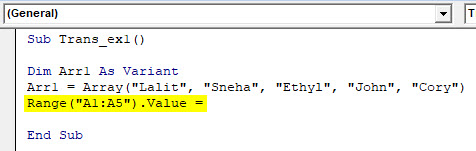
Step 4: Now use the Range.Value method to define the range in which these values you wanted to get pasted.
Code:
Sub Trans_ex1()

Dim Arr1 As Variant
Arr1 = Array("Lalit", "Sneha", "Ethyl", "John", "Cory")
Range("A1:A5").Value =

End Sub
Step 5: Use Application.WorksheetFunction.Transpose on the given array to be able to transpose the list defined under Arr1 variable.
Code:
Sub Trans_ex1()

Dim Arr1 As Variant
Arr1 = Array("Lalit", "Sneha", "Ethyl", "John", "Cory")
Range("A1:A5").Value = Application.WorksheetFunction.Transpose(Arr1)

End Sub
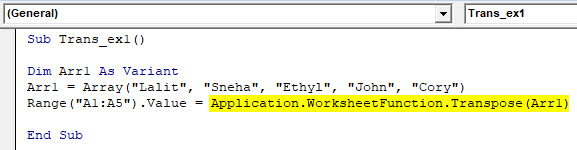
Here, we have defined a code which will allow the system to transpose the data in list array called Arr1 and then store it under cell A1:A5 on the active worksheet.
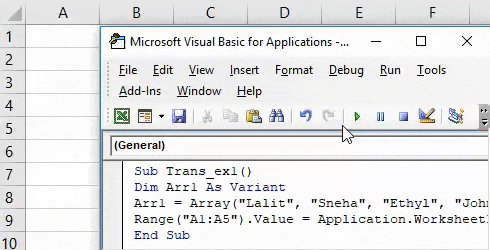
Step 6: Hit F5 or Run button under VBE to run this code and see the output under active excel spreadsheet.
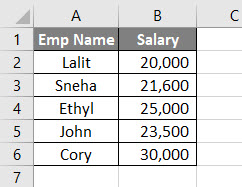
You can see that the given array of the list is transposed into one single column and stored under cell A1 to A5.
Example #2 – VBA Transpose of two-dimensional Array
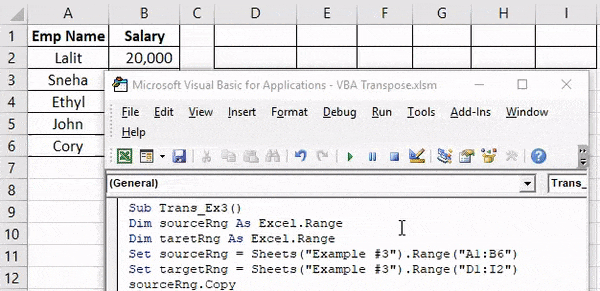
Suppose you have a two-dimensional array of employees and their salaries as below:
This is a two-dimensional data with six rows and two columns. After transposing, it would be an array with two rows and six columns.
Follow the below steps to use Transpose in VBA.
Step 1: Define a sub-procedure to store a macro.
Code:
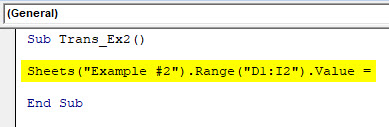
Sub Trans_Ex2()

End Sub
Step 2: Decide the range where you want to transpose this data. It can be done using Sheets.Range.Value function. I would be saving the transposed array into cell D1 to I2.
Code:
Sub Trans_Ex2()

Sheets("Example #2").Range("D1:I2").Value =

End Sub
Step 3: Use WorksheetFunction.Transpose to be able to assign an array A1:B6 to transpose function.
Code:
Sub Trans_Ex2()

Sheets("Example #2").Range("D1:I2").Value = WorksheetFunction.Transpose(

End Sub

Step 4: We need to specify the argument for Transpose function. We wanted to transpose a range of array A1:B6. Thus, use Range(“A1:B6”) as an argument.
Code:
Sub Trans_Ex2()

Sheets("Example #2").Range("D1:I2").Value = WorksheetFunction.Transpose(Range("A1:B6"))

End Sub

Step 5: Hit F5 or Run button to run this code and see the output.

Here, range of array A1:B6 is transposed and stored into a range of array D1:I2 with the help of VBA Transpose function in excel.
Example #3 – VBA Transpose of an array with Paste Special Method
We can also transpose the array and paste as special as well do in Excel using Alt + E + S. We can use different operations under this paste special method.
Let us consider the same data as we have used in the previous example.

Follow the below steps to use Transpose in VBA.
Step 1: Define a sub-procedure to store the macro.
Code:
Sub Trans_Ex3()

End Sub
Step 2: Define two new variables, one which can hold the data source array (sourceRng) and others which can hold the output array range (targetRng).
Code:
Sub Trans_Ex3()

Dim sourceRng As Excel.Range
Dim taretRng As Excel.Range

End Sub
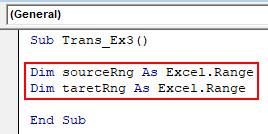
Please note that the type of these variables defined as (Excel.Range). Because we wanted to transpose the data which is an array range.
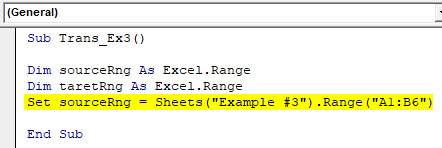
Step 3: Set the source range as A1:B6 (The data we wanted to take the transpose of ) using Sheets.Range function.
Code:
Sub Trans_Ex3()

Dim sourceRng As Excel.Range
Dim taretRng As Excel.Range
Set sourceRng = Sheets("Example #3").Range("A1:B6")

End Sub
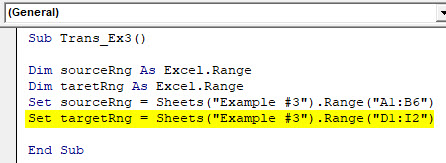
Step 4: Set the target/destination range as D1:I2 (The range of cells where the output will be stored) using Sheets.Range function.
Code:
Sub Trans_Ex3()

Dim sourceRng As Excel.Range
Dim taretRng As Excel.Range
Set sourceRng = Sheets("Example #3").Range("A1:B6")
Set targetRng = Sheets("Example #3").Range("D1:I2")

End Sub
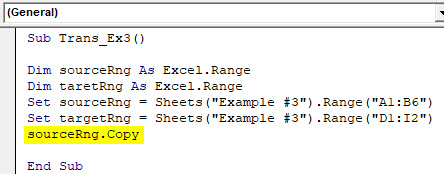
Step 5: Now, use the command Copy to copy the source data range from your worksheet.
Code:
Sub Trans_Ex3()

Dim sourceRng As Excel.Range
Dim taretRng As Excel.Range
Set sourceRng = Sheets("Example #3").Range("A1:B6")
Set targetRng = Sheets("Example #3").Range("D1:I2")
sourceRng.Copy

End Sub
Step 6: We are going to use PasteSpecial function on variable targetRng to save the transposed output under the target range (D1:I2) in your worksheet.
Code:
Sub Trans_Ex3()

Dim sourceRng As Excel.Range
Dim taretRng As Excel.Range
Set sourceRng = Sheets("Example #3").Range("A1:B6")
Set targetRng = Sheets("Example #3").Range("D1:I2")
sourceRng.Copy
targetRng.PasteSpecial Paste:=xlPasteValues, Operation:=xlNone, SkipBlanks:=False, Transpose:=True

End Sub
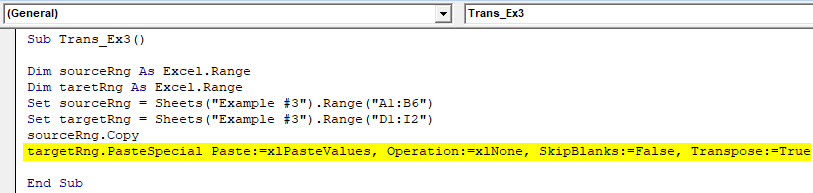
- Paste: Allows to paste values in a different format (like Paste as Values, as Formulae, As Format, etc.). It is similar as to that of Excel (We do Alt + E + S to have different paste special options). In our example, we have set it to paste as values.
- Operation: There are different operations which can be performed like addition, subtraction, multiplication, division (in the same way we can do in Excel).
- SkipBlanks: If set True, this command allows to skip the blanks if any from your data while doing different paste special operations. We set it to False, means we wanted not to skip the blanks.
- Transpose: If set True, it allows to take the transpose of an array of data.
Step 7: Run this code by hitting F5 or Run button and see the output.
Things to Remember
- While working on a one-dimensional array, it should always be horizontal (One row, multiple columns) in order to apply the transpose method.
- It is mandatory to find out the number of rows and number of columns while using VBA Transpose in Excel. If we have 3 rows and 5 columns, after transpose there would be 5 rows with three columns.
- Normally, Transpose method does not include formatting of the source data. If you want to apply the same format as that of source data, you either manually have to set it or using paste special option XlPasteFormat you will be able to hold the format of source data to the target data.
- The number of elements Transpose function can take in an array cannot exceed 5461.
- An array cannot contain any item/string having length more than 255. If included, it will cause errors such as 13, Type Mismatch, 5, Invalid procedure call or argument, 1004, application defined or object defined error.
- The source array cannot contain any null value (such as “Null”, “#N/A”).
Recommended Articles
This has been a guide to VBA Transpose. Here we discussed how to use Excel VBA Transpose along with practical examples and downloadable excel template. You can also go through our other suggested articles –
