Updated August 28, 2023
Introduction to Slow Motion in After Effects
In this article, we will see an outline on Slow Motion in After Effects. Slow-motion is nothing but making a clip slow, but it was not that much easy to do as we talk; it had got a lot of process and methods to make a clip slow motion, the frame rate will get affected if we don’t use the correct process in slow motion. As we know, nowadays, we can shoot slow-motion by default in our DSLR and mobiles, but for a post clip, if we need to change the duration or need to do slow, we can use the slow-motion method.
It’s interesting to see something moving slow; let’s see how it’s going to work.
Creating Slow Motion in After Effects
The following are the steps to create slow motion in after effects explained in detail.
Step 1: Import a video file.
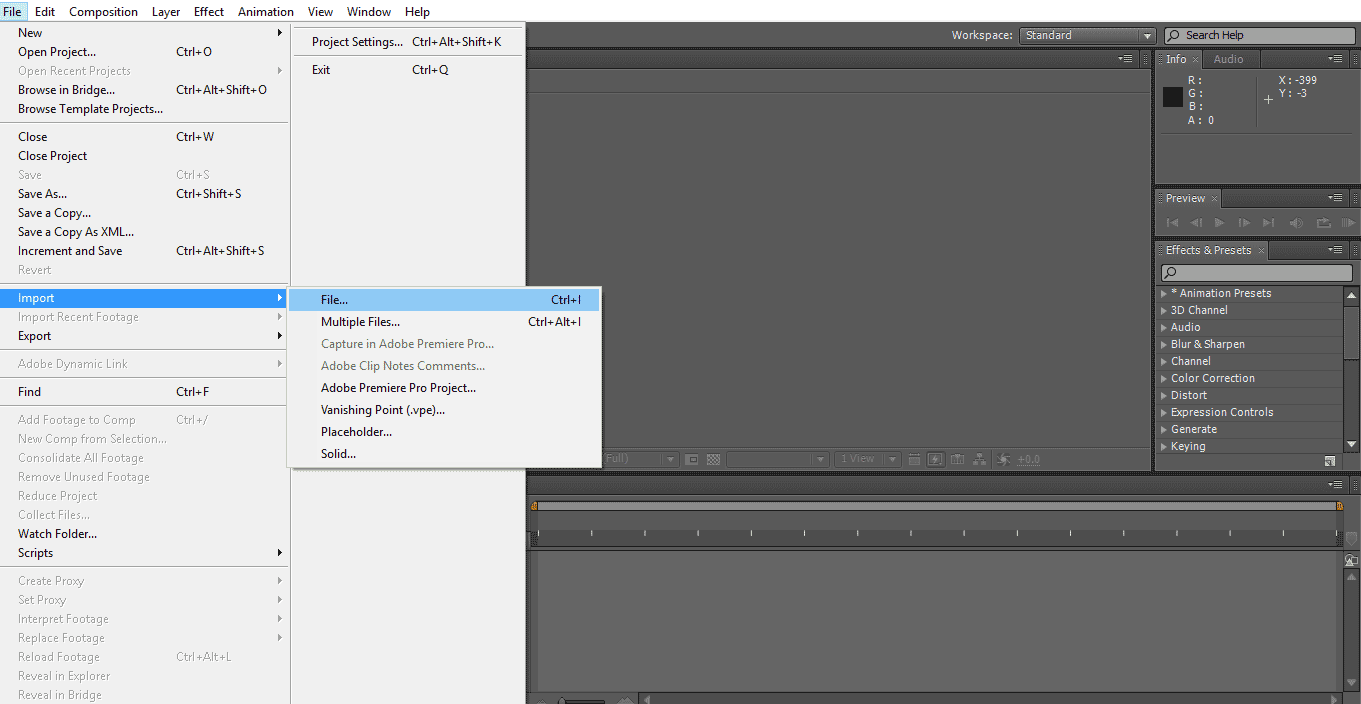
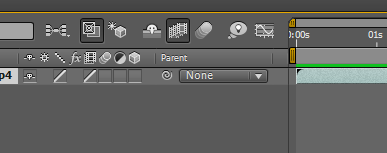
Step 2: Take the video to the timeline.
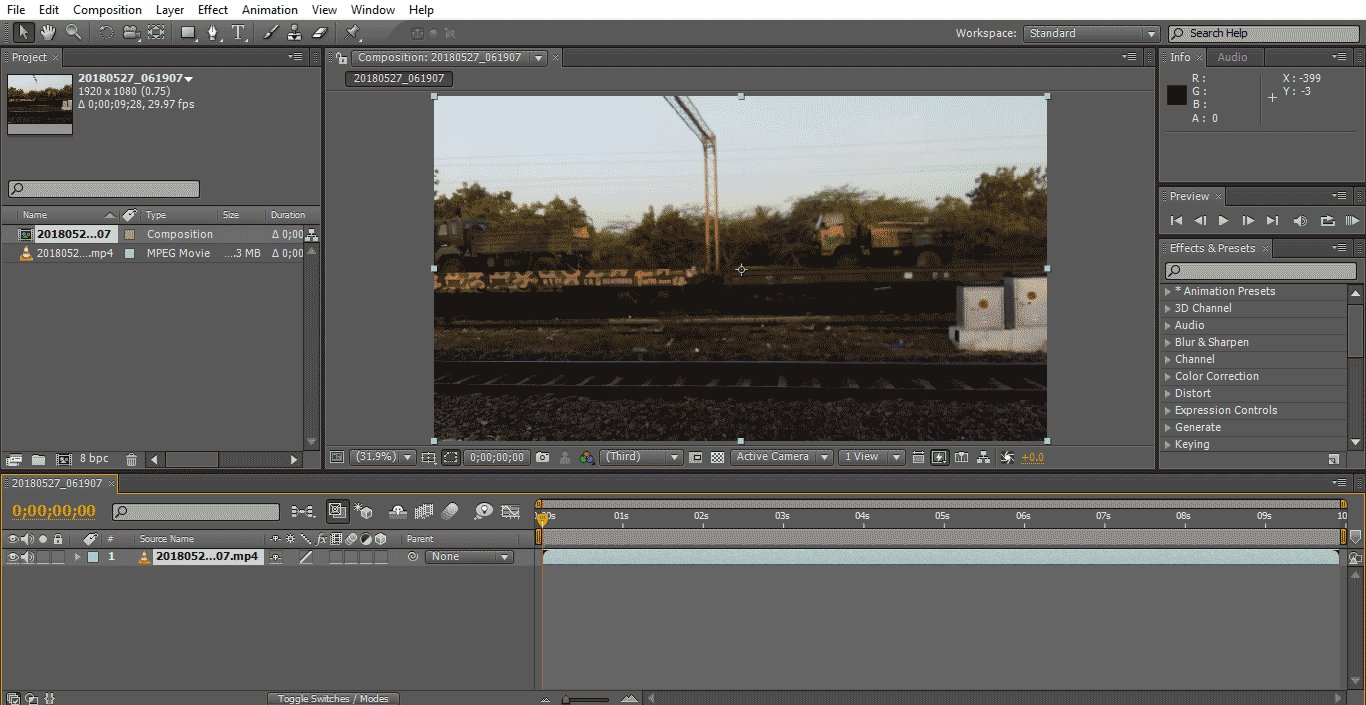
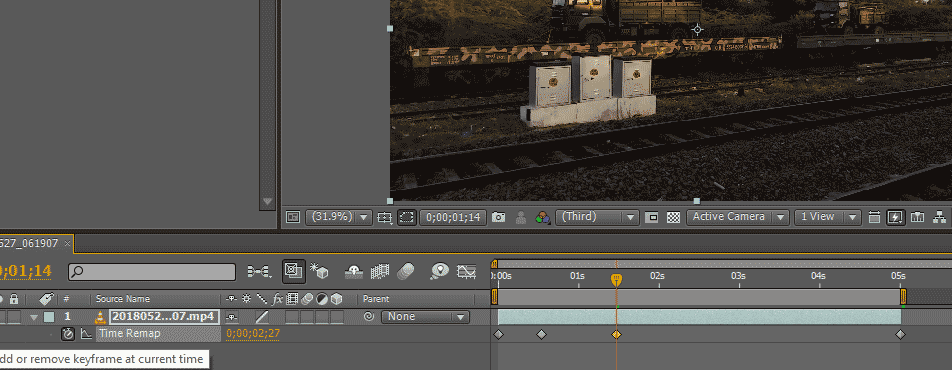
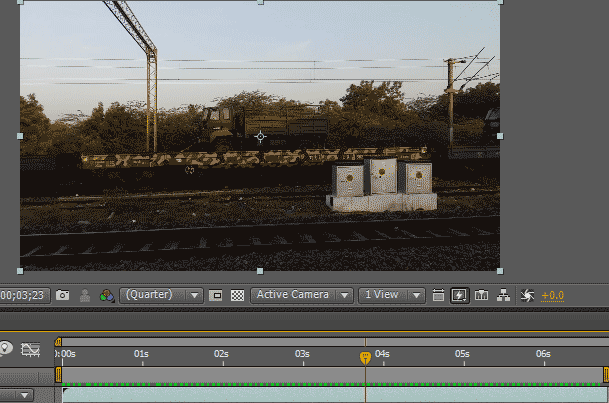
We imported videos of moving trains; we need to select moving object videos because we are going to try the slow-motion effect now; for that, we need some moving objects.
Step 3: Trim the video; if you have big content, trim up to what you want because after applying the effect, it will go for render, and it may become slow or freezed.

Step 4: I will use two methods for slow-motion: time remapping and the second one is time stretch.
Let’s start with time ramping. Now get into action, go to layer and click on time and select Time remapping. The shortcut is Ctrl+Alt+T.

Step 5: Here, we can see the options of time remap; its keyframe stopwatch option is on default.
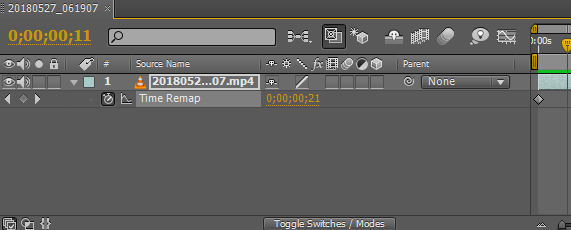
Step 6: When we apply time remapping, two keyframes applied default one is in starting, and another is at the end of the clip.
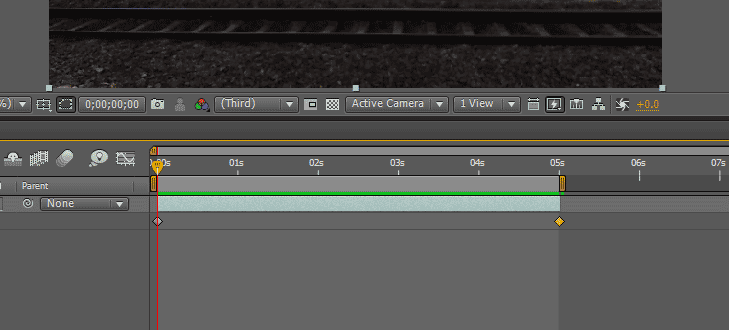
Step 7: Now, we need to select the place where we need to slow the clip and apply two keyframes.
Step 8: Select the two keyframes which we applied.
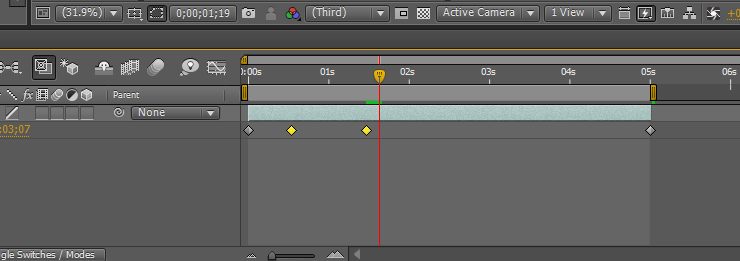
Step 9: Here, we have a graphic editor option.
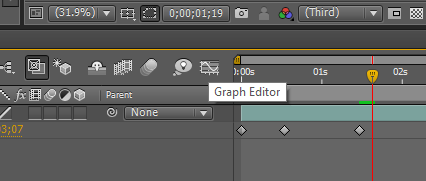
Step 10: When we select the graphic editor option, the timeline interface will change, and the timeline looks like a graphic timeline.

We can see our two selected keyframes as box here.
Step 11: We need to hold shift and drag the upper line to where ever we need to slow motion.
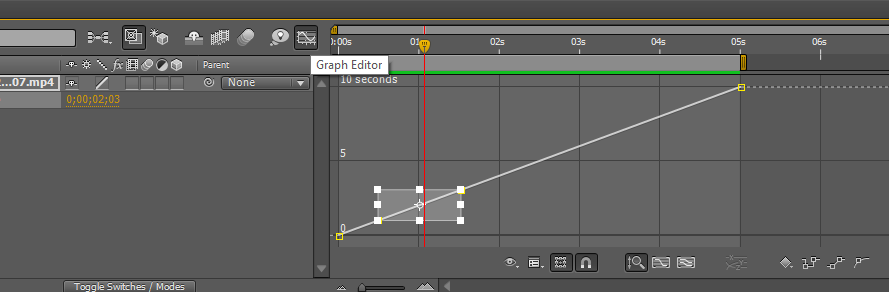
Step 12: The points where we decrease that place move slow and remaining will be the same fast.
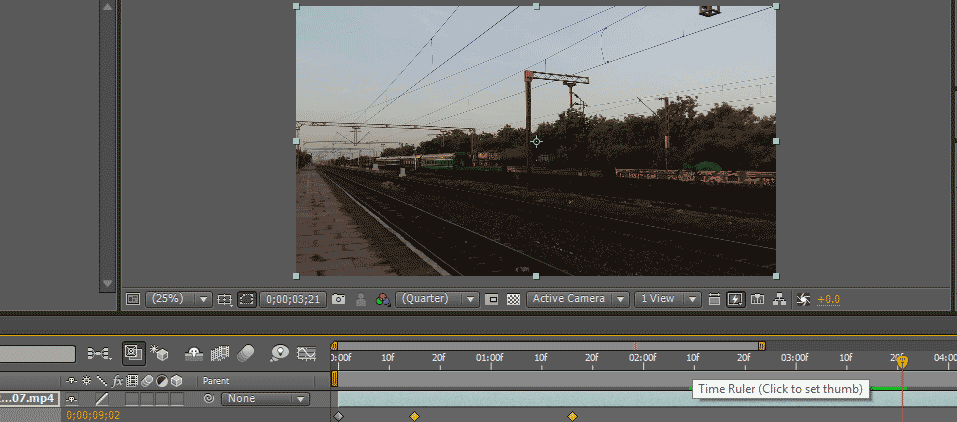
Step 13: If we need to smooth the slow-motion, we need to go with the frame blend option, active the frame blend option here.

When we activate the frame blend in the below box, we can find a small dotted line.
Click once again on the same small box, then the dotted lines turn into normal and turn the direction to the left side.
Step 14: Here, we have another option frame blending to all layers.
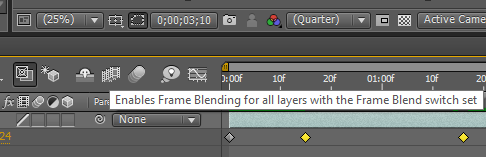
It appears like 3 film icon; it will smooth the slow motion.
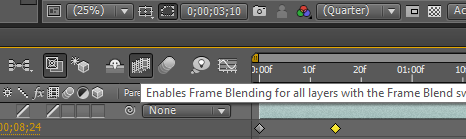
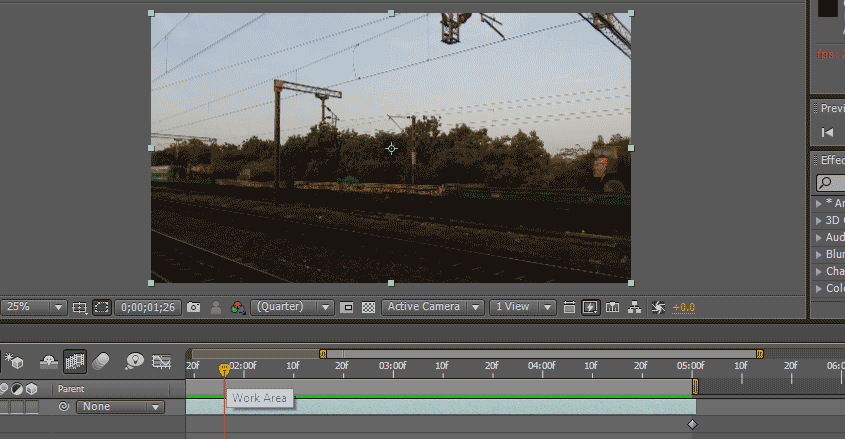
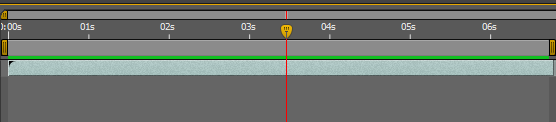
Step 15: We can find a green line which indicates the render; now, we can find a slow and smooth moment in the clip.
We try with remapping here; this is one method, and we have another method to make a clip slow and smooth. Let’s see how it was going to work.
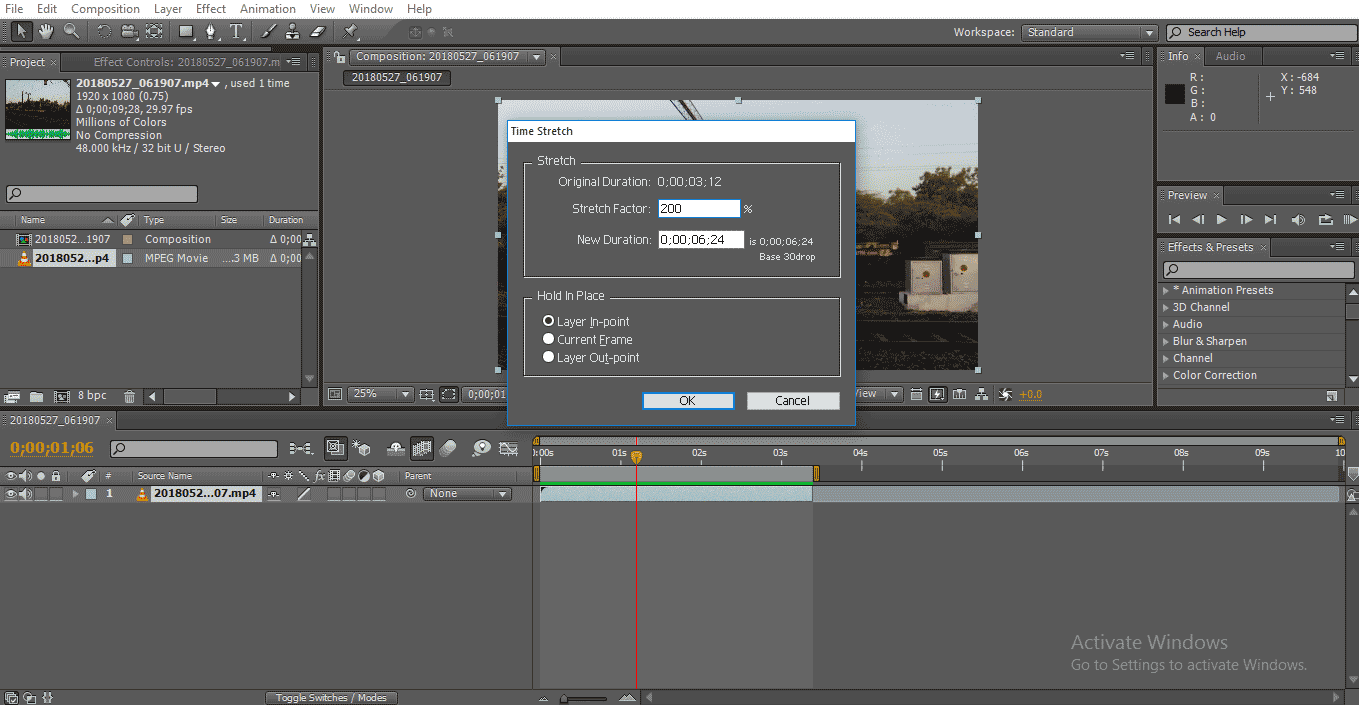
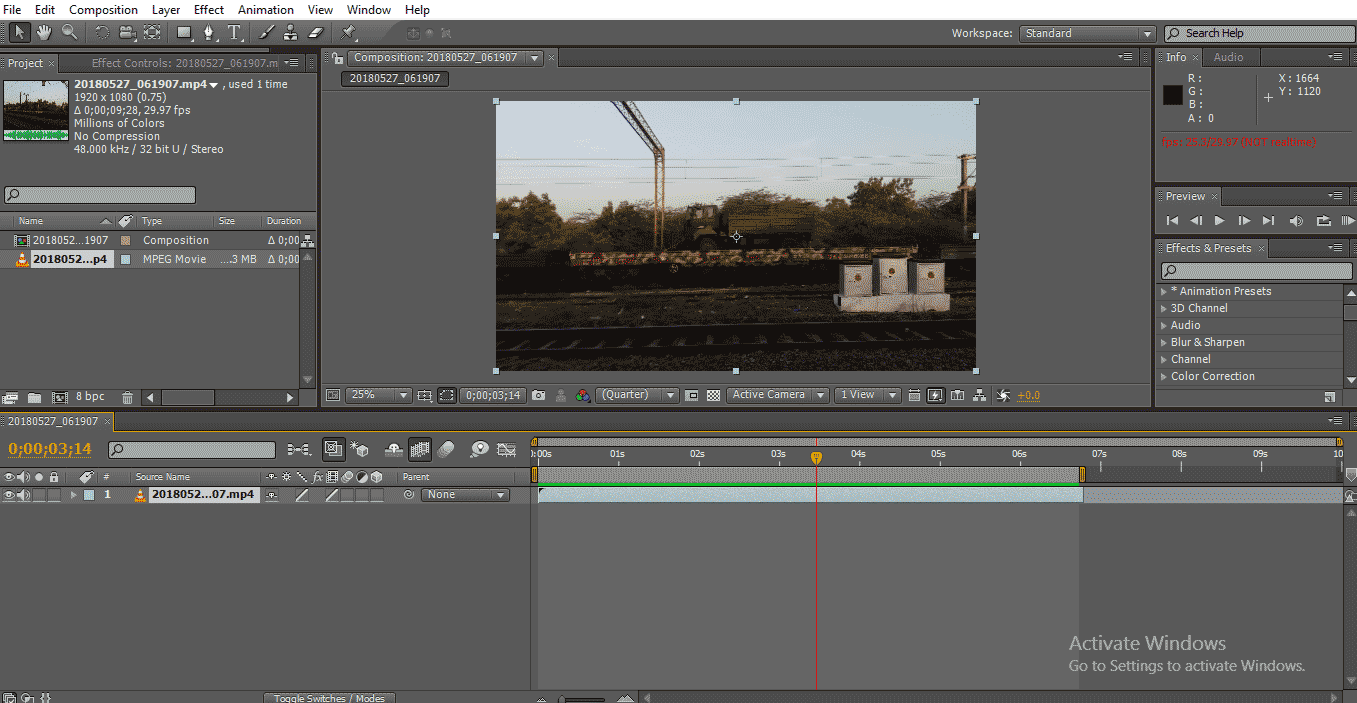
Step 16: The next method I am going to try is the time stretch. Go to layer and time, then select time stretch.

Step 17: When we select the time stretch, we can get a dialogue box asking, as shown in the image below.
In this box, we can find Stretch factor %; it will be default 100, and we can change as our requirement, how much we change that much it will become slow so, here I am giving 200 for stretch factor %.

In the next box, we can find the new duration, which means the changed duration; whenever we change the stretch factor, the new duration will be changed, and we can find the original duration at the top; we can find the difference in the durations.

Step 18: There is their option in the hold in place that means in which place we need to hold the frame; if we hold the frame, that frame can be dragged as a still frame.
If we need to hold the frame in the starting, we need to select the first option. If we need to go with the current frame we need to select the second option. If we need to hold the end frame, we need to select the third option.
Why Did We Need to Hold a Frame?
After the slow-motion, if we need to still the frame means we can use the holding frame.
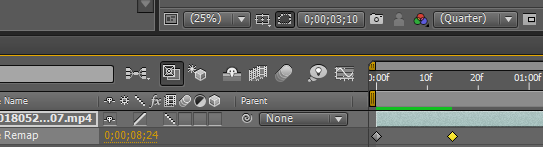
Step 19: Here, we can see the length of the clip is increased.

Step 20: We can find a green line when we play the clip; it means it gets to render.
Step 21: Now, this clip moving in slow motion, and if we need to add some smoothness to the clip, just active frame blend and layer blends as we did in the first method.
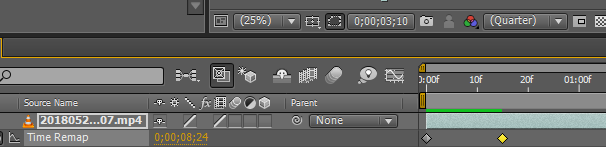
Step 22: Now, we can see the difference between the render before and after applying frame blend.
Before applying the blend option,

After applying the blend option,
Before applying the frame blend, the green line looks like the dotted line; it means the slow-motion applied and it not smooth. After applying the blend look normal green line, the green line indicates that the slow-motion moves smoothly.
Step 23: It was moving very slow and smooth looks great in this slow-motion clip.
In the first method, we use slow motion in between two keyframes which means starting the clip moves at normal speed and starts slow motion in between and ends with normal speed.
In the second method, we use it for the entire clip so that the entire clip will move in slow motion. In this process, we import a video clip and trim the clip; then we try some slow-motion effects on the clips; we try time remapping and time stretch methods to slow the clip.
Conclusion
So, from all these steps, we’ve learned, What is slow motion? And how it works Methods of slow-motion and how to apply? Also, How to use graphic editor, frame and layer blends? I hope it was an interesting topic we discuss.
Recommended Articles
This is a Guide to Slow Motion in After Effects. Here we discuss creating slow motion in after effects with using graphic editor, frame and layer blends. You may also look at the following articles to learn more-
