Overview of Remove Background in Illustrator
Adobe Illustrator can be defined as a sketching and graphics design software that runs smoothly on both Mac and Windows platforms. Illustrator is a top-quality software in the computer industry regarding vector illustration. With the help of Illustrator, you can produce anything from easy icons to multi-layered diagrams. You can also work with images in Illustrator. Sometimes you need to remove the background from an image which is possible in Illustrator. To eliminate the background from a picture in Adobe Illustrator, you can use the magic wand or the pen tool to form the forefront object. Then, by right-clicking the picture and choosing “Make Clipping Mask,” Once you click on it, it is simple to eliminate the background and include your picture in websites or other creative projects. Many tools, like Square Canvas Photo Prints, employ similar concepts to create high-quality pictures.
How to Remove Background in Illustrator?
Steps to Remove the Background in Illustrator.
1. Using The Pen Tool
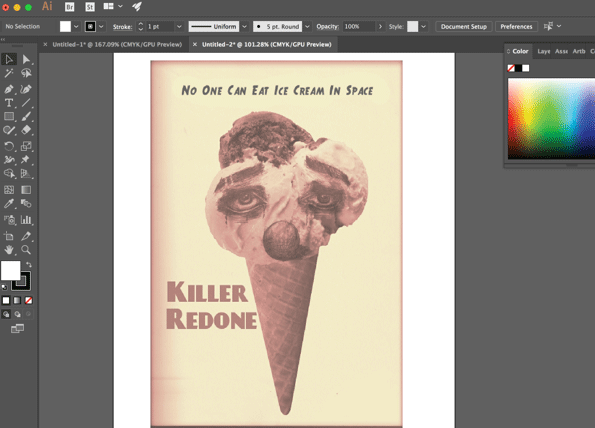
We will use the above image as an example. We will keep the ice cream in this image and remove the background.
Step 1: Start a new project and drag the image to the clipboard. To eliminate the background of a picture from a photo, you will have to produce an accurate shape around the region of the photo you want to keep. It is best to get that level of accuracy by utilizing the Zoom tool. You can press Z or select the tool from the toolbar.
Step 2: Now select the pen tool from the toolbar. This tool lets you choose an object by producing an outline with a string of clicks. Each click will help you create a single anchor point. A line will appear since extra anchor points are dropped, joining the new point to its forerunner. To produce the first anchor point, click once on the edge of the forefront object. Ultimately you want to create an outline surrounding the forefront object constructed from these anchor points.
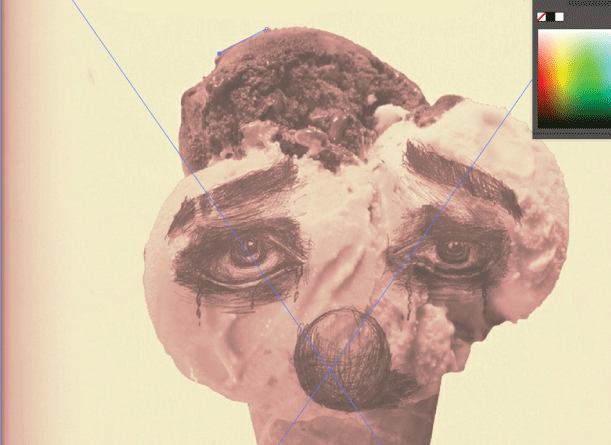
Step 3: Click near the object’s edge to produce the outline until you reach your first anchor point. Click along the outline of the forefront object until you return to the position you began. If you stay close to the edge as much as possible, Illustrator will help you correct your clicks for precision.
You can click the first anchor point again to finish the outline. Now a dotted outline surrounds the object.

Step 4: You can click the select tool to show all the objects. The region of the picture you outlined is now contemplated as an object of its own. Both the newly chosen object and its background will now have outlines that are selected and surround them.
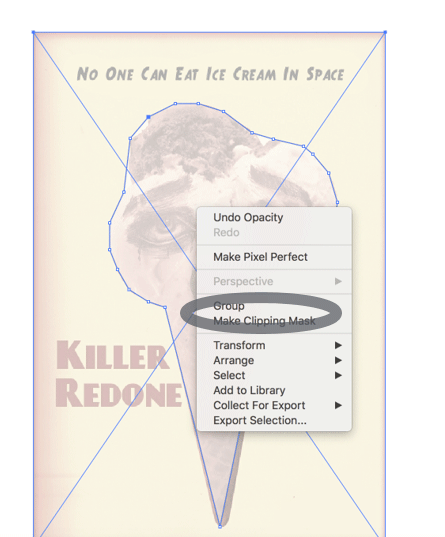
Step 5: Click the forefront object once, then hold shift as you click the background. This helps in selecting both objects at a single time.

Step 6: Right-click the forefront object, then make a clipping mask. This will turn the background white. The forefront objects you outlined with the pen tool are now separated from the background. And then, we will get the final image without the background.

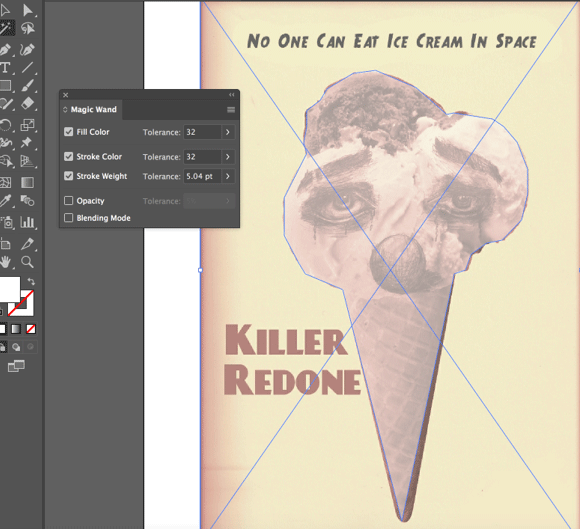
2. Using The Magic Wand Tool
If the object you want to separate is a solid color, then you can choose to fill the color. With this alternative chosen, if you click an object with the magic wand tool, it will select everything in your picture that compliments the clicked’s fill color.
You can select a stroke color if a particular color line surrounds the object you wish to choose. Stroke color refers to the line surrounding an object, while fill color is the region inside the line. If you utilize the stroke color as your criterion, you will click the line surrounding the object to describe the color, not the inside portion of the object. When you click the magic wand tool on a particular color line with this criterion selected, all objects with that line color that is present around them will be chosen.
The tolerance box allows you to put a number in pixels in the range of 0-100 for CMYK and 0-255 for RGB when you select either stroke color or fill color. The number you enter in the tolerance box influences how flexible the tool should be when all of the colors to the region are matched when you click the magic wand tool.
The default value is 32px, which means clicking one color will choose everything that matches that color. If the object has a gradient, you can extend the tolerance to extra colors to be selected. The default will be fine for most of the objects.
You can select stroke weight to choose lines of any color with a similar weight. This will choose all lines that have a similar thickness to the one you choose. The tolerance box for stroke weight allows numbers in the 0-1000 pixels range. A bottom number stipulates a more accurate match. The default value is 5px, which is likely needed for thinner lines.
Step 1: We will use the same image again. Select the magic wand tool from the toolbar.
Step 2: Click the object on the picture you intend to keep. Click once on the forefront object to choose it per the standard defined in the settings of the magic wand tool. A dotted outline will materialize around the chosen object once you click it.

Step 3: To select the background and the forefront object, press the shift key and click the background. Right-click the forefront picture, then choose to make a clipping mask.
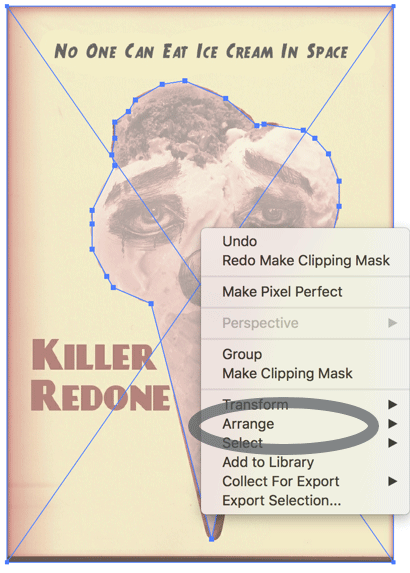
Step 4: This will eliminate the background, leaving only the forefront picture and white background. And then, you will see the Final Image.

Recommended Articles
This has been a guide to Remove Background In Illustrator. Here we discuss how to remove the background in Illustrator with a stepwise explanation. You can also go through our other suggested articles to learn more –
