Updated August 25, 2023

Introduction to Photoshop Liquify
Liquify stands for a feature that converts your Photo into a viscous liquid which means your photo works as a thick liquid and shows you the properties of thick liquid. With the tools of liquify features, you can adjust imperfect sections of your photos very smoothly and can make changes in different ways for getting perfection. We need this feature because, during the shoot, photos become different from real figures due to different shoot angles of cameras. We have some important tools to liquify features such as the Forward warp tool, Reconstruct tool, and others. So let us analyze all the parameters of this tool. In this topic, we are going to learn about Photoshop liquify.
How to use Liquify in Photoshop?
Liquify helps you for getting perfection in your photos after Photography shots. So you want this perfection in your photo? Let us find the key to this perfect game.
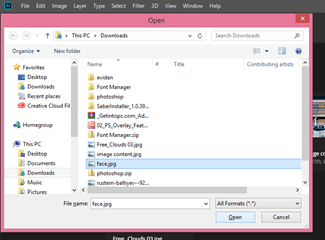
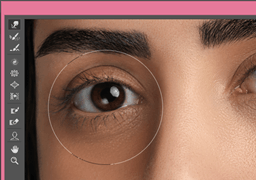
For this purpose, you can take your photo. I have downloaded an image from the internet. So let us open it in Photoshop. For that, just click on the Open button on the welcome screen.
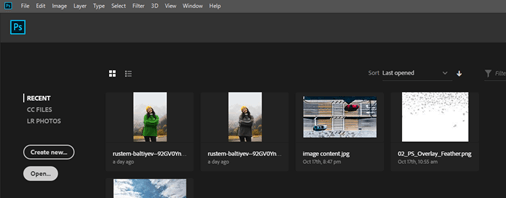
Now choose your desired Photo from its saved location.
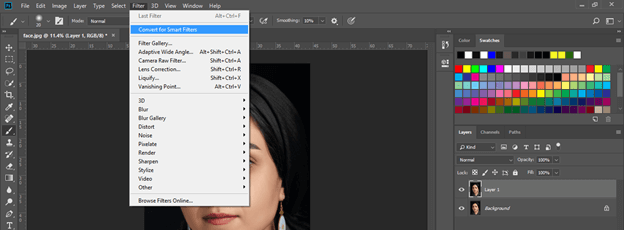
Now make a copy of this image; for making a copy, press Ctrl + J. Select the copied layer and go to the Filter menu of the Menu bar and click on it. Choose the ‘Convert for Smart Filters’ option. This option will convert your object into a smart object and can do changes in its parameters without destroying it.
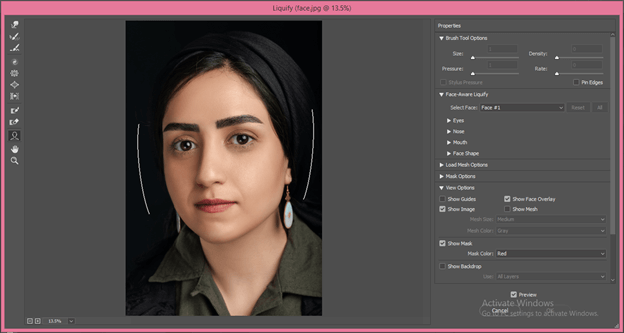
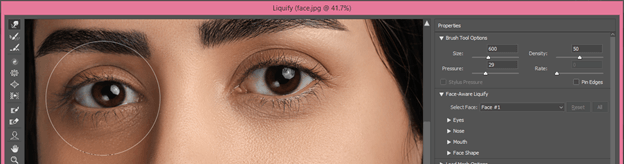
Now your most awaited term comes, what is that? Yes, now we will discuss Liquify. So go to the Filter menu again and click on the Liquify option of the drop-down list, or you can catch Shift + Ctrl + X as a shortcut key.
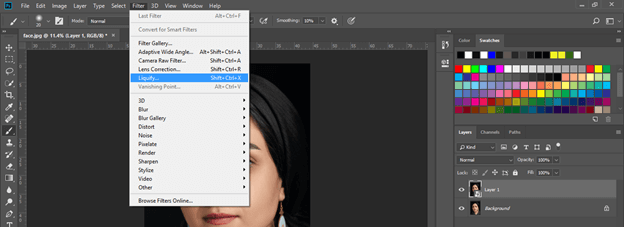
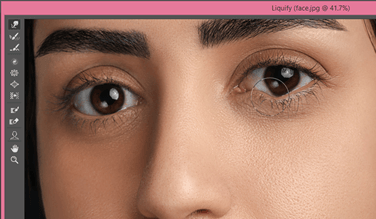
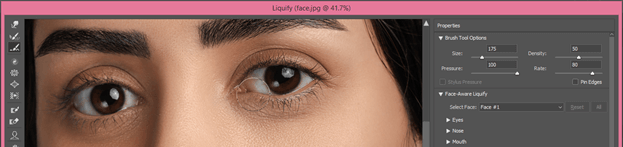
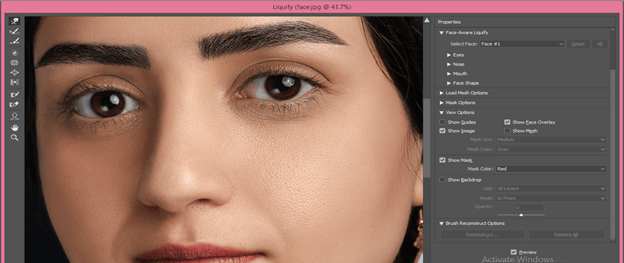
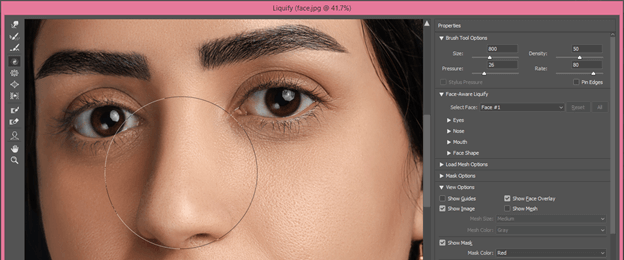
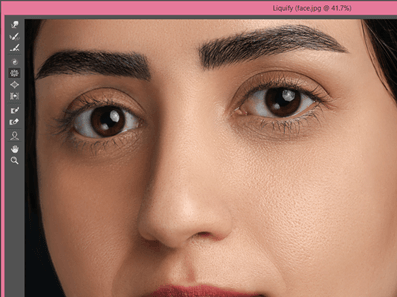
Once you click on this option, a separate window of liquify will open with its tool panel and their parameters.
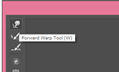
The first tool is the Forward Warp tool.
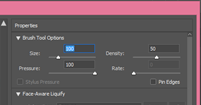
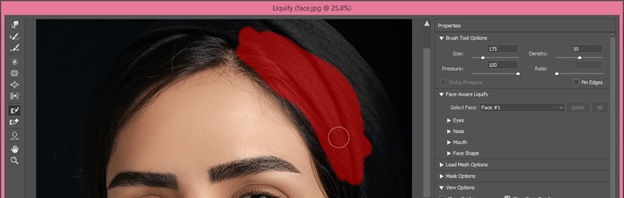
Let us have a look at the parameters first. Almost all tools of this feature have cursor-like brush tools, so in the parameters section, we have brush size, the density of that brush, Pressure of brush tip, and rate of how quickly any tool gives its effect.
With the Forward warp tool, you can move any particular section of an image; for example, I adjust the size of its brush which is the same as the size of the eye of this girl and set density according to how long the area of brush circle I want to use. Now here, pressure is 100 percent, and I make one click in the forward direction of the eye, so I get this change on the eye.
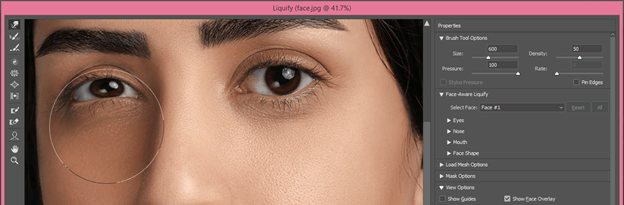
Same as I reduce pressure by 29 percent, so I got just a little change with this tool in one click.
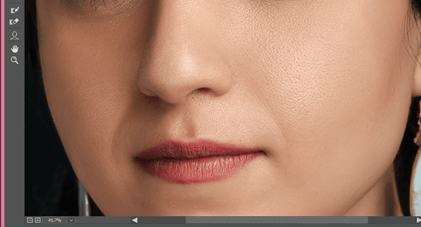
Before
After
Now the next tool is the Reconstruct tool.
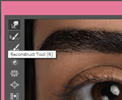
With this tool, you can restore changes made by you using other tools of liquify. The reconstruction of those changes depends on the rate and pressure parameters of this tool. If the Pressure and Rate value are high, it will reconstruct very quickly, but if you don’t want to restore all steps of change, use less pressure and low rate, and it will smoothly restore your changes.
I disturb the eye line with the Forwarding warp tool for understanding the purpose of the next tool. Now the next tool is the Smooth tool.
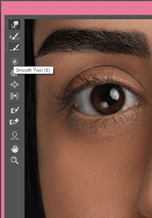
Now click with this tool on the eye line and drag around it, smoothen the line like this. Again smoothening will depend on Pressure and Rate parameters.
One thing you should know before going to the next tool that is the Restore All button. Yes, with this button, you can remove all changes made by you on this image with tools of liquify.
Before
After
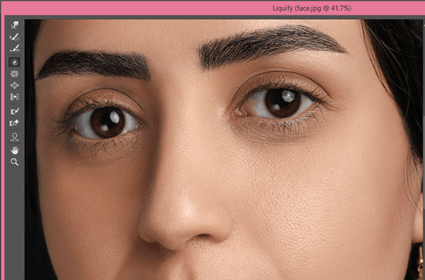
The next tool is the Twirl Clockwise tool.
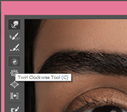
You know the purpose of the Twirl tool; it twirls that area which you selected with the brush tip of this tool. In liquify, you can use it for bending or twirling any area of the image a little bit; for example, I make a little bend on the nose line of this face with this tool.
Before
After
The next tool is the Pucker tool.
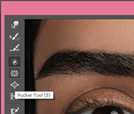
With this tool, you can decrease the size of any section which you select with this tool. I decrease the size of the nose of this face.
Before
After
Next is the Bloat tool.
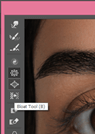
It is just the opposite to the Pucker tool. Yes, you are right; it increases the size of the selected area; for example, I increase the size of the lips of this face a little bit.
Before
After
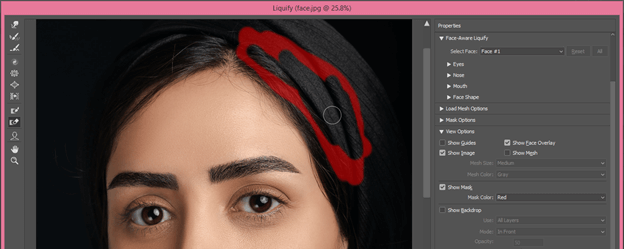
The Freeze Mask tool is a very important tool.
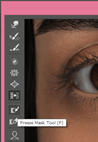
With this tool, you can select some area which you don’t want to disturb during making changes to the nearby area of the selected area. I select the hair area with this tool.
Now I will make some changes near selected areas like this, and you can notice it will not disturb the selected area.
Next is the Thaw Mask tool.
With this tool, you can remove the mask area which you selected with the Freeze mask tool.
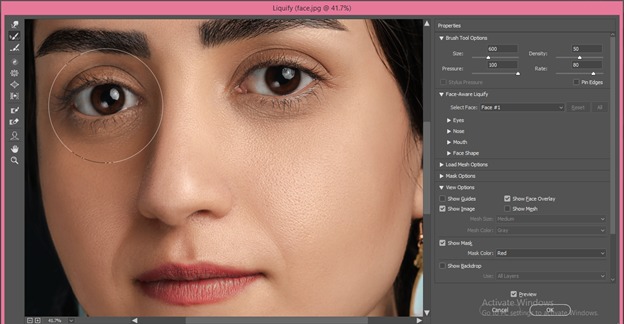
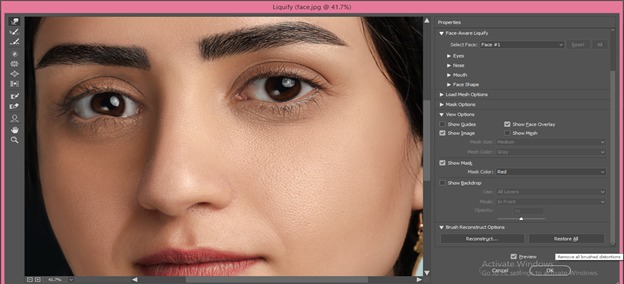
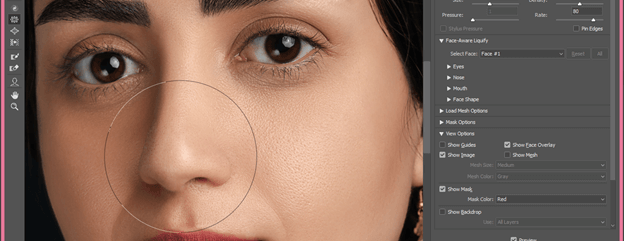
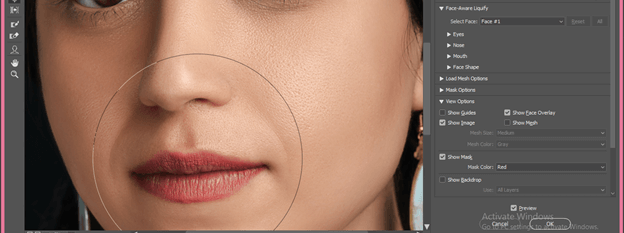
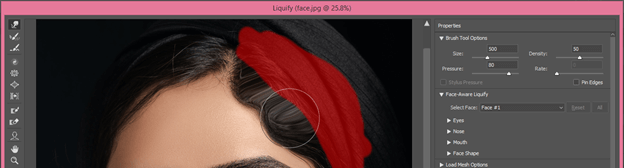
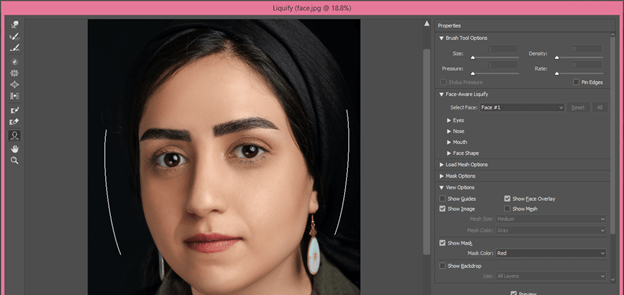
Next is the Face tool. Sometimes it does not detect a face on an image even that image has faced. So don’t worry about it.
Face tools give you full control over the face of the image.
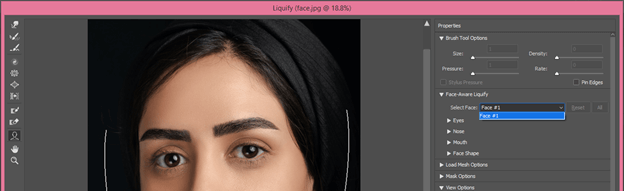
If your image has several faces, then choose your desired face from this option.
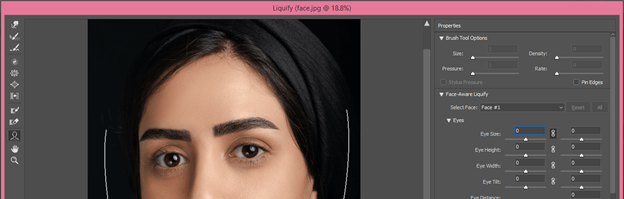
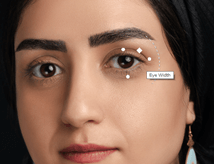
Herewith the eye parameter, you can set the size, height, and other parameters of both eyes separately.
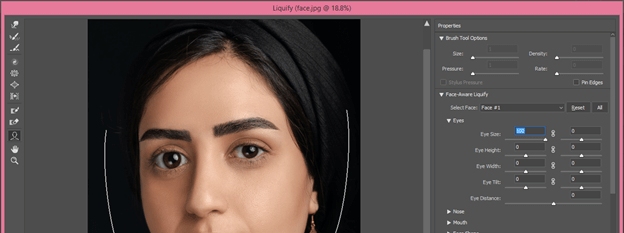
You can link the parameters of both eyes with the link button also.
You will have separate control on all parts of the face, such as mouth, nose, shape of the face, etc., in the parameters section.

When you move the cursor on the face of the image, you will find a bonding circle on the parts of the face, such as on the face area; you can change the face’s shape by moving anchor points of this bonding circle.

Same as you will have anchor points on the nose, eyes, and other parts.

I do this with the liquify feature.
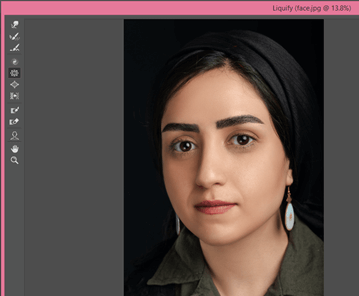
Before
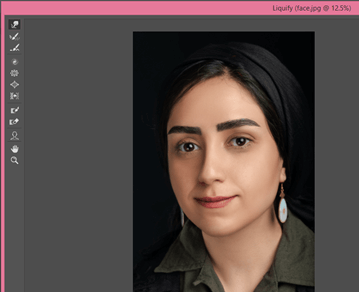
After
Conclusion – Photoshop liquify
I think now you can understand why I told you that it is a very good feature for Photographers for having perfection in their taken Photos. You must analyze all parameters of tools of this feature so that you can properly use them and enjoy their use in your work.
Recommended Articles
This is a guide to Photoshop liquify. Here we discuss How to use Liquify in Photoshop and analyze all parameters of tools of this feature so that you can properly use them. You may also have a look at the following articles to learn more –
