Introduction to Vanishing Point in Photoshop
Photoshop is a raster graphics editing software developed by Adobe Systems as its image editing software. We have many different types of features in this software through which we can make an effective edited image according to our requirements. This software’s vanishing point in Photoshop is an important feature; we can apply our image on any plan by using these features. We can apply our image on each side of any box of packaging material. So let us discuss the vanishing point in this article with a few examples. We will also look at the parameters of handling the vanishing point in Photoshop software.
How to Use Vanishing Point in Photoshop?
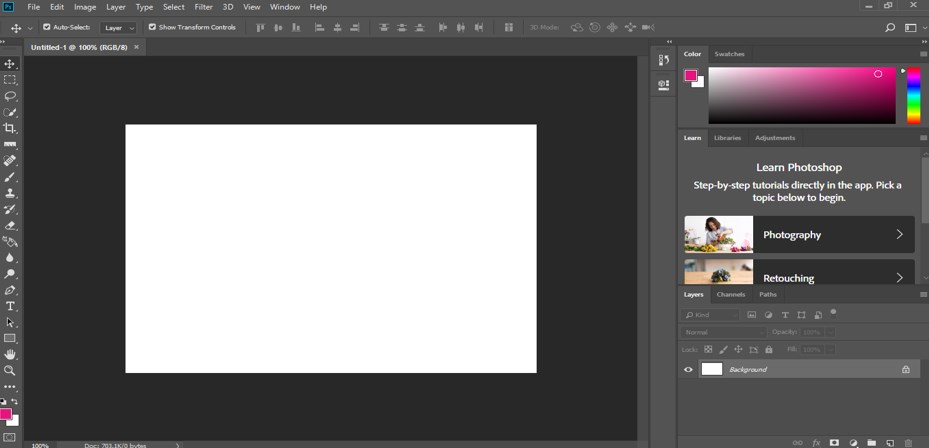
We can use the vanishing point feature in this software very simple manner by following some steps, and handling parameters are also very easy. But before starting, let us look at the working screen of this software so that we can better understand this topic throughout this article.
Step 1: At the top of the working screen, we have a Menu bar which has several menus for making different types of adjustments in this software; below this bar, we have a property bar in which we can see the properties of active tool and make a different type of changes in our work while using that tool, below this toolbar we have three sections at the left side we have tool panel which has a different type of tool in it, at the center, we have display window in which we can see our current working, at the right side of this section we have some tab such as color tab, layer panel and some other for making a different type of changes in our work. You can adjust the place of all sections according to your requirement.
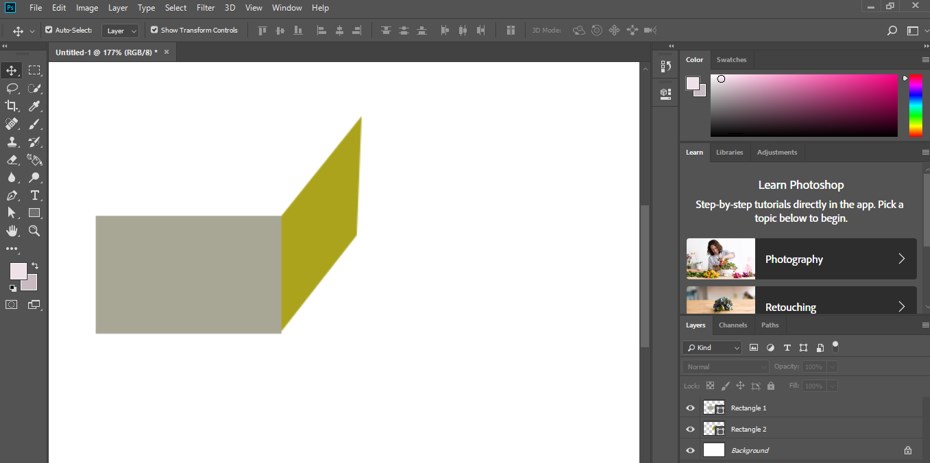
Step 2: First of all, let us make this type of shape that has to surface in the different plans of the axis with the help of a rectangle tool of this software for our learning.
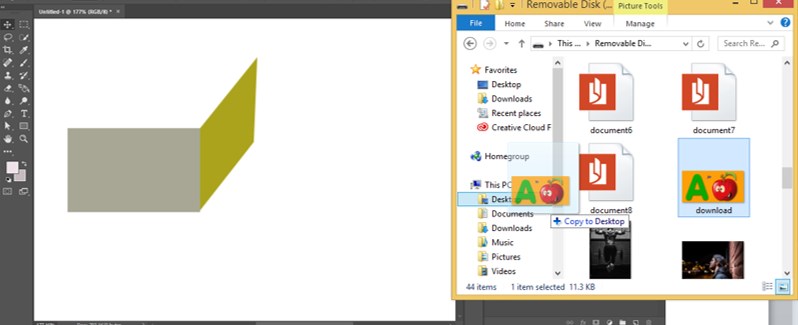
Step 3: Now, let us import an image into this software. For importing images, open the folder of your personal computer where you have saved it and then drag it from there and drop it in the display window area of this software with the help of the mouse left button.
Step 4: Now adjust the size of the imported image according to your requirement, then click on the Tick mark, which is at the property bar of this image, to apply your settings on the imported image.
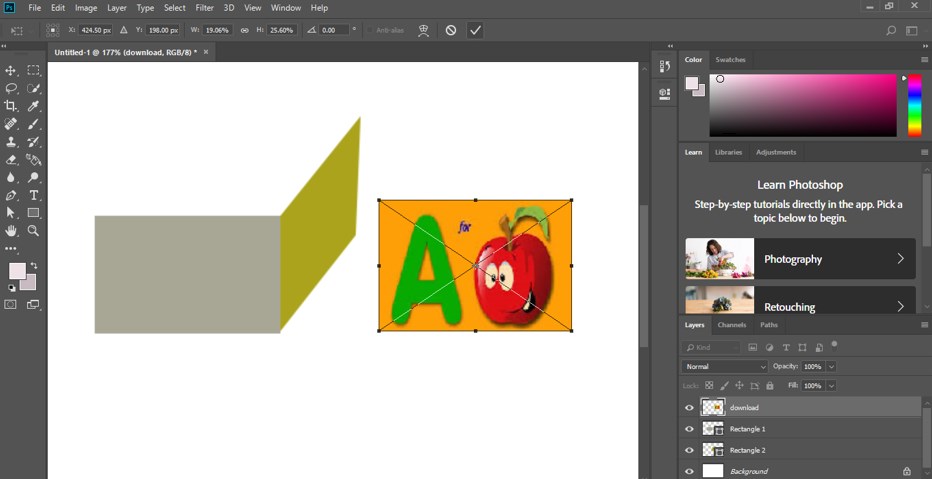
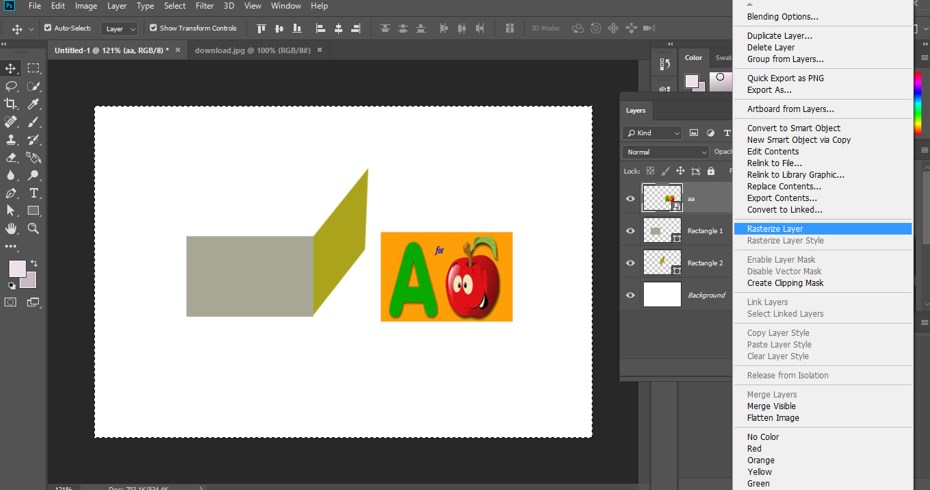
Step 5: For using the Vanishing point option of this software, your image should be on the Rasterize layer. So for this software’s go-to layer panel, make right-click on the image layer with the mouse button. A drop-down list will be open to choosing the Rasterize layer option from the list by clicking on it to make this layer rasterize the layer.
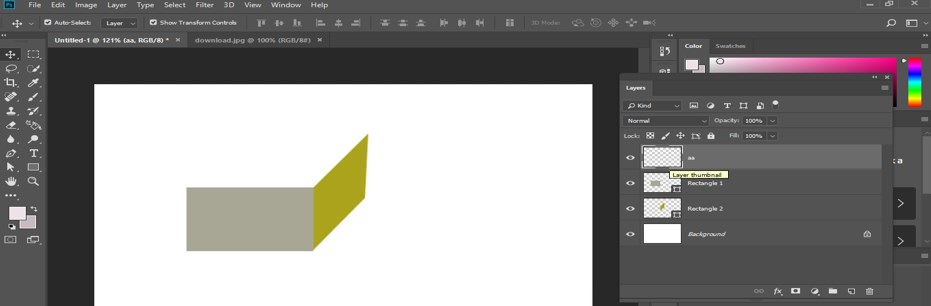
Step 6: Now select this layer and press the Ctrl + A button for all select options.
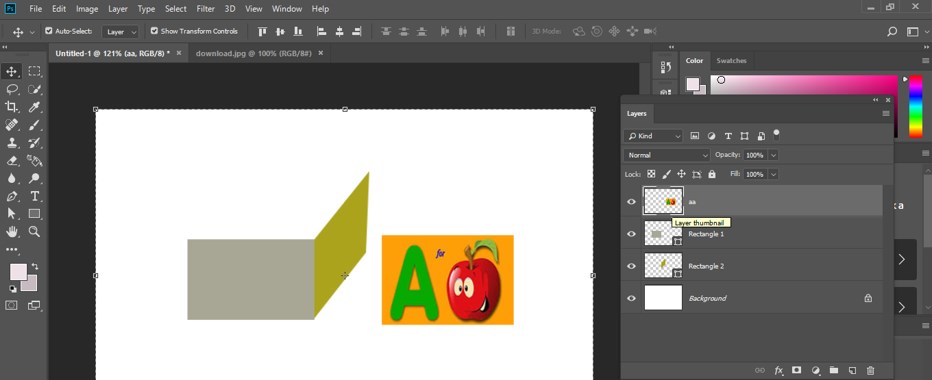
Step 7: Press the keyboard’s Ctrl + X button to cut this image from this layer.
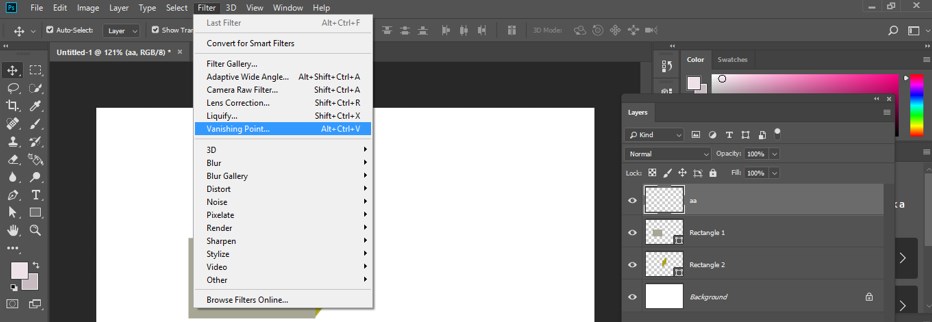
Step 8: Now go to the Menu bar of this software at the top of the working screen, and click on the Filter menu. A drop-down list will open; choose the Vanishing Point option from the list by clicking on it, or you can use the shortcut key for the Vanishing Point, Alt + Ctrl + V.
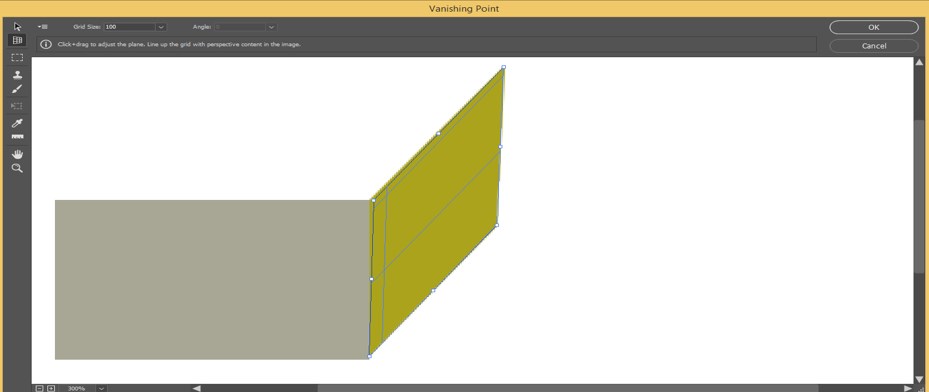
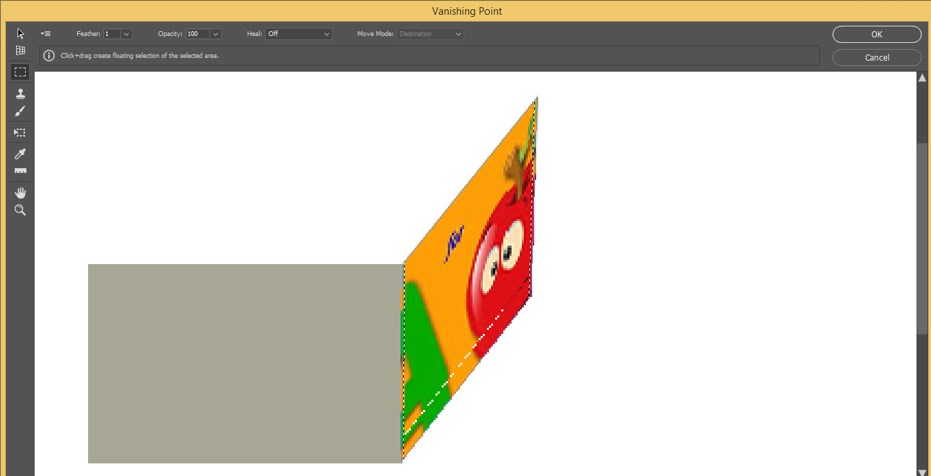
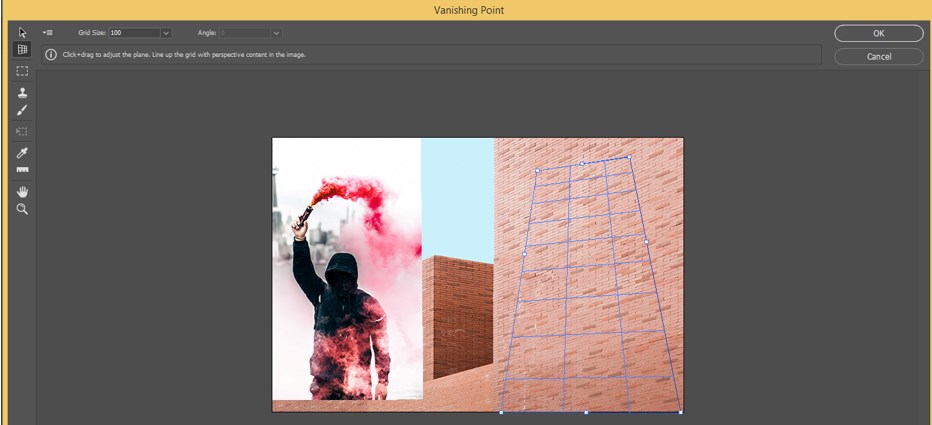
Step 9: Once you click on this option, a Vanishing point window will open in a new window screen. Now take the Grid option from the tools of this window on the left side of this window screen, and make the selection on that plan of your shape on which you want to apply your image with the help of the mouse. I will click on the first corner of this plan and then drag the mouse cursor to all three corners one by one because it wants to apply my image to this plan.
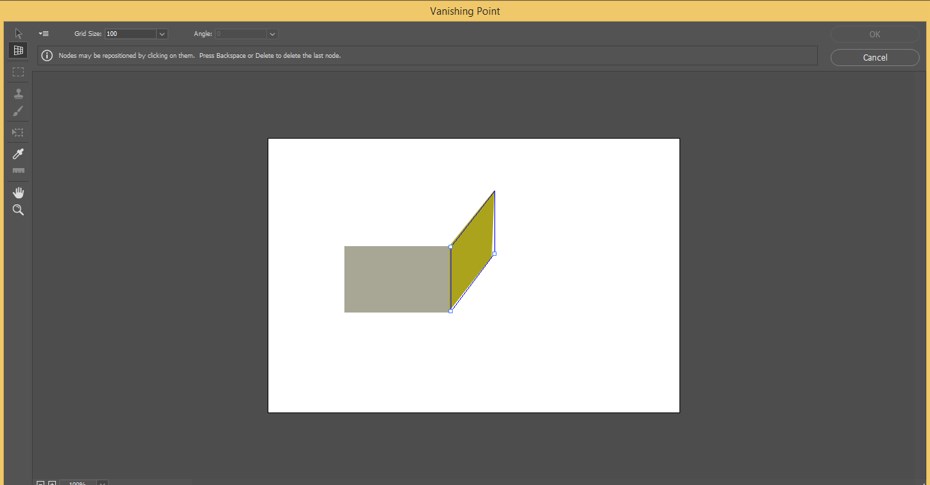
Step 10: If you see a red line on your selected area, your selection is improper. So to make a proper selection, drag the anchor points of the selection box at the right point of your shape.

Step 11: The color of the selection line will convert to blue if your selection is proper. So be careful while making a selection.
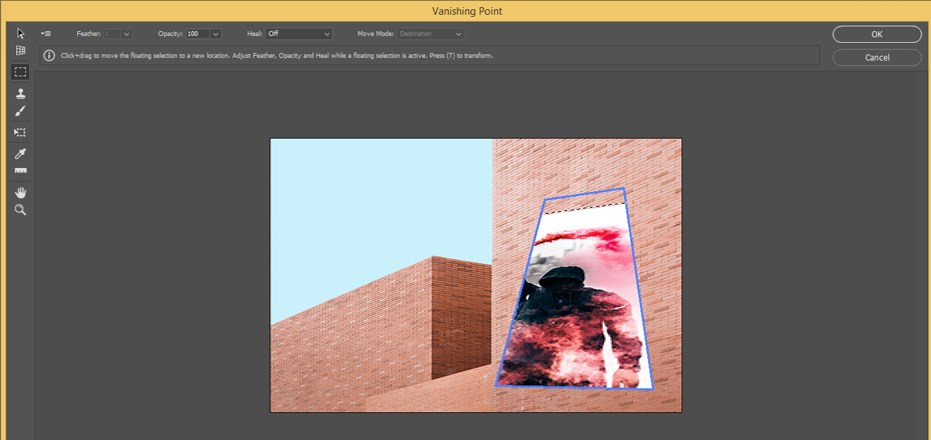
Step 12: Now press Ctrl + V button from the keyboard to paste your image in the area of this vanishing point window screen, and your image will paste like this.

Step 13: Once you drag your image near the plan where you have made a vanishing point, it will change in the direction of that plan like this.
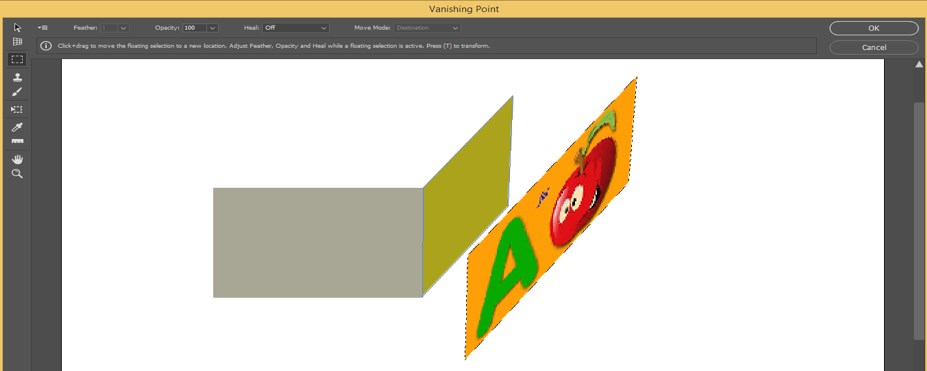
Step 14: Drag this image inside your plan and adjust it according to your setting requirement. This window’s rectangular marquee tool can adjust your image’s size.
Step 15: When you press the Ok button of the vanishing point window screen, your image will be set in your desired plan in your project work like this.
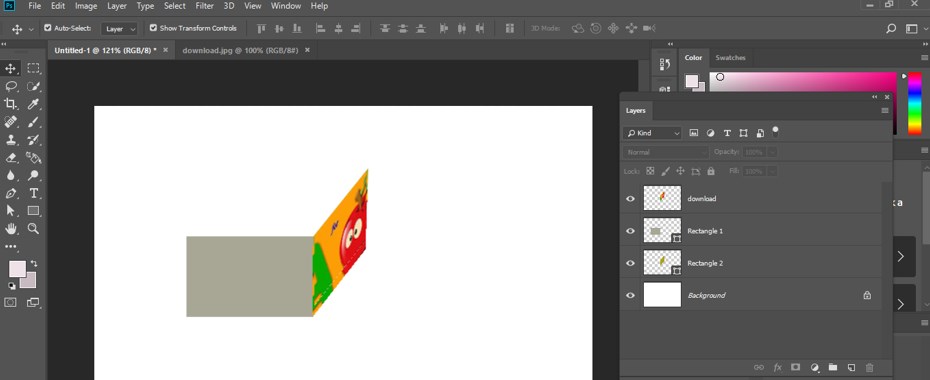
Step 16: You can adjust any image on this wall, also.
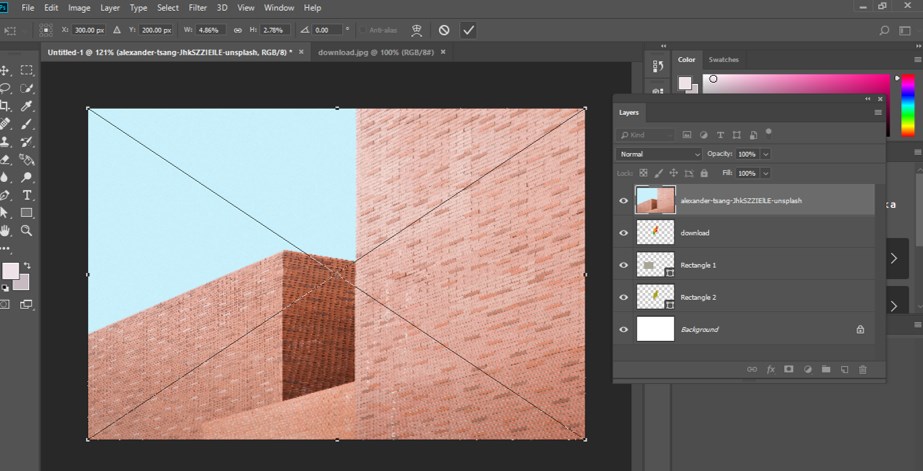
Step 17: For this, take an image and make it a rasterized layer by following the same steps we did previously.
Step 18: Now repeat all the steps of the vanishing point as we did previously, and then adjust the anchor point of the vanishing box according to your requirement. I will set it like this and then press the Ctrl + V button from the keyboard to paste my image.
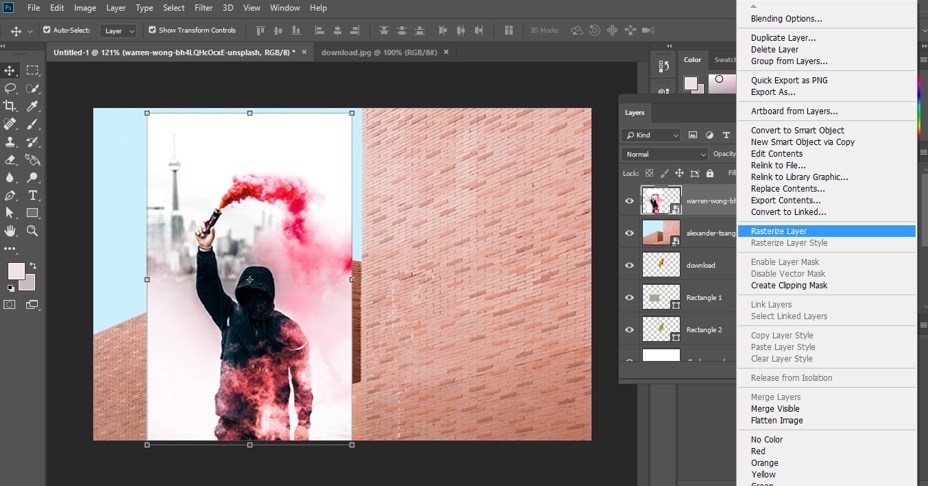
Step 19: Now drag your image in this vanishing box and adjust it to your desired place like this.
Conclusion
After this article, you can understand the Vanishing point in Photoshop and How you can use it to make an effective image as per your requirement and adjust that image on any plan. You can have a good command of this feature after having practiced it.
Recommended Articles
We hope that this EDUCBA information on “Vanishing Point in Photoshop” was beneficial to you. You can view EDUCBA’s recommended articles for more information.
