Updated August 25, 2023
Introduction to Metallic Effect Photoshop
Metallic-effect in Photoshop is the most popular tool among designers for creating text effects. A metallic effect can be used to make your object look more effective. The types of Metallic effects can make your text look more realistic and can give it a natural look.
Let us move toward the steps of applying the Metallic Effect to your text in an exciting manner:
How to Create Metallic Effect in Adobe Photoshop?
We will discuss it in just a few steps. These steps are as follows:
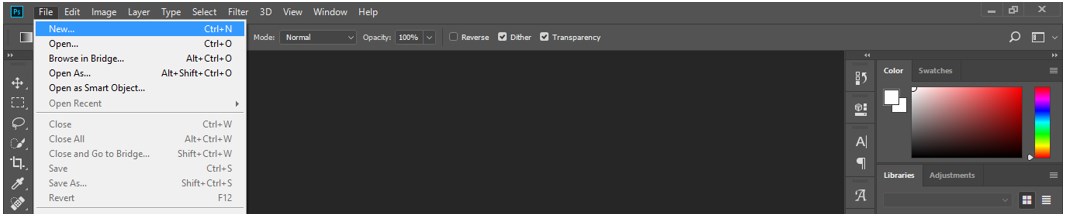
Step 1: First of all, take ‘New Document’ in this software. For taking a new document, go to the Menu bar and click on the File Menu of this software. A drop-down list will be open. Click on the ‘New ‘option of this drop-down list.
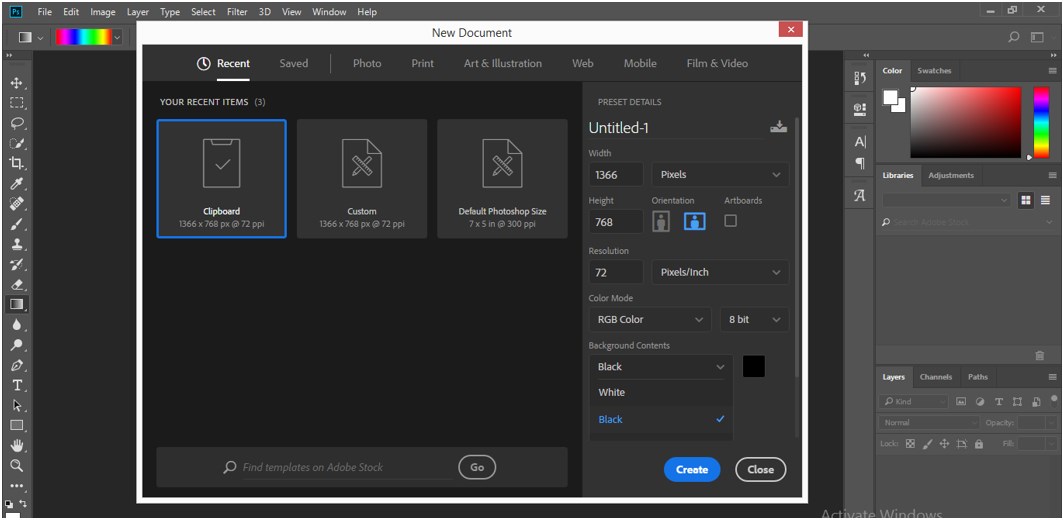
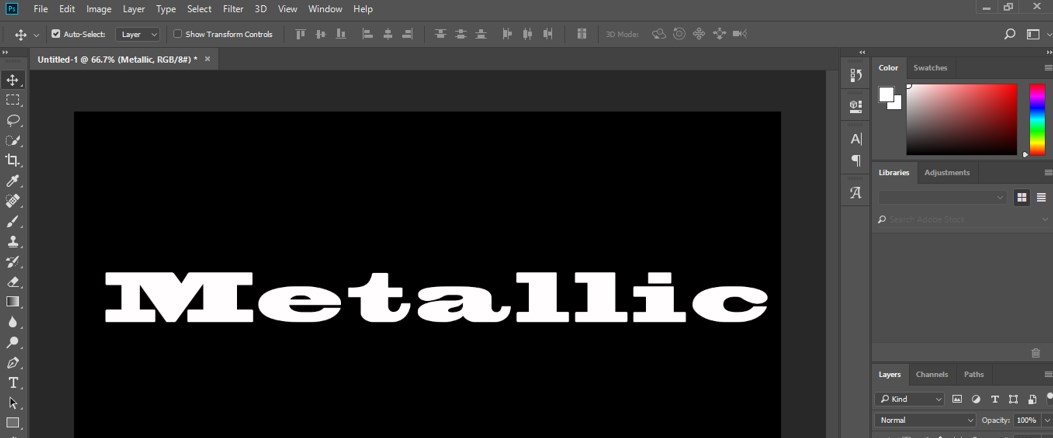
Step 2: A document set-up dialog box will open. Select the ‘Black’ color as the background color of this document and click on the Create tab of this dialog box to apply the setting.
Step 3: Now select Text Tool from the tool panel of this software on the left side of the working area.

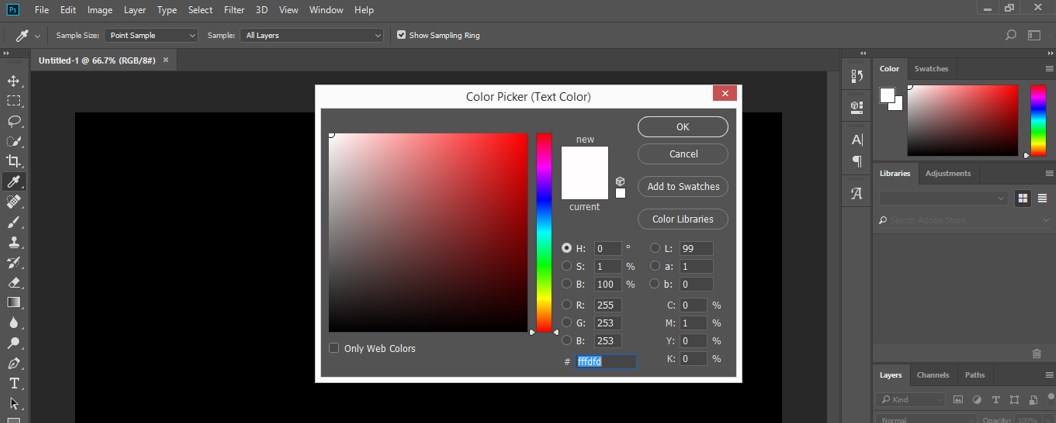
Step 4: Now select the ‘White’ color as the text color from the property bar of the text, which is present at the top of the working area.
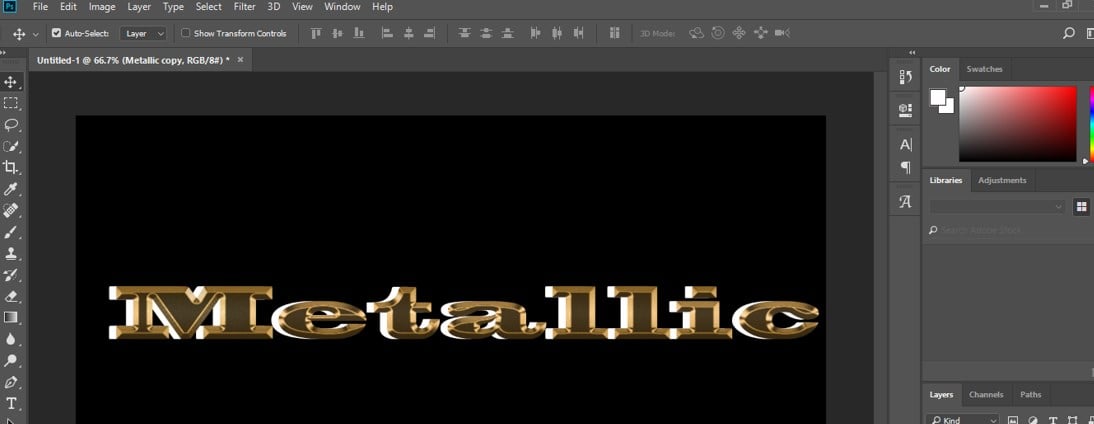
Step 5: And type a text which you like. You can also choose font style according to you. I will type ‘Metallic’ as my text after setting parameters of text such as Font style, size of the Font, and color of the text.
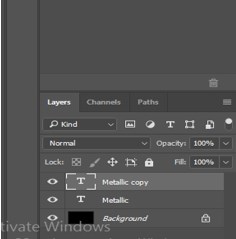
Step 6: Go to the layer section of this software, which is on the right side of the working area, and make duplicate layers of this text layer. To duplicate this layer, select this text layer and press the Ctrl + J button from the keyboard. A duplicate layer will be generated, which is named Metallic Copy. You can rename it according to your choice of name.
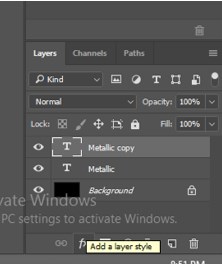
Step 7: Select the Copy layer of text by clicking on it. We will add style to this layer; to add style, click on this icon present at the end of the layer section.
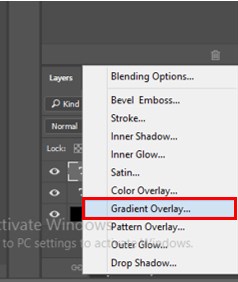
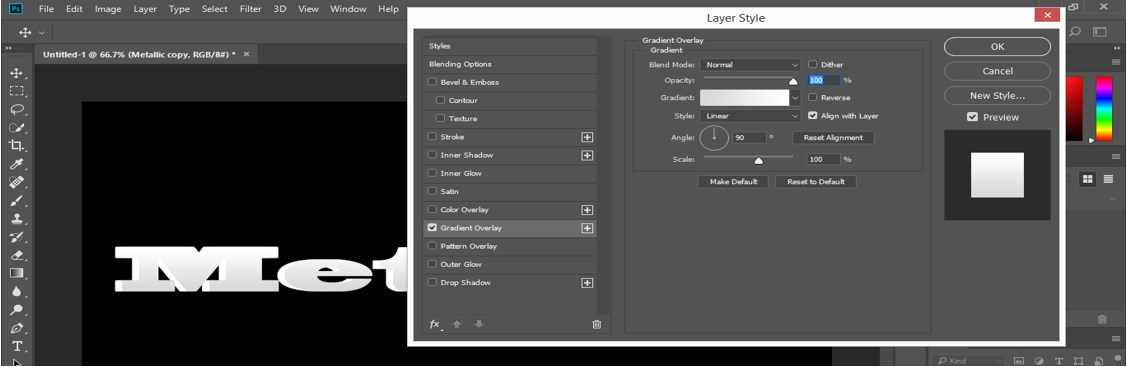
Step 8: A drop-down list will open. Choose the ‘Gradient Overlay’ style from here.
Step 9: A new dialog box of Layer style will open. Click on the Gradient option in this dialog box.
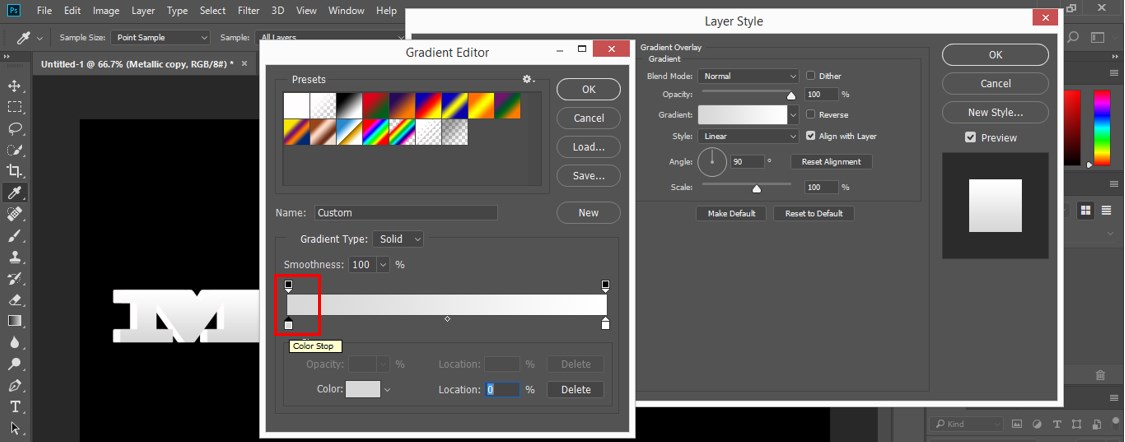
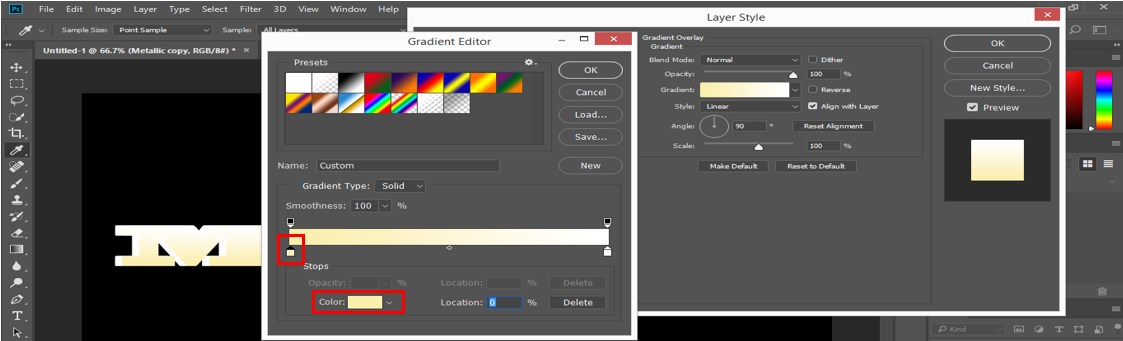
Step 10: A Gradient Editor box will open. Click on the start Color stop head to choose the first color of the Gradient.
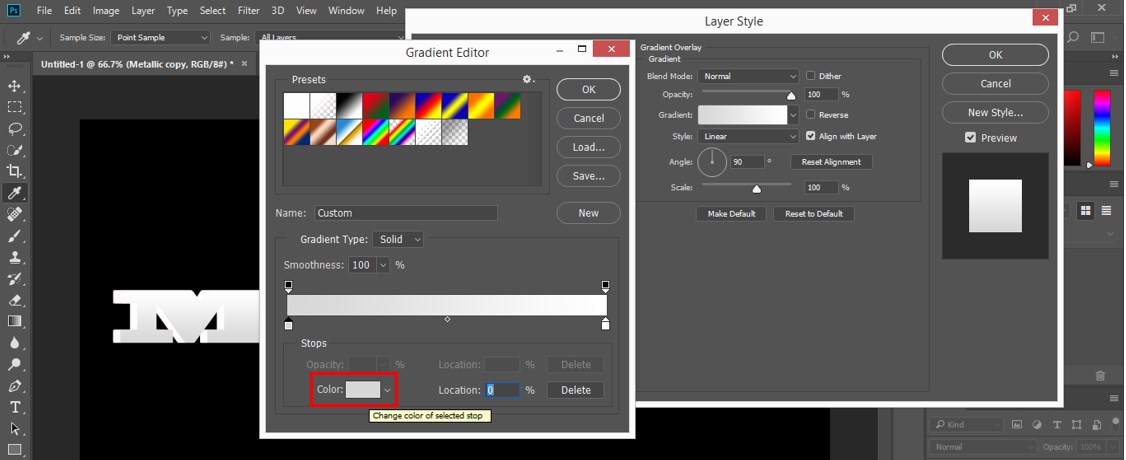
Step 11: Now click on the color box to choose the color.
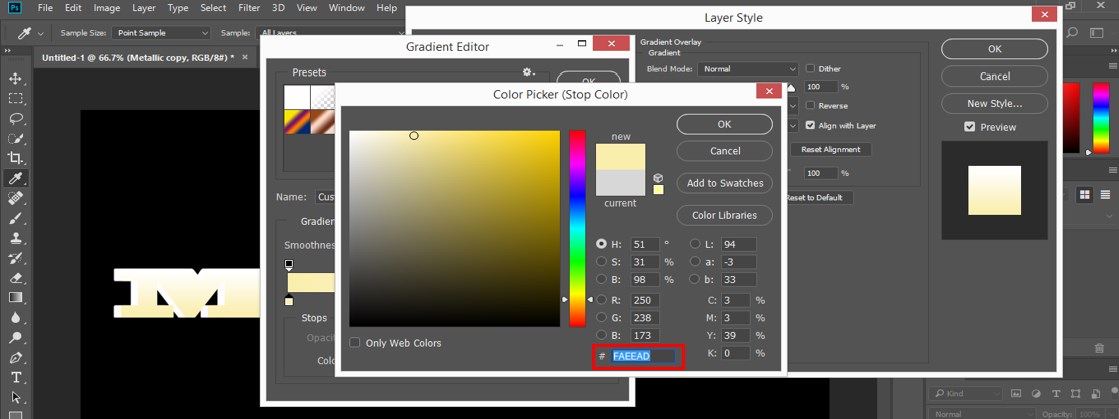
Step 12: A Color Picker box will open. I will use the gold effect as metallic color, so I will use code ‘FAEEAD’ as starting head color of the Gradient.
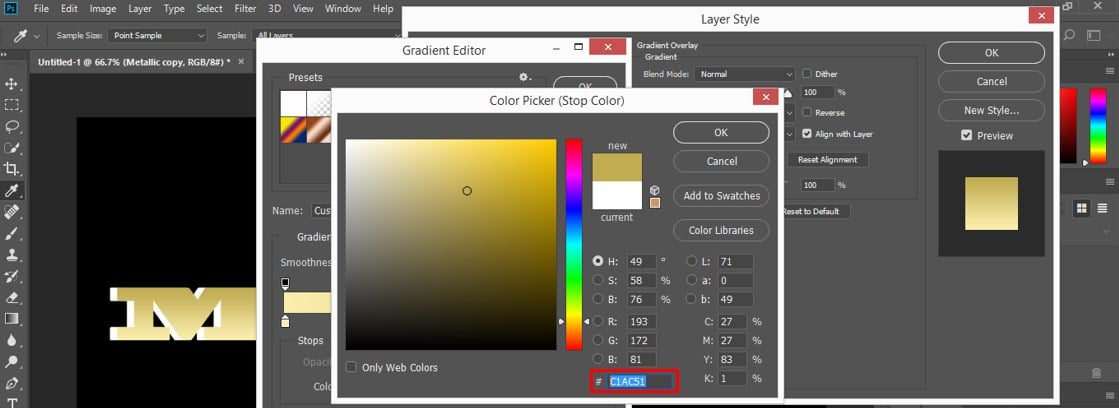
Step 13: Now click on the stop head of the Gradient to choose the second color of the Gradient and click on the color box of this head.
Step 14: Now, I will use code ‘C1AC51’ as the second color of the Gradient.
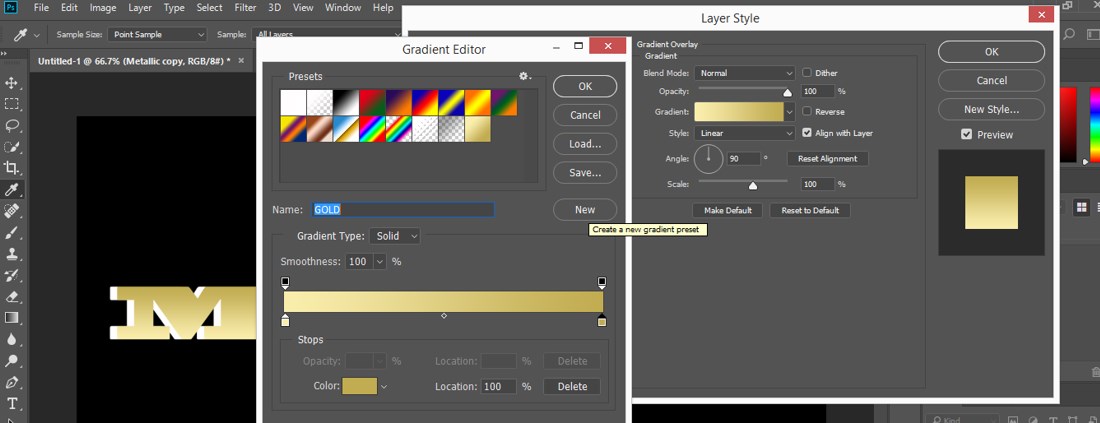
Step 15: Now, we have our gold color gradient in the gradient section. Click on the New tab to save this Gradient for our future use. I will name it ‘Gold’; you can name it according to your choice.
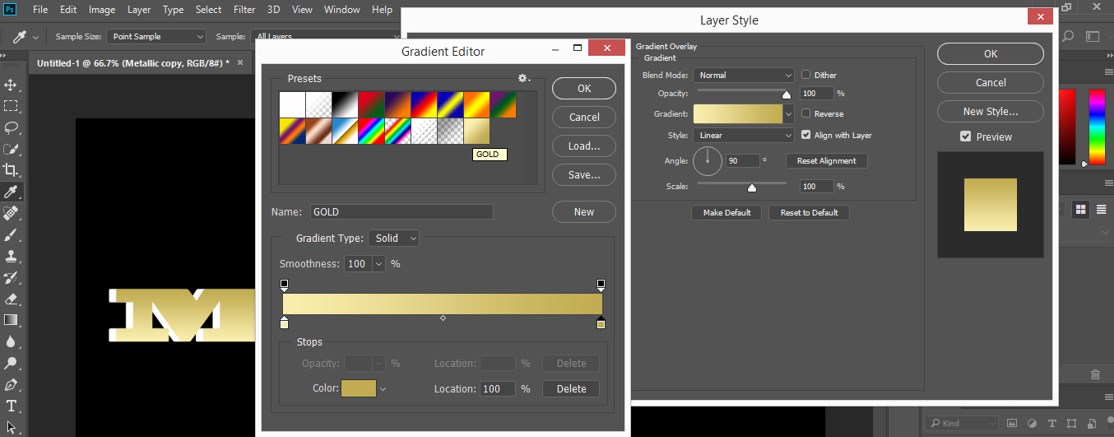
Step 16: You can see our Gradient has been saved with the name ‘Gold’ in the preset section of the gradient editor box.
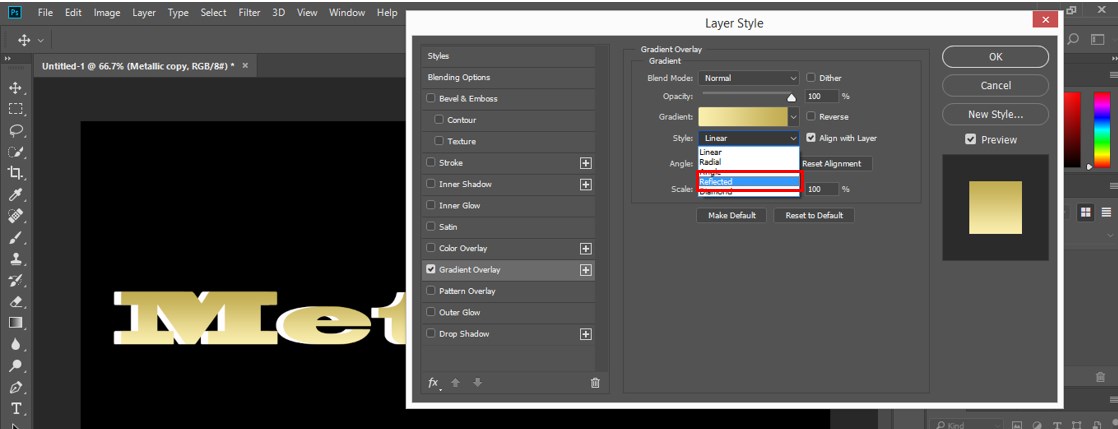
Step 17: Now, we will make some settings in the gradient effect parameter to make it smoother. Take ‘Reflected’ as a style of the Gradient.
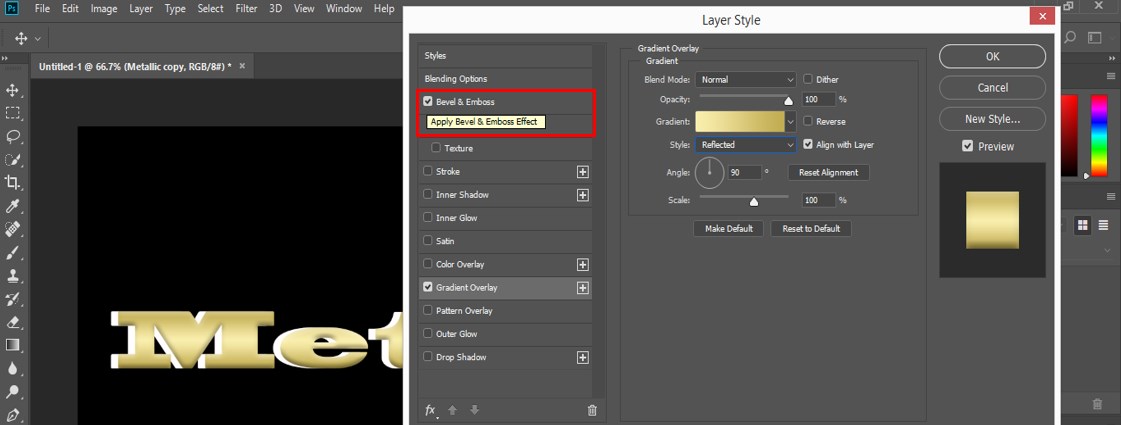
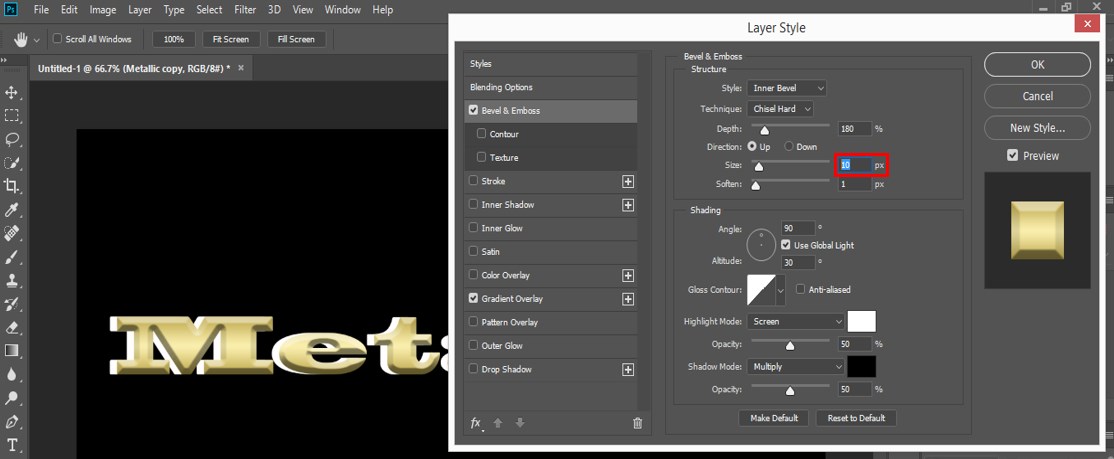
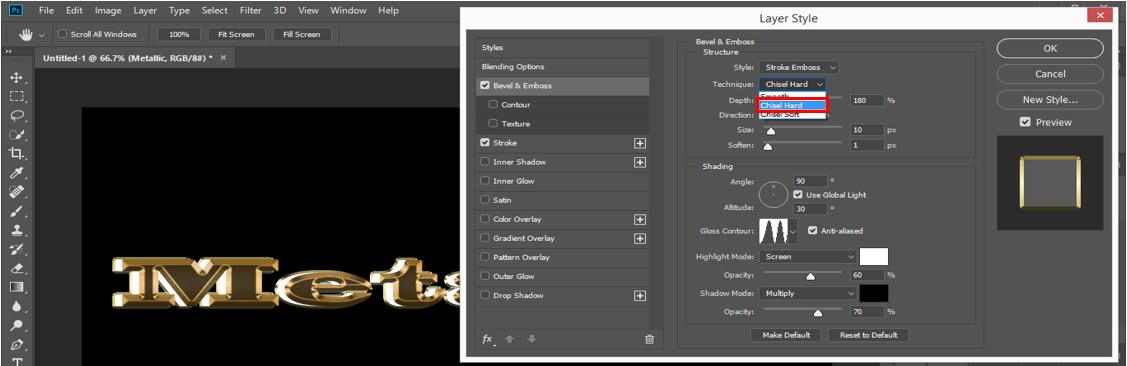
Step 18: Now select the ‘Bevel & Emboss Effect’ option for enhancing the gold effect.
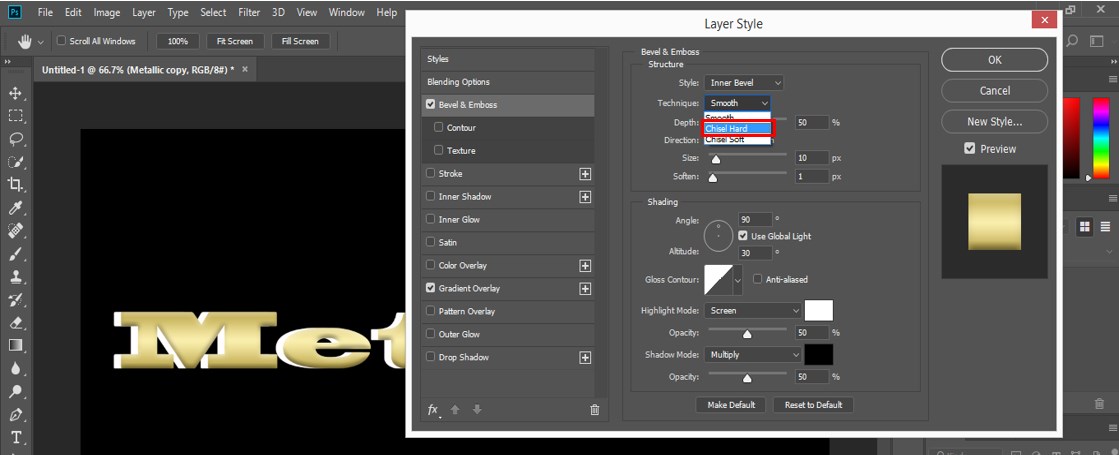
Step 19: Now choose ‘Chisel Hard’ in the Technique option of the Bevel & Emboss Effect.
Step 20: And take 180% in the Depth option.
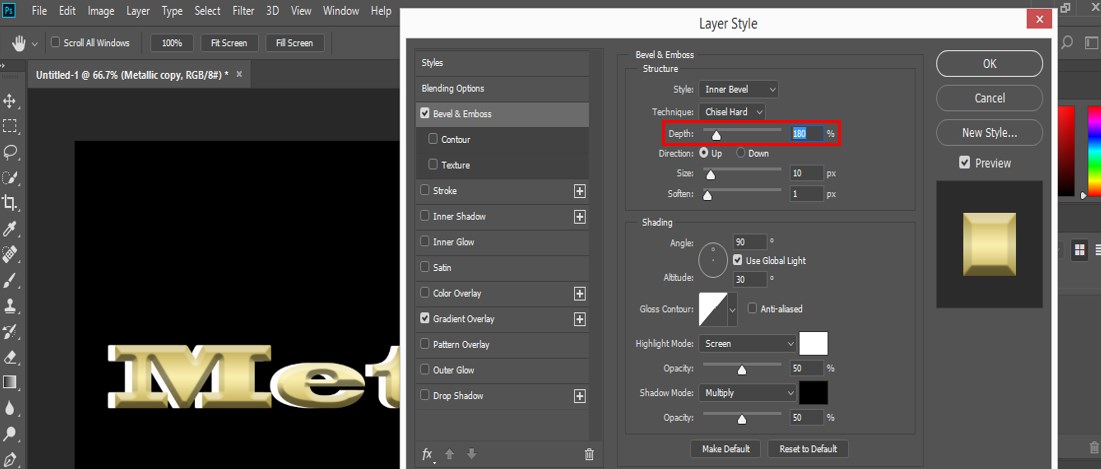
Step 21: I will take 10 px as the size of this effect.
Step 22: Set the Opacity of Highlight Mode and Shadow Mode up to 70%.
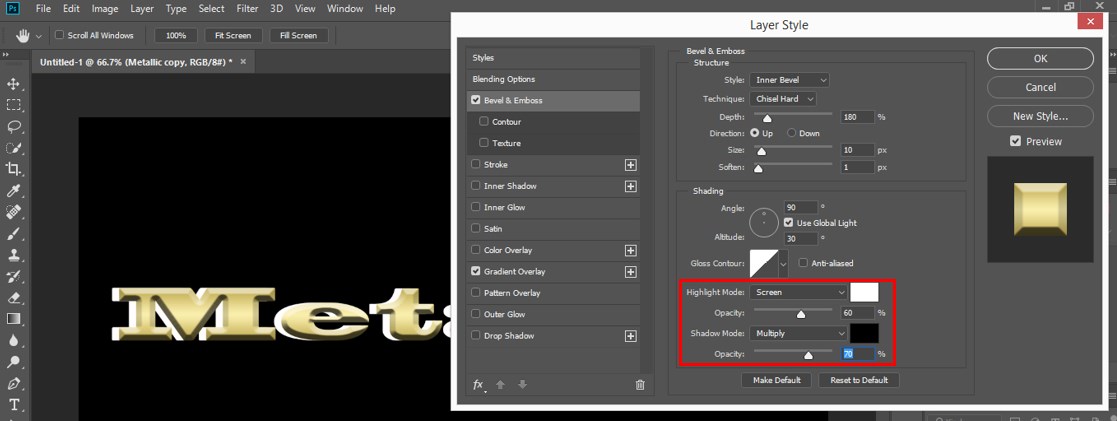
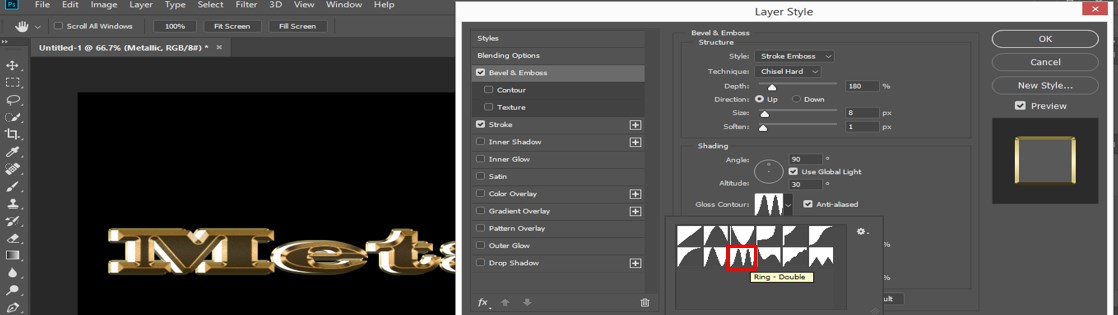
Step 23: Take the ‘Ring- Double’ option in the ‘Anti-aliased’ option to enhance the smoothness of the gold effect.

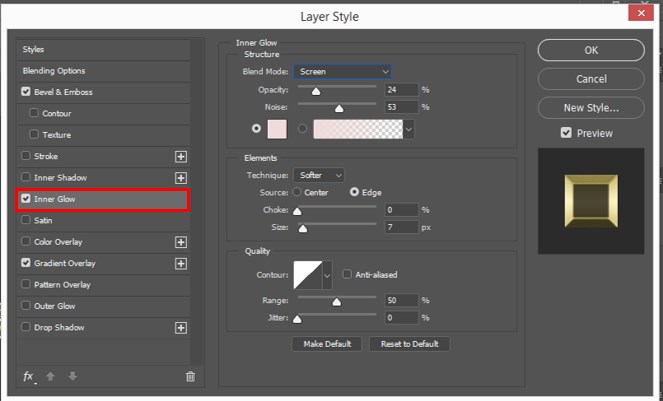
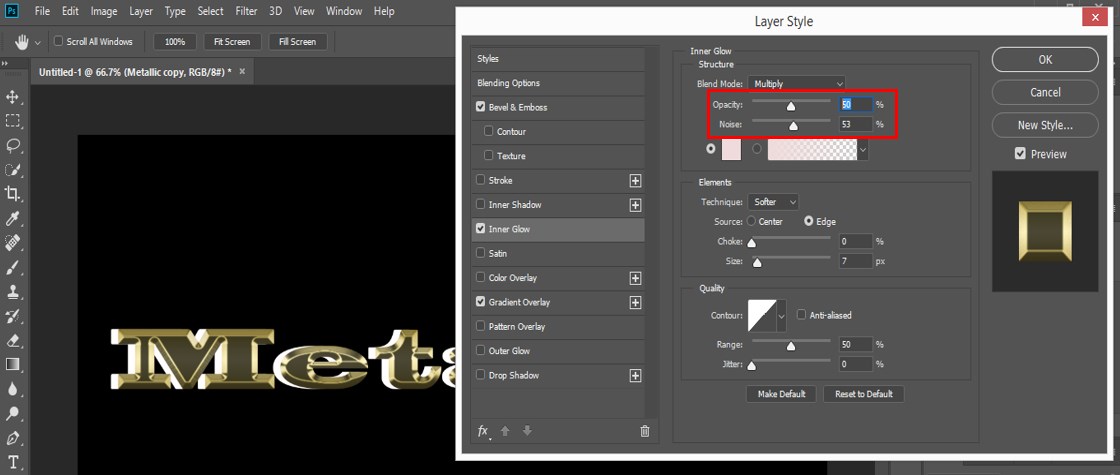
Step 24: Now select the ‘Inner Glow’ option.
Step 25: Take the ‘Multiply’ option in Blend Mode of this effective option.
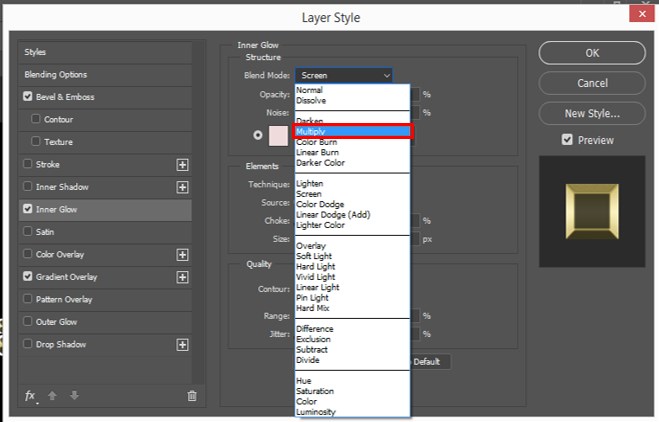
Step 26: And make Opacity up to 50%.
Step 27: Now click on the color box of this effect and type code ‘E8801F’ for the color of this effect.
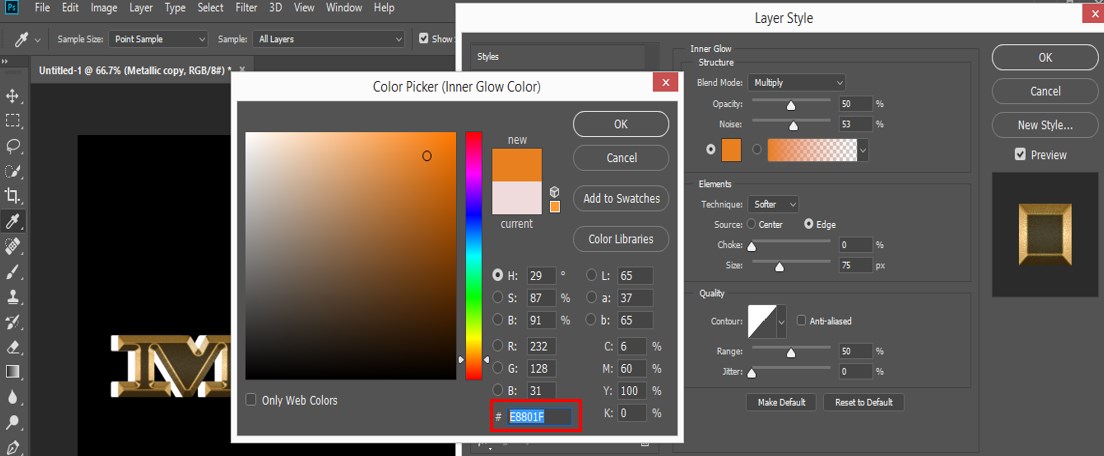
Step 28: Now press the Ok tab of this dialog box to apply these settings.
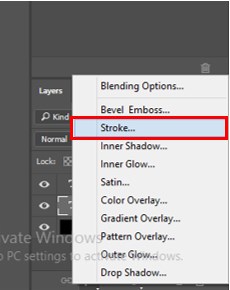
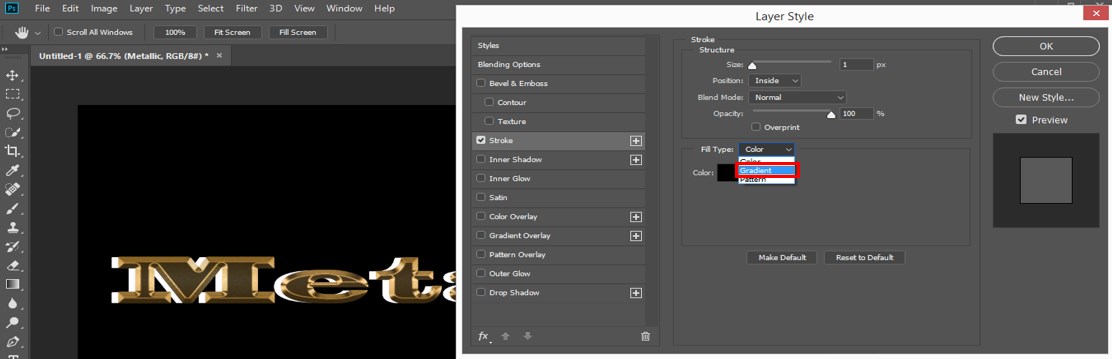
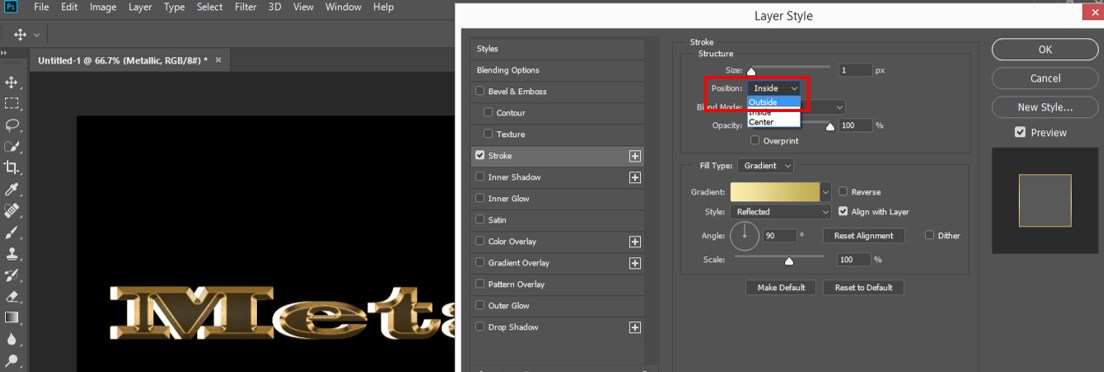
Step 29: Now, again, click on the layer style option. A drop-down list will be open. Choose the ‘Stroke’ option from this list.
Step 30: A dialog box will open for the Stroke option. Choose Gradient in the ‘Fill Type’ option of stroke.
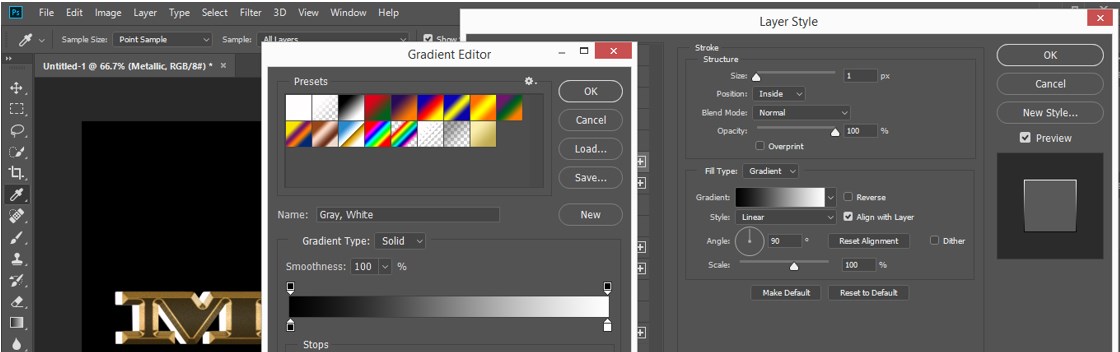
Step 31: Click on the ‘Gradient’ option. The gradient editor box will be open.
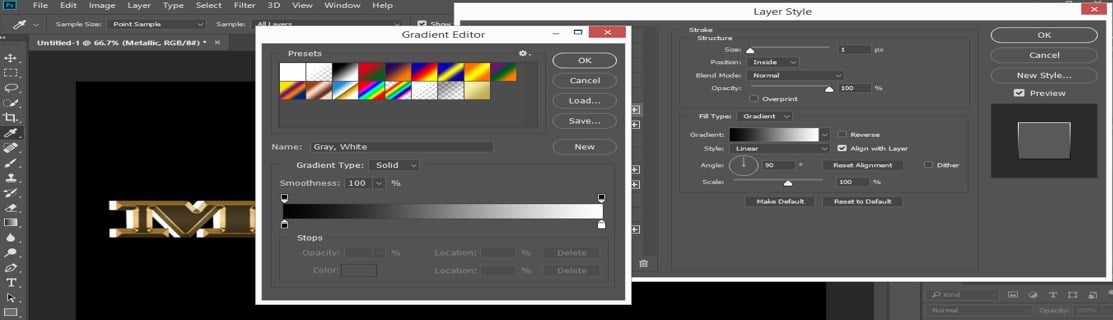
Step 32: Choose the ‘Gold’ gradient from the presets of the Gradient which he had saved at the start of the article.
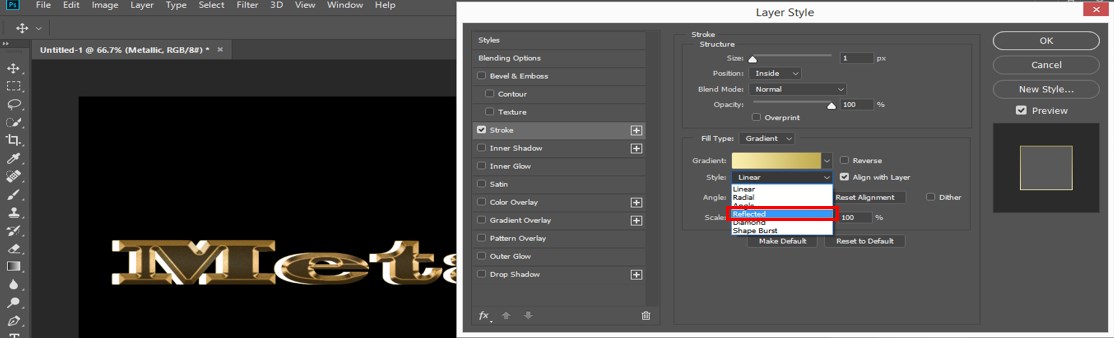
Step 33: Take the ‘Reflected’ option in gradient style.
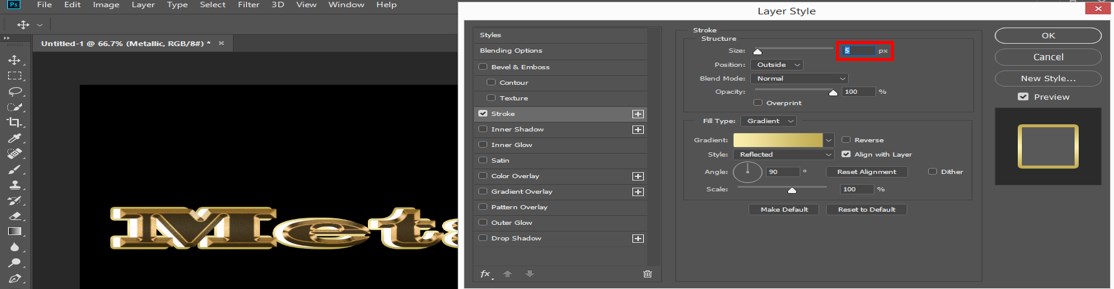
Step 34: Make sure the position of the stroke is ‘Outside’ for the better result of the stroke.
Step 35: I will take the stroke size as 5 px.
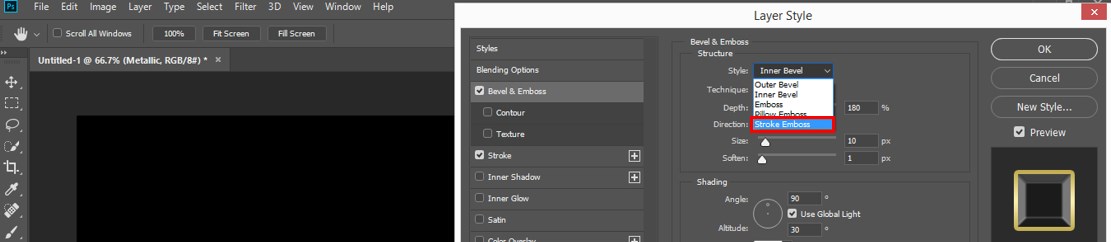
Step 36: Now, we will apply the ‘Bevel & Emboss’ effect in the stroke of this text. Click on the ‘Bevel & Emboss’ option.
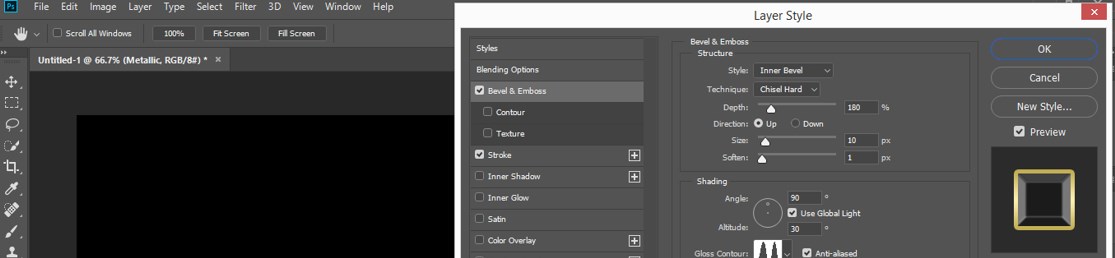
Step 37: Choose Stroke Emboss in the style of this effect because we are using this effect for stroke.
Step 38: Techniques should be Chisel Hard to share stroke effect.
Step 39: Click on Anti-aliased and choose the Ring-double option from here.
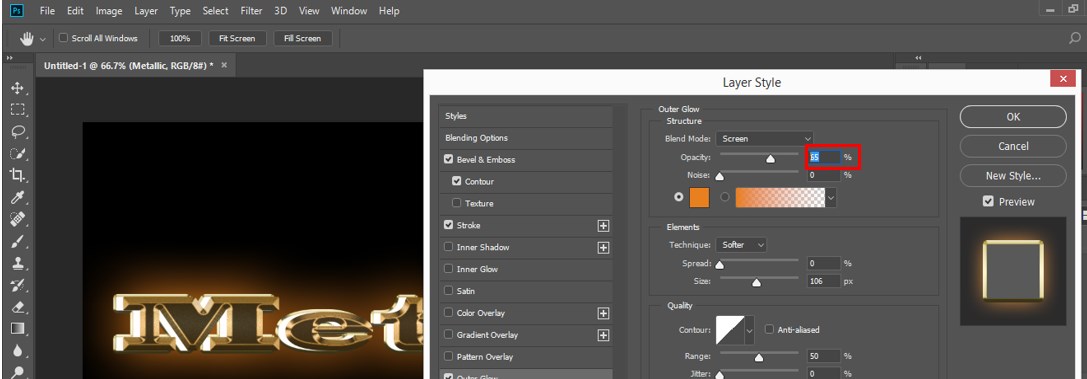
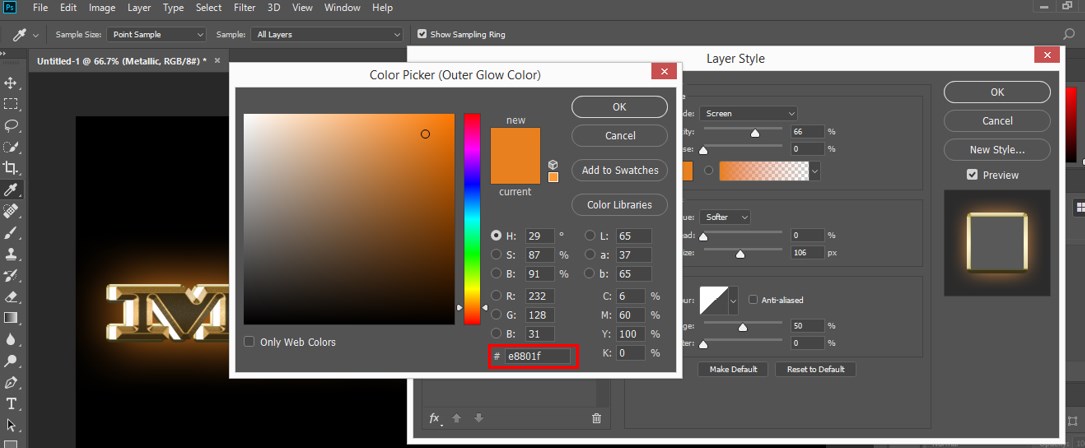
Step 40: Now select the ‘Outer Glow’ option.
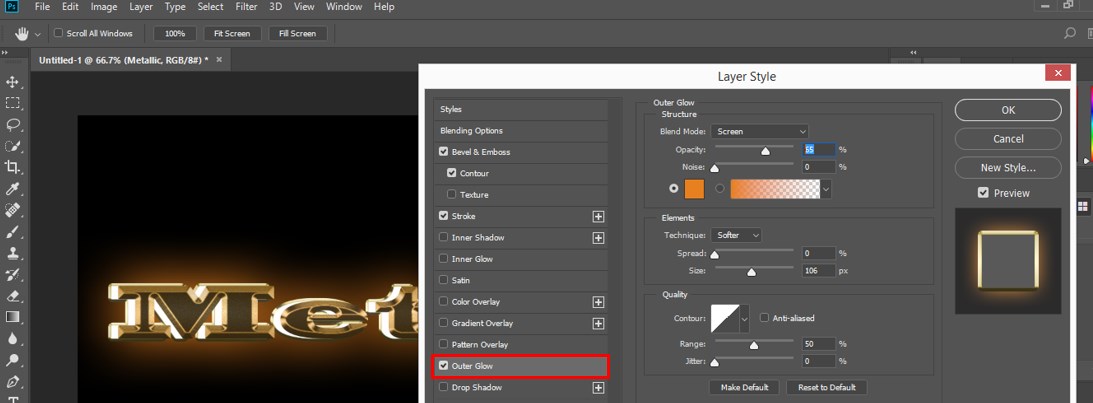
Step 41: Take Opacity up to 60% of this effect.
Step 42: Click on this effect’s color box and type code ‘E8801F’ for the stroke color.
Step 43: This is our final text of the Metallic-effect.
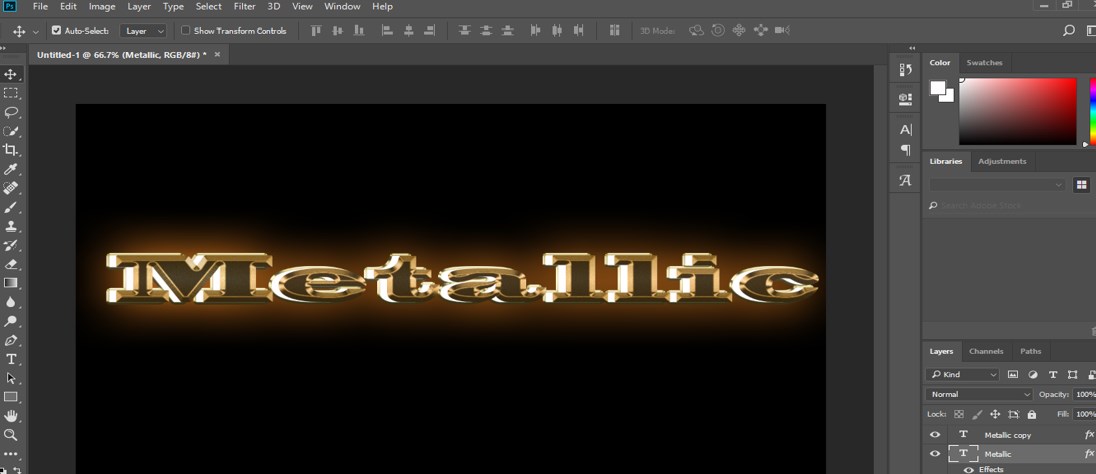
In this way, you can apply this metal effect to any of your objects to make your project more effective.
Recommended Articles
This is a guide to Metallic Effect Photoshop. Here we discuss the basic concept of giving the Metallic Effect in your text excitingly. You can also go through our other related articles to learn more –
