Updated August 25, 2023

Introduction to Photoshop Font Effects
Photoshop Font Effects, also called Styles, let you add color schemes, textures, and other variations to fonts. With the help of font effects, you can also change the look of your Text by changing its fill, changing its outline, or adding effects, such as shadows, reflections, or glows. Font effect makes your project look very professional and enhances your graphics designing skills to make an effective project.
How to Apply Different Font Effects?
We have many different types of Font Effect in Photoshop, such as Glowing effect text using airbrushes, Comic Book text, Text makes with Clipping Mask, Embossed Text, 3d Text, and many more. Let us analyze some examples of the Font Effect of Photoshop.
Example #1 – Font Effect with Clip Mask
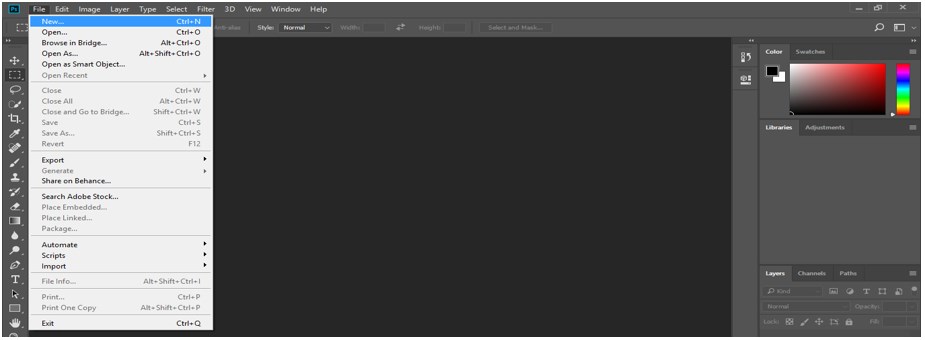
Step 1: First of all, take the ‘New’ document from the File menu of the Menu bar of Photoshop software.
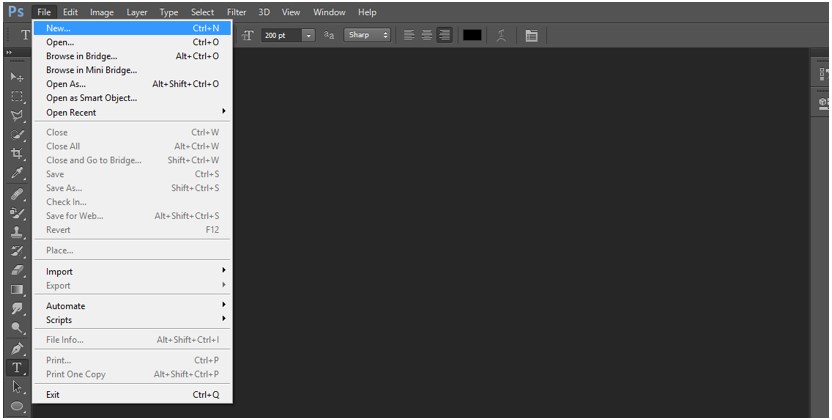
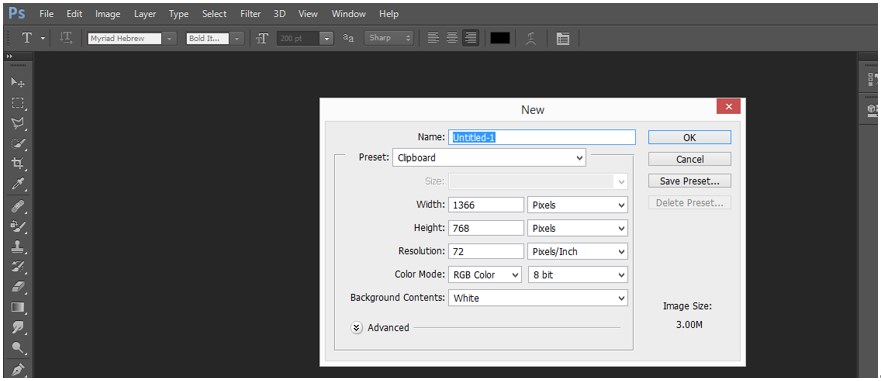
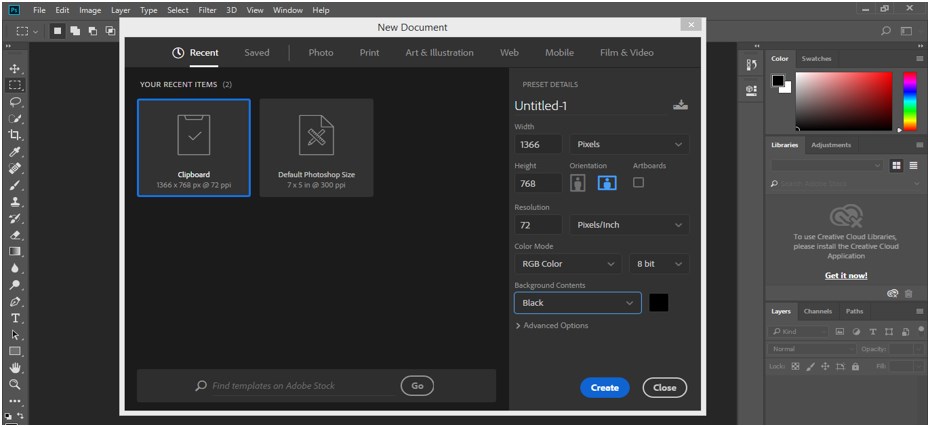
Step 2: A dialog box will open for the document set. Set the parameter of the document according to you.
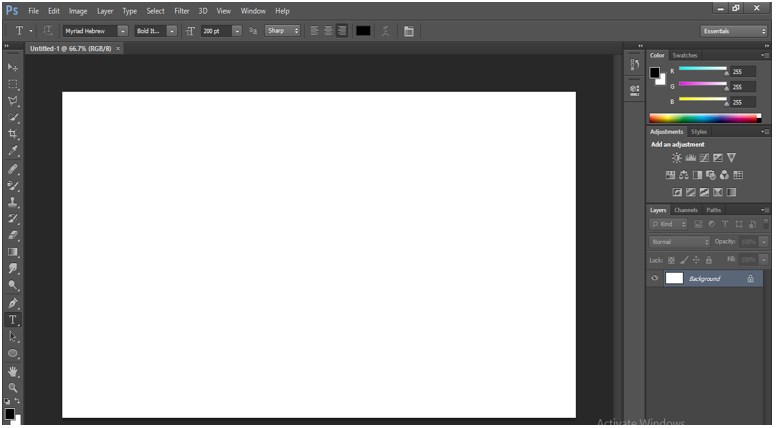
Step 3: New document will open as the background layer
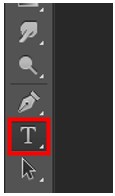
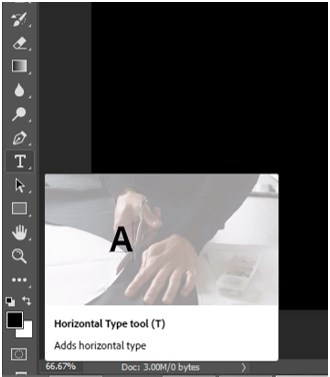
Step 4: Now, take the ‘Text tool’ from the tool panel of this software.
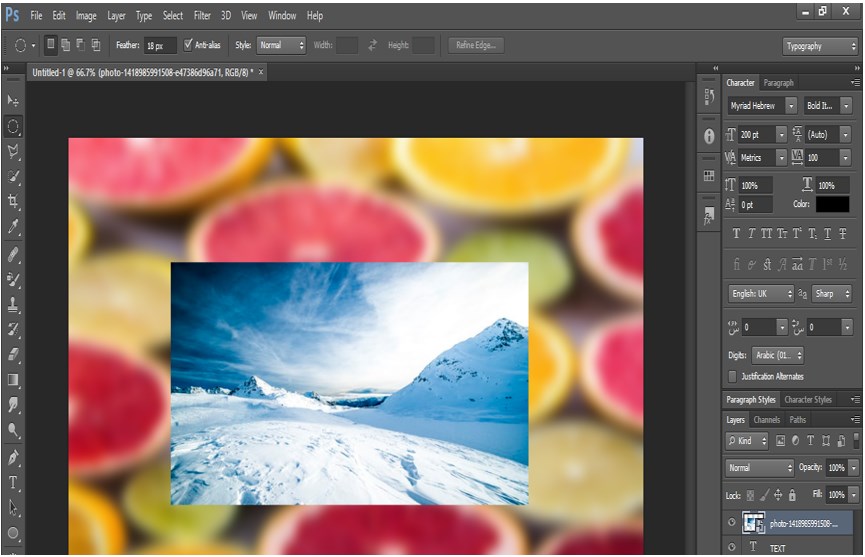
Step 5: Now, Type a text according to you. I will type ‘TEXT’ as my Text and adjust it at the center of my document.

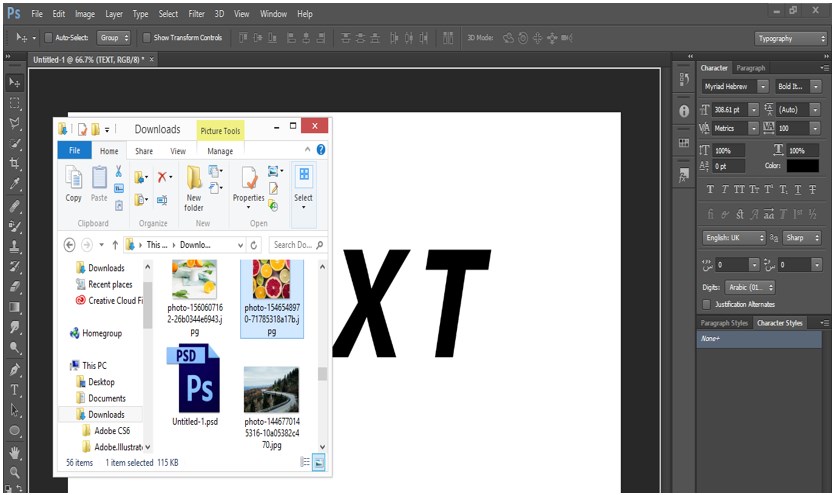
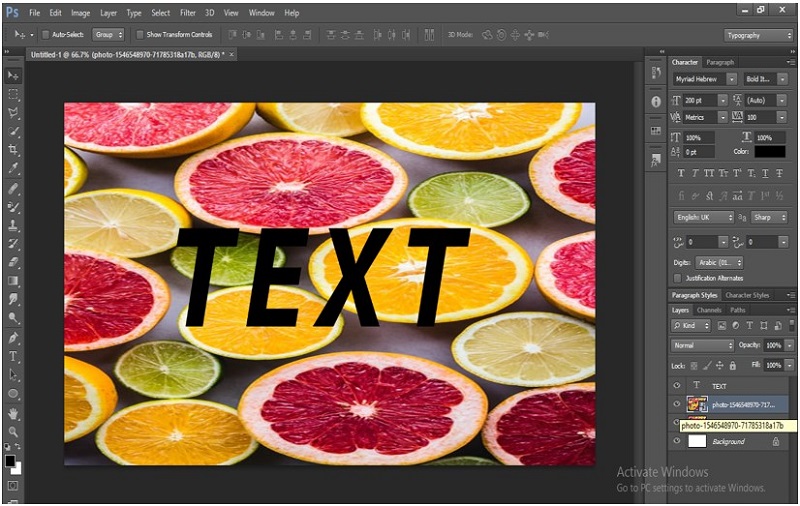
Step 6: Now, I will take an image to give a background effect to my Text; for placing an image, open the folder where you saved your image and place it in Photoshop software by the pick and drop method.
Step 7: Now place this image layer below the TEXT layer from the layer section of this software
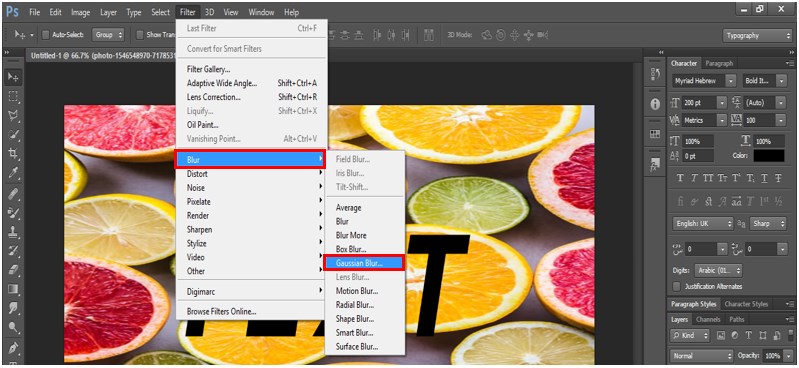
Step 8: Now click on this Image layer and go to the Filter Menu of the Menu bar of this software. A drop-down list will be open. Go to the Blur option effect and choose Gaussian Blur from the new drop-down list.
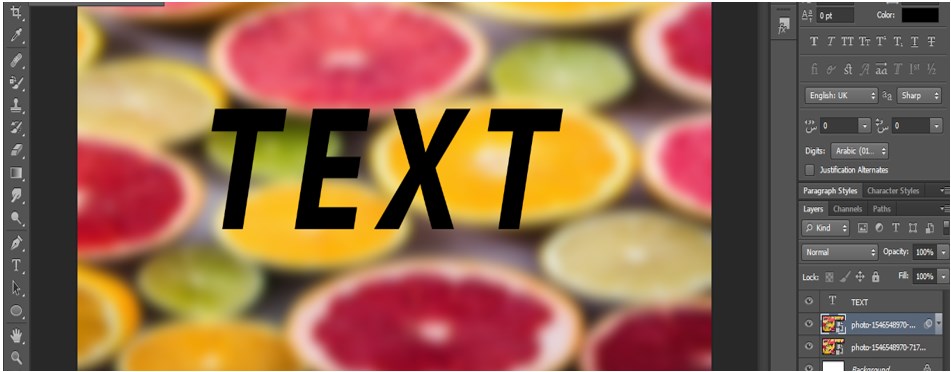
Step 9: Once you choose this Gaussian blur option, your selected image becomes a blur. You can adjust the blur parameter according to you.
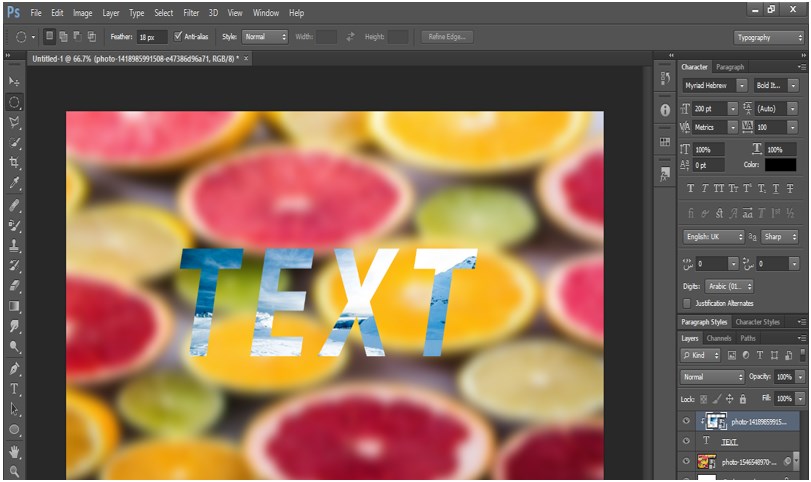
Step 10: I will place another image in this document to make the clip mask effect. Place the image with the same method as we did in the previous step and adjust the image size according to the size of your Text.
Step 11: Now go to the layer section and press the right click of the mouse on this layered image. A drop-down list will open. Click on the ‘Create Clipping Mask’ option of this drop-down list.

Step 12: Your image will clip with your selected Text, and the effect will look like this.
Example #2 – Color Glowing Text Effect
Step 1: First, create a new document by the file menu of the Menu bar of this software.
Step 2: A document set-up box will be open. Select Black color as the background color.
Step 3: Take the Text Tool from the tool panel of this software.
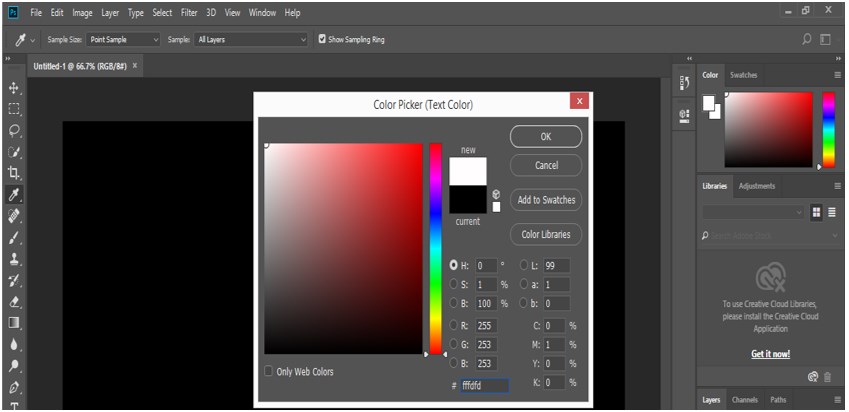
Step 4: And take white color as a text color from the color option of the Text property. These properties are present at the top of the working screen.
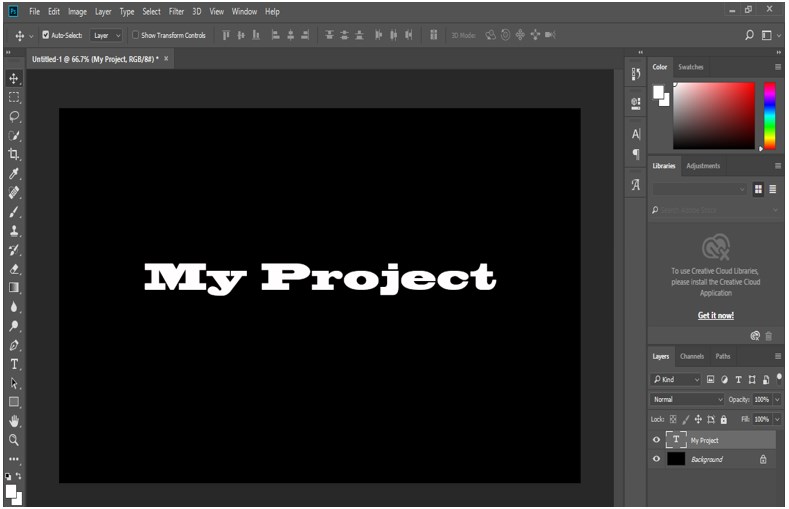
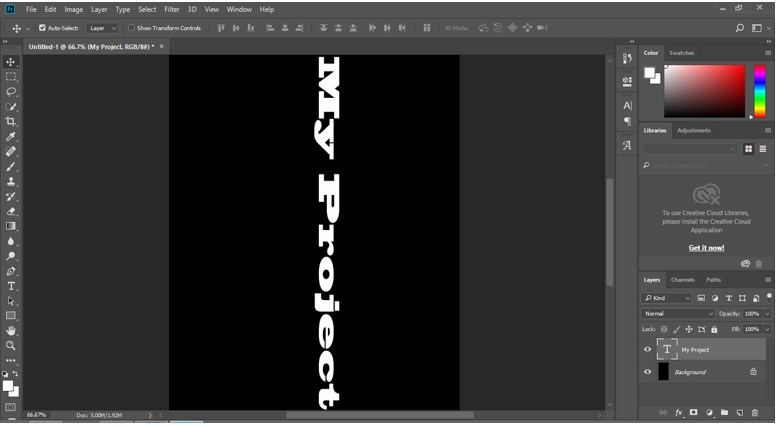
Step 5: Now type a text; I will type ‘My Project’ as my Text and adjust it at the center of the document. Now present Enter so that the Text will adjust above the background layer.
Step 6: Now select the Text layer from the layer section and go to the Image option of the Menu bar. A drop-down list will open, go to the ‘Image Rotation’ option of this list and click on the 90o Clockwise option.
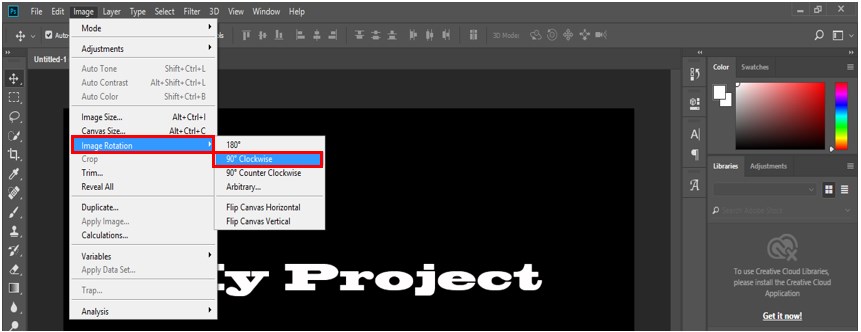
Step 7: Text will be vertical like this.
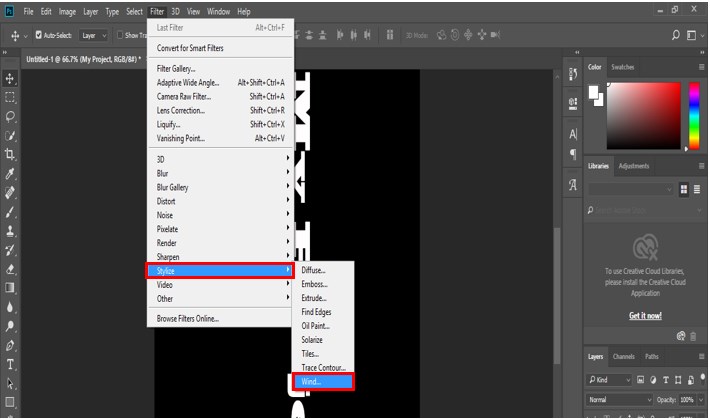
Step 8: Now go to the ‘Filter’ option of the Menu bar. Again a drop-down list will open. Go to the Stylize option and click on the Wind option of the new drop-down list.
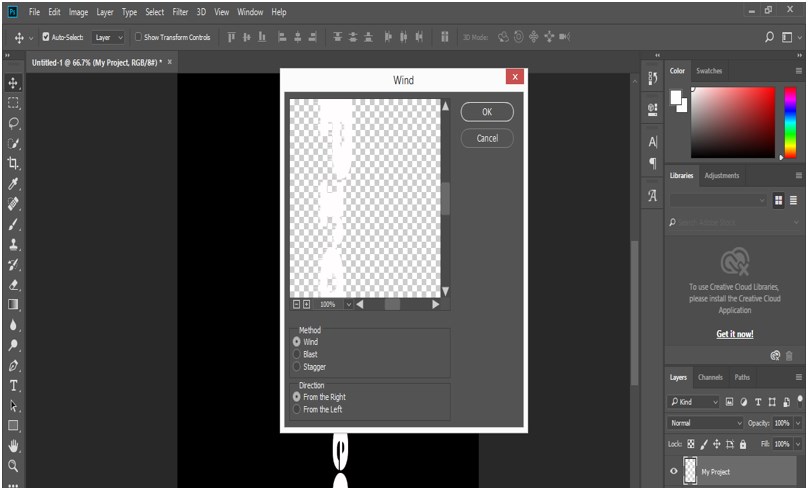
Step 9: The dialog box of Wind will be open. Select Wind in the Method section, and the Direction should be ‘From the Right.’ Now press the Ok button of this dialog box to apply this effect.
Step 10: You can see this effect at the lower end of the Text.
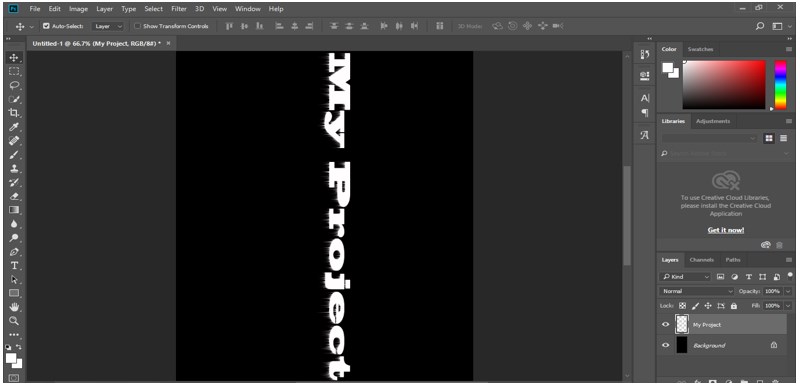
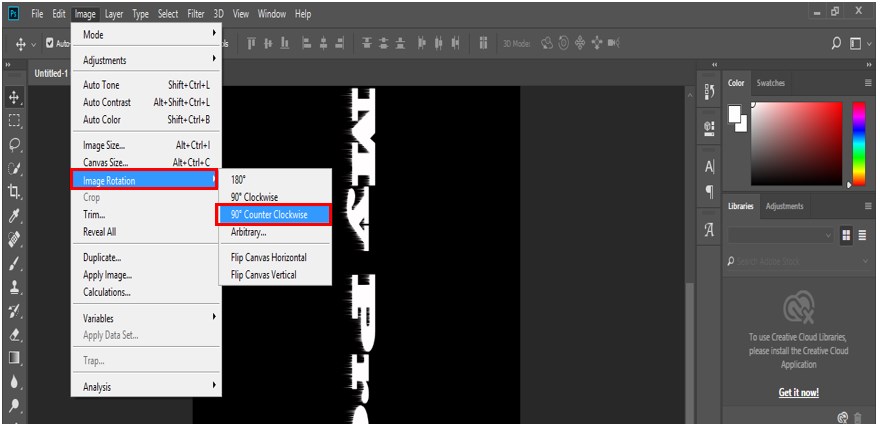
Step 11: Now select the top text layer in the layer section and go to the Image option of the Menu bar. Go to the Images Rotation option of the drop-down list and choose the 90o Counter Clockwise option from the new drop-down list.
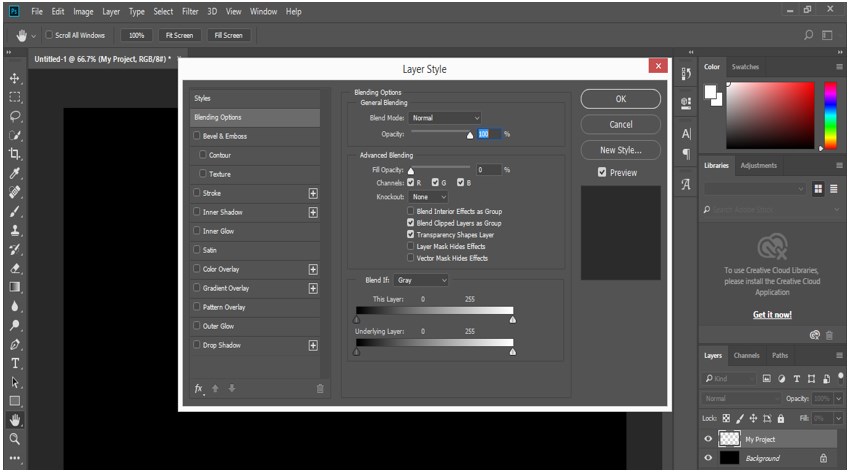
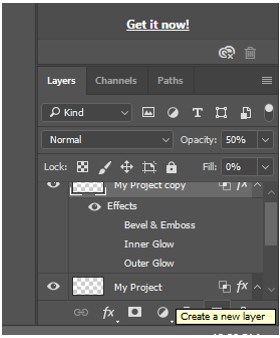
Step 12: Now, make the Fill percentage of this layer up to 0% and make double-click on this layer.

Step 13: A dialog box will be open in the layer style.
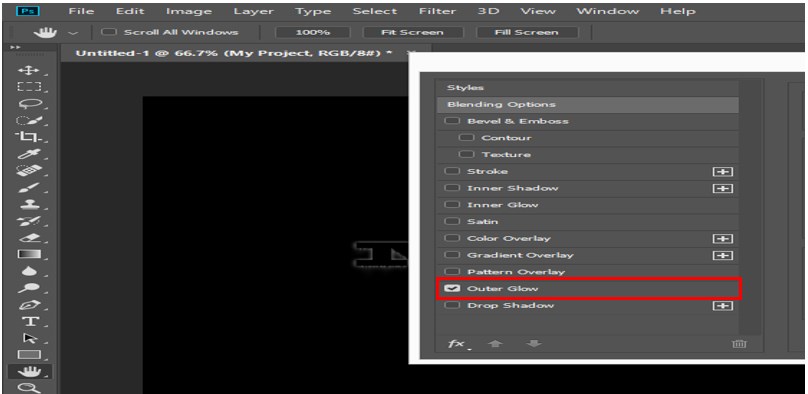
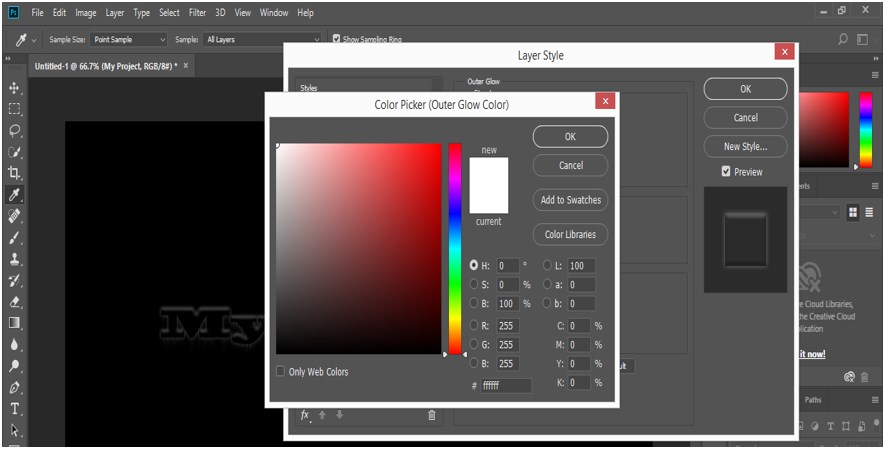
Step 14: Select the Outer Glow option from here.
Step 15: Choose the color from the color box of the Outer Glow option according to you.
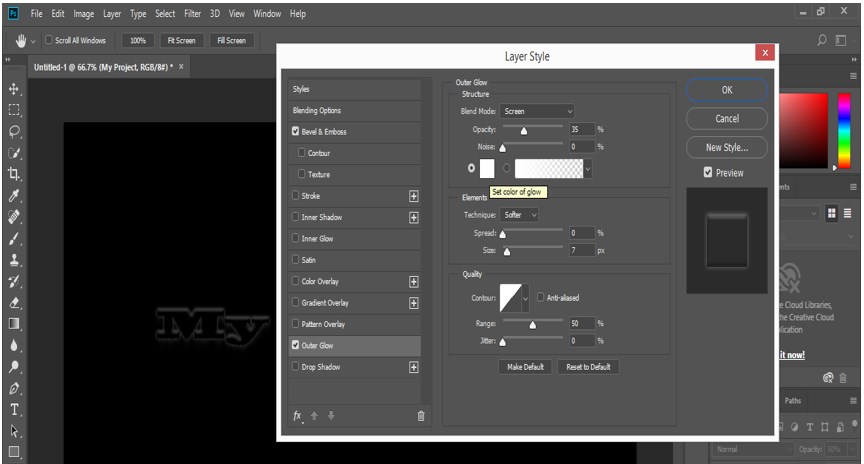
Step 16: I will choose the whiter color and press the Ok button of this dialog box.
Step 17: Now select Bevel & Emboss option and set Depth up to 50%. You can set other parameters of this option according to you.
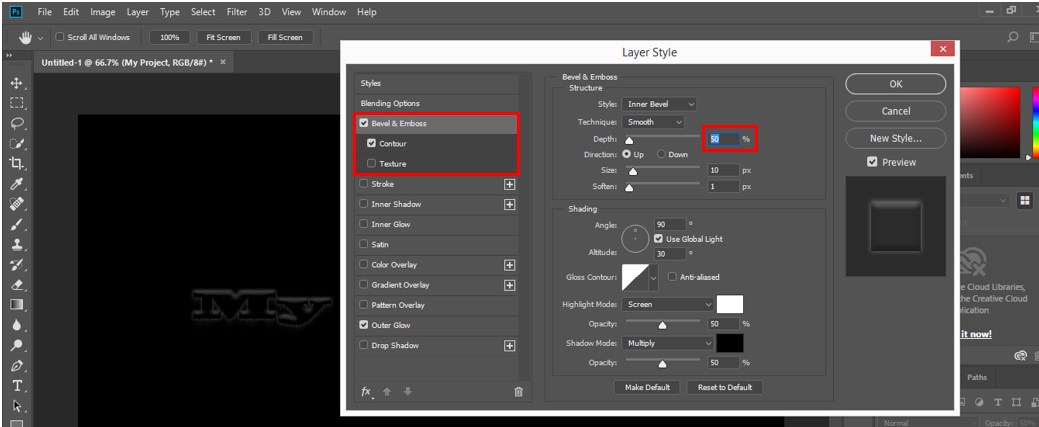
Step 18: You can make changes according to you in other property of layer style.
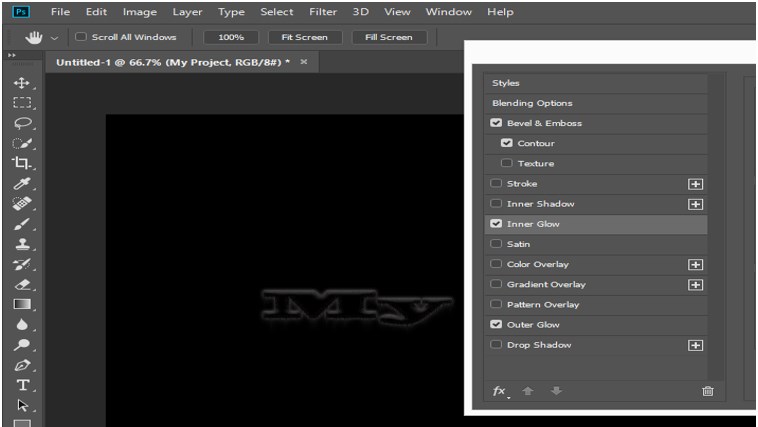
Step 19: Now press the keys Ctrl+J to make a duplicate copy of this layer

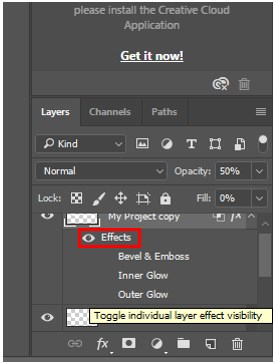
Step 20: Close the eye icon of the effects layer.
Step 21: Now, create the new blank layer from the button of the layer section.
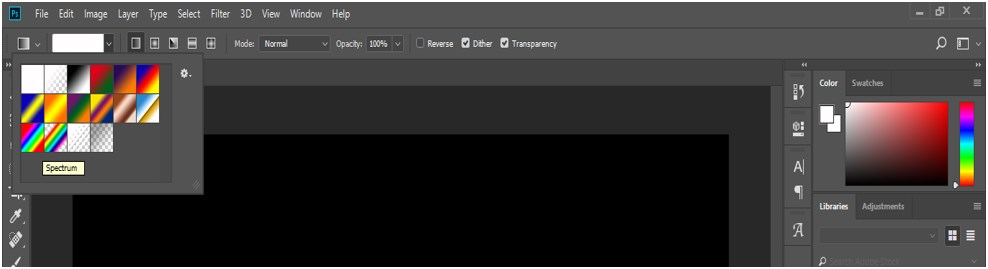
Step 22: Now select this blank layer and click on the gradient tool of the tool panel.

Step 23: Choose your desired gradient color from here.
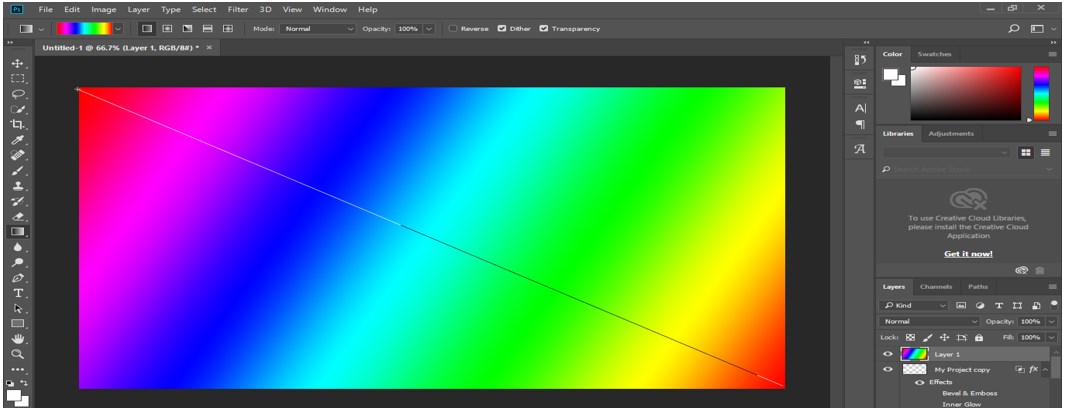
Step 24: Now drag the gradient curse diagonally like me.
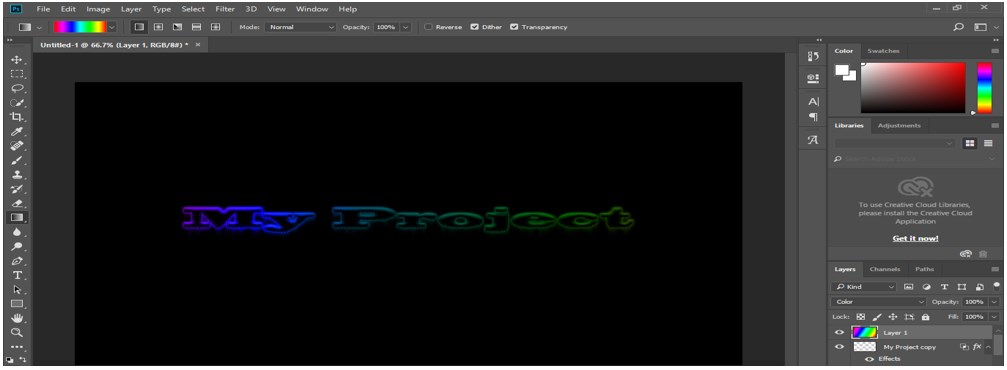
Step 25: Now, change the blend mode; to change the blend mode right, click on this layer. A drop-down list will open. Choose the color option from here.
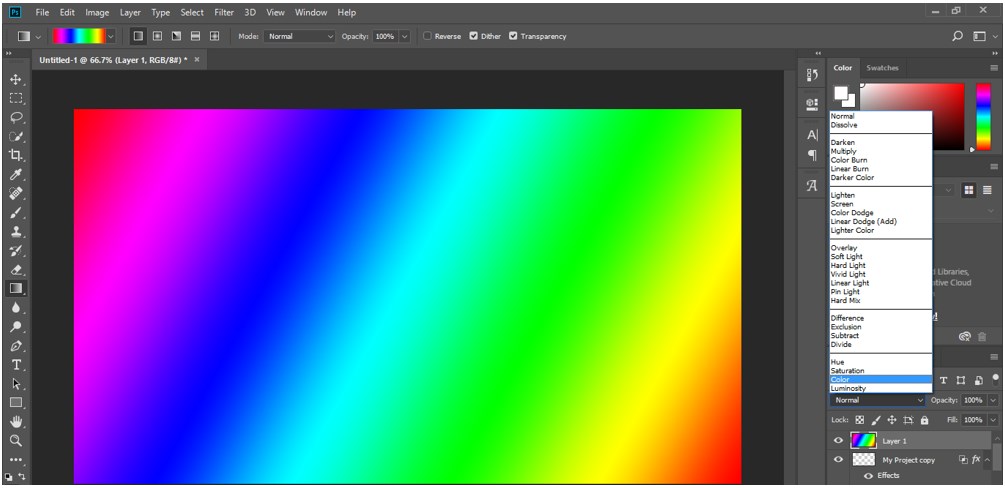
Step 26: The Font effect is ready now.
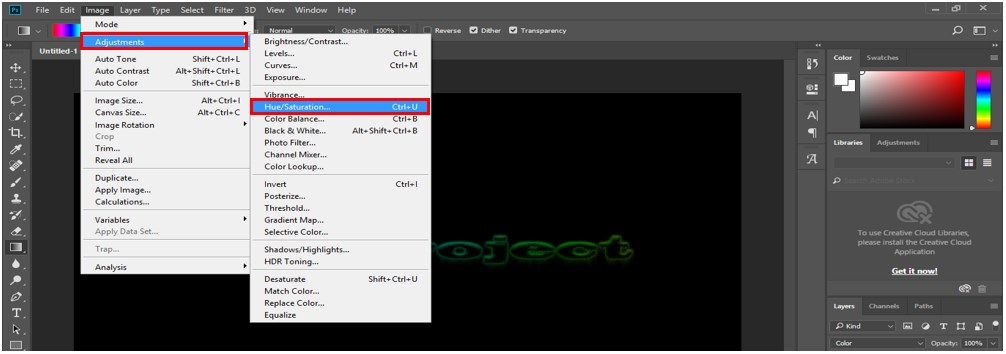
Step 27: Now, you can change the effect’s color according to you. To change the color, go to the Image menu of the Menu bar and choose the Hue/Saturation option.
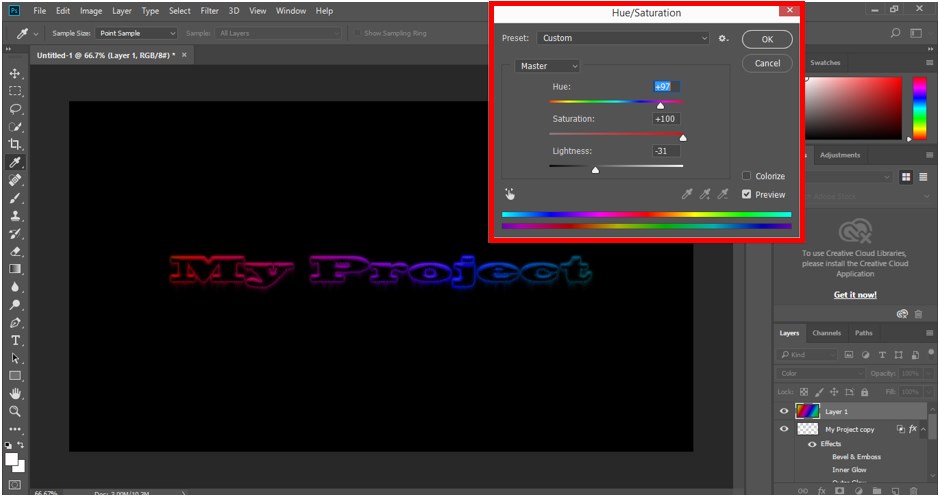
Step 28: Adjust the Hue/Saturation according to you.
You can use many different Font effects like this to make your Text more and more effective.
Recommended Articles
This is a guide to Photoshop Font Effects. Here we discuss how to apply different font effects and how to make your project look more effective with varying font styles. You can also go through our other related articles to learn more –
