Introduction to Lightroom editing
Lightroom Editing can understand as a process through which we can manipulate our raw photos in this software, and the best part is that it is a non-destructive process. Throughout the editing process in lightroom, we can do many adjustments such as color control, enhanced detail, and many more parametrical settings. Editing includes changing parameters of not the entire area of the image or photo, but it can work on a specific part of our photos by using some of the good features of this software. So let us understand different aspects of editing for having a good command of the editing process.
How to use Lightroom Editing?
There are many more things you have to know for understanding editing in lightroom, but today I will give you an overview of it so that you can have basic knowledge of it.
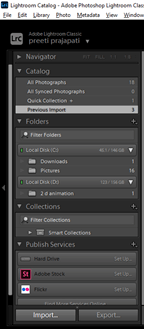
To start editing your photos, just click on the Import button of the user screen of lightroom, which is at the bottom left corner.
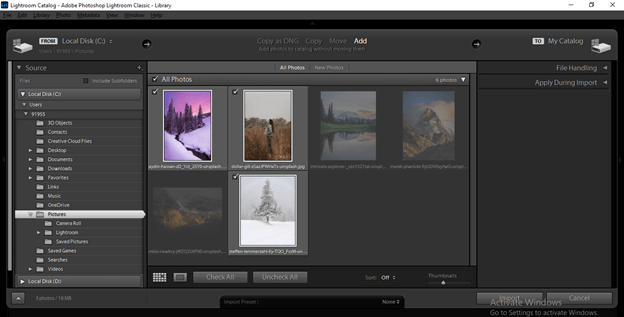
Now you go to the folder of your computer where you have saved your photos and select them all or choose anyone of them to click on the Import button, which is at the bottom right corner.
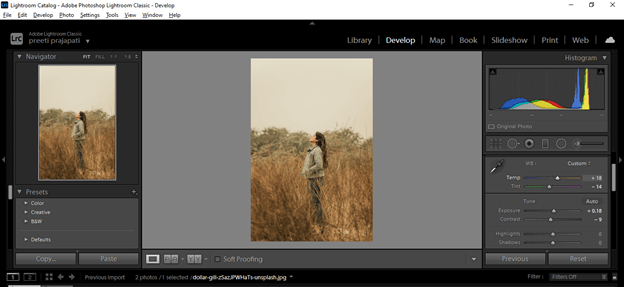
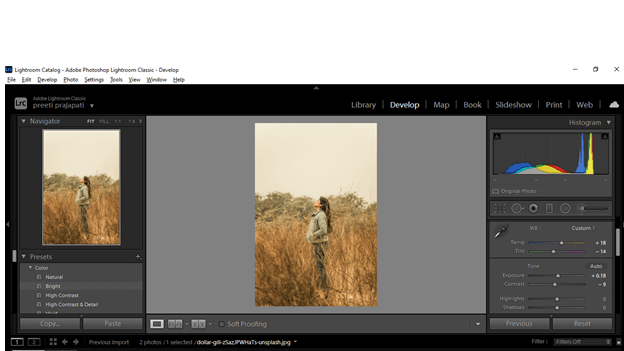
To start editing, you have to click on Develop tab mode, which is at the top bar.
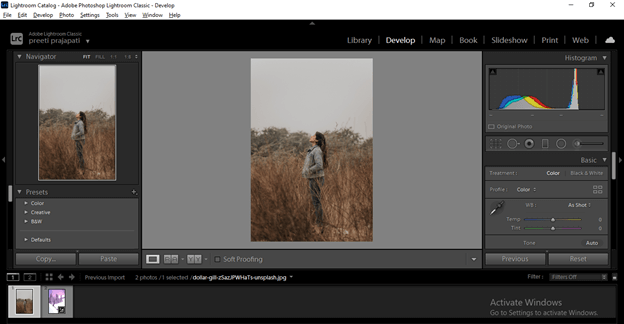
On the left side, we have different parameters which we can change for having different parametrical changes in our photo.
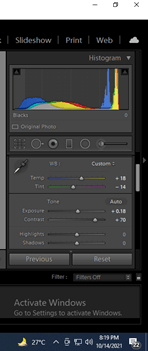
At the top, we have a Histogram that shows different sections of the photo, such as Black, Shadow, Exposure, White, etc. When we make changes in parameters, you can see the change of value in the graph of the histogram.
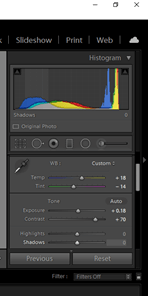
Some tools help us for doing editing in a more précised way. You will learn about them by and by when you start working with this software.
In the left side section, we have Presets bar under which you can find a number of presets which you can use for having different settings in your photo in just choice one preset.
Such as if you go to Bright preset of the Color preset group, you can automatically see it applied brightness adjusted value on these photos.
You can take a snapshot of any set parameters to see it later while working with other parameters. So for that, you have to click on Create Snapshot button of the Snapshot bar.

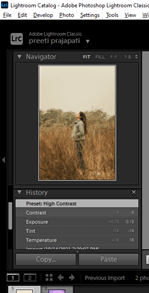
During the editing process, if you want to switch to the previous setting, you can go to the History bar, and here you can see all the changed parameters and go with them again.
Lightroom editing Tips and Trick
Here I would like to tell you some of the tips and trick that helps you a lot during going through the editing process of your photos.
- Local adjustment
The very first thing about which I want to tell you is that when we make changes in any parameter of our photo, then it applies to the entire area of the photo, but I will suggest you, rather than applying it to the entire area, localize the area then change parameters for having different variation. So let us understand it by an example.
This is an image.
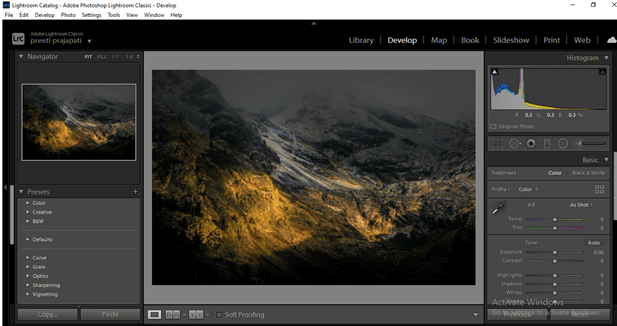
And you can see when I make changes; in Contrast, it effects the entire image.
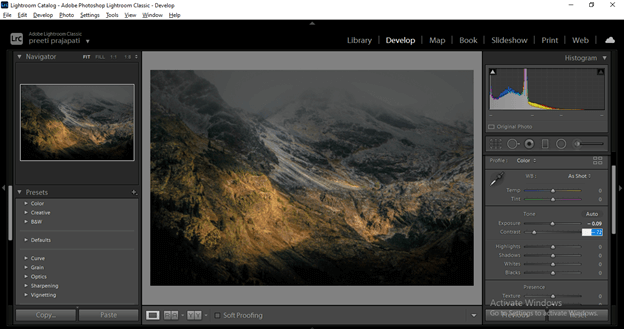
And I don’t want to do this, so I will take the Radial filter tool and select the region on which I want to make a change.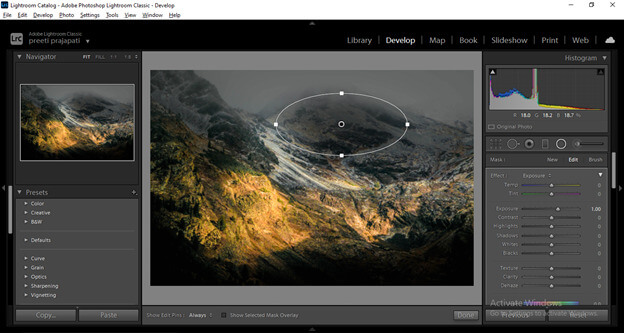
I will invert the selection so that I work on inside the marked area.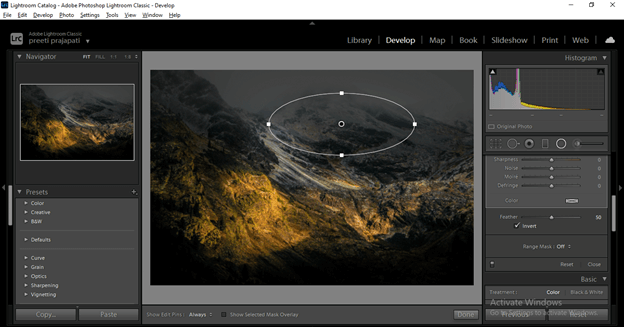
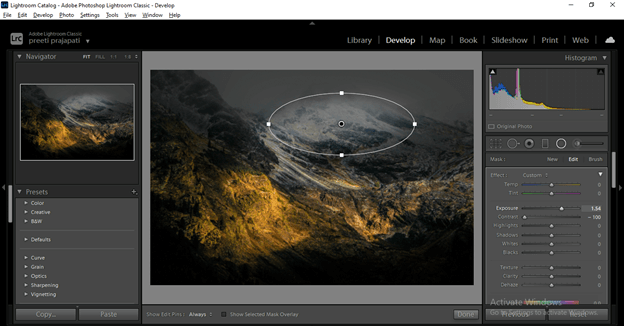
And now I have made some changes to have a little bit of exposure here in this mountain area, and you can see other areas of the image is unaffected.
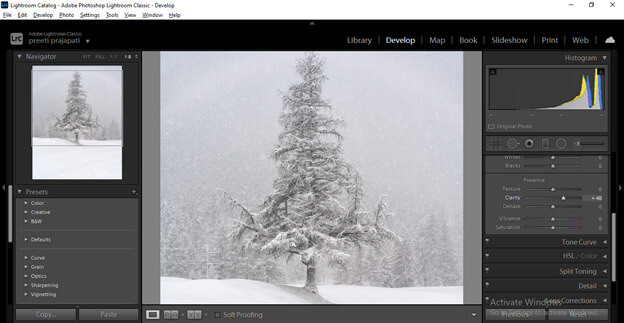
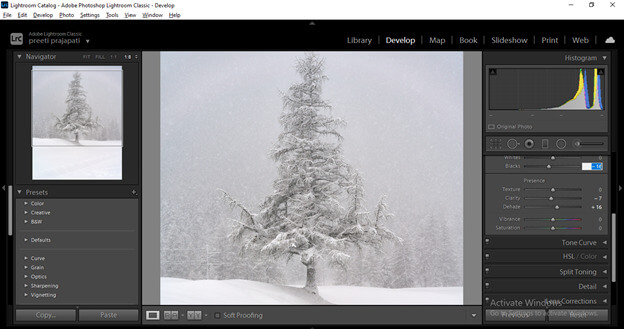
- Working with Detailing:
In some of the photos, we need to enhance the detailing, and for that, we work with the Clarity parameter.
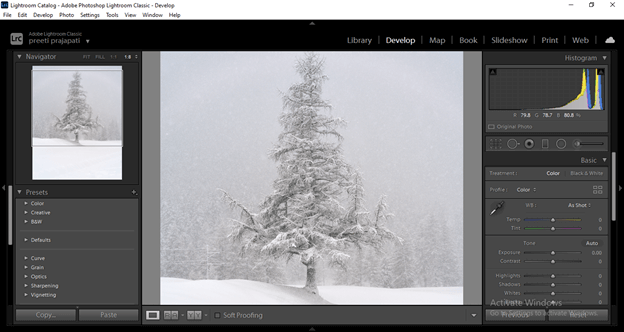
You can see if I increase its clarity, then it is not looking so natural.
And decreasing will make it blur a little bit.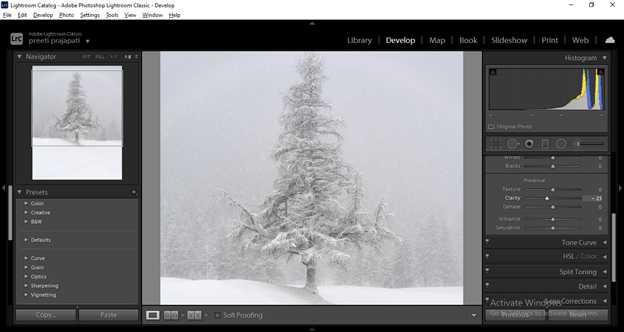
So not just play with clarity value; you should adjust the other values. For example, I will decrease the Clarity value up to -7.
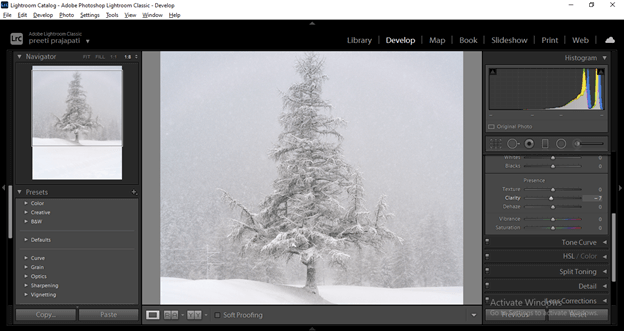
Then adjust the Dehaze value a little bit.
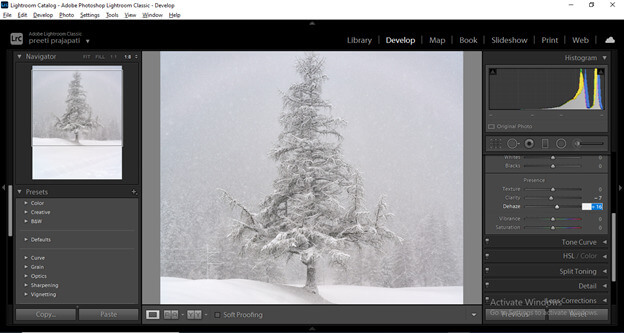
After that, I will also adjust the black value of this image, and you can see now we have good detailing of leaves of this tree with snow.
Editing Individual Element
As we discussed, we can have an idea that lightroom is a very powerful software for photo editing, and editing any individual element of our photos is one of the effective features of it. So let me tell you how you can do this. I will take this raw photo for this purpose.
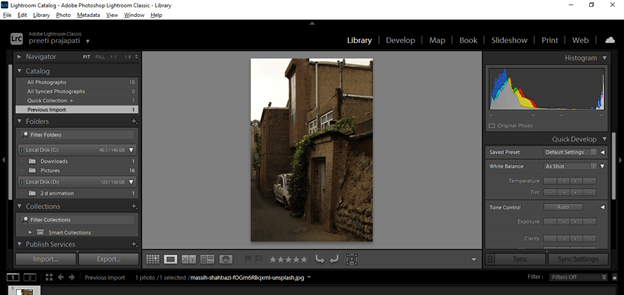
Switch to Develop mode, and here we have Adjustment Brush. So click on it.
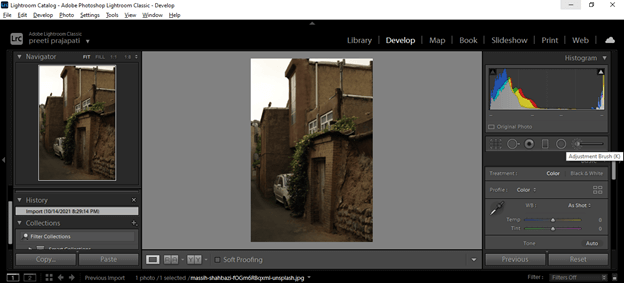
And you will have all its parameters.

For working with this brush, we have to adjust its Size, Feather (it can understand as to how smoothly you want to apply effect on selected area), and next is Flow (which you can understand as the intensity of brush).
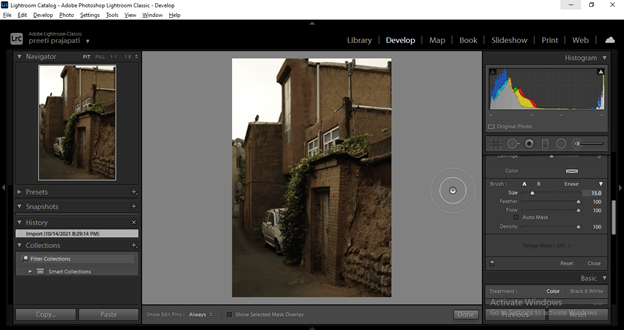
After having brush setting adjust the value of parameters that you want to apply to the chosen area of the image. I will adjust the Exposure value to 1.06.
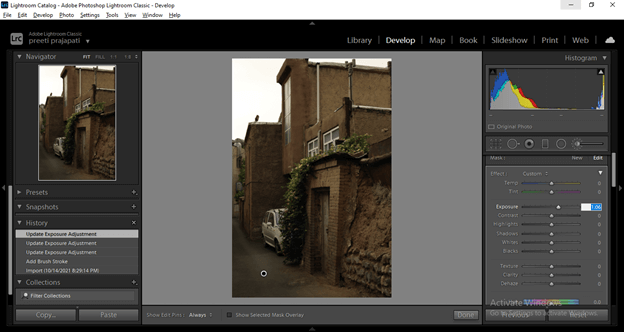
And start applying it on this front wall area, and you can see it only highlighting this wall area.
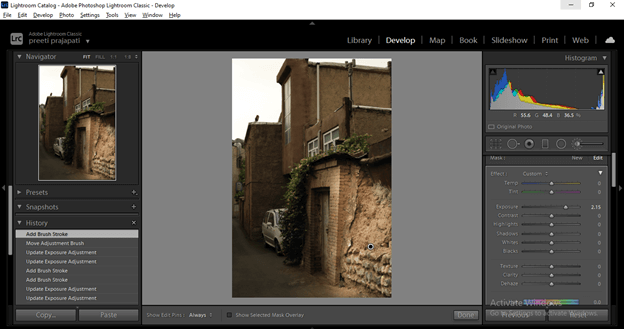
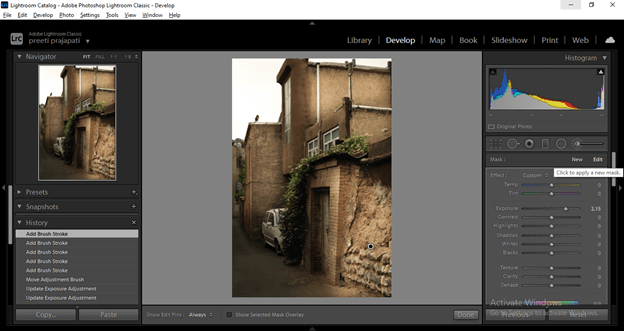
If you want to adjust other parameters, you have to take a new brush, so click on the New button, and you can set other parameters for the new area with this brush.
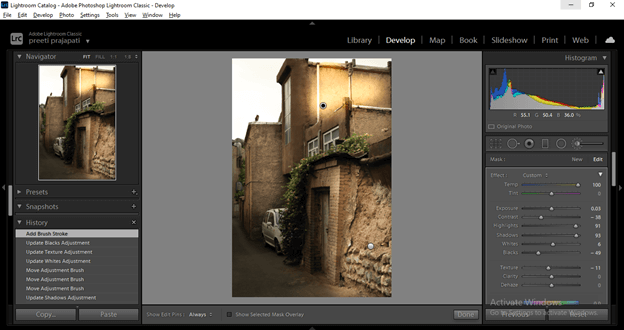
You can see I have made some changes in different parameters and created a sun light effect on the roof wall. In the same way, you can target individual elements in your image and manipulate them.
These are some important aspects of Lightroom editing.
Conclusion
Now you have knowledge about the editing of your photos in lightroom. I am sure you have been find it very interesting, and you are going to work with the editing process for having a different type of improvement in your raw photos. You can organize your photos also in this software for better handling of them.
Recommended Articles
This is a guide to Lightroom editing. Here we discuss the different aspects of editing for having a good command of the editing process. You may also have a look at the following articles to learn more –
