Introduction to AutoCAD
AutoCAD is a famous and popular computer-aided design software used by architects, interior designers, engineers, and graphic designers. The program is developed and sold by Autodesk Company itself. AutoCAD is used for creating blueprints, maps, road direction signals, drawings, and other 2d models. The software supports API language for modifications and installation purposes. These are .NET, ObjectARX, Visual LISP and more. In addition to AutoCAD, we also have AutoCAD Advance Steel, AutoCAD Civil 3D, AutoCAD Electrical, AutoCAD Map3D, and many more programs. The viewports were introduced earlier in AutoCAD than the Layout option came.
What is Layout in AutoCAD?
- Basically, a layout in AutoCAD represents a 2d space where the user can determine the size of the drawing board and edit the title block and view multiple scenes of the object at the same time.
- In AutoCAD, the user is accessible to create a drawing using two types of spaces. The model space and layout space. The model space consists of the 3D dimensional objects created by the user. To view it in a 2D dimensional structure, the user will have to use the Layout tab.
- This layout tab can be used to see different 2d views of the 3d object created by the user in the model space. Also, the user can add as many numbers of views to the layout and modify the size of the sheet as well. The layout space is also known as paper space and is generally used to specify the minor details of the model created. A layout can never be 3d dimensional, as it is only referred to as a paper that shows and edits various elements of the model as per the requirement of the user.
- In the beginning, the user starts to work on the model space that is the 3D space to draw objects. Slowly to gain a much bigger and proper perspective, we use the Layout tab from the menu. To create drawings and blueprints for printing purposes, we use the layout tab itself. The layout tab has the ability to modify the size of the model that is relative to the layout mode. One unit of the sheet is taken as the real distance on the sheet in the layout panel. This unit is counted and measured in millimeters or inches.
- Some of the important commands used in AutoCAD to create Layouts are PLOT, VPORTS, LAYOUT, MODEL, VPMIN, PAGESETUP and more.
Creating Layout in AutoCAD
Please find the below steps to create Layouts in Autocad.
Step 1: To start with a new project, Open AutoCAD.
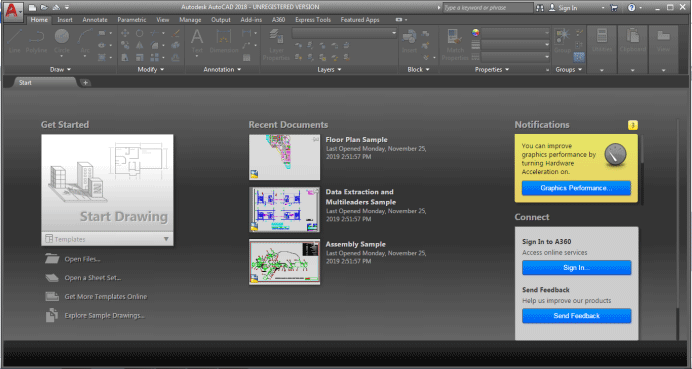
Step 2: Click on the new button from the left-hand corner of the interface.

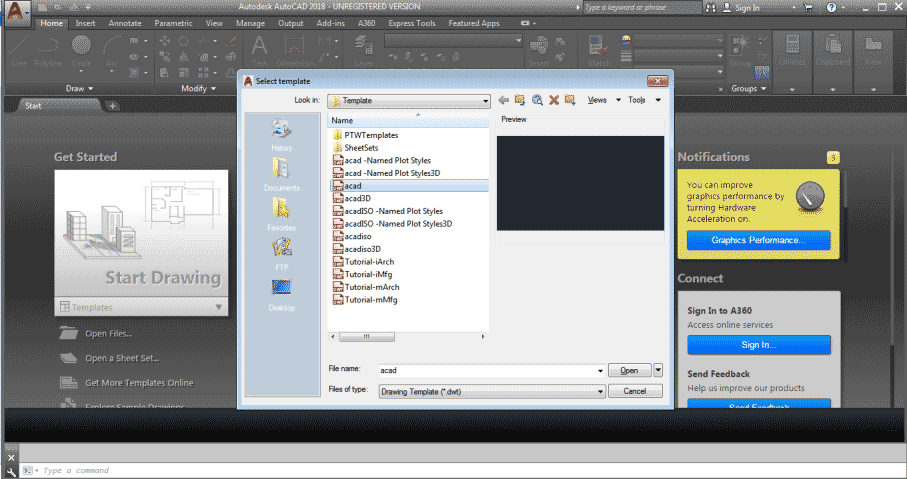
Step 3: We will see a dialog box called templates that will open. Select any template from the list in the box.+
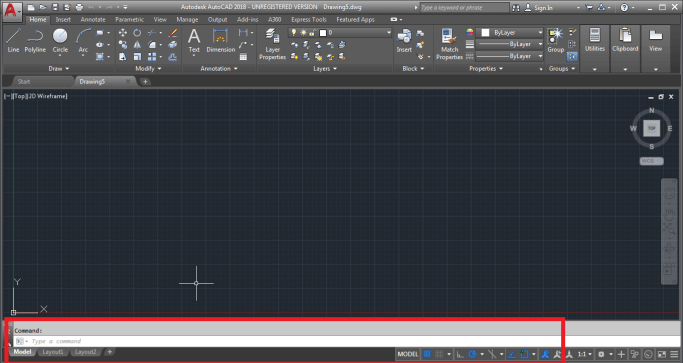
As soon as we select the template, a screen will become active. We can see the MODEL, LAYOUT 1, LAYOUT 2 options at the bottom of the interface on the screen.
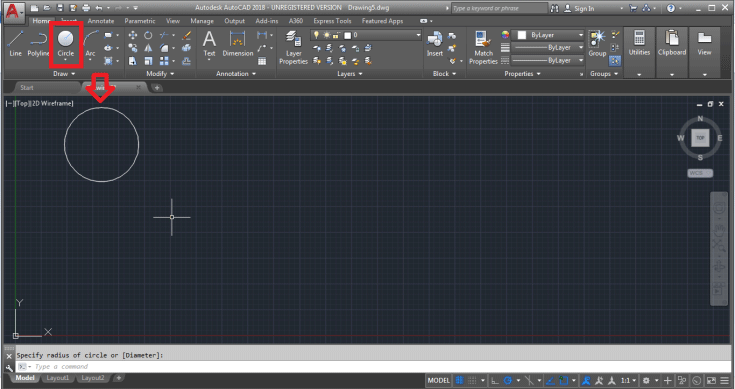
Step 4: To create a 3d object, remain on the MODEL Space only. Click on the Circle tool from the Draw Panel and create a circle as shown in the below image.
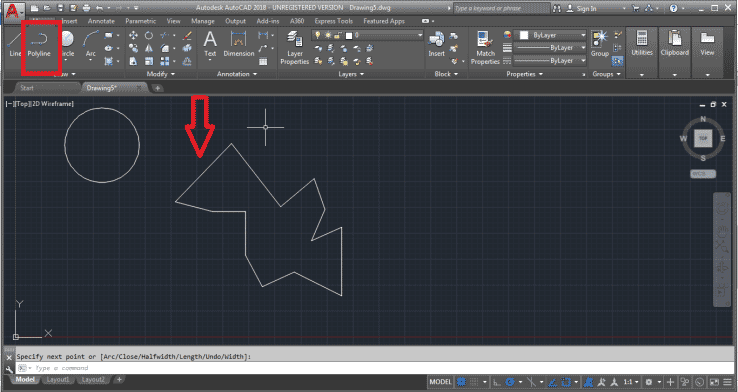
Step 5: Now, click on the polyline tool and create a Random object, as shown in the below image.
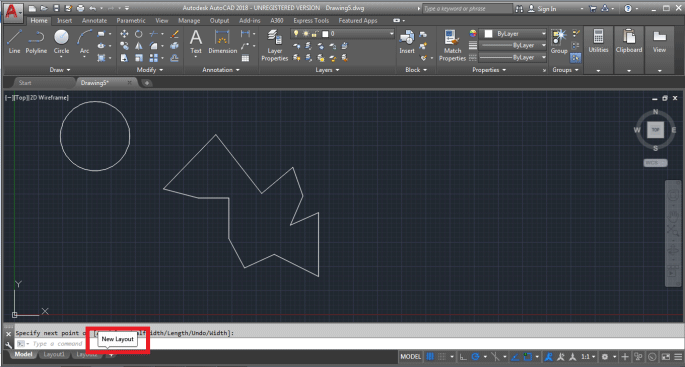
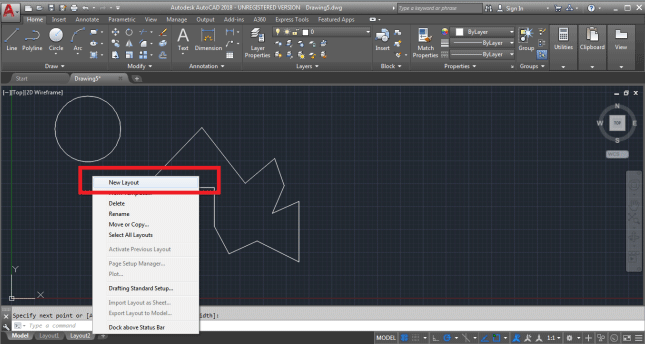
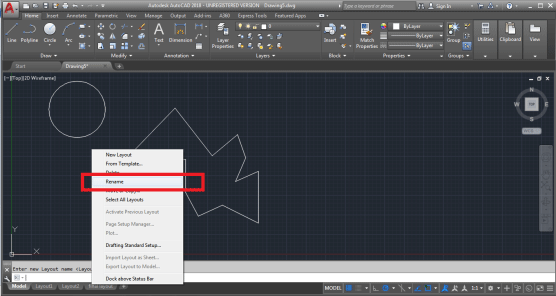
Step 6: Now, we can see the Layout 1 and Layout 2 on the bottom of the page. To add a Layout, either click on the + sign attached at the end. Or, right-click on the Layout 2 and select New Layout.
Step 7: A new Layout 3 will be added. Rename the Layout 3 to Final Layout by right-clicking on the same.
The models created on the Model Space will be shown in the Layout space as well. But, it will be visible as a drawing to the user.
Step 8: To adjust the page size, right-click on the Final Layout and select PAGE SETUP MANAGER.
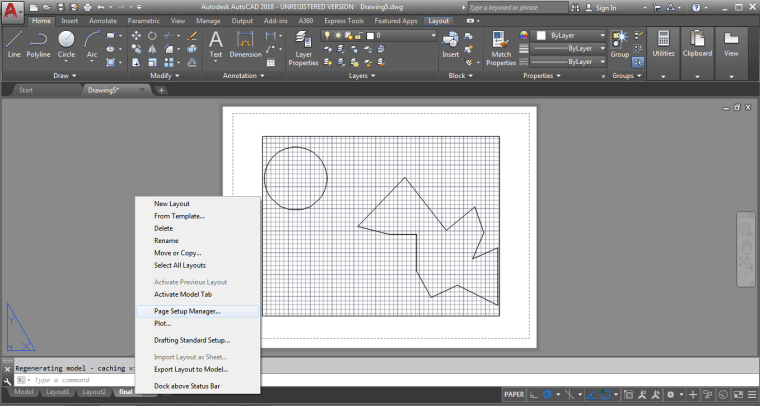
See the changes in the below image.
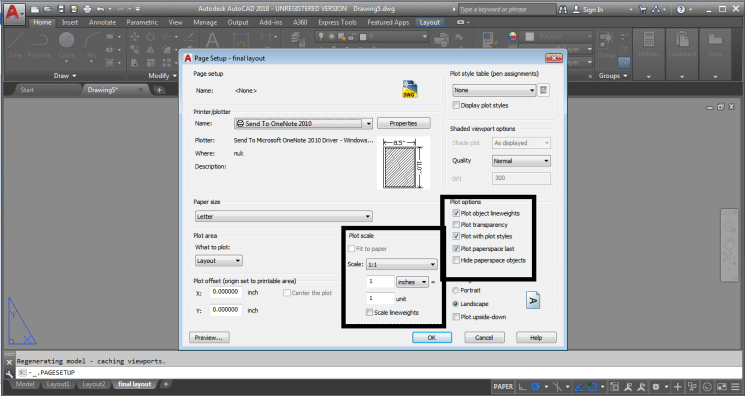
Edit the setting and properties from the dialog box. Likewise, we can edit the other layout spaces and change and add the title name as well.
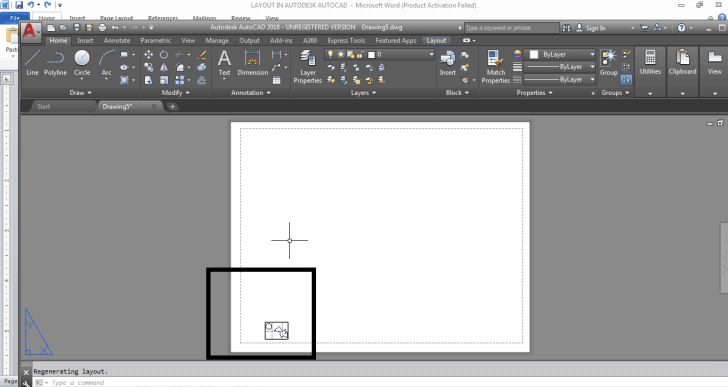
The page setup is required to see different views of the 3D model created.
The Layout tab present in the software is a very useful feature and is mostly used by users for different purposes. The layout tab is easily controllable, and we can also use the annotation scaling mostly in the layout space. Also, the layout tab is used to modify and change the styles of the object. After creating a model, it becomes very difficult to give dimensions and styles to the object. This can be easily achieved with the use of Layout space in the software.
Conclusion
It’s like when we create anything on Max; we see the same using different viewports to adjust and modify the design of the object. Using the same technique, AutoCAD uses two different spaces to create and view the structures differently. We have one object, and we can see and represent that one object in 10 different ways is the use of the Layout tab. The architects and designers find this space beneficial and useful in making drawings and prints. Moreover, this layout space has been added recently in the program, and since then, it has boosted the use of AutoCAD as well.
Recommended Articles
This is a guide to Layout in AutoCAD. Here we discuss the Introduction to Autocad, Create Layouts in AutoCAD, and the commands used in AutoCAD to create Layouts. You can also go through our other related articles to learn more –
