Introduction to Laravel Forge
Laravel Forge, a server management and application deployment service specifically designed to simplify launching and managing Laravel applications on cloud infrastructure. It bridges the gap between development and deployment, allowing you to focus on your code while Forge handles the server grunt work and eliminates the need for manual server configuration. This results in increased efficiency, reliability, and security, enabling developers to concentrate on building high-quality applications without worrying about server management complexities. Hence, it becomes a comprehensive solution for managing Laravel applications of all sizes.
Table of Contents:
Features of Laravel Forge
Laravel Forge is a platform-as-a-service (PaaS) tool designed to simplify the deployment, management, and scaling of web applications created with the Laravel PHP framework.
The main features of Laravel Forge include the following:
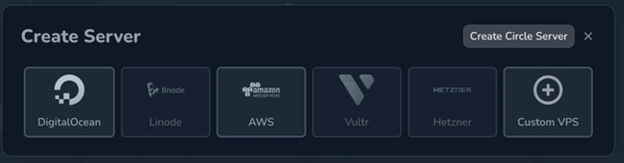
- Server Provisioning: Forge allows developers to provision and configure cloud servers quickly from popular providers such as DigitalOcean, Linode, AWS, and others. It automates the setup process, saving time and effort.
- Deployment Automation: Forge streamlines the deployment process by integrating version control systems like Git. Developers can deploy their Laravel applications with just a few clicks, and Forge takes care of tasks such as code deployment, environment configuration, and database setup.
- Server Management: Forge offers a user-friendly dashboard where developers can monitor the performance and health of their servers. It provides tools for managing server configurations, setting up SSL certificates, and performing server-related tasks without using the command line.
- Automatic Backups: Forge includes automatic backup functionality, allowing developers to schedule regular backups of their applications and databases. It ensures that data is protected and enables data restoration in case of unexpected issues.
- Security Features: Forge implements security best practices to help protect applications and servers from common threats. It includes firewall configuration, intrusion detection, and automated security updates.
- Scaling Options: With Forge, developers can quickly scale their applications by adding additional server resources or implementing load balancing. Forge integrates with services like Laravel Horizon and Laravel Vapor for managing queue workers and serverless deployments.
Laravel Forge Pricing Plans
Laravel Forge offers several pricing plans to suit different needs and budgets. Here’s a breakdown of their current plans:
1. Free Plan
- Free forever
- Limited to one server and one site
- Includes essential server management and deployment features
- Suitable for testing and small personal projects
2. Hobby Plan
- $14 per month
- One server, unlimited sites
- Includes all features of the Free Plan
- Suitable for small projects or testing multiple sites
3. Starter Plan
- $22 per month
- Three servers, unlimited sites
- Includes all features of the Hobby Plan
- Additional features like team collaboration, custom domains, and SSL certificate management
- Suitable for small businesses and freelancers
4. Business Plan
- $46 per month
- Five servers, unlimited sites
- Includes all features of the Starter Plan
- Additional features like database backups, scheduled tasks, and API access
- Suitable for growing businesses and agencies
5. Additional Notes
- Prices are in USD, but you can pay in various currencies.
- All plans offer a 5-day free trial.
- You can upgrade or downgrade your plan at any time.
- One can also purchase additional server capacity separately.
Setting Up Your Laravel Forge Account
Registration:
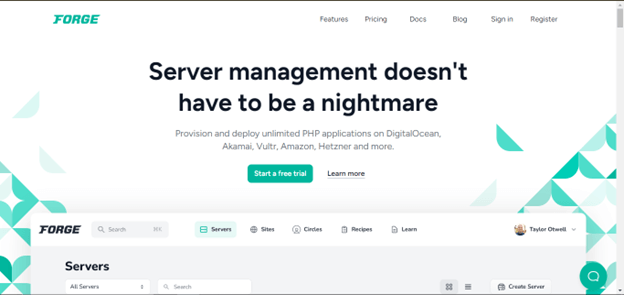
- Visit the Laravel Forge website at https://forge.laravel.com.
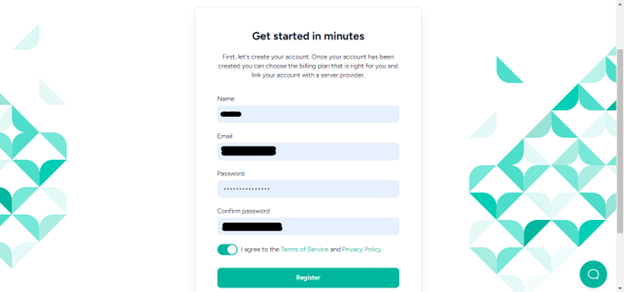
Click “Register” and fill out the required information, including your Name, Email, and password, and agree to the terms of service.
Connecting to your service provider:
-
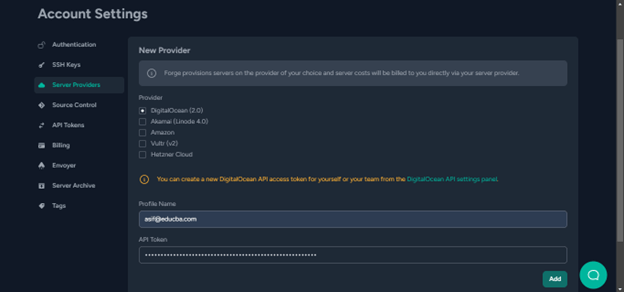
- Forge works with cloud providers like DigitalOcean, Akamai (Linode), Amazon, Vultr, and Hetzner. Choose any provider that best fits your needs and budget. You’ll need to have an existing account with your chosen provider or create one during setup.
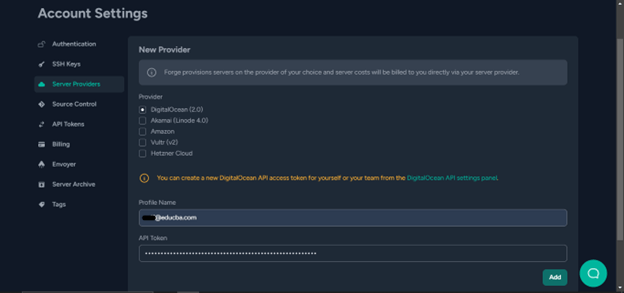
- You must give Laravel Forge an API token to connect to your service provider. (you’ll find the API token on the DigitalOcean website).
How to Generate a Personal Access Token on DigitalOcean?
- DigitalOcean uses Personal Access Tokens, which function similarly to API keys but offer more granular control and security features.
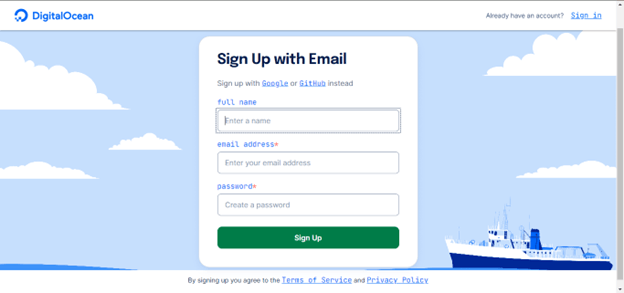
- Head to Create your account | DigitalOcean to register for a DigitalOcean account.
- After registering, Navigate to the API section by Clicking on the “Account” section in the left-hand navigation menu and Selecting “API” from the dropdown menu.
- The dashboard should look as shown below.
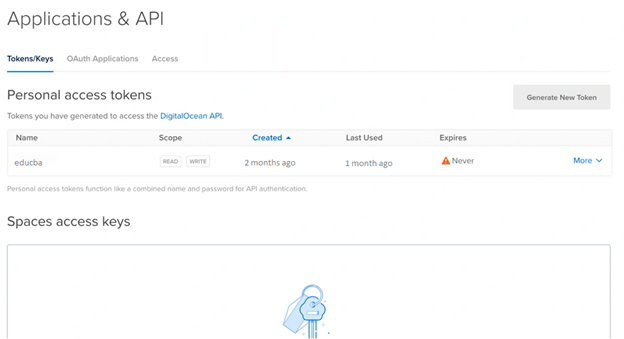
- Click the “Generate New Token” button to create a new Personal access token.
- Give your token a descriptive name for easy identification.
- Choose the expiration time for the token. It can range from never expiring to expiring in 24 hours or one week.
- Select the scopes (permissions) for the token. You can choose read-only access for viewing information or read-write access for creating, deleting, and modifying resources.
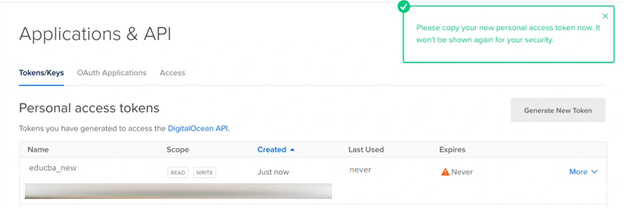
- Copy that token and paste it into the API Token tab on Laravel Forge.
- We can create our server now that we have successfully connected Forge to DigitalOcean.
- Select the server size and region based on your application’s requirements.
- Choose an operating system (e.g., Ubuntu).
- Forge then provides the server and pre-configures all essential software for your Laravel application.
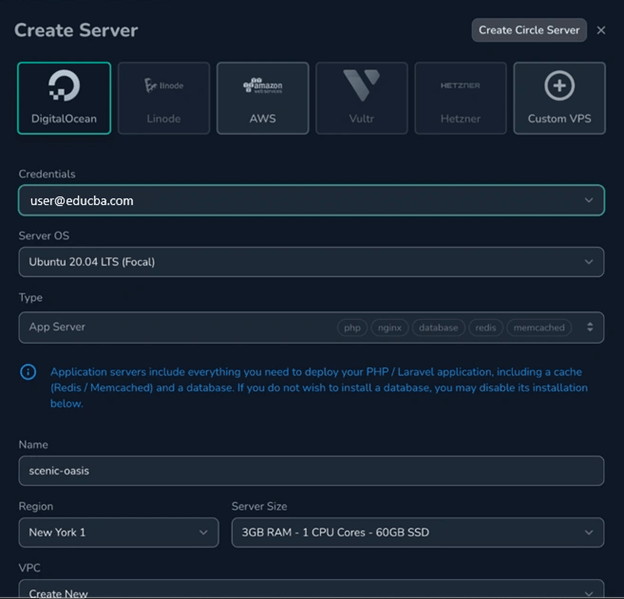
- After ensuring every configuration is accurate and configured, click Create Server.
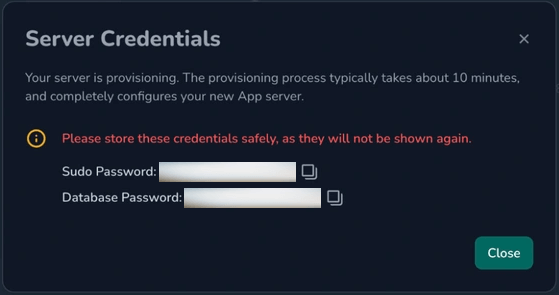
- Laravel Forge will show the Server Credentials only once. Make sure to save it.
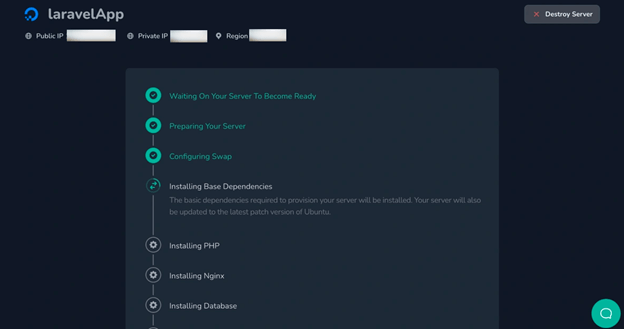
- Forge will now work on creating your server.
- When the server-building process is complete, it will ask you to add your domain.
- Add the necessary details, and click add.
- The following process will start installing your site.
- Lastly, Go to Deployments and select the Deploy Now button in the upper-right corner of the screen to initiate the deployment of your application.
Security Best Practices in Laravel Forge
- Firewall configuration: Forge allows users to configure firewall rules to control incoming and outgoing traffic to their servers. By setting up appropriate firewall rules, developers can restrict access to specific ports and services to help preventing unauthorized access and potential security breaches.
- SSL certificate management: Forge offers integrated support for managing SSL certificates, allowing users to secure their applications quickly with HTTPS encryption. SSL certificates help encrypt data transmitted between the client and server, making sure that sensitive information remains protected from eavesdropping and interception.
- Automated security updates: Forge can automatically apply security updates to the server’s operating system and installed software packages. Keeping the server’s software up-to-date is essential for addressing known vulnerabilities and patching security flaws that attackers could exploit.
- Use strong passwords: Avoid using easily guessable passwords for your Forge account, server users, and SSH keys. Use a password manager and generate strong, unique passwords for each account.
- Two-Factor authentication (2FA): Forge supports two-factor authentication, adding an extra layer of security to user accounts. By requiring users to supply an additional form of authentication (such as a code from a mobile authenticator app) and their password, 2FA aids in preventing unauthorized access even if the password is compromised.
Optimizing Server Performance
- Choose the proper hardware: Select hardware tailored to your application’s needs, considering CPU power, RAM size, and storage capacity. Consider options like cloud servers for scalability and flexibility.
- Regularly update your software: Ensure your operating system, application software, and web server are updated with the latest patches to address vulnerabilities and performance improvements.
- Enable caching: Implement browser and server-side caching to reduce server load and improve response times.
- Optimize database queries: Write efficient SQL queries to minimize database I/O and improve database performance.
- Monitor server performance: Utilize monitoring tools to track resource usage, identify bottlenecks, and proactively address performance issues.
- Consider load balancing: If you anticipate high traffic, implement load balancing to distribute requests across multiple servers, enhancing scalability and performance.
- Secure connections with HTTPS: Enable HTTPS (TLS/SSL) encryption for secure communication between your server and users.
- Optimize application code: Review and optimize your application code for efficiency to minimize resource consumption and improve performance.
- Clean up unused resources: Remove unnecessary files, services, and applications to reduce server load and potential security risks.
Conclusion
Laravel Forge emerges as a powerful ally for developers seeking streamlined, secure, and efficient Laravel development. From effortless server management and automated deployments to a focus on best practices and collaboration, Forge empowers you to dedicate your focus to building exceptional applications. Forge promotes effectiveness, safety, and a developer-focused methodology for creating outstanding Laravel applications.
FAQs
Q1. Do I need to know how to manage servers?
Answer: No prior server management experience is necessary. Forge automates most tasks and provides a user-friendly interface.
Q2. Can I deploy multiple applications on one server?
Answer: You can create and manage multiple Laravel sites on a single server, sharing resources efficiently.
Q3. Can I use Laravel Forge with other PHP frameworks or applications?
Answer: While Laravel Forge is designed explicitly for Laravel applications, You can use it to manage servers and deploy other PHP-based applications and frameworks. Developers can customize server configurations and deployment scripts to suit their specific requirements.
Q4. Can Laravel Forge help with scaling applications?
Answer: Yes, Laravel Forge offers options for scaling applications by adding additional server resources or implementing load balancing. It integrates with services like Laravel Horizon and Laravel Vapor for managing queue workers and serverless deployments, enabling developers to scale their applications as needed.
Recommended Articles
We hope this EDUCBA information on “Laravel Forge” benefited you. You can view EDUCBA’s recommended articles for more information,

