Updated March 17, 2023
Introduction on JUnit Annotations
JUnit is one of the most powerful, Java-based, and open-source testing frameworks available free of cost in the market. It helps in easy and quick test case creation and test case execution according to the requirements with the help of annotations. Annotations basically provide extra information about the classes and the methods that are used in the Java code. It helps in testing each unit component, be it methods, classes, packages, and variables. It is commonly used for Unit testing of applications. The latest upgrade of JUnit is JUnit5. It supports the Selenium web driver for the automation testing of web and mobile applications. org. Junit is the package that contains all the interfaces and classes for testing through JUnit.
JUnit Annotations with Example
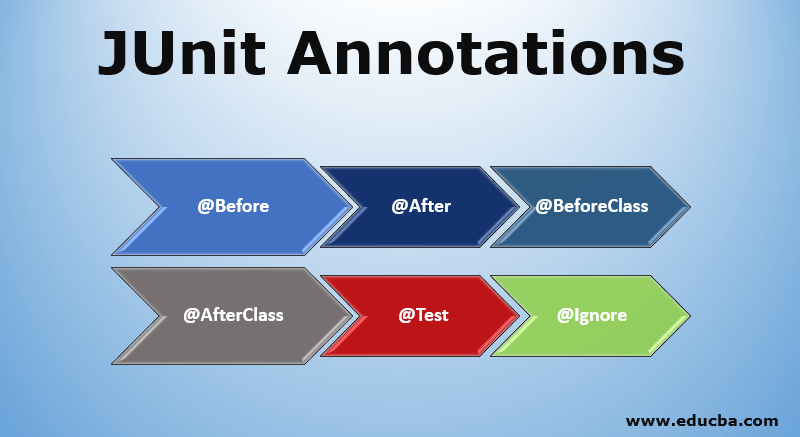
Below given are some of the JUnit annotations:
1. @Before
There are scenarios when some test cases or test data need to be created before executing the actual test case. In that case, @Before annotations came into the picture. Annotating any public method with this annotation allows the code/ method to run before every actual @test method. In the case of inheritance, @before methods of the superclass are called first and then the @before methods of the current class.
2. @After
It is just the opposite of @Before annotation. It is used in cases when some actions need to be performed like releasing resources, cleaning up memory, printing anything on the console after the execution of the @test method (after the execution of every test case). One important point that should be noted for @After annotation is that it will execute even when the @test or @before methods throw an exception. For example, in the case of the sub and superclass relationship, the @after method of subclass/ current class is executed before the @after method of the superclass.
3. @BeforeClass
This annotation is used in the scenarios when some actions need to be performed before the execution of any test case of a particular class, like creating a connection with the database, making an entry in a database, entry in the logs, etc. When @BeforeClass annotation is used before any method, that method executes before any test method in a class. Its working is similar to the @Before annotation only difference being that @Before executes the method prior to the execution of every @test method, whereas @BeforeClass executes only once, i.e. prior to the execution of any @test method in a Class.
4. @AfterClass
All the resources allocated in the @BeforeClass method need to be released after the execution of all the @test methods of the current class. This deallocation of resources or any important task that is to be done after the execution of the whole class is done by the @AfterClass method. The @AfterClass method runs after all the @test method of the current class is executed in simple terms. It is executed only once. @AfterClass methods are run mandatory even if the @BeforeClass methods throw an exception.
Like the @After method, the working of the @AfterClass method is similar, except for the fact that the @After method is executed after every @test method of a class, whereas the @AfterClass method is executed once after all the @test methods of a class are executed.
5. @Test
This annotation specifies that the public method under this annotation is a part of the main test case that needs to be executed. The method under the @test defines the test case as passed or failed depending on whether any exception/ error occurs on executing it.
It can also be used in 2 ways:
- @Test(timeout= 500): It takes the parameter as timeout, which accepts milliseconds’ values. It considers the test case as failed when it takes longer than the expected time to execute and pass when it executes successfully within the specified time limit.
- @Test(expected= Exception.class): There are situations when we want some methods to throw a specific exception. The test case fails if the method does not throw any exception or the above-mentioned exception.
6. @Ignore
There are scenarios when we want to ignore a few test cases and don’t want to run them. @Ignore helps for the same. Methods under the @Ignore annotations are not executed and are ignored during the execution of the code. Even in TestNG reports, test cases are ignored, and the number of test cases passed.
Example:
Let’s take the example of JUnit Annotations.
package demo;
import org.junit.*;
public class JUnitAnnotationTest {
// Run once, before any @test method in the class are executed
@BeforeClass
public static void bClass() {
System.out.println("BeforeClass method is called");
}
// Run once after all the @test methods of the class are executed
@AfterClass
public static void aClass() {
System.out.println("AfterClass method is called");
}
// Run before every @test method of a class is executed
@Before
public void bMethod() {
System.out.println("before method is called");
}
// Run after every @test method of class is executed
@After
public void aMethod() {
System.out.println("after method is called");
}
// Test method which has actual test case
@Test
public void testMethod() {
System.out.println("Test method is called");
}
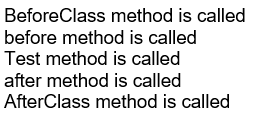
}Output:
Advantages of JUnit Annotations
Below given are some of the advantages of JUnit annotations:
- JUnit provides an easy way to execute the test cases in a specific way according to the requirements of the user.
- It is easy to execute the multiple test cases parallelly using the JUnit by combining them in a test suite.
- JUnit annotations used for automating test cases in Selenium provide a very detailed and interactive, graphical report to the user, which is very user-friendly.
- JUnit allows to pass the parameters in the method using a very simple way.
- JUnit annotation helps to perform clean coding, which is very easy to understand for both testers and programmers.
Conclusion
The above explanation clearly describes the importance of the JUnit framework and the order in which various annotations of JUnit are invoked. It is very important to understand the various annotations before using them in a program so that it will not create any issue in controlling the flow of execution.
Recommended Articles
This is a guide to JUnit Annotations. Here we discuss the introduction and Annotations of JUnit with Example, which includes @Before,@After,@Test, and @Ignore, etc. You can also go through our other suggested articles to learn more –
