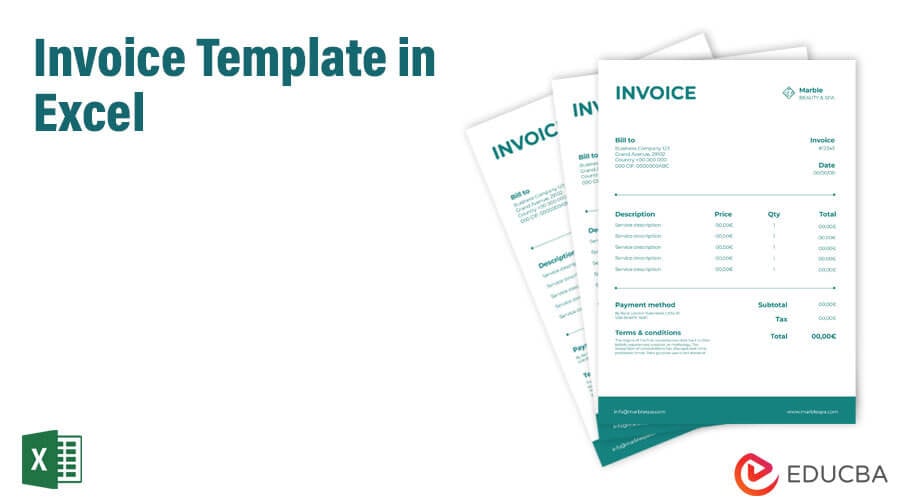
Invoice Template in Excel (Table of Contents)
How to Create an Invoice in Excel?
It is very easy to create an Invoice in Excel. First, we must have a template and some important fields that usually are part of any regular invoice, such as Company Name, Order Date, Item, Quantity, and Delivery Address. Every field we choose has a definite position in Excel which we can put in any of the cells we want with the required font size and font type. Also include a table where we can enter the item name, quantity, and price it has. It is important to keep at least 3 to 4 lines for address along with a section for contact details.
Examples of Invoice Template in Excel
Let’s look at some examples of Invoice Templates in Excel and see how to create an Invoice Template in Excel. You can also check out Zintego Excel Invoice Templates.
Example #1 – How to Create Invoice in Excel using a Predefined Template
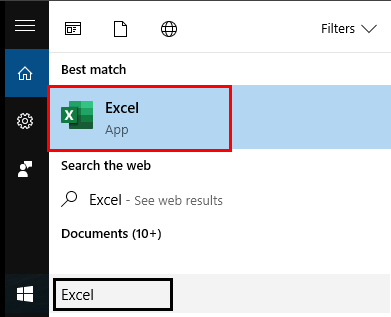
Step 1: Open Microsoft Excel in your Windows system by typing “excel” in the search box. A Microsoft Excel home page will open.
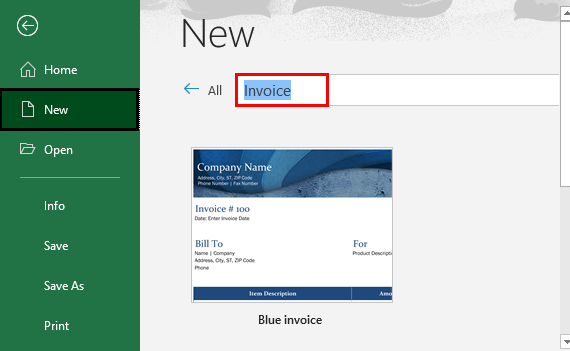
Step 2: In the search box, search for inbuilt invoice templates by typing “invoice” and pressing Enter. You will see thousands of online invoice templates present in Excel. Make sure you are connected to the internet to search for those templates.
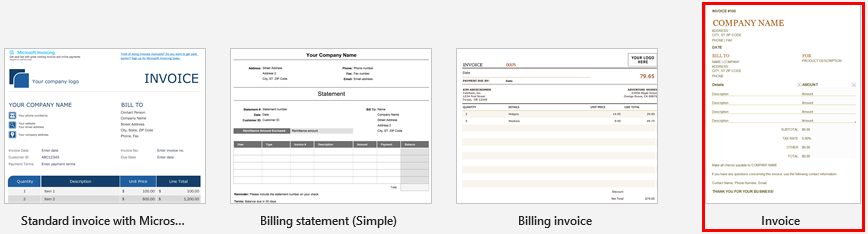
Step 3: Select and click on a template appropriate and fulfilling your needs.
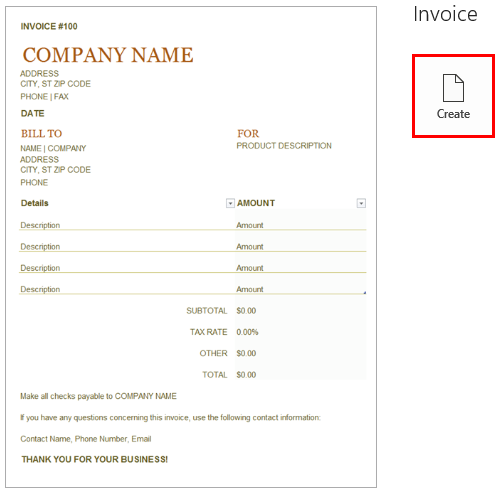
Step 4: Once you select any template, Excel allows you to download the same and use it in Excel for further purposes. Click on Create Button to download and create the template in Excel.
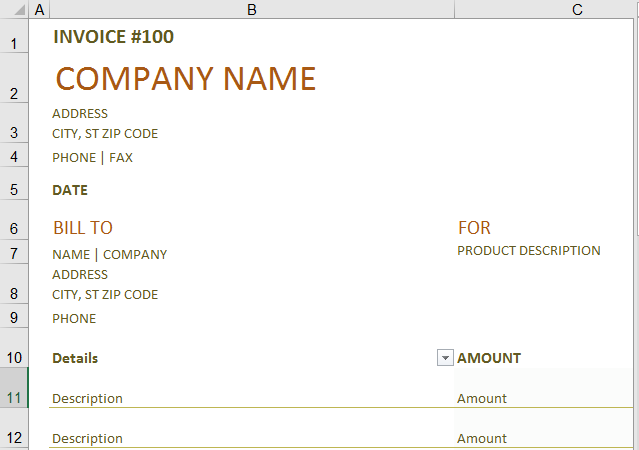
Step 5: Once you click Create button, excel downloads the template for you and opens it. You’ll see a template in Excel, like the screenshot below.
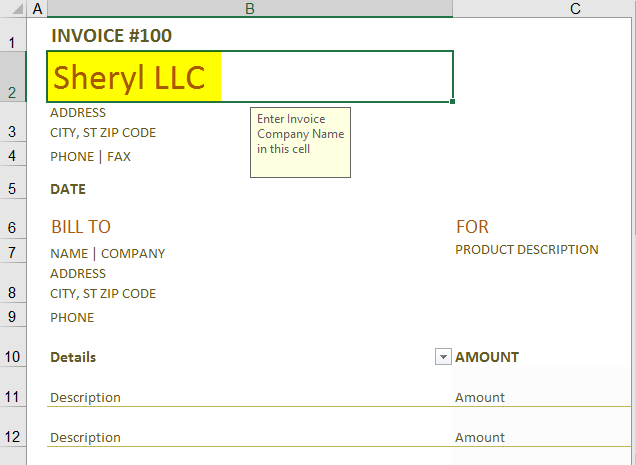
Step 6: You can edit and customize this invoice template as needed. Add the company name in this template, then add the amount associated with the goods.
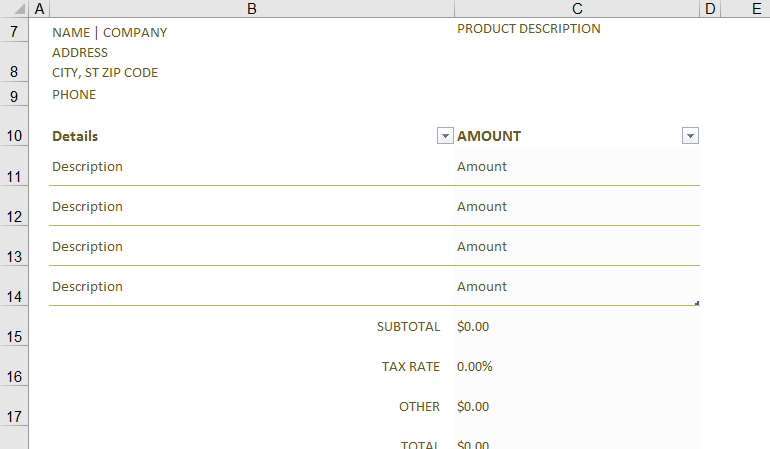
Step 7: You can add them as per the service provided and also should have a look at the final total amount. Most Excel invoice templates use formulas that keep your Final Total updated.
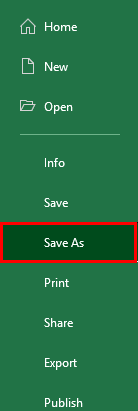
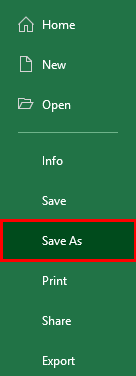
Step 8: Once you are done with the invoice update, you need to save this template. Click on the File menu from the Excel ribbon at the uppermost corner. Click on Save As. Enter a name suitable for your invoice and click on the Save button. You can save your invoice at any location in your system and send it. This step is essential because if you fail to save the updated invoice, you will lose all the updated data from your invoice.
Example #2 – How to Create an Invoice in Excel from Scratch
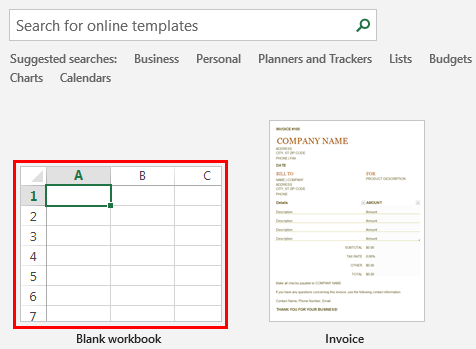
Step 1: Open an Excel file by typing “excel” in the search box and double click on it. Double click on Blank Workbook; it will open up a blank Excel workbook.
Step 2: You should add the following details under each cell per the table below.
- Company Name: Your company’s name for which we should make payments.
- Company Address: The address of the company, along with contact details.
- Date: The date the invoice is being allocated to your customer.
- Customer Details: Company name and address details of the same.
- Product Description and Amount: It allows you to add the product description you are selling and the amount to be added under each category.
With these details, there should be additional details such as Subtotal, Final Total, Tax amount, Thank You note, etc.
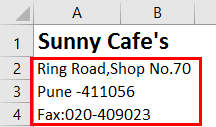
Step 3: In cell A1, add the Company Name with alignment on the left with font size 16. Make it bold and merge cells A1 and B1.

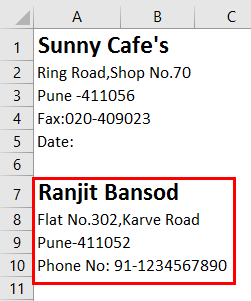
Step 4: Add the company address and postal details on cell A2:A4.
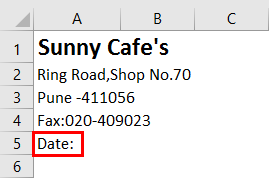
Step 5: Add the date the invoice is being issued to the customer under cell A5.
Step 6: From cell A7:A10, add the customer details, including name, address, and contact details.
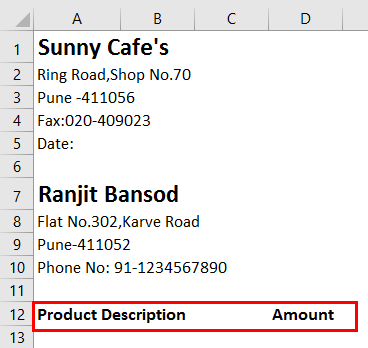
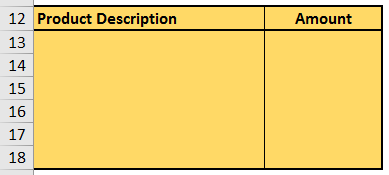
Step 7: From cells A12: B18, add the product description column and the Amount associated with each product category. In column A, the Product Description gets added, and column B adds the Amount.
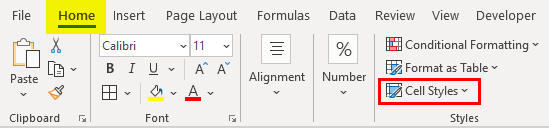
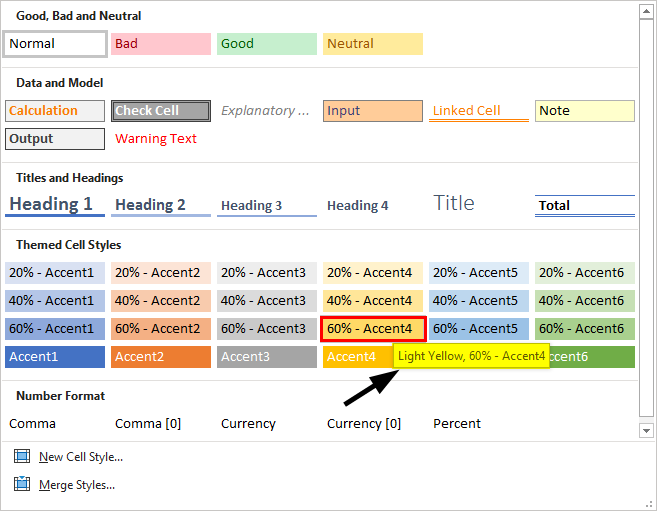
Step 8: It’s good to have these details formatted in a table. Select a block of cells from A12 to B18 and click on the “Cell Styles” menu (present under the Home tab).
You can change the style of these blocks of cells. I prefer “Light Yellow, 60% – Accent 4 Style”.
Step 9: Add a thick border to this range of cells through the Border Menu present under the Home tab. Your invoice should look like the one below.
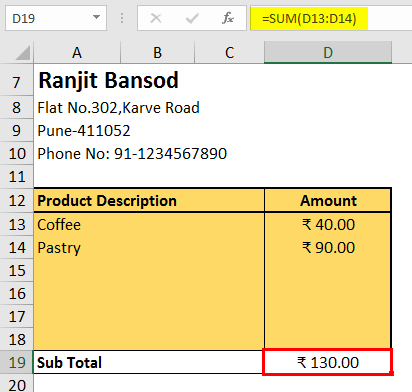
Step 10: In cell A19, add Sub Total fields associated with the subtotals being captured and calculated under cell B19. It’s nothing but the total Amount column.
Step 11: Similarly, add the Tax Rate and Final Total columns on cells A20 and A21, respectively. They will be reflecting the amounts in cells B20 and B21, respectively.
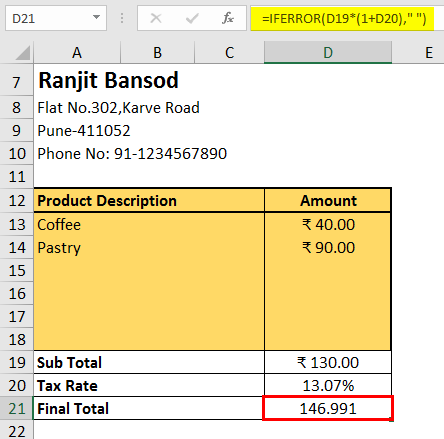
Please note that the Final Total is formulated to add up the Sub Total and the Tax Amount, which gets calculated using the Tax Rate on Sub Total amount.
Step 12: Add a Thank You note in cell A22 to complete your invoice.

Step 13: Save this file, and you are through.
This is it from this article. Let’s wrap things up with some things to be remembered.
Things to Remember About Invoice Template in Excel
- Most of the time, using the default invoice template provided in Excel in-built is good. Make sure you have an active internet connection to download the same.
- Additionally, if you are a business owner, you can use invoicing software to streamline your invoicing process and ensure timely payments from your client.
- It’s always recommended to have your invoice formatted in case you are generating it on your own through scrap.
Recommended Articles
This is a guide to Invoice Templates in Excel. Here we discuss how to create an invoice template in Excel, practical examples, and a downloadable Excel template. You can also go through our other suggested articles to learn more –
