
Introduction to Inkscape vector
Inkscape Vector stands for designing of artwork or graphics object which will not pixelate on zoom in or zoom out process and in Inkscape, we can do it easily that means you can make your own vector designing because Inkscape is vector graphics editing and creating software. We use shapes tool as well as Bezier tool for designing of vector object and some other features of this software also involves in designing for providing us some techniques through which we can do it in a very quick and simple manner. You can also make a vector design from the image but today I will explain the main points of vector shapes by creating an object in this software.
How to create Vector art or object in Inkscape?
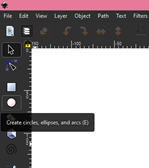
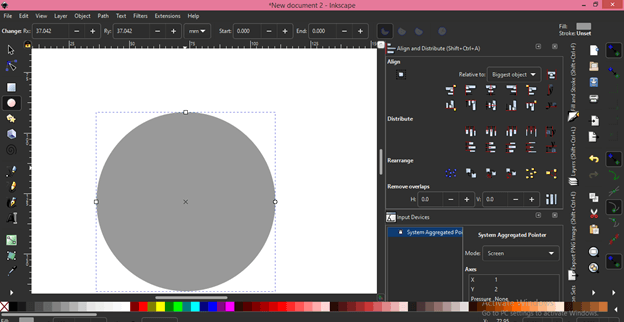
I will make the face of teddy by using tools and the option of the menu bar of this software. I will use the ellipse tool for creating a circle so the go-to tool panel is at the left side of the User interface and click on the Circle tool or press E as short cut key.
Now make a circle by holding the Ctrl key of the keyboard.
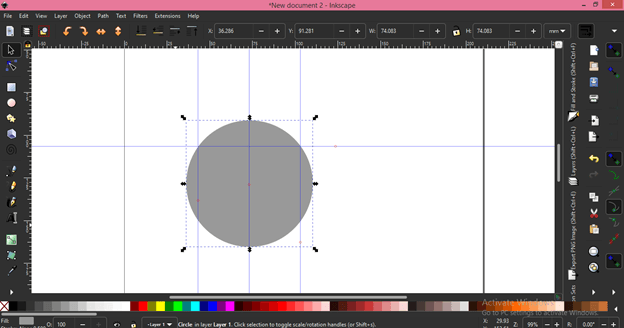
Now click on the ruler of the user screen and then you can drag guidelines into the document area. I will set these guidelines one by one. You can take measurements for setting guidelines. I doing it freehand.
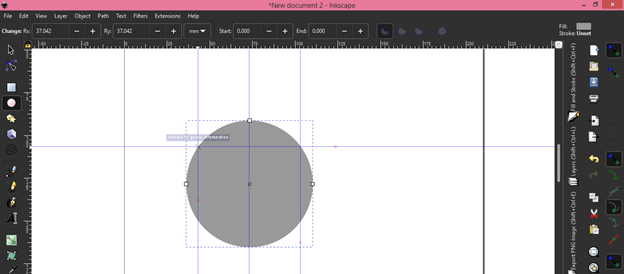
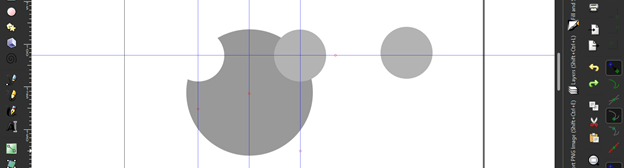
Now i will make a small circle at the cross point of these two guidelines. If you have a snapping option enable then it will automatically snap the mouse cursor to the crossing point of guidelines.
I will make a circle like this then make a copy of it by pressing the Ctrl + d button on the keyboard.
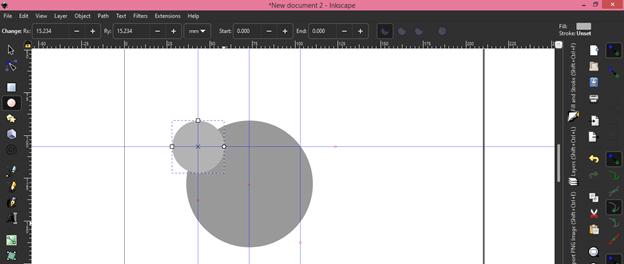
And drag it to the next crossing point of the other two guidelines with the help of the Selection tool.
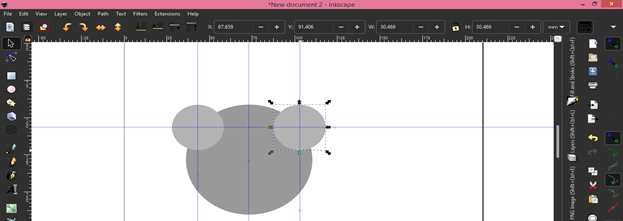
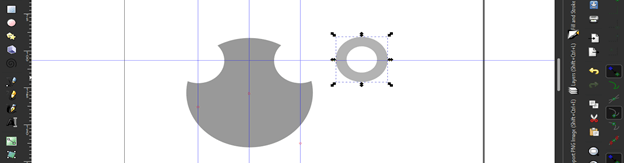
Then make an extra copy of this small circle then select one small circle and a large circle with the selection tool by holding the shift button of the keyboard.
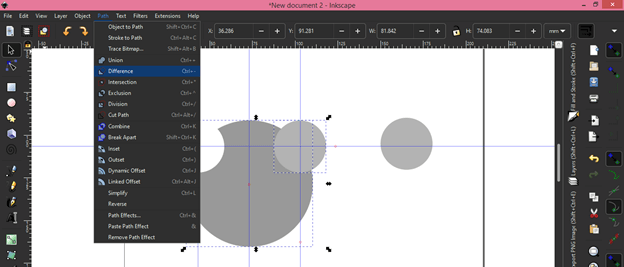
Then go to the Path menu and click on the Difference option of the drop-down list or press Ctrl + – key of the keyboard.
And the small circles will cut from the large circles.
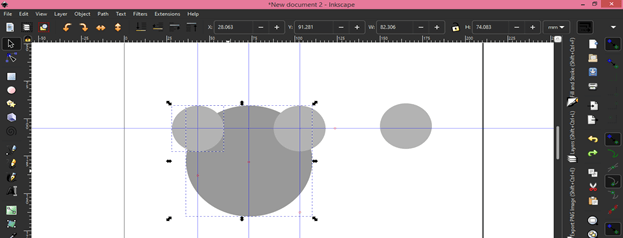
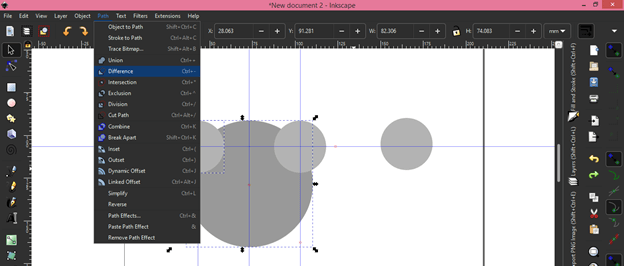
Do the same with another circle that means select small and large circles and click on the difference option of the Path menu.
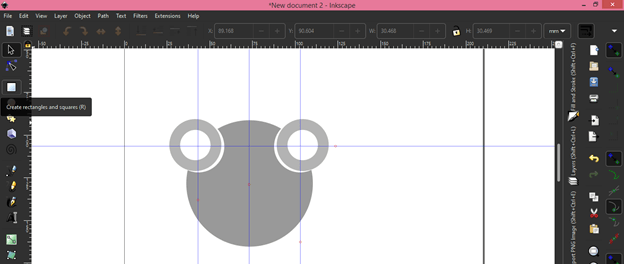
Now I will make a copy of this extra circle so select it then press the Ctrl + d button of the keyboard then make a smaller circle than this circle so go to the Path menu again and click on the Inset option of drop down list or press Ctrl + (.
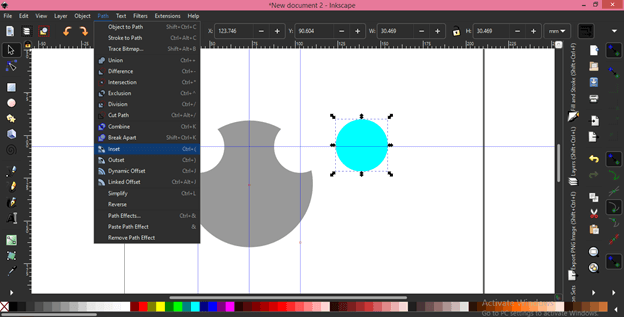
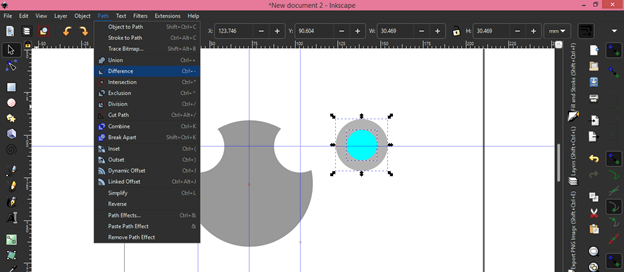
Press ‘Ctrl + (‘ again and again for having a smaller circle at the center of this large circle and then use the Difference option of drop-down list of Path menu for cutting a center circle from the outer circle.
And it will become like this.
Now make one copy of it and place both of them like this.
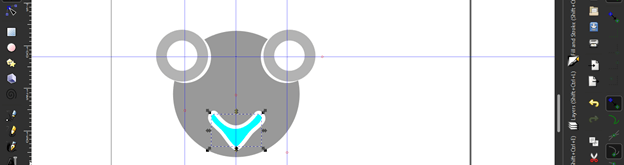
Now i will take Rectangle tool or you can press R for it then make a rectangle. You can see there is point on the corner of this rectangle. These points show that it is a vector shape because vector shapes have nodes through which you can edit that shape from that node.
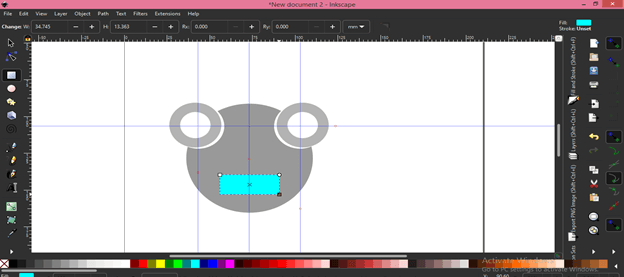
Take Edit node tool from tool panel then click on circular node point of the rectangle then drag it in outer direction by holding it for making the edge of this rectangle round. You can do this only with vector shapes.
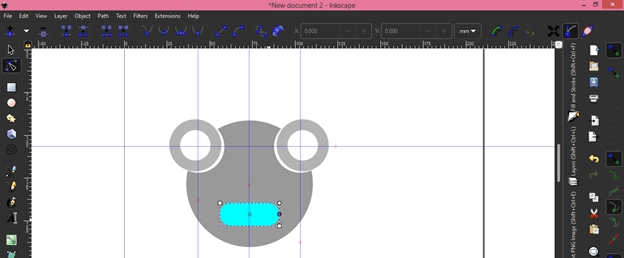
You can also add a curve in vector shape so for that, i will select this rectangle then click on the ‘Object to path’ option of the Path menu and this will add curving nodes to this rounded rectangle.
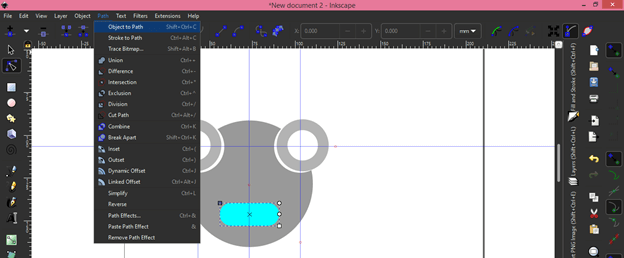
And here I will take the Edit node tool again then make click on the line between the corner node and drag it in the downward direction and you can see there are curve handles.

I will add depth to the curve by using these curve handles. You can also move these nodes for making the different shapes.
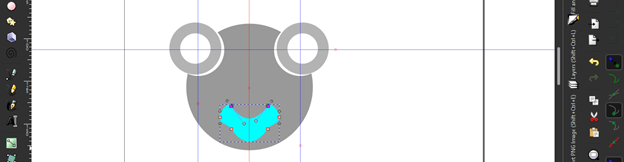
You can see I moved nodes and make changes in the curve with the curve handle and got this shape. One important thing is I will tell you that during making this mouth shape of teddy face there is no damage of pixels and this shape is not getting pixelating because this is made by vector shape and we have been edited vector shape.
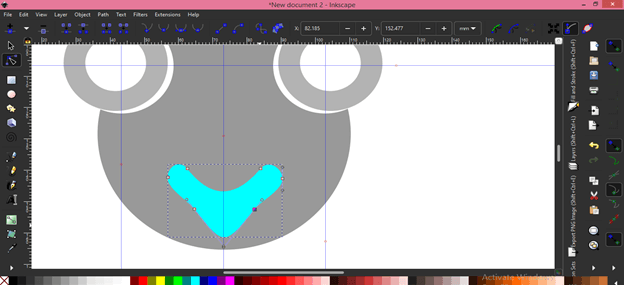
Now I will cut it from a large circle by click on the Difference option of the path menu. Before cutting I will make one copy of it.
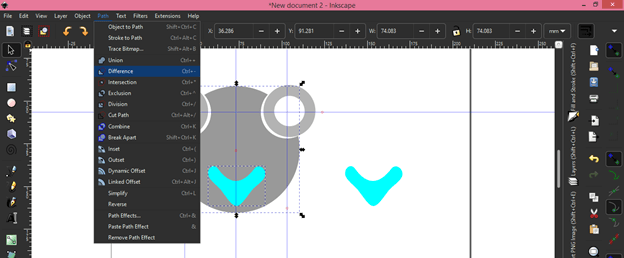
And I will set copied shape at the center of the hollow shape. This hollow shape called a negative shape in the language of graphics designing. You can find, during all processes, there is no damage in the shape of the mouth and this is the main feature of vector shapes.
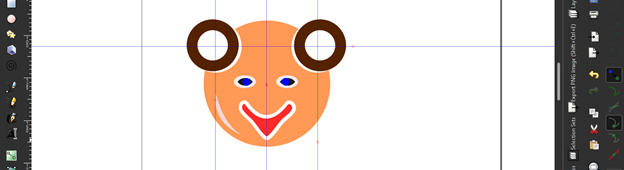
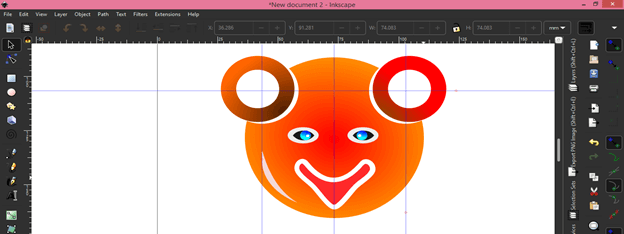
I added these more shapes for giving by object a teddy face look and choose different colors for all parts of its face. This can be called flat vector art.
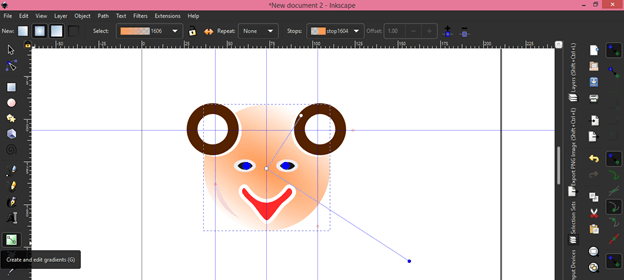
Now you can use a gradient on the part of the teddy face for engraving details in this object. I will take the Gradient tool or you can press G as short cut key. Before taking the gradient tool select the part on which you want to apply the gradient. I will select a large circle then click on the center of it then drag a mouse pointer like this.
For changing the color of the gradient click on the endpoint of handles of gradient then choose a color from the color pallet and it will change like this. You can change the color of both handles.
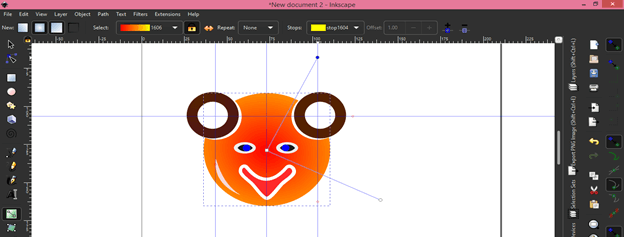
I will do this with all parts and our vector artwork is ready.
You can notice when I zoom it, it is not pixelating.
Conclusion
This was a simple design for explaining to you the all-important point of vector shape which you must know during working with it. You can make your own vector shapes by applying your ideas, you just have to command on tools and features of this software for play with vector arts.
Recommended Articles
This is a guide to Inkscape vector. Here we discuss How to create Vector art or object in Inkscape and explain the main points of vector shapes by creating an object. You may also have a look at the following articles to learn more –
