
Introduction to Inkscape unlock
In this analysis, we shall study in depth the various methods of applying Lock and Unlock on objects and layers in Inkscape. Inkscape has a friendly user interface and toolset which helps the user in designing substantial artistic vector designs and artworks. Inkscape has vital properties for objects and layers irrespective of the nature of the image and its format. Tools such as lock/ unlock, hide/unhide, copy/paste, Group/Ungroup, Delete, select all, and other necessary functions aids in the proper management of images and vector shapes in a single file document.
How to Use Unlock in Inkscape?
Even if, Inkscape is open source freeware software, still it has all the essential functions required to perform and create designs in a hassle-free environment. Lock/Unlock functions are extremely helpful when the user is creating complex designs and compositions. Similarly, Hide & Unhide and Group& Ungroup are also part of the settings of the object or layers on the whole.
Just like any other vector image editing program, Inkscape also provides a proper and well-designed user interface with the fundamental object and layer properties. These small yet specific functions are so helpful that without these functions every task becomes a tricky and puzzling process to perform.
When the user requires to Lock and unlock a single object, they select that particular object while Locking and Unlocking the whole Layer will work on all the objects present on the layer.
We also have options for Locking and unlocking all the layers present in the document at one time. This makes the work of the user fast-paced and quicker. These quick options are so user convenient and accessible certainly at the fingertips of the user.
Performing Locking and unlocking functions on Inkscape is a little different from other vector editing programs in terms of applying and changing the settings of the objects and Layers.
When we lock an object or layer, that particular element cannot be moved, scaled, and rotated. It becomes a “Locked” Object which cannot be modified unless the user unlocks that particular element.
How to apply Lock/Unlock on an individual object or selected objects?
- Launch Inkscape.
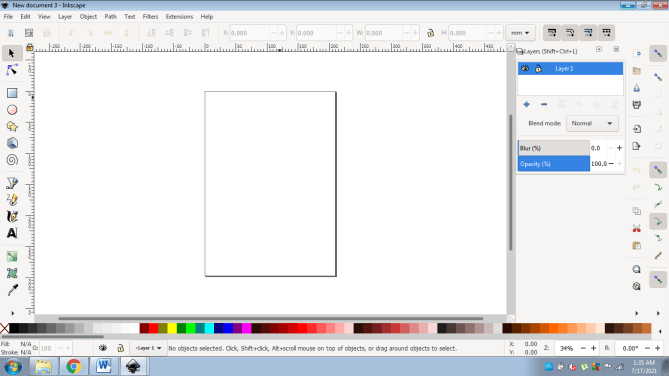
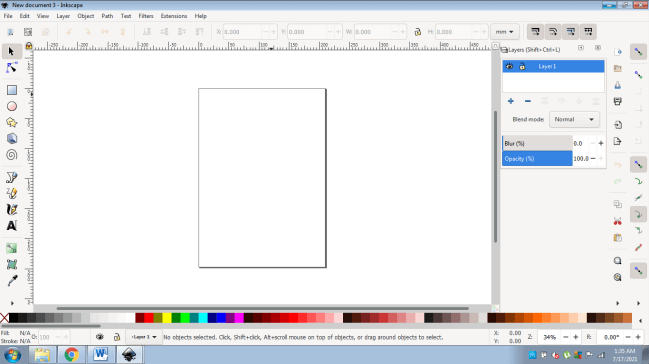
- Open a new file as shown in the image below.
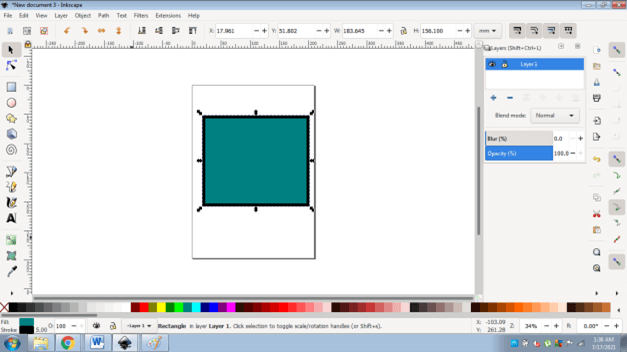
- Create an object as shown below.
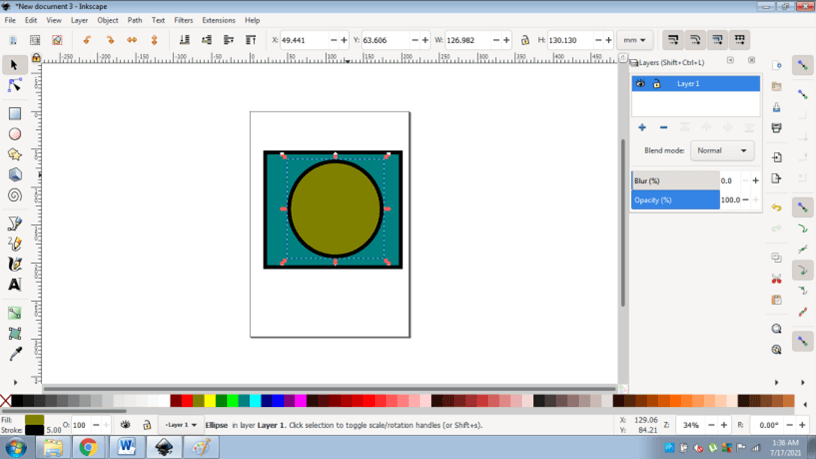
- Now, create another object different from the previous one.
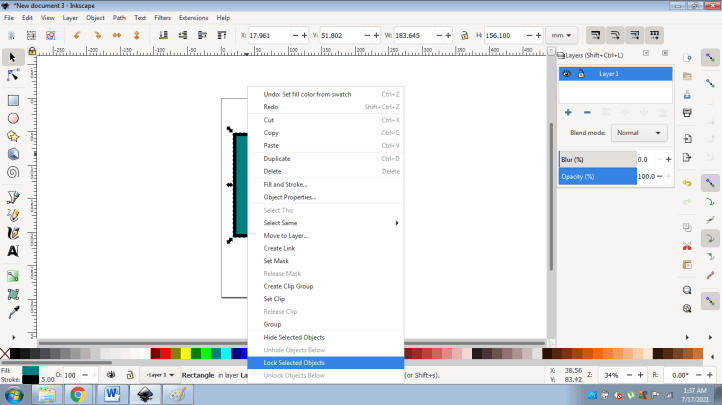
- Right click on the 1st object and click on Lock Selected Objects.
- One more way to Lock the objects is to go to OBJECTS> OBJECTS PROPERTIES.
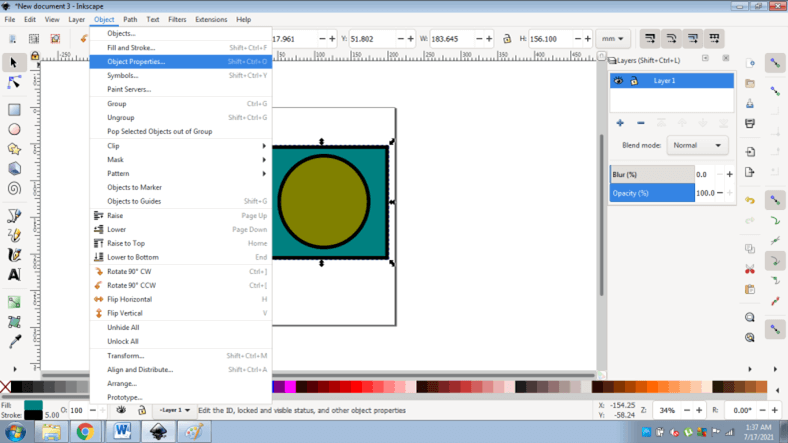
- You will see an Object Properties Window on the right panel.
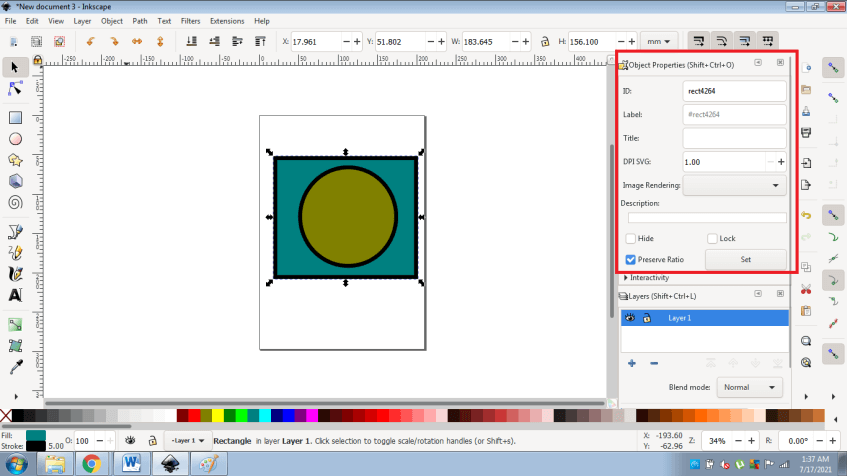
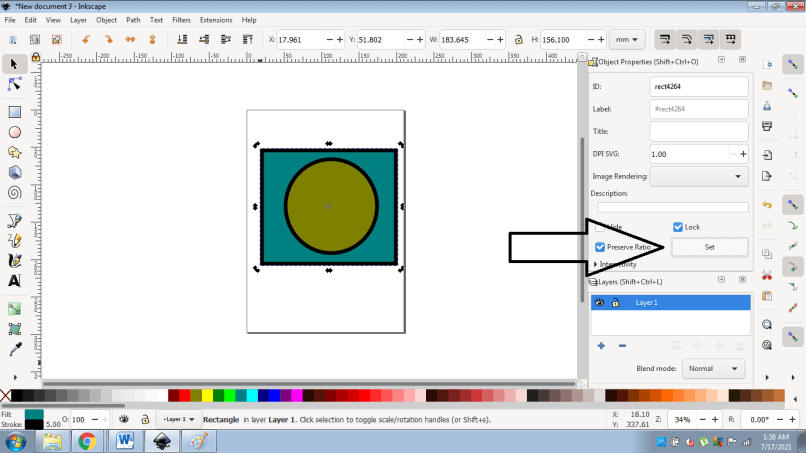
- Next, select the object and click Lock, then click on Set to lock the object.
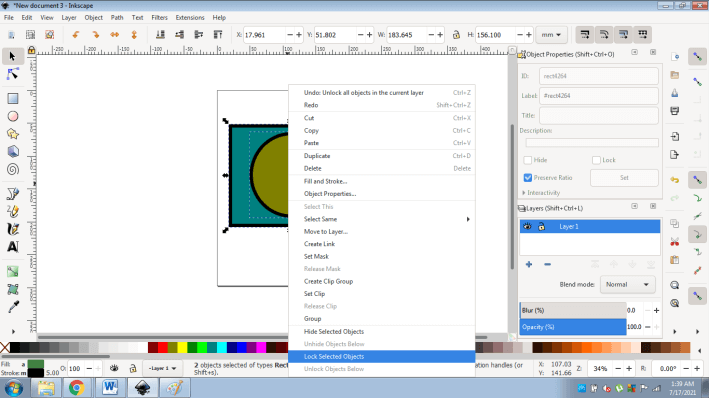
- You can also select both the objects and right-click and select LOCK SELECTED OBJECTS to lock both the objects at once.
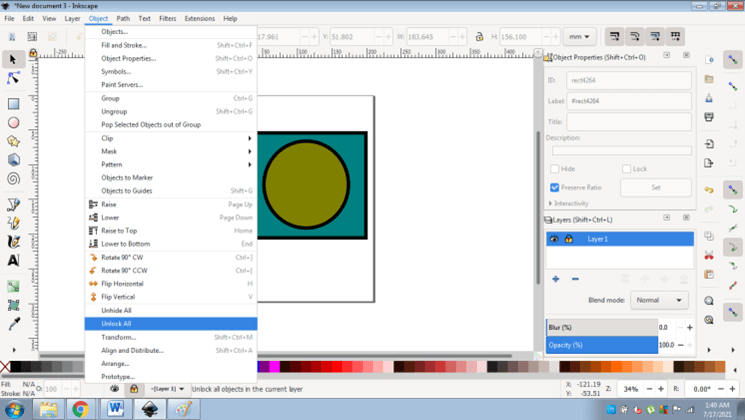
- To unlock the object go to Objects> Unlock all Objects.
- The user can also click on the Lock/Unlock button on the Objects panel to Lock and Unlock the Objects. Below given is the technique to do so.

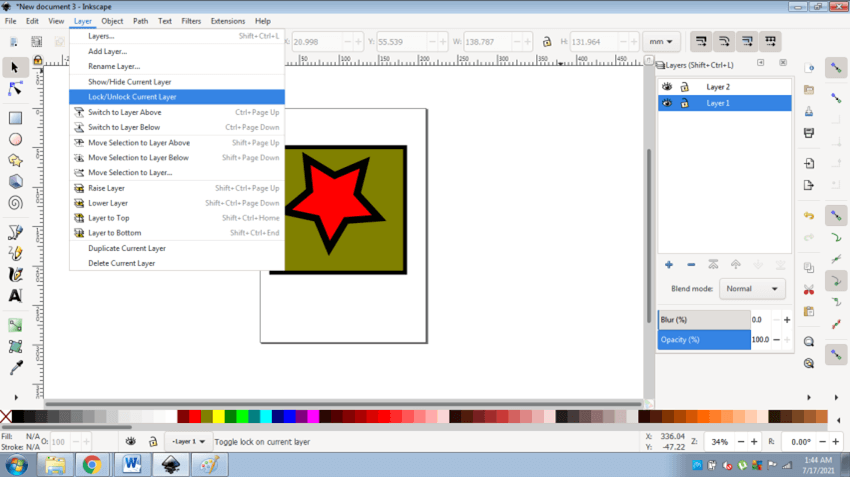
How to Lock/Unlock individual Layers or all the layers at once?
- Launch Inkscape.
- Open a new file.
- Now, add a new layer as shown in the image below.

- Create an object on Layer 1 as shown in the image below.

- Next, add another layer and add an object on Layer 2 as shown below.

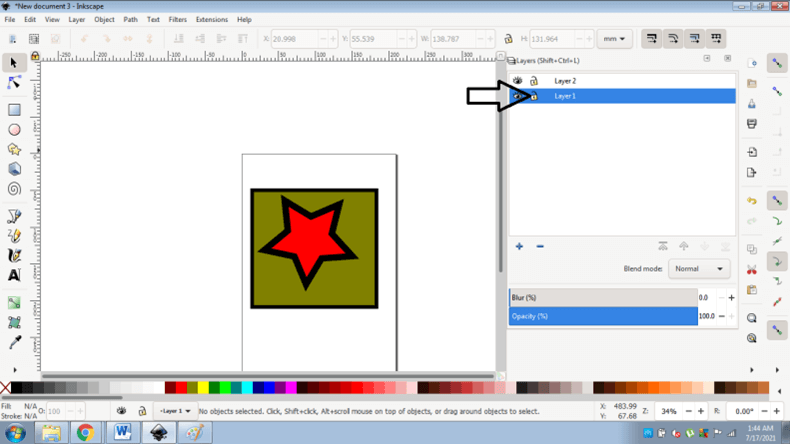
- To lock/ unlock Layer 1 Go to Layers and select Lock / Unlock Current Layer.
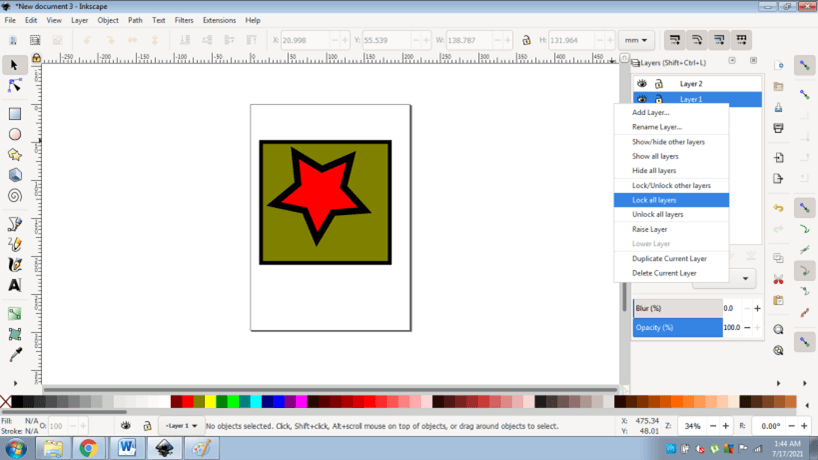
- To lock/ unlock both the layers right click on the layer and select Lock All the layers/ Unlock all the layers.
- Another way to lock/ unlock the layers is to click on the Lock Icon on the Layers.
Many times, some of the users create multiple objects on a single layer and fail to create or add new layers according to the need of the project. In such cases and situations, the Lock and Unlock, Hide and Unhide, Group, and Ungroup functions provide a massive aid to the users by making the workload easier and quicker in comparison to not using these functions.
Also keeping the document and files organized and well maintained, these Inkscape functions helps the user to design neat, standardized, and well-conducted artworks and creations.
Creating Layers and applying Lock and Unlock properties in Inkscape has its own set of benefits and comfort. Users cannot even select the Locked objects, and can only work with Locked objects after they are Unlocked specifically. This remarkable trait that Inkscape provides for objects and Layers is exceptional and attractive.
Conclusion
Concluding the above article, it is confirmed that Inkscape is not just a miniature vector program with almost all the functions that vector software should have but also a program that is available to the user free of cost and maintenance. In Inkscape, Lock and Unlock is a study about learning the major yet simple tools that can make a big impact on a load of work and assignments. The user should definitely learn and master these tools to create fantastic creations on Inkscape.
Recommended Articles
This is a guide to Inkscape unlock. Here we discuss How to Use Unlock in Inkscape and How to apply Lock/Unlock on an individual object or selected objects. You may also have a look at the following articles to learn more –
