Introduction to Inkscape snap to grid
Inkscape snap to grid is very useful feature of Inkscape which helps us a lot during working on our designing work in this software and you can understand it like a magnet which attracts iron towards it if it come near that magnet that means if you move cursor pointer near to points of grid then cursor pointer will automatically snap with that point and we will have our accurate point on art board. So today you will learn about grid and snap to grid feature of this software which will be very useful for you in your future designing work. So let us delve with this topic for getting accurate knowledge about it.
How to work with Snap to the grid in Inkscape?
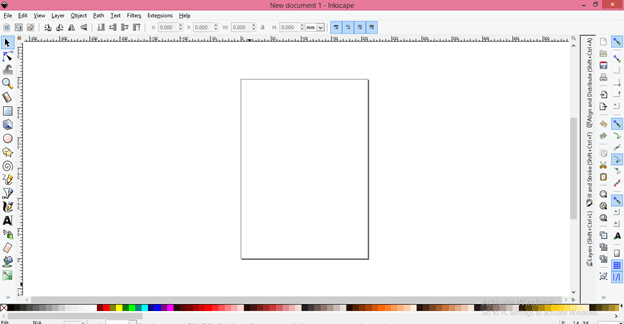
We will navigate number of option and sub option in this software for learning about this topic so before we start i think i should tell you some important sections of User interface of this software so that you can understand my words throughout this article.
Starting from top we have Menu bar here which contains number of menus such as File, Edit, View and some other. Below this there is properties bar of active tool through which you can make changes in the parameters of that tool. Moving into downward direction on the User interface you will have three sections in which at left side we have tool panel, at center there is display window for our work, at right side there is some other most usable tools and at the bottom of the user interface we have color pallet. You can place any section (which is moveable) of this software at your desired area of user interface.
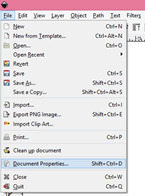
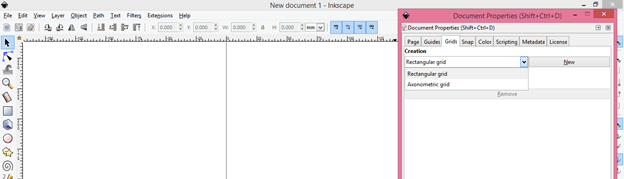
Now for Gird go to File menu of menu bar and click on it. A scroll down list will be open once you click on it. Here in this list click on Document Properties option or you can go with Shift + Ctrl + D keys of keyboard which is short cut key of it.
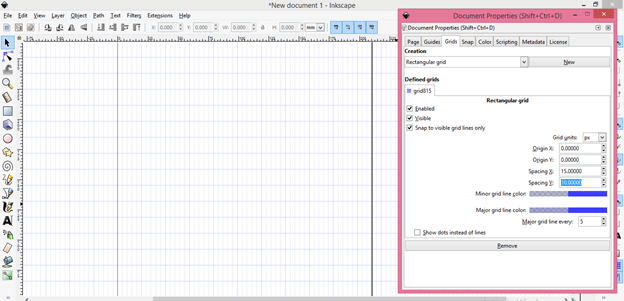
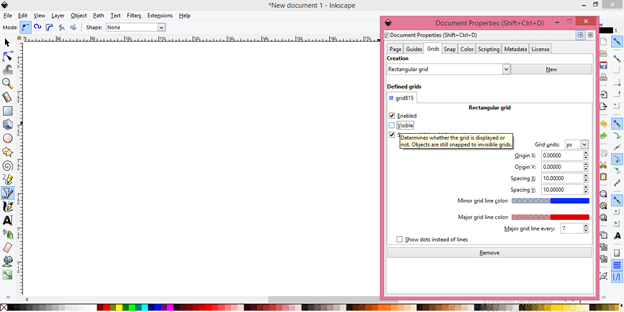
This is Document Properties dialog box and here click on Grids tab of this dialog box.
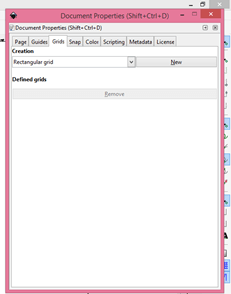
We have two type of grid here first is Rectangular gird and second is Axonometric gird
I will explain you snapping feature with rectangular grid so click on New button of this tab for having grids and you will have grids on your document window.
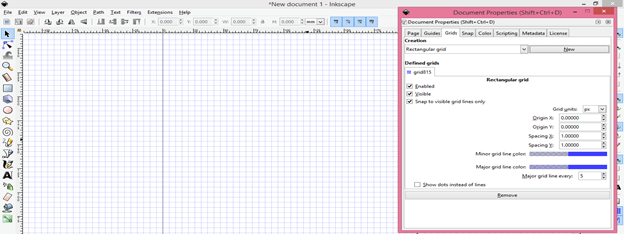
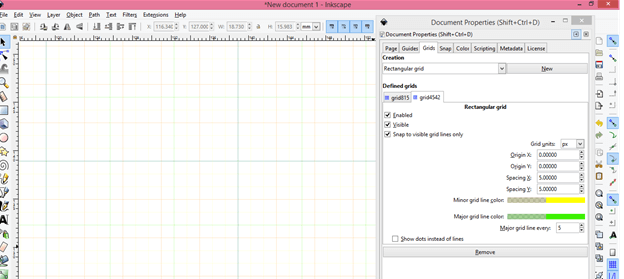
This gird made by horizontal and vertical lines and it makes number of blocks. According to current setting of this box one block of grid makes 1 x 1 pixels. You can change it according to you.
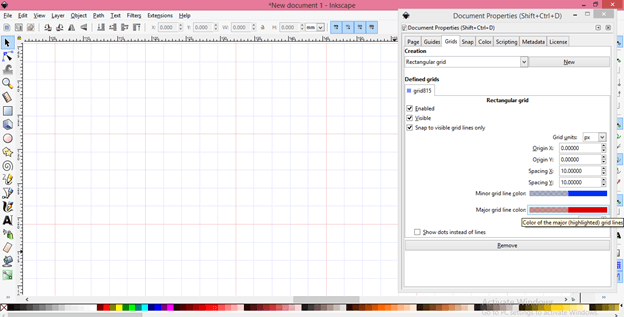
I will give value as 10 X 10 and you can see the differences before and after gird
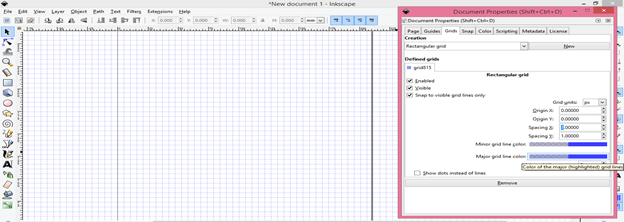
It is not necessary that you should have square blocks in grids. Rather than square blocks you can make it rectangular by changing value of spacing in X and Y differently.
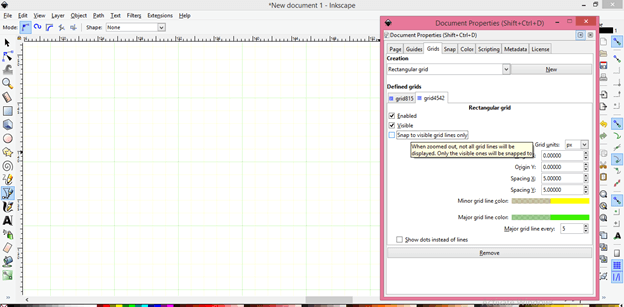
You can also change the color of Minor or Major grid. Major grid has 5 minor grid lines in column and row. You can see i change major lines color to red and it is clearly show in document area.
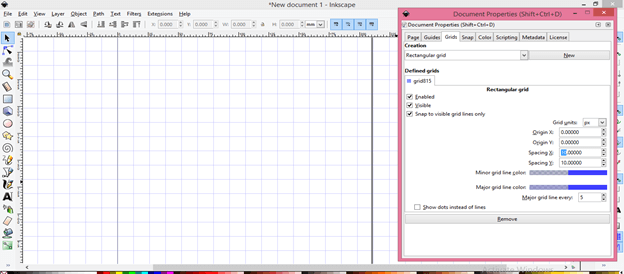
You can change minor gird number which will be in major gird from this option. It is 5 right now that is why we have 5 minor gird.
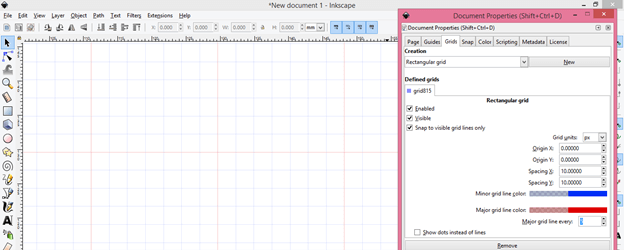
If I change it to 7 then there will be 7 column and row in major gird.

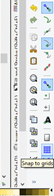
Now let us learn how we can use snapping option on this grid. At the right side of user screen you will find ‘Snap to Grid’ option with this icon. Snapping to grid only works if this option is enable. You can enable it by clicking on it. If its icon has blue color that means it is active.
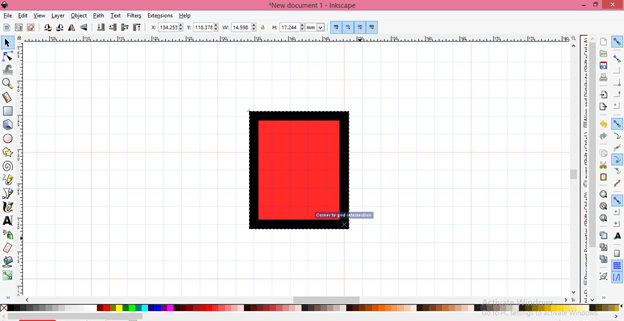
Now I have taken Rectangle tool from tool panel and you can see grids is showing me snapping point on corners of block of this grid. I will start from this point by clicking on it for drawing a rectangle.
Now drag mouse cursor for drawing rectangle and you will notice the magic is happened. What is this magic? This magic is that your cursor will automatically snap with the corner points of blocks and you can draw a square without holding Ctrl and Shift keys of keyboard.

This snapping will also work when you resize your drawn object by dragging it with mouse cursor.
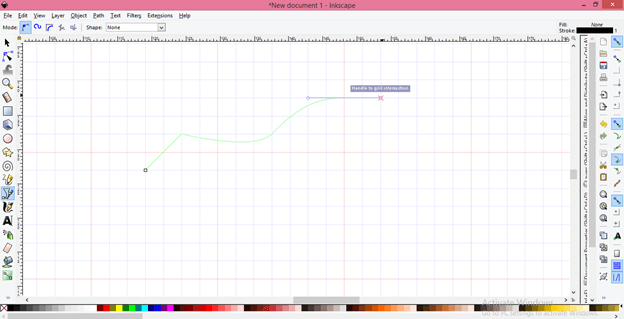
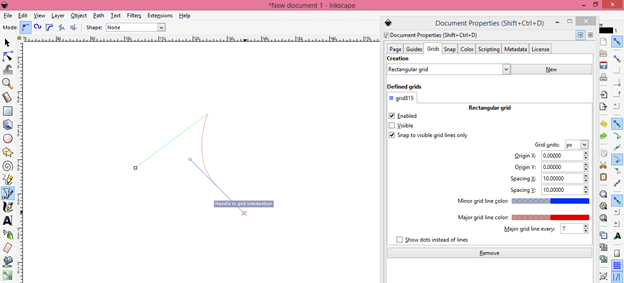
You can also enjoy this snapping feature during working with Bezier tool. So i will take Bezier tool from tool panel and start from any snapping point of this grid. When i move to next point it will snap with corner point of blocks like this. So working with Bezier tool also become easy if snapping to grid option is enabled.
You may have one doubt if you don’t want grid line on your document area and also want snapping features active in same time. So i will tell you this is possible. You just have to enable ‘Visible’ option of Grids tab in Document Properties box and you can work in same way with snap as we do with grids above.
You can see it showing you snapping point even we hasn’t grid lines visible.
You can have multiple grids like this by adding new grid from same dialog box. I have changed color of lines of new grid so that you can differentiate both of the grids.
You can disable ‘Snap to visible gird lines only’ if you want to work with both of the grid alternatively and after disabling this option make invisible that grid on which you don’t want to work. You can repeat it with other gird.
Conclusion
Now understanding about snap to grid feature of this software is easy for you and you can use it in your project work for having accuracy in your work and you can also increase your commanding skilling in artwork with this feature. Try to work this so that you can handle snapping very comfortably.
Recommended Articles
This is a guide to Inkscape snap to grid. Here we discuss How to work with Snap to the grid in Inkscape and how you can use it in your project work for having accuracy in your work. You may also have a look at the following articles to learn more –
