Updated June 9, 2023

Introduction to Inkscape round corners
In this article we are going to learn how to work with round corners in Inkscape. Rounding corners in Inkscape is just a matter of dragging the edge handle but we will be using path effects to get some control over how we create our fillet which is just a technical term for rounded corner. We can not only use rounded corner on standard shapes like rectangle and polygons but on even non regular shape like jagged lines or a semi-circle. One important thing in using path effects to round corners instead of dragging nodes directly is that they are live and we can remove them at any time instead of modifying individual nodes.
Steps of Inkscape round corners
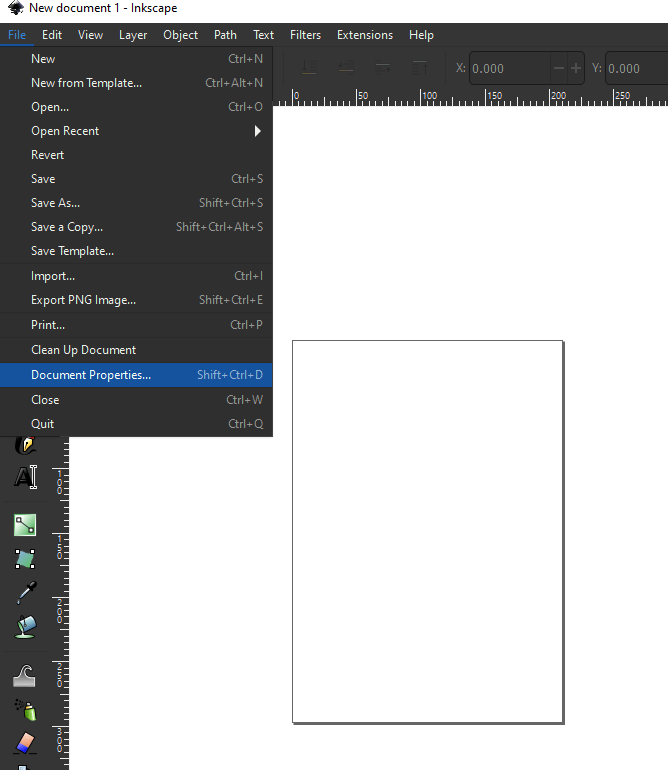
Step 1: Let’s first start by setting up the document properties or press Shift + Ctrl + D
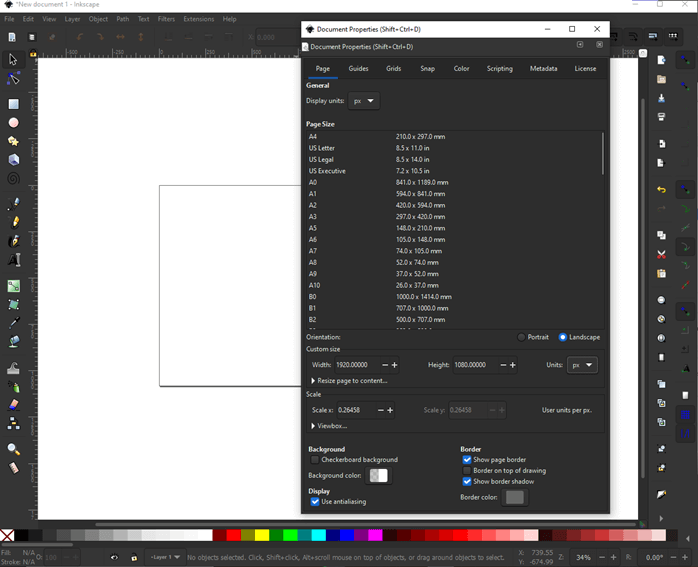
Step 2: Set display units in px, width of 1920 and height of 1080 with units of px
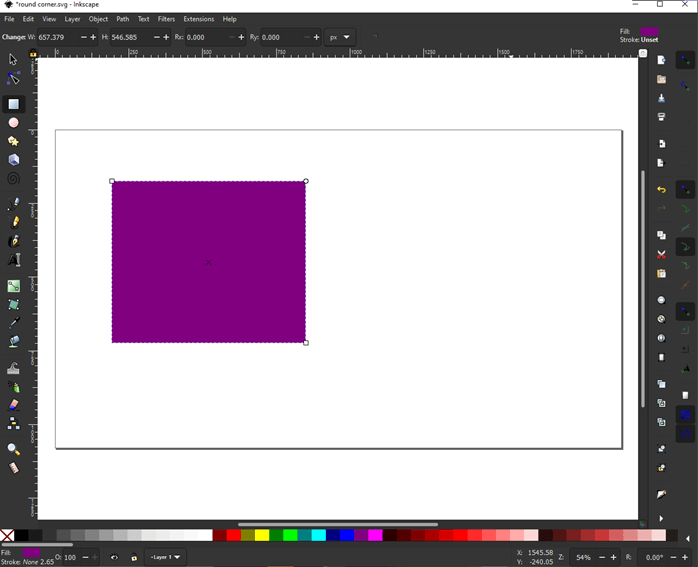
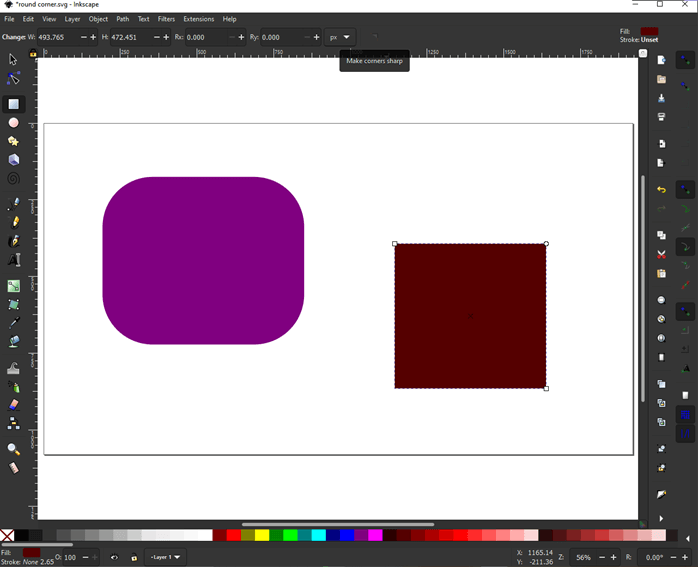
Step 3: Then start by creating a simple rectangle. As we can see the control bar, we have the options of Rx and Ry which sets the corners of the rectangle.
Step 4: You can also drag the nodes at the corner of the rectangle to give it corners. If you drag to the bottom then Ry will change and if you drag across then Rx will change.
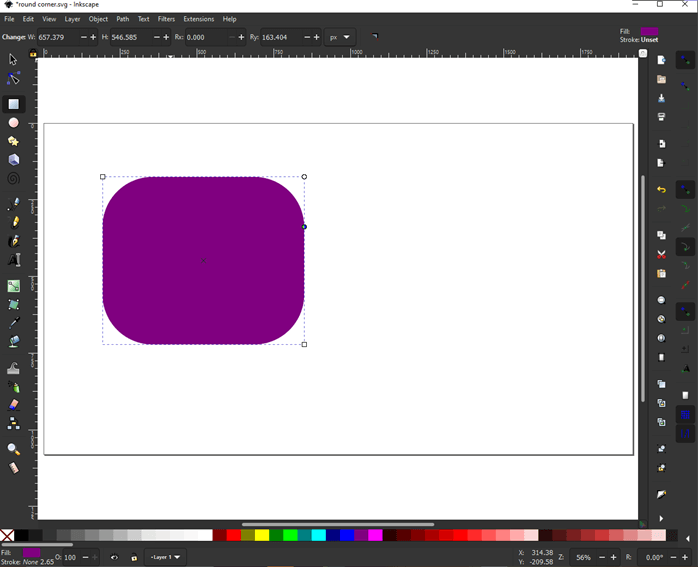
Step 5: As you can see that this changes the actual shape of the rectangle

Step 6: If you want the default shape then click make corner sharp in the control bar to make it a regular rectangle.
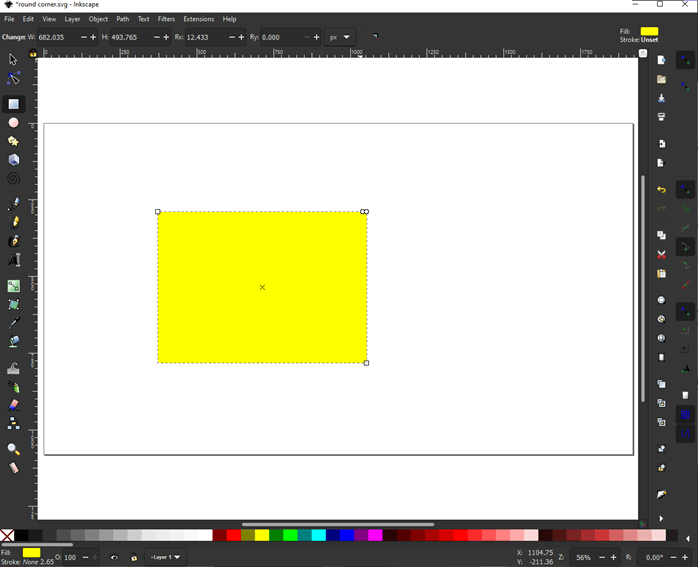
Step 7: Another method to create corner is by using path effects. So, let’s create a rectangle to start with.
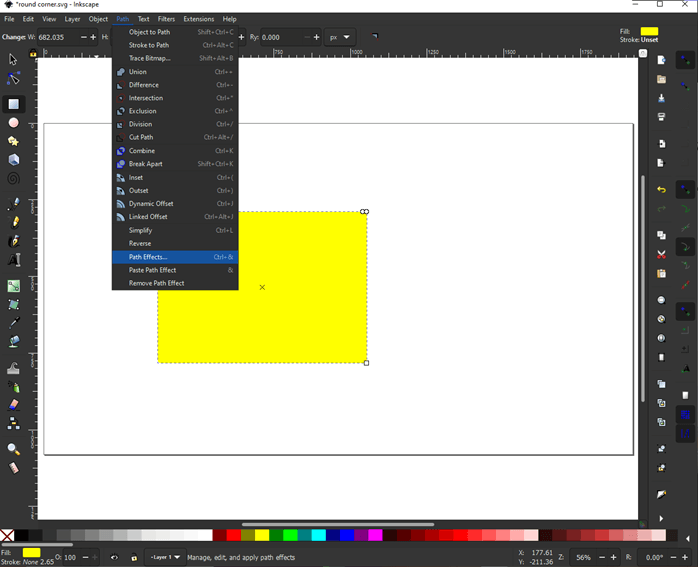
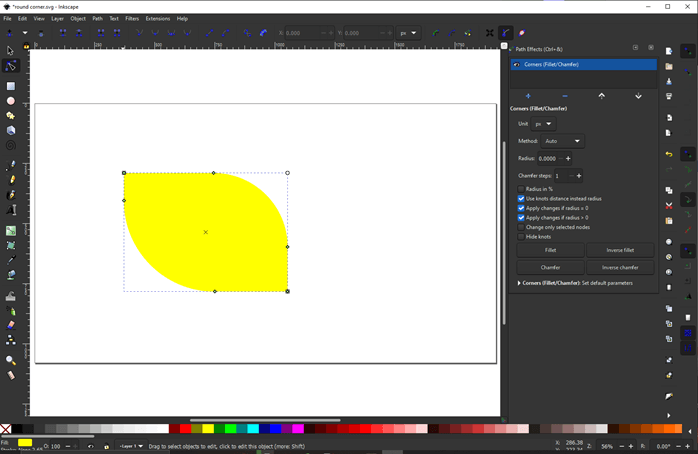
Step 8: Then go to Path -> Path Effects or press Ctrl + &. Which will open a path effects panel where multiple path effects can be added or removed.
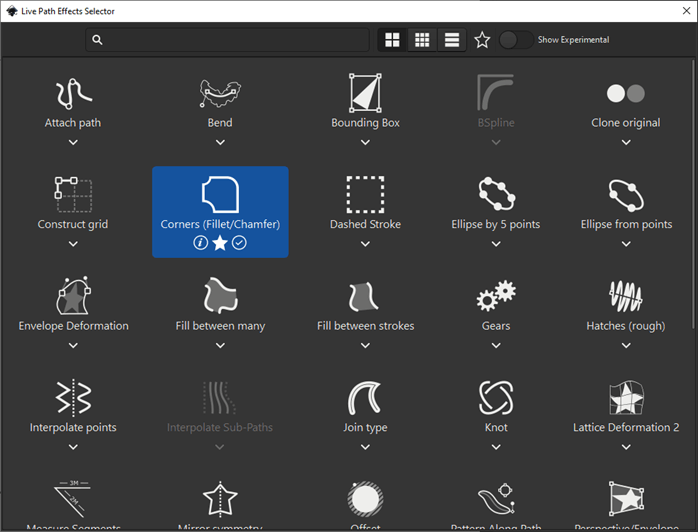
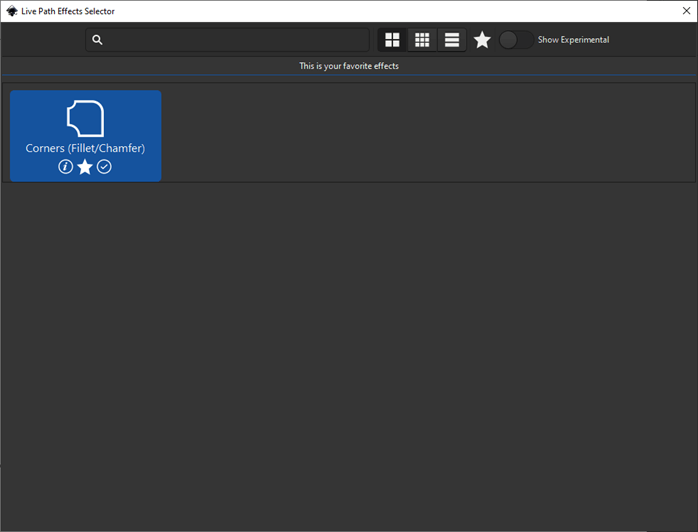
Step 9: When clicking the plus button, you will see all the live path effects and select corners (fillet / chamfer)
Step 10: This will add the nodes on the rectangle. Then use edit path by nodes or press N and drag to create corner shape as shown.
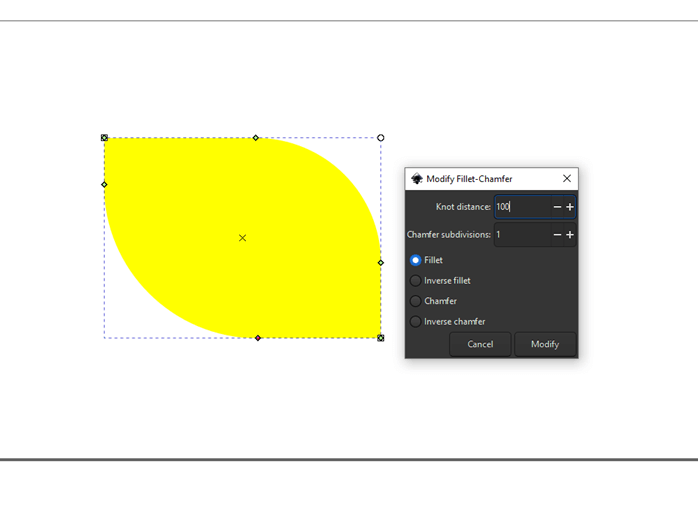
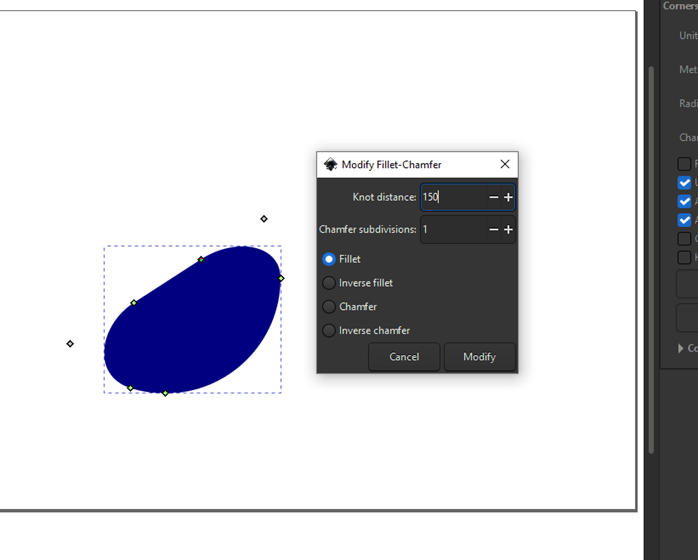
Step 11: When you press shift and click then you get a dialog of modifying fillet-chamfer which is used to give exact dimensions like 100 to the knot distance and set to fillet and click modify.
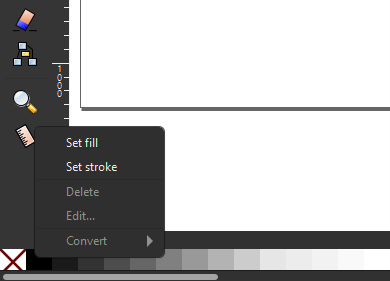
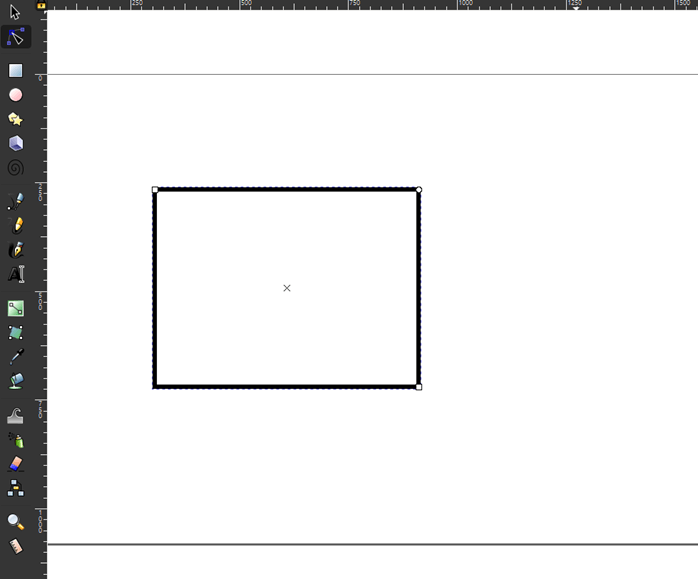
Step 12: Next we will create a rectangle but make sure that you set the stroke and remove the fill by right-clicking at the bottom color bar
Step 13: To create a rectangle as shown and add the corner effect from the path effects panel.
Step 14: One tip is that you can click the star on the bottom of the effect which you use regularly so that you can filter by clicking the star from the filter bar which makes searching the effect easy.
Step 15: Now if you want to change all the four corner then change the radius option and set it to like 40

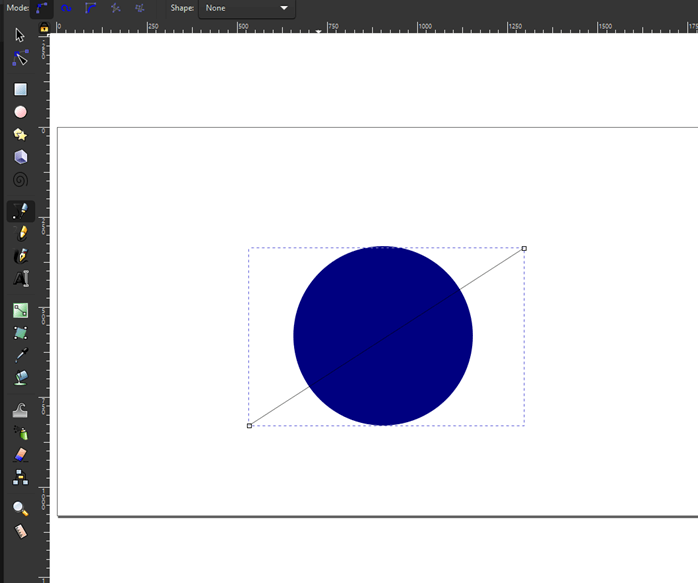
Step 16: Next we will see how the corner effect can be applied to nonstandard shapes. So first create a circle by ctrl dragging the circle tool. Then using the Bezier tool draw a straight line across the circle as shown.
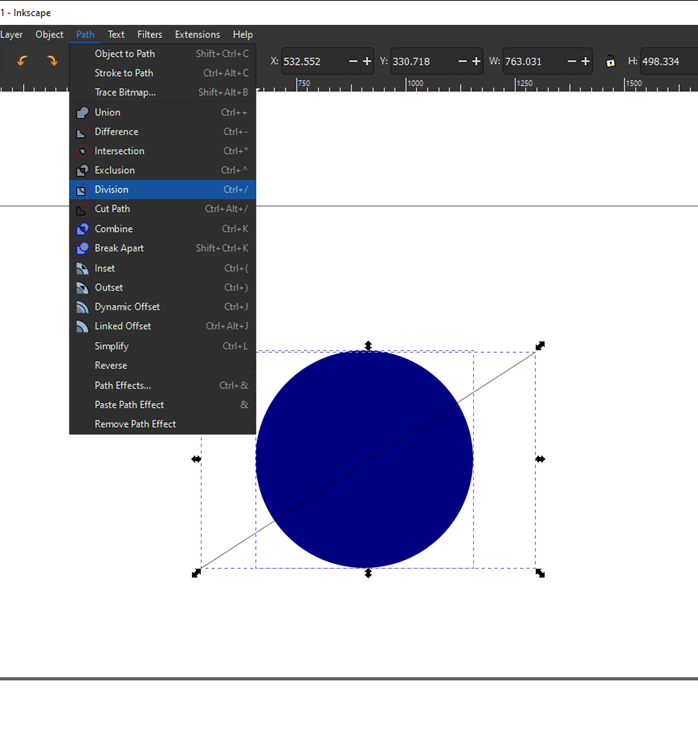
Step 17: Then select both circle and line and then go to Path -> Division or press Ctrl + / which will divide the circle into two parts.
Step 18: Then select the top part and click delete.
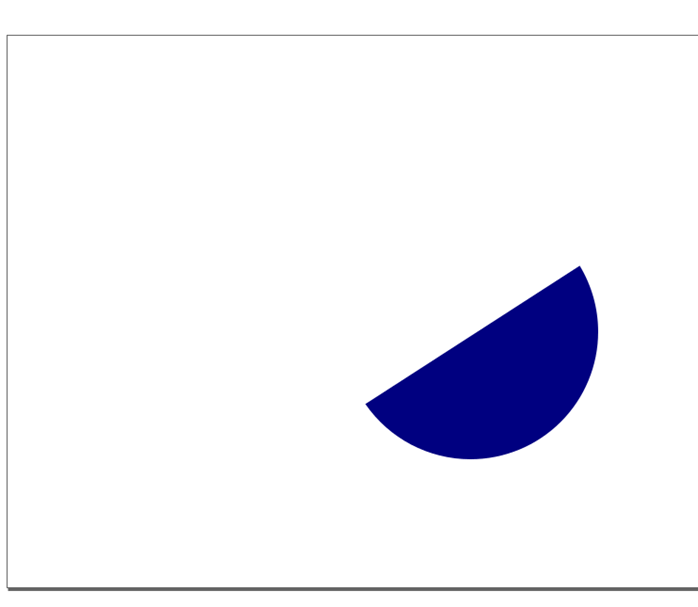
Step 19: Then again add the corner path effect
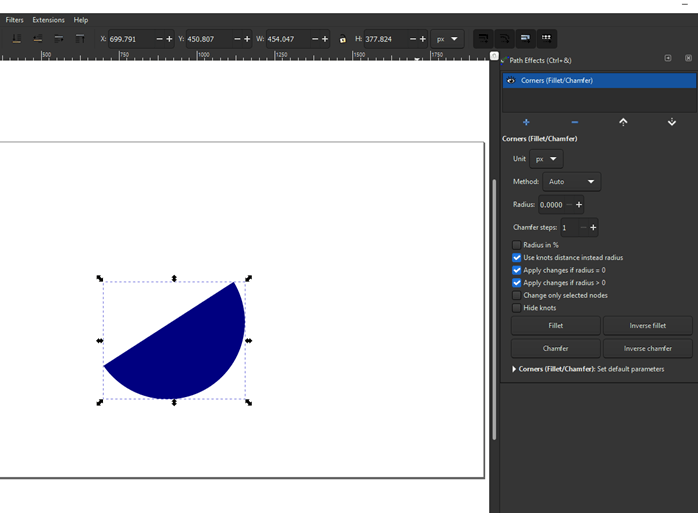
Step 20: Then again use the edit path by nodes tool to drag the corner and create the shape as shown. You can also shift and click the node to add the exact knot distance. So, we have created some organic shapes very easily.
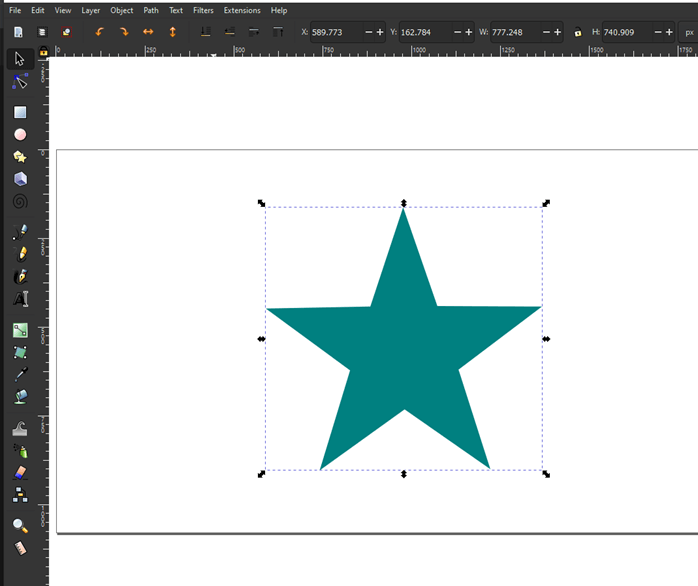
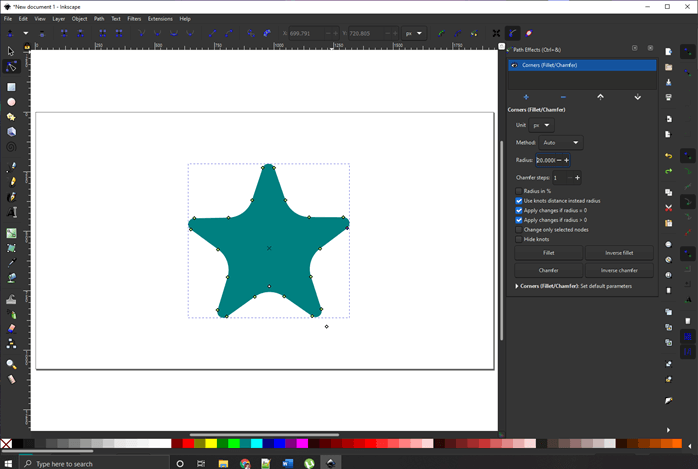
Step 21: Now using create star and polygon we will create a regular star with 5 corners. While creating the star you can hold ctrl to set the exact orientation.
Step 22: Then again add the corner effect and drag any of the nodes to create a corner.
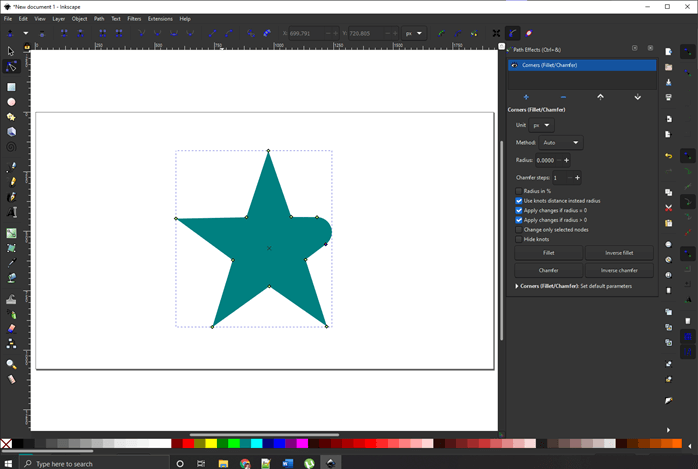
Step 23: Undo or Ctrl + Z the last step and change the radius from the path effects panel which will affect all the nodes.
Step 24: Now create a regular polygon using the create star and polygon tool with 6 corners.
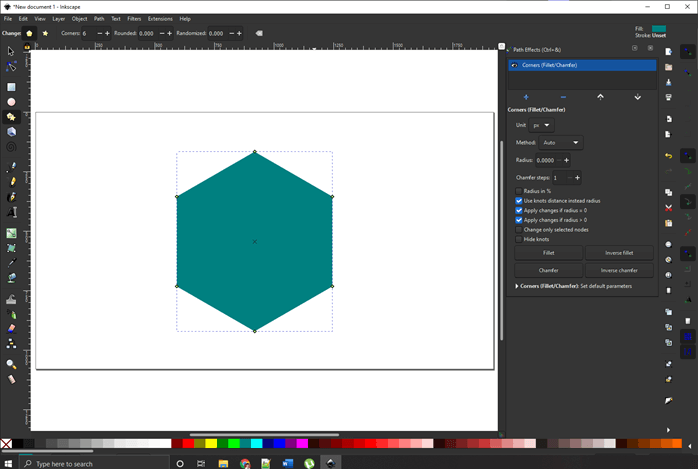
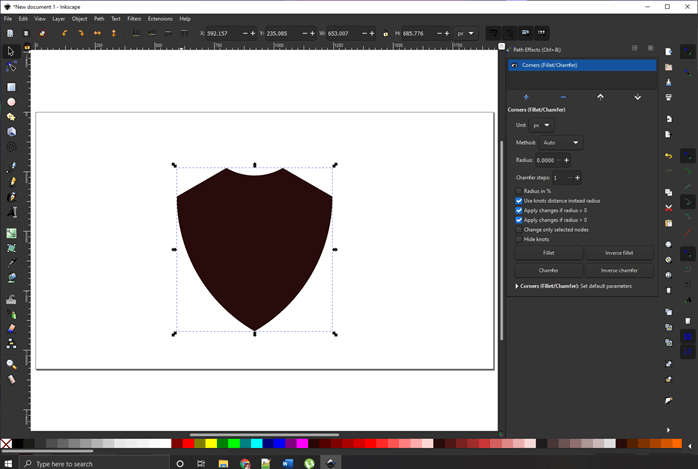
Step 25: Now drag the corners so that the shape of a shield is created as shown.
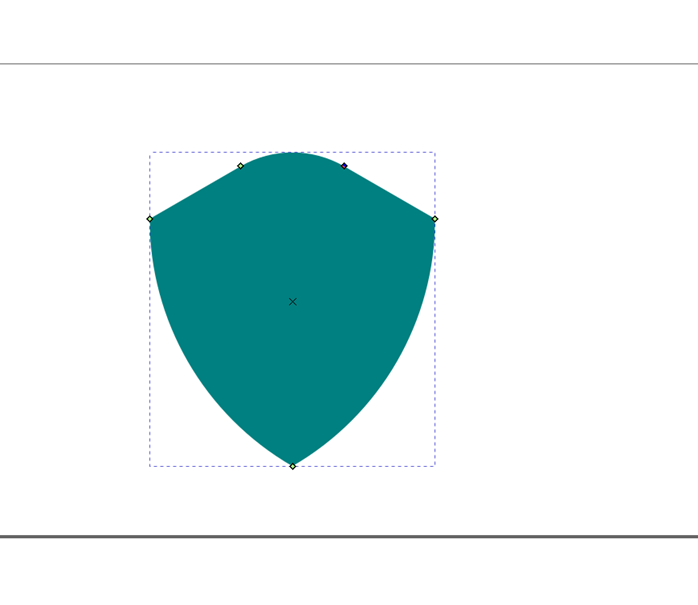
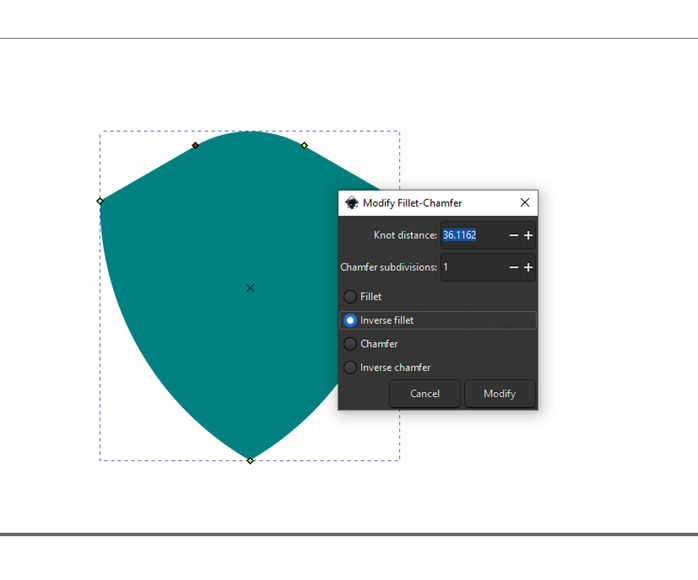
Step 26: At the top node we will create an inverse fillet by shift-clicking on the node.
Step 27: Change the color to some darker shade so that it looks like a shield.
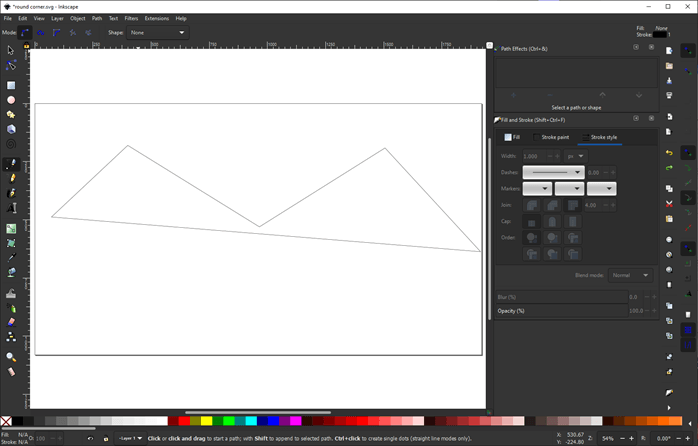
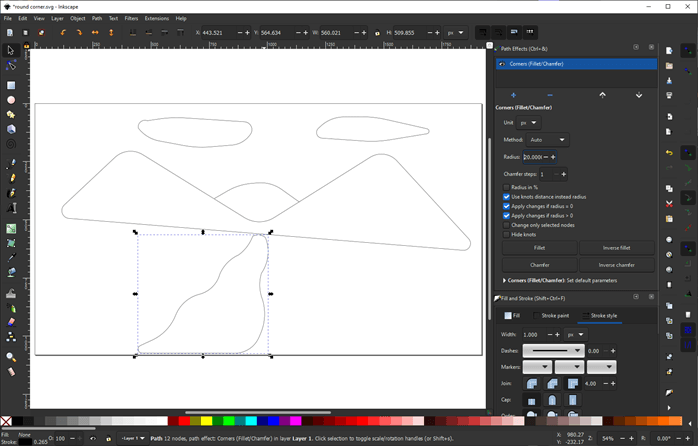
Step 28: Now using the Bezier curves tool we will add some straight lines to create a scene than using path effects of corners we will create some nice curves. First, we will create some mountains by just clicking and completing the path.
Step 29: Then we create a river shape as shown.
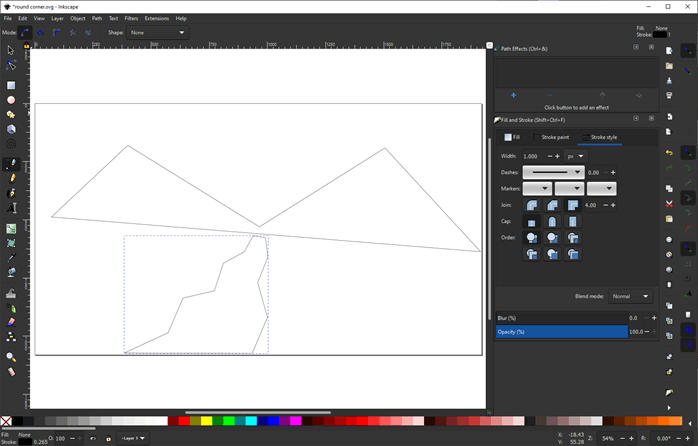
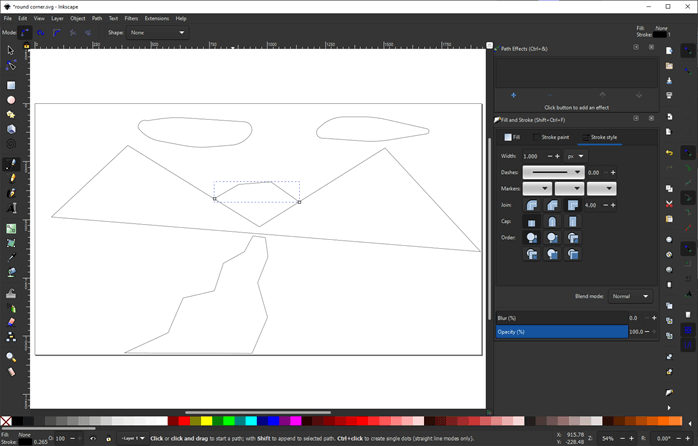
Step 30: Then we select the individual shapes and add a corner fillet path effect.

Step 31: Then create some clouds on top of the mountain.

Step 32: Then create an outline of the sun
Step 33: Next we give every path a radius so that all the corners are rounded.
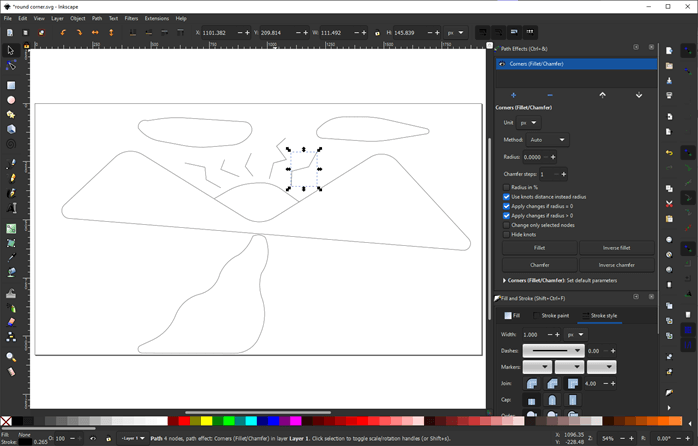
Step 34: Next we will give an illusion of rays coming out of the sun. For which we will create some jagged lines as shown near the sun.

Step 35: Then we will select all rays individually and add the corner effects to every ray.
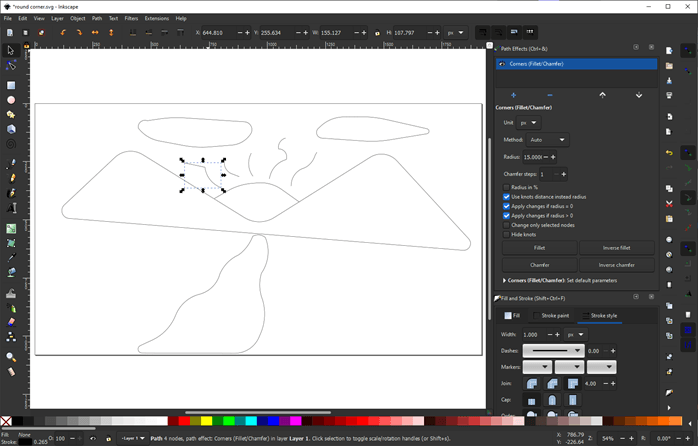
Step 36: Then we give a radius of 15 to every ray so that it looks smooth
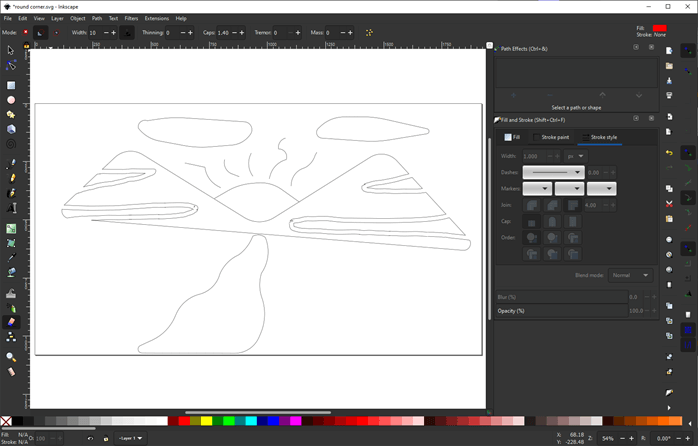
Step 37: Then we can use erase the existing path to give some stripes on the mountains.
Conclusion
In this article, we have seen how to work with round corners in Inkscape. Firstly, we have seen the default feature of rounding the corners by dragging the nodes. Then we have seen much more powerful and live path effects with much more control over the fillet and corner which we want to portray.
Recommended Articles
This is a guide to Inkscape round corners. Here we discuss how to work with round corners in Inkscape and we have seen the default feature of rounding the corners. You may also have a look at the following articles to learn more –
